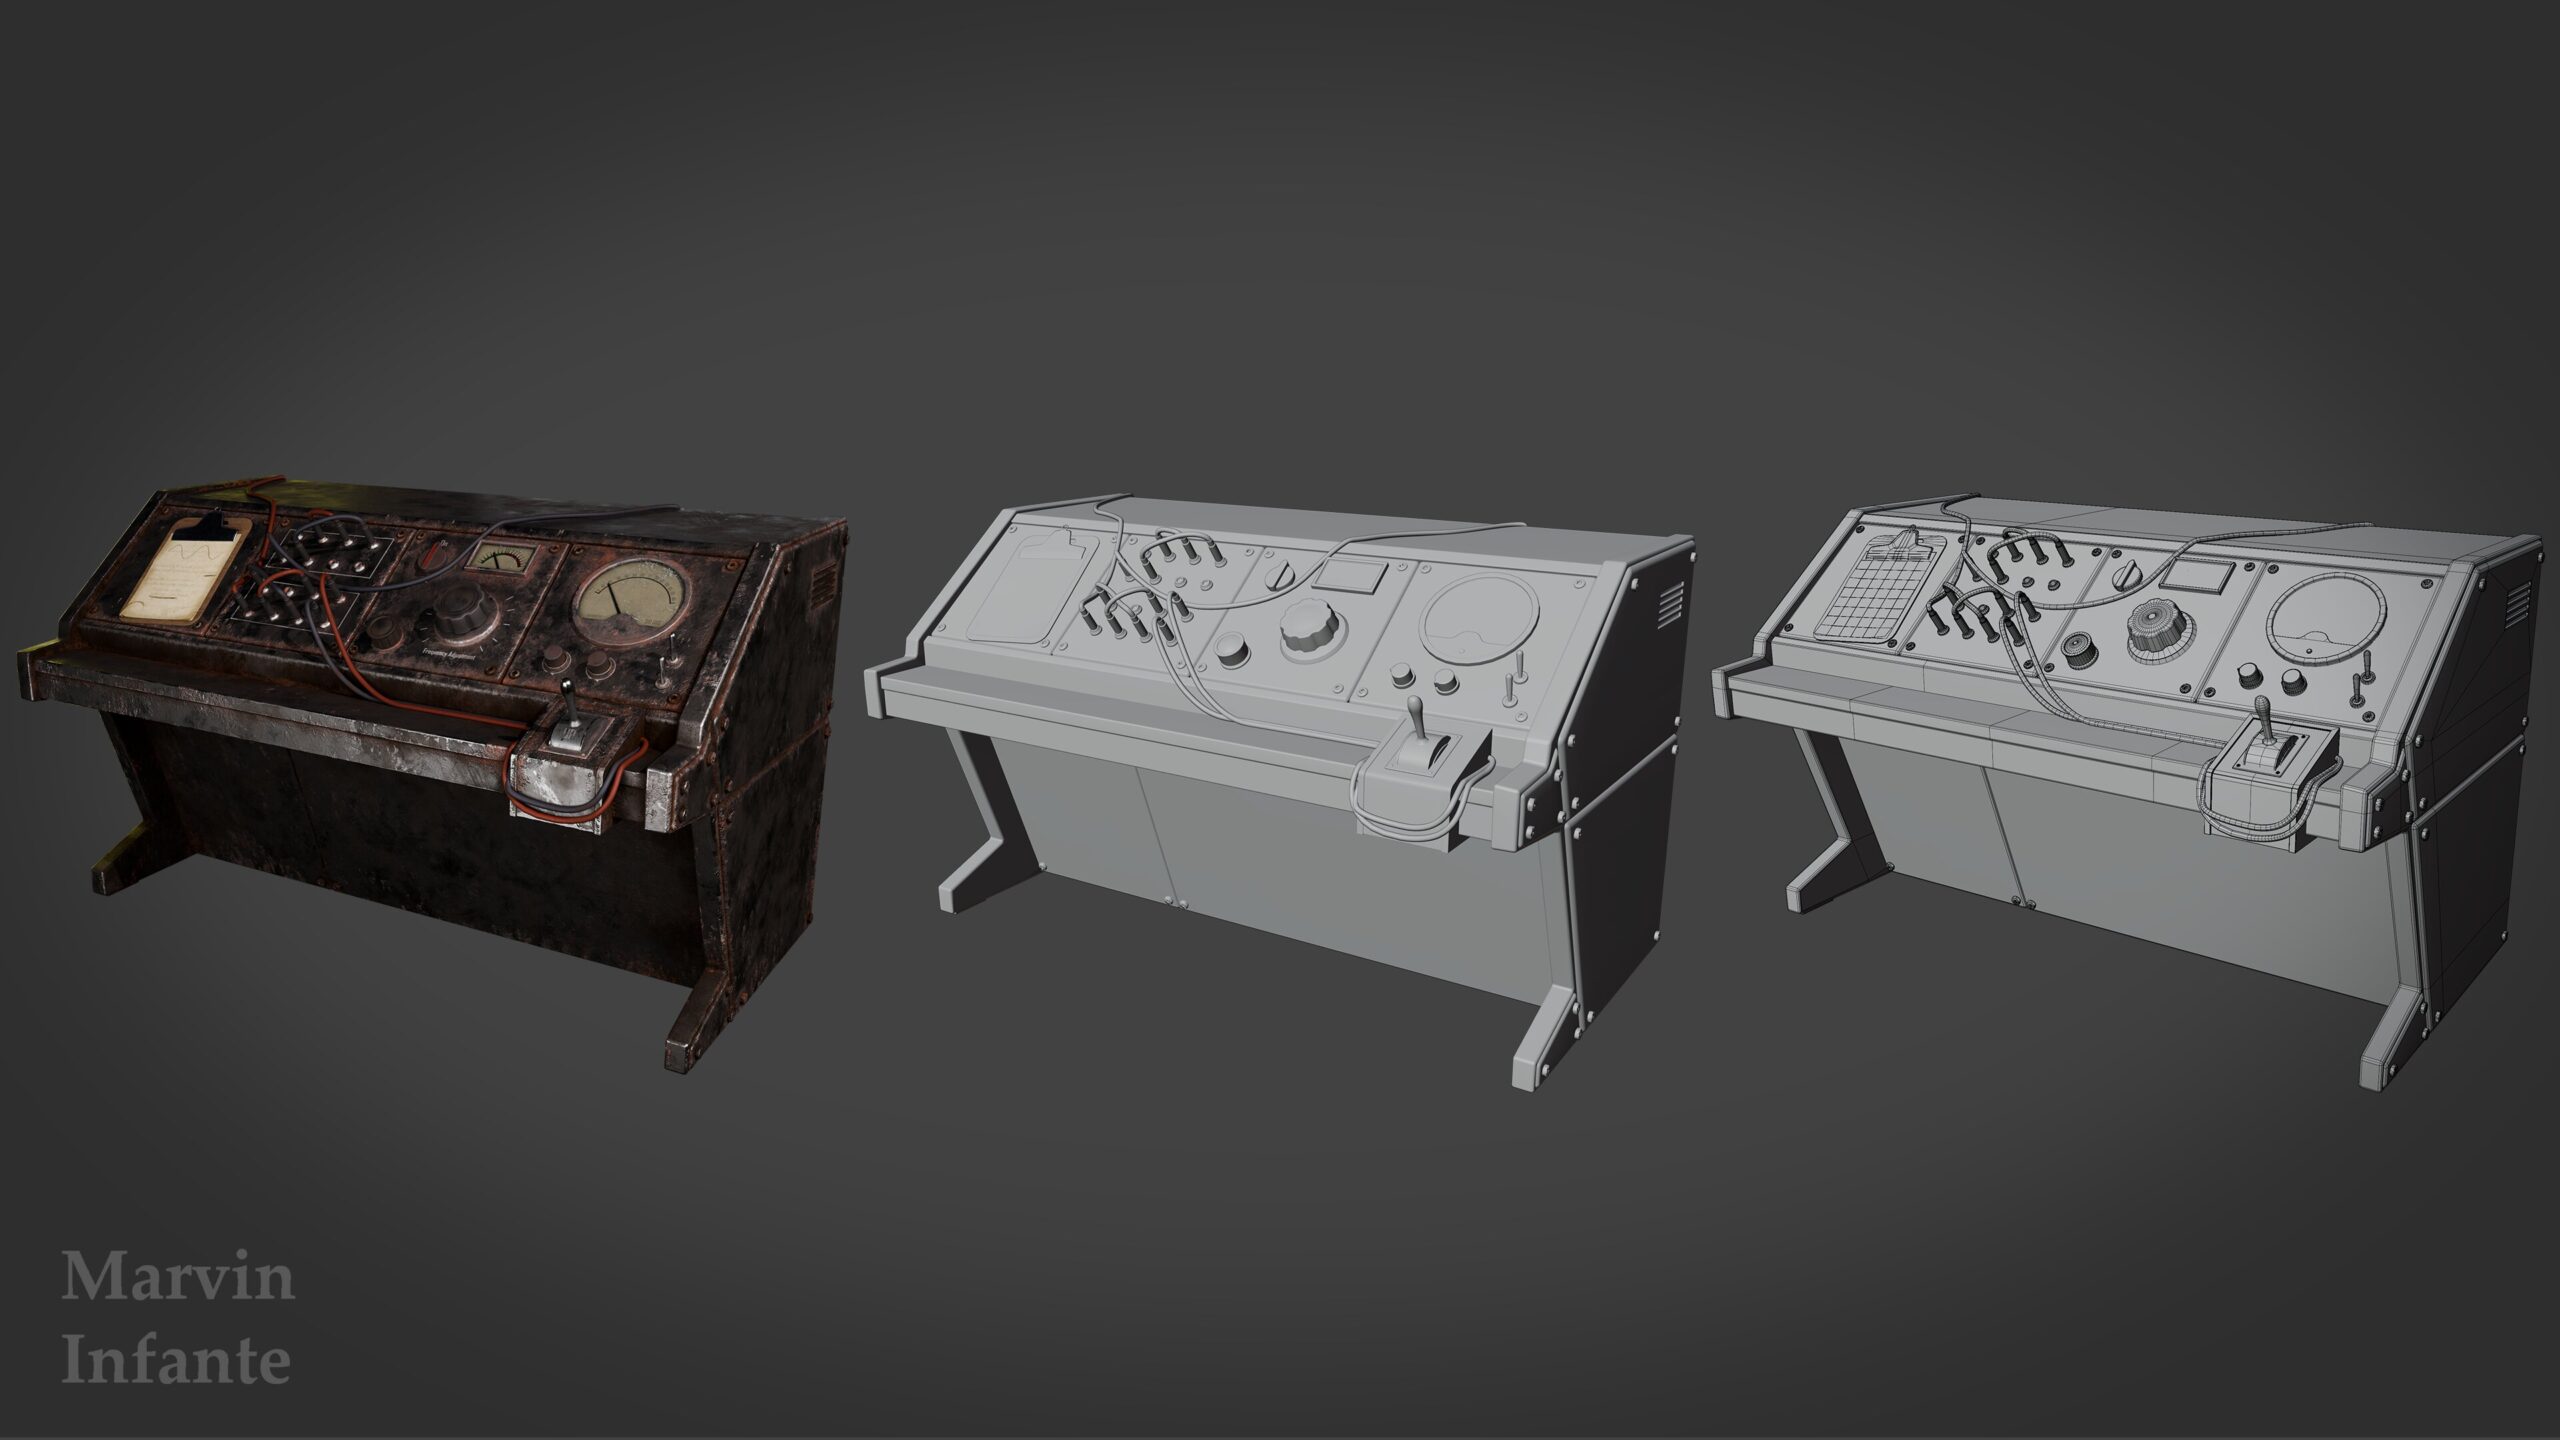
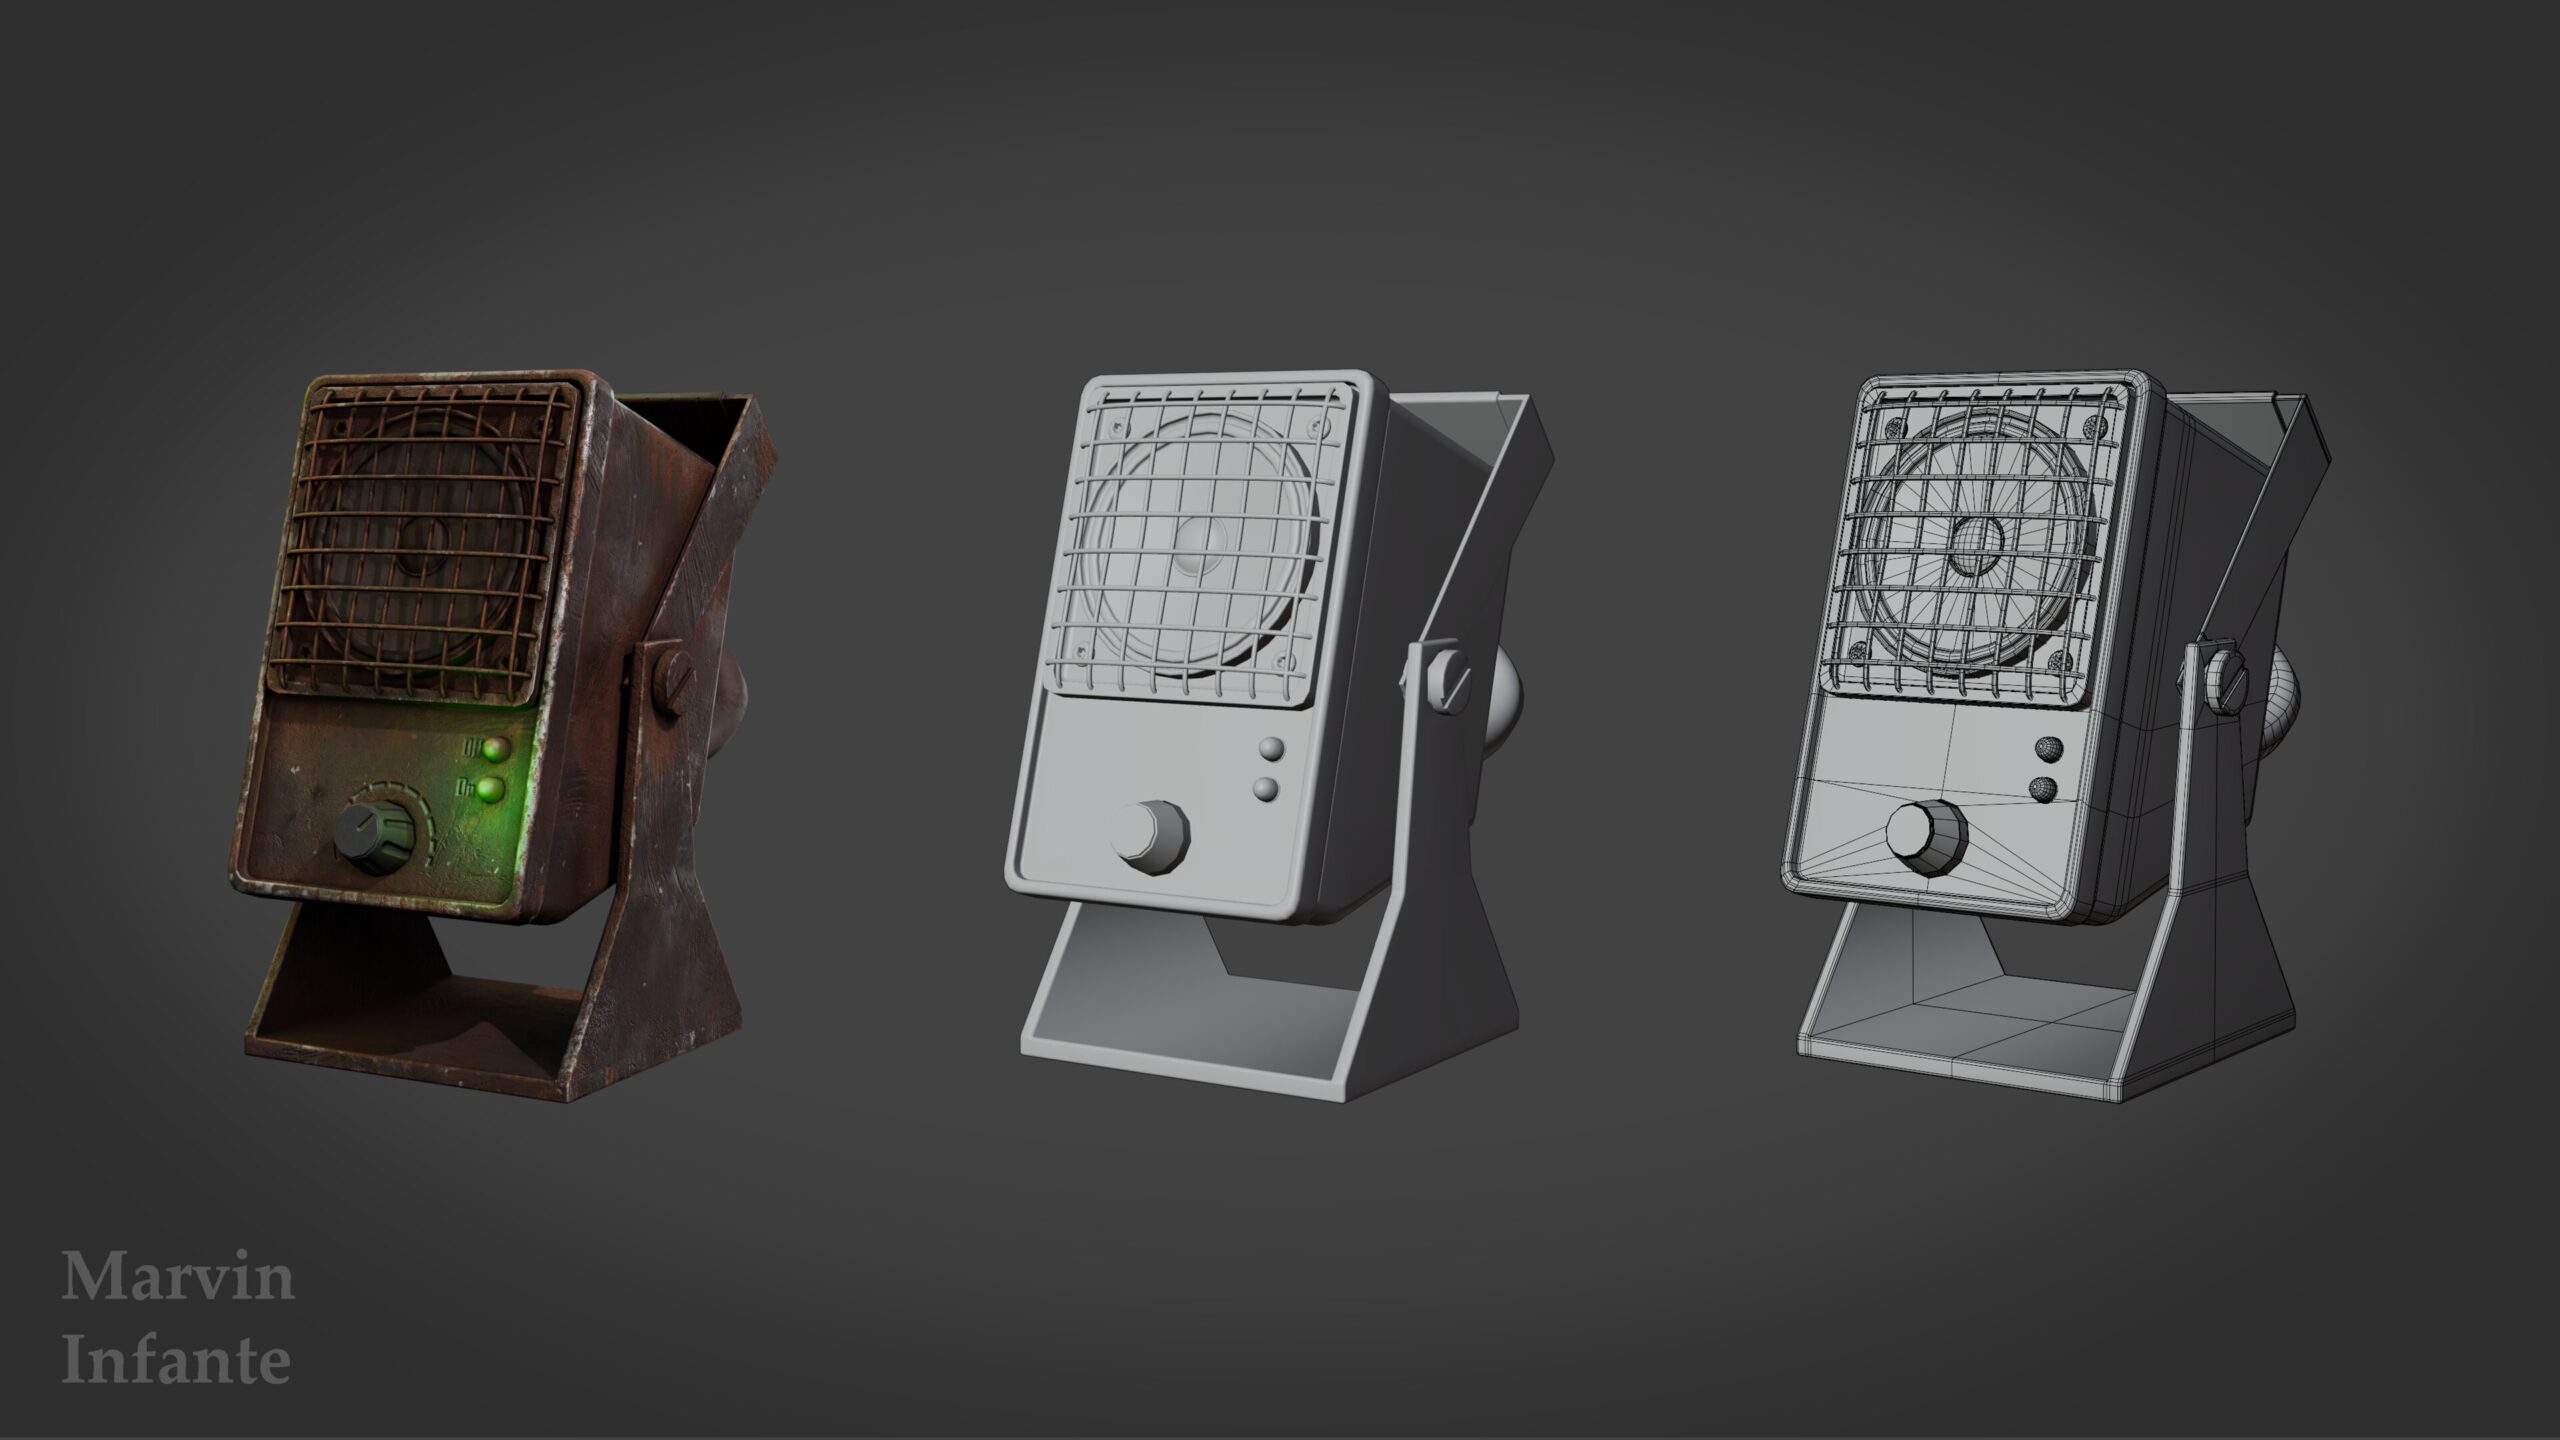
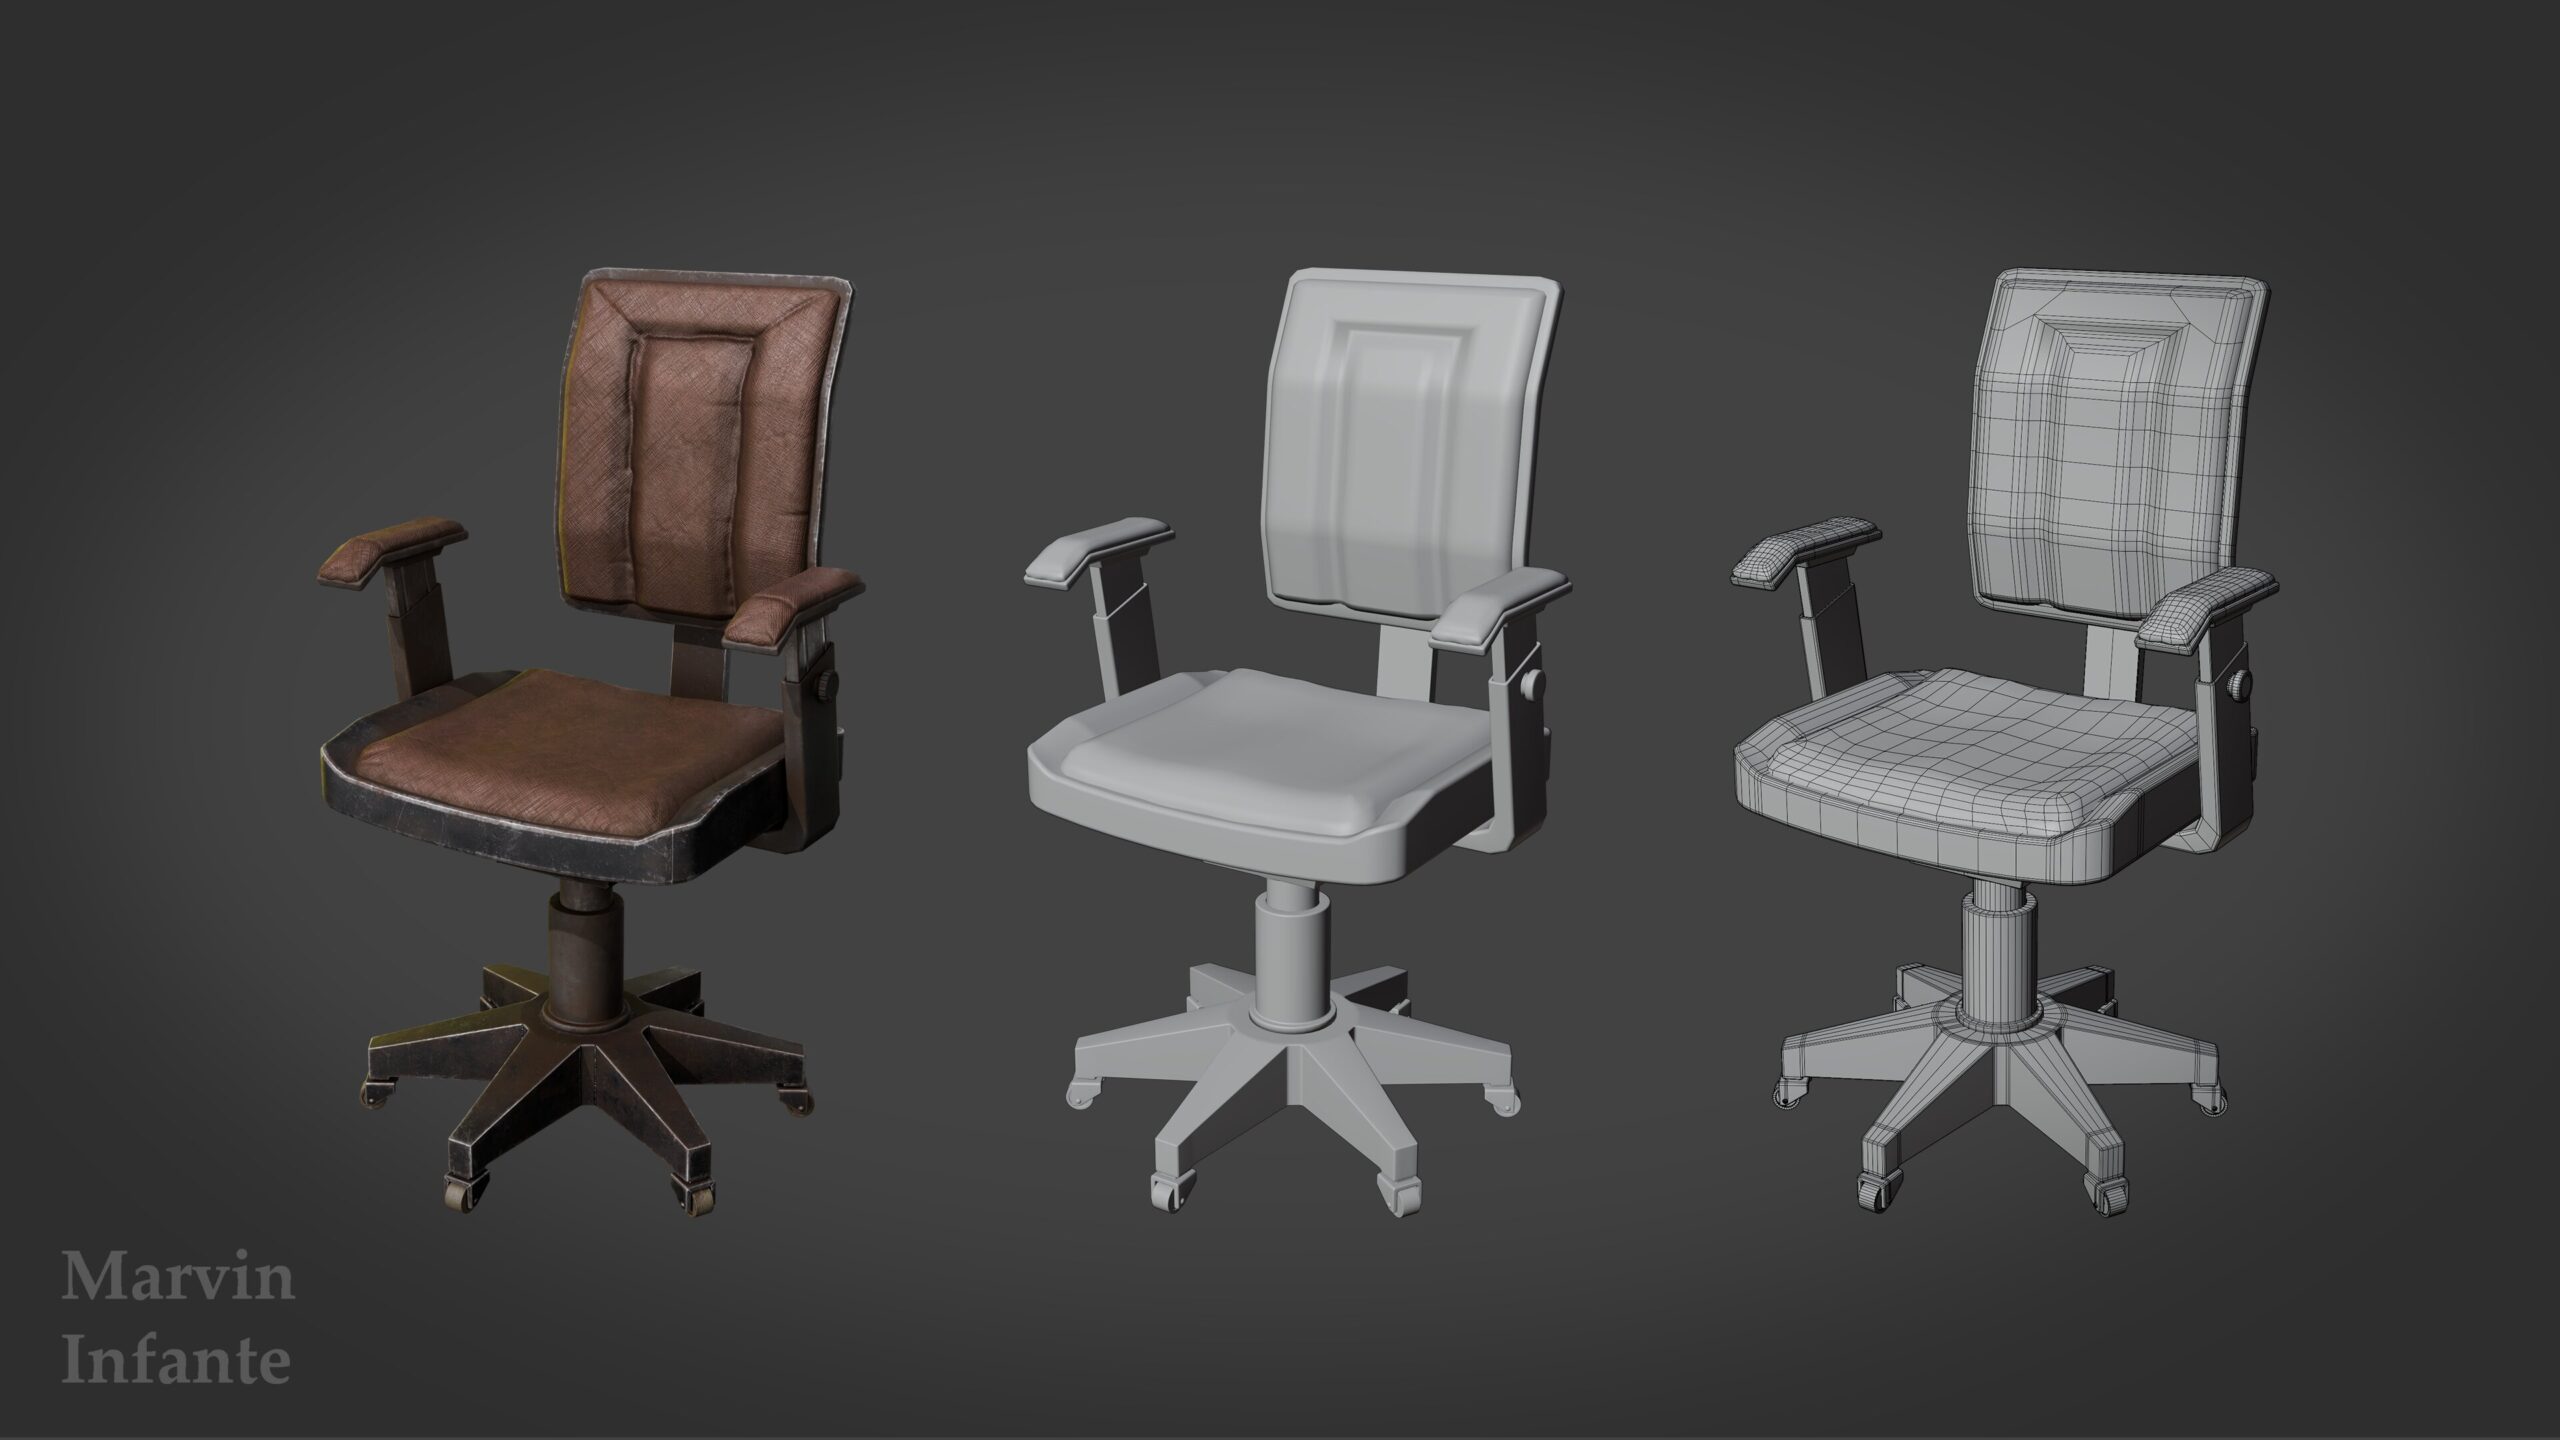
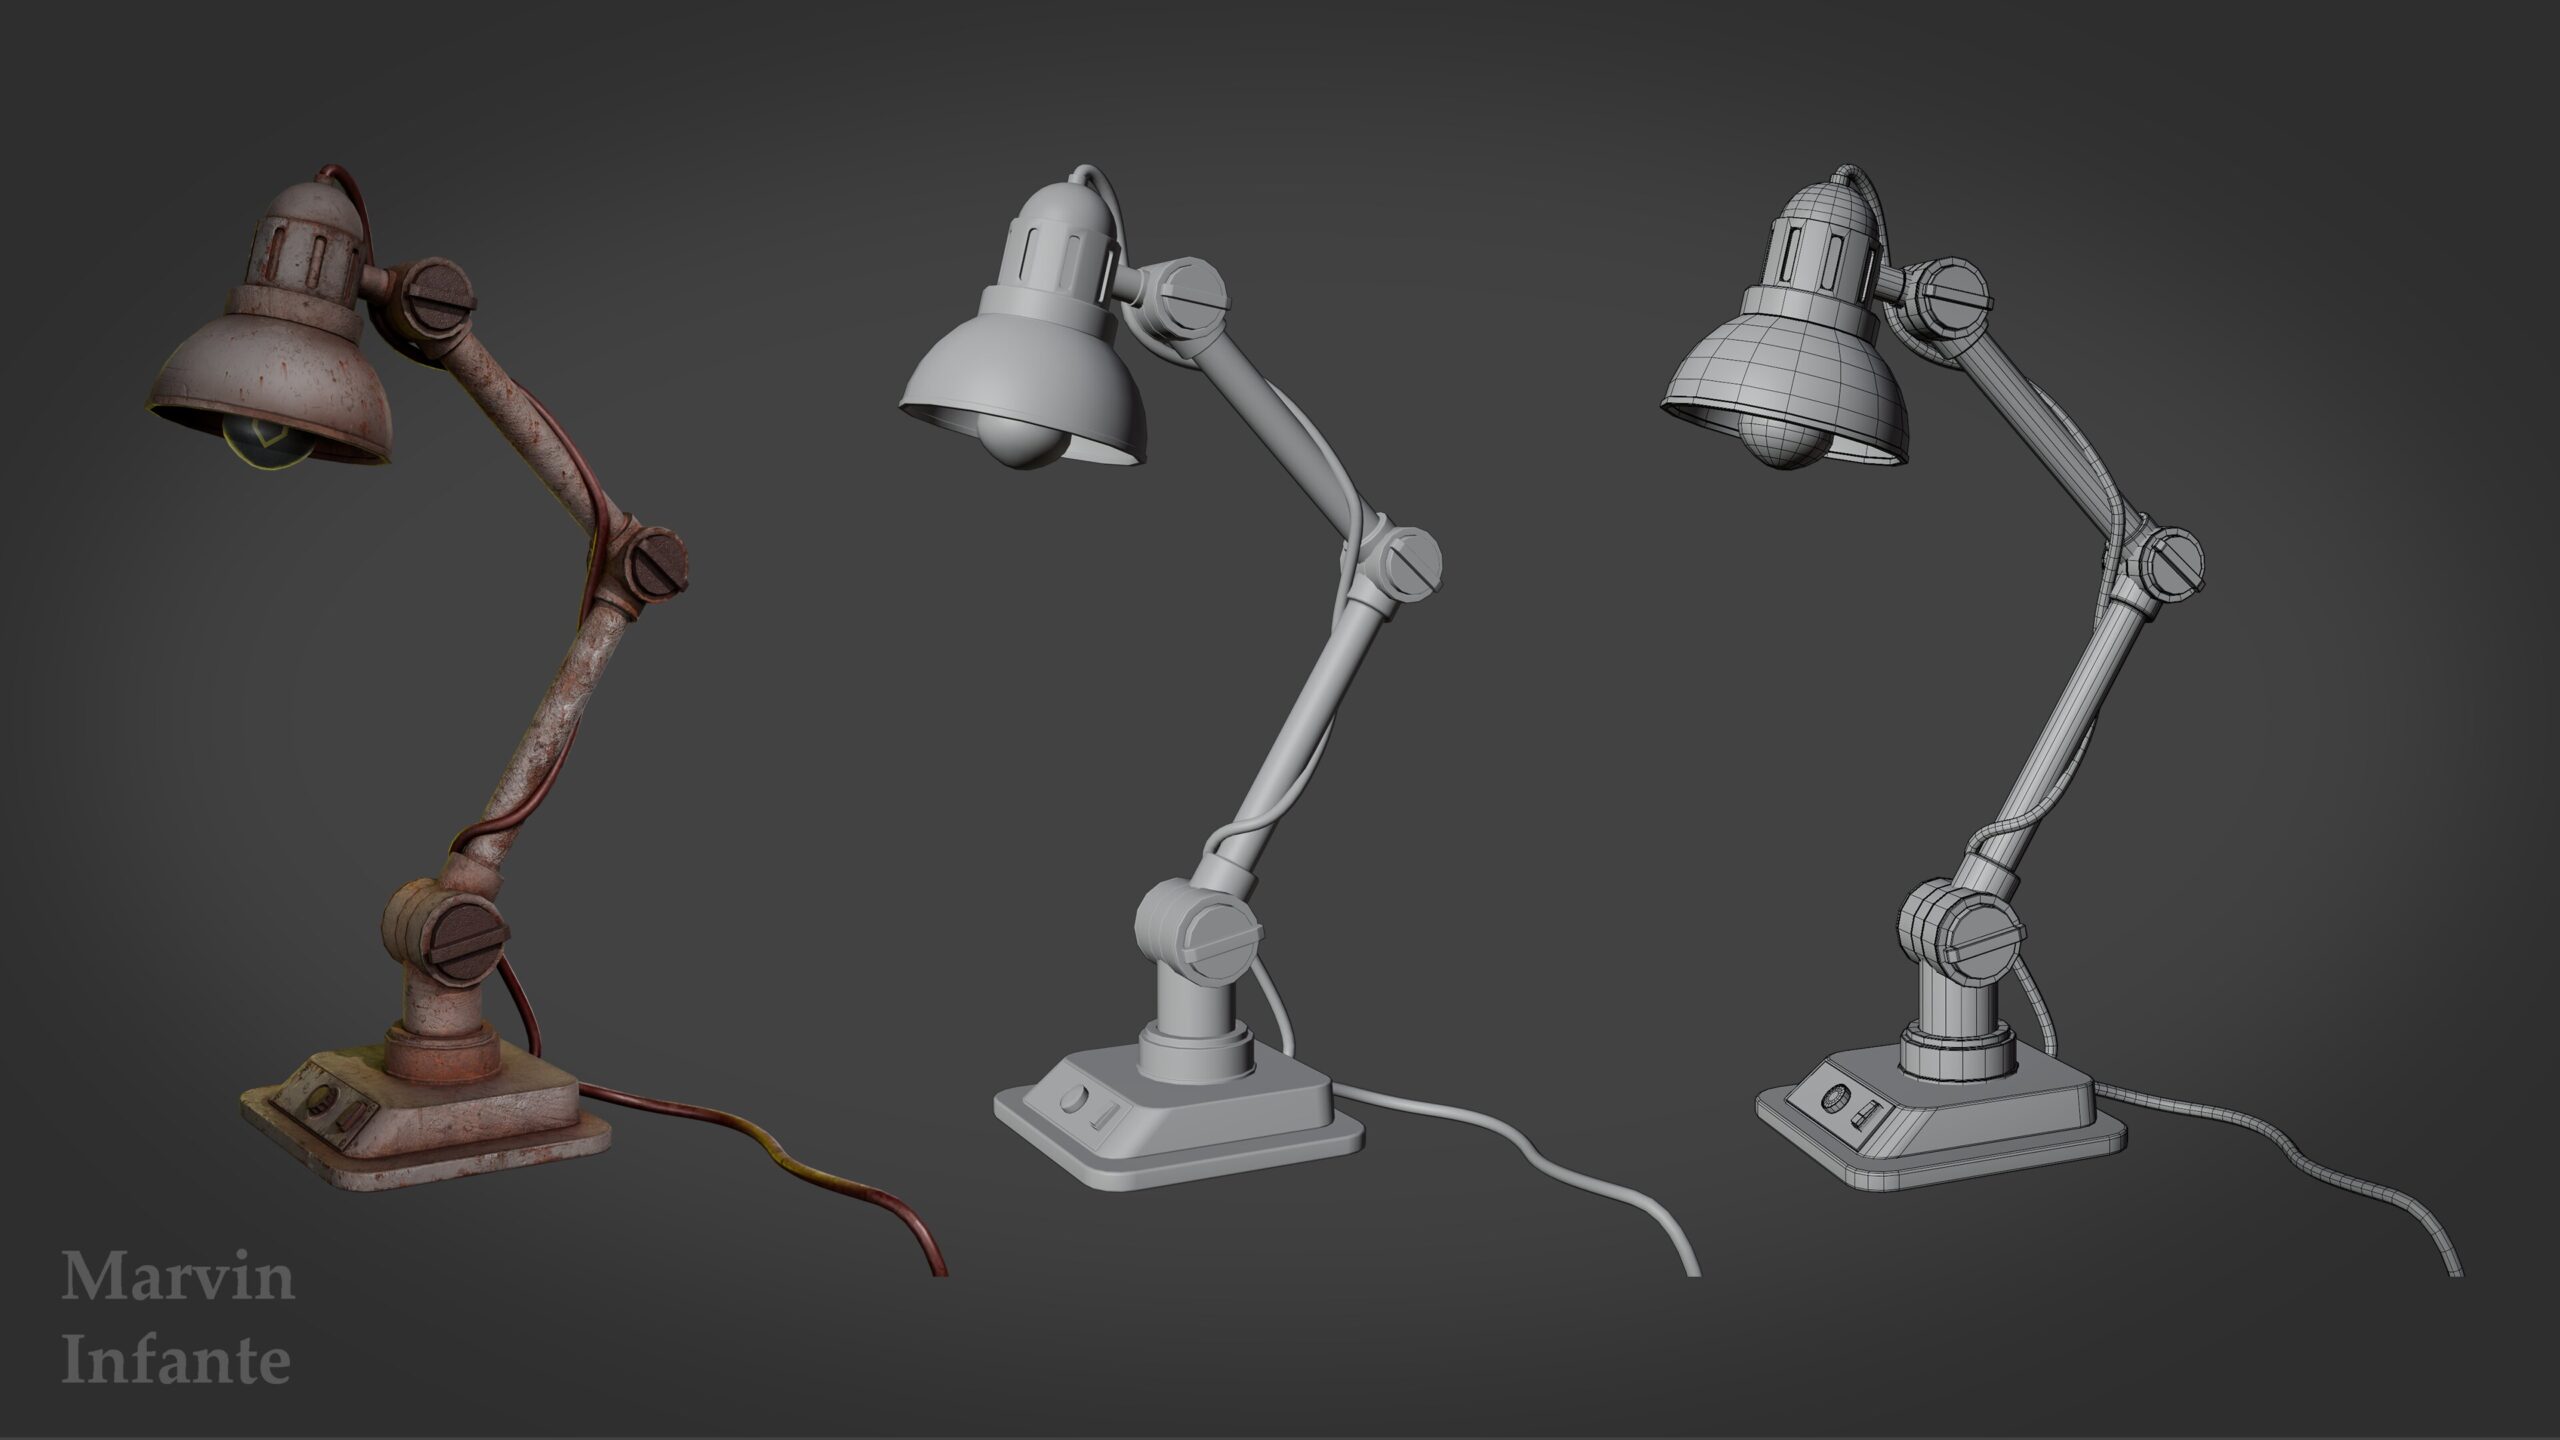
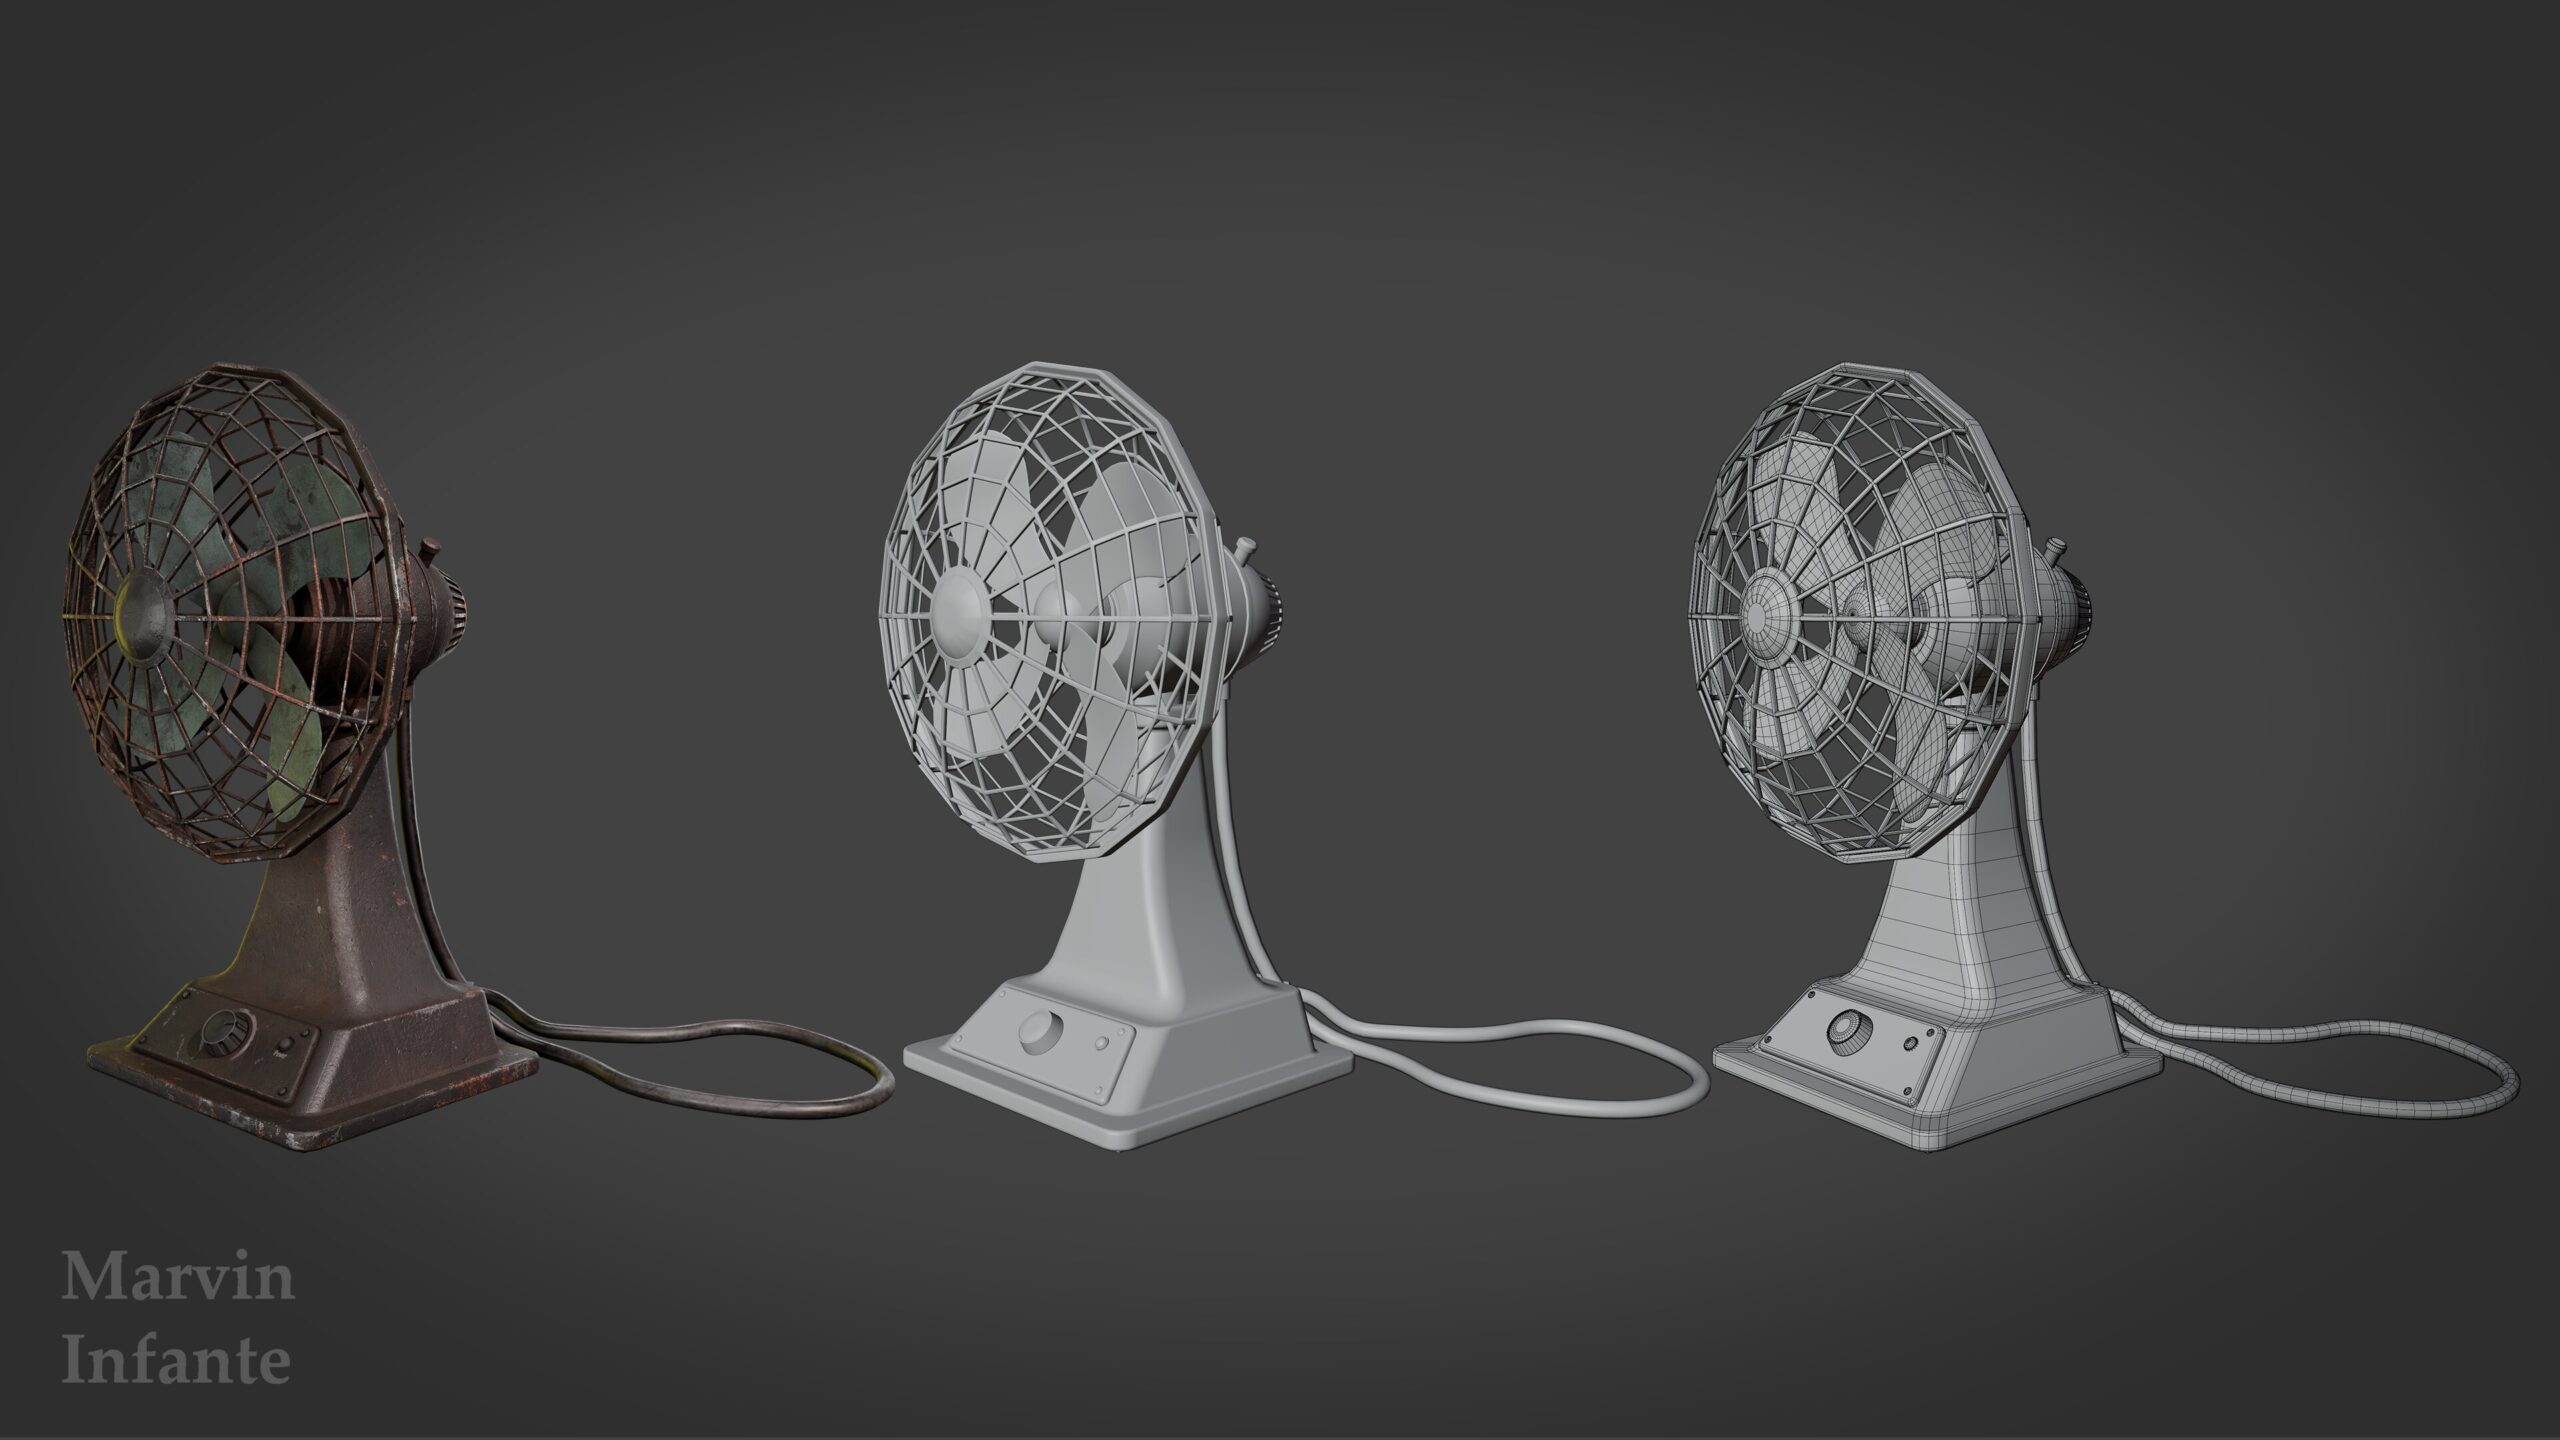
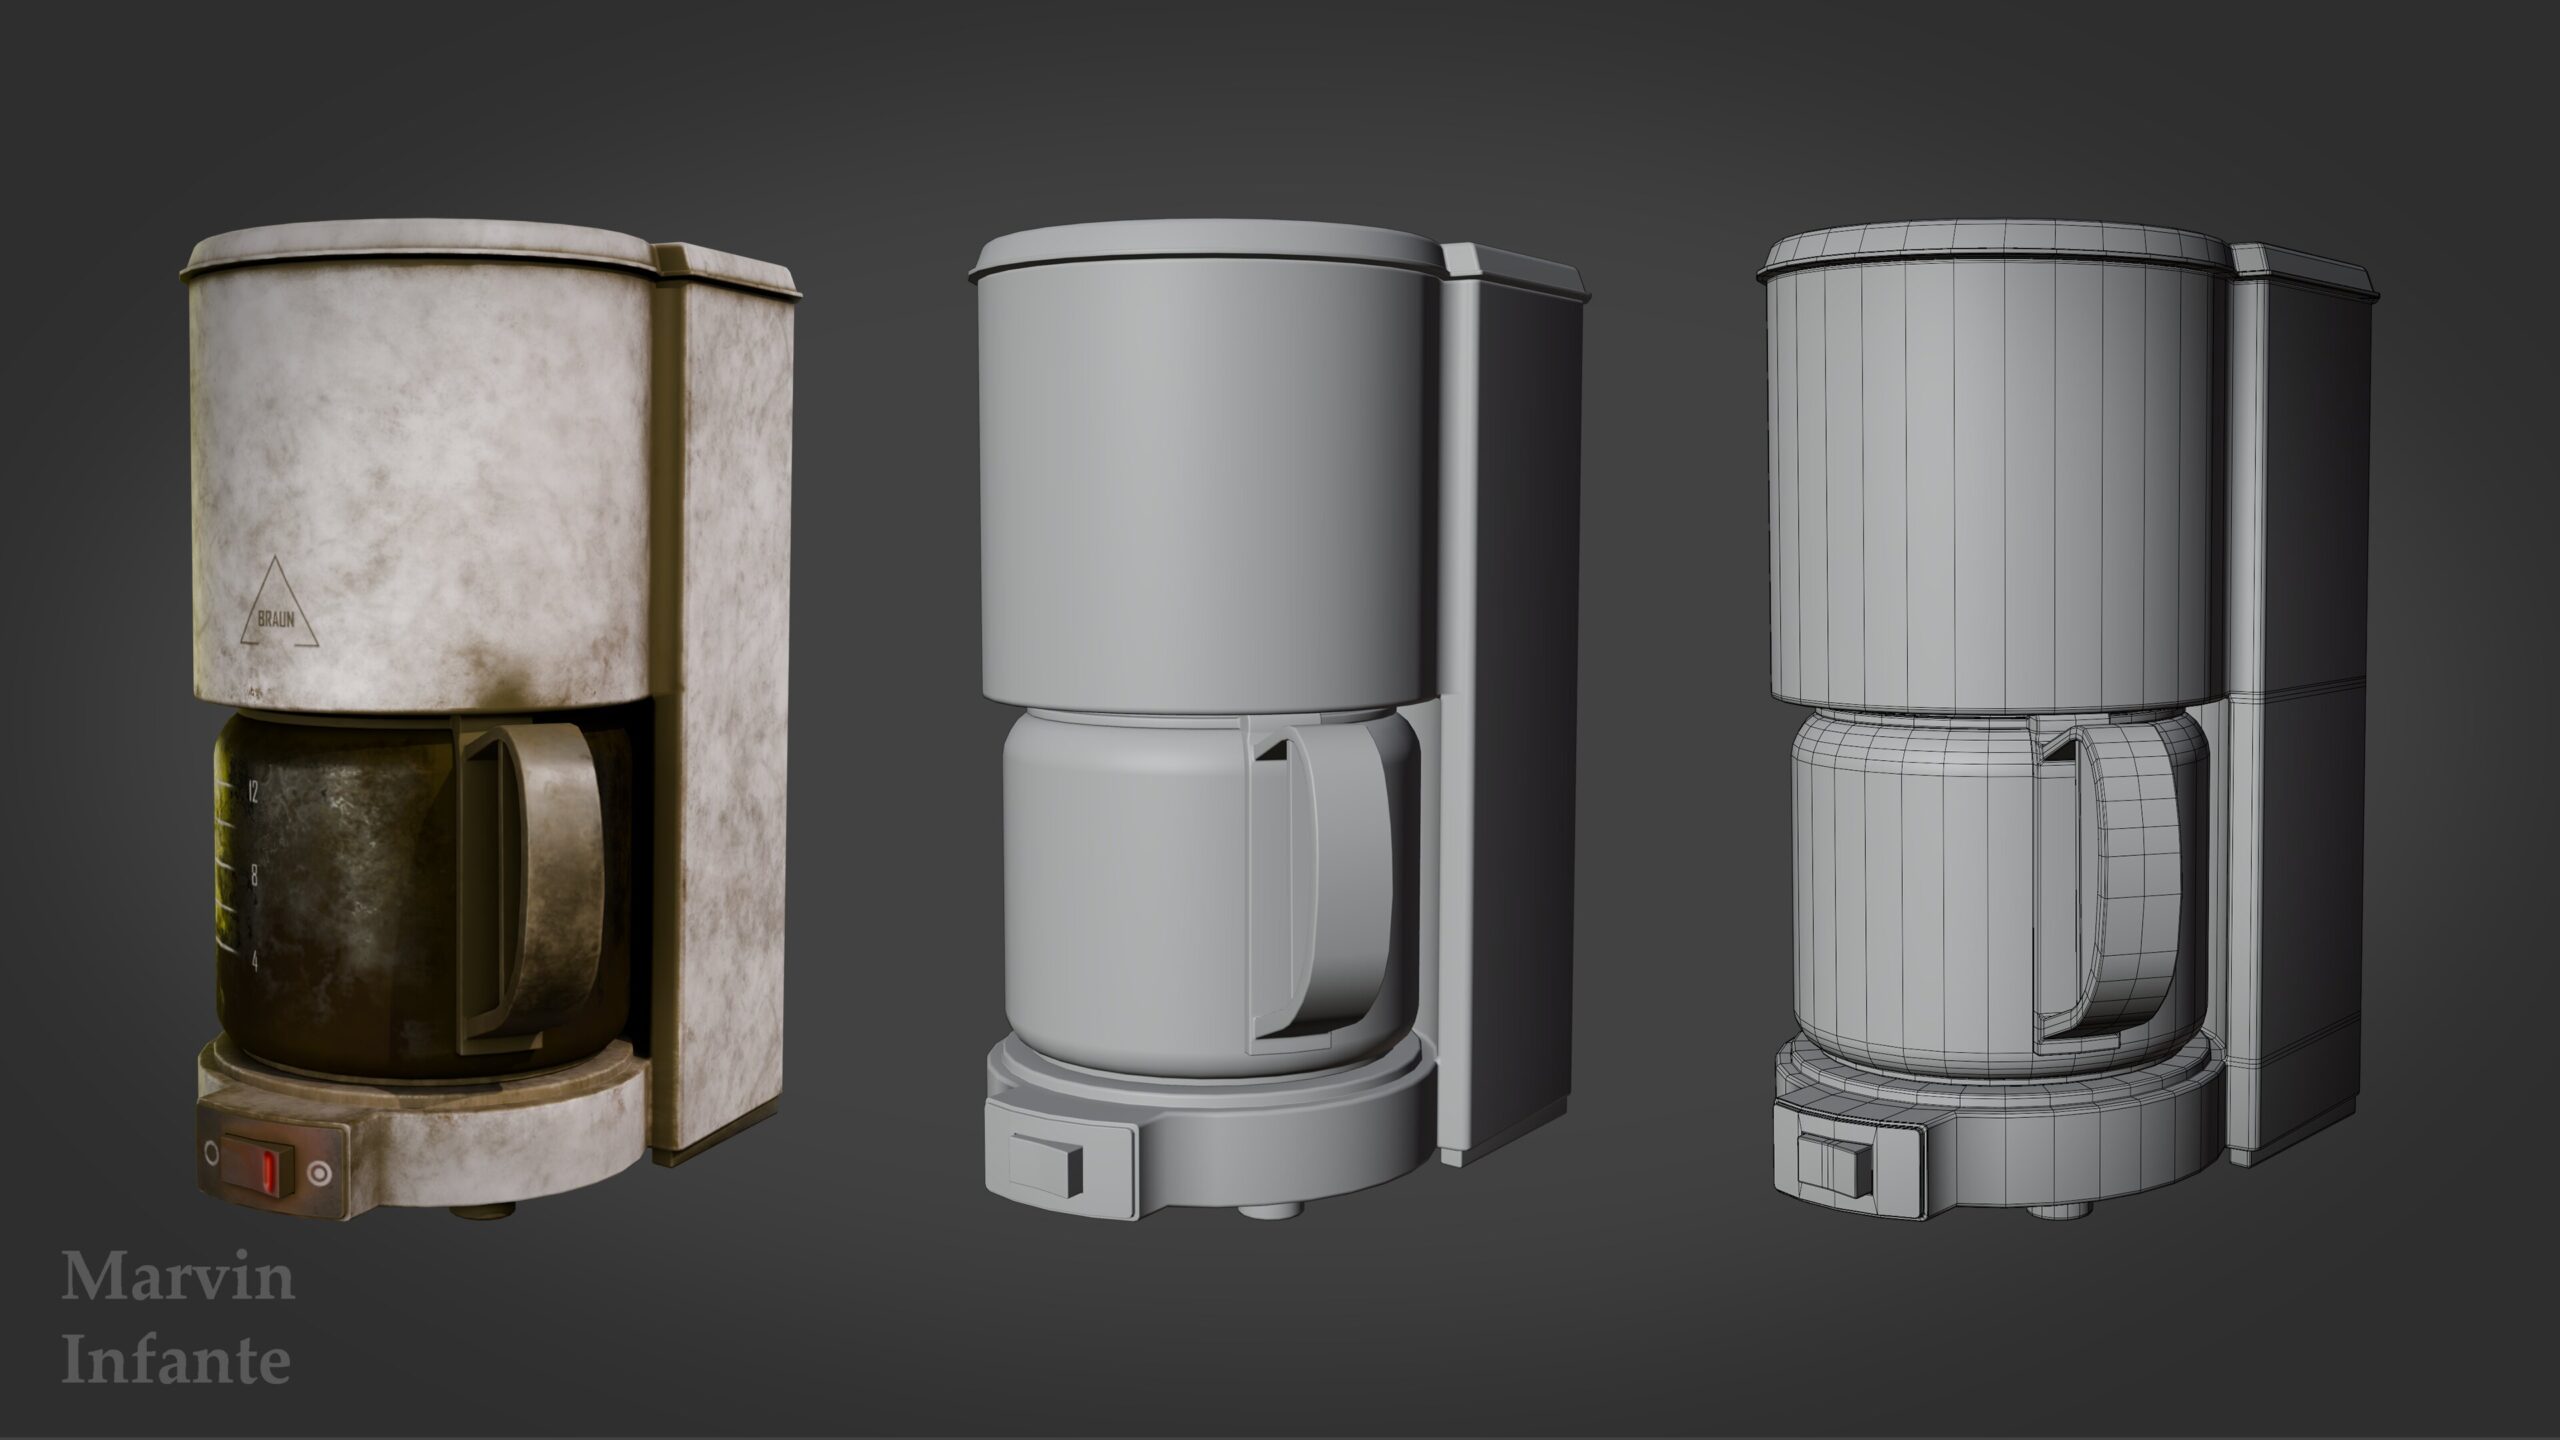
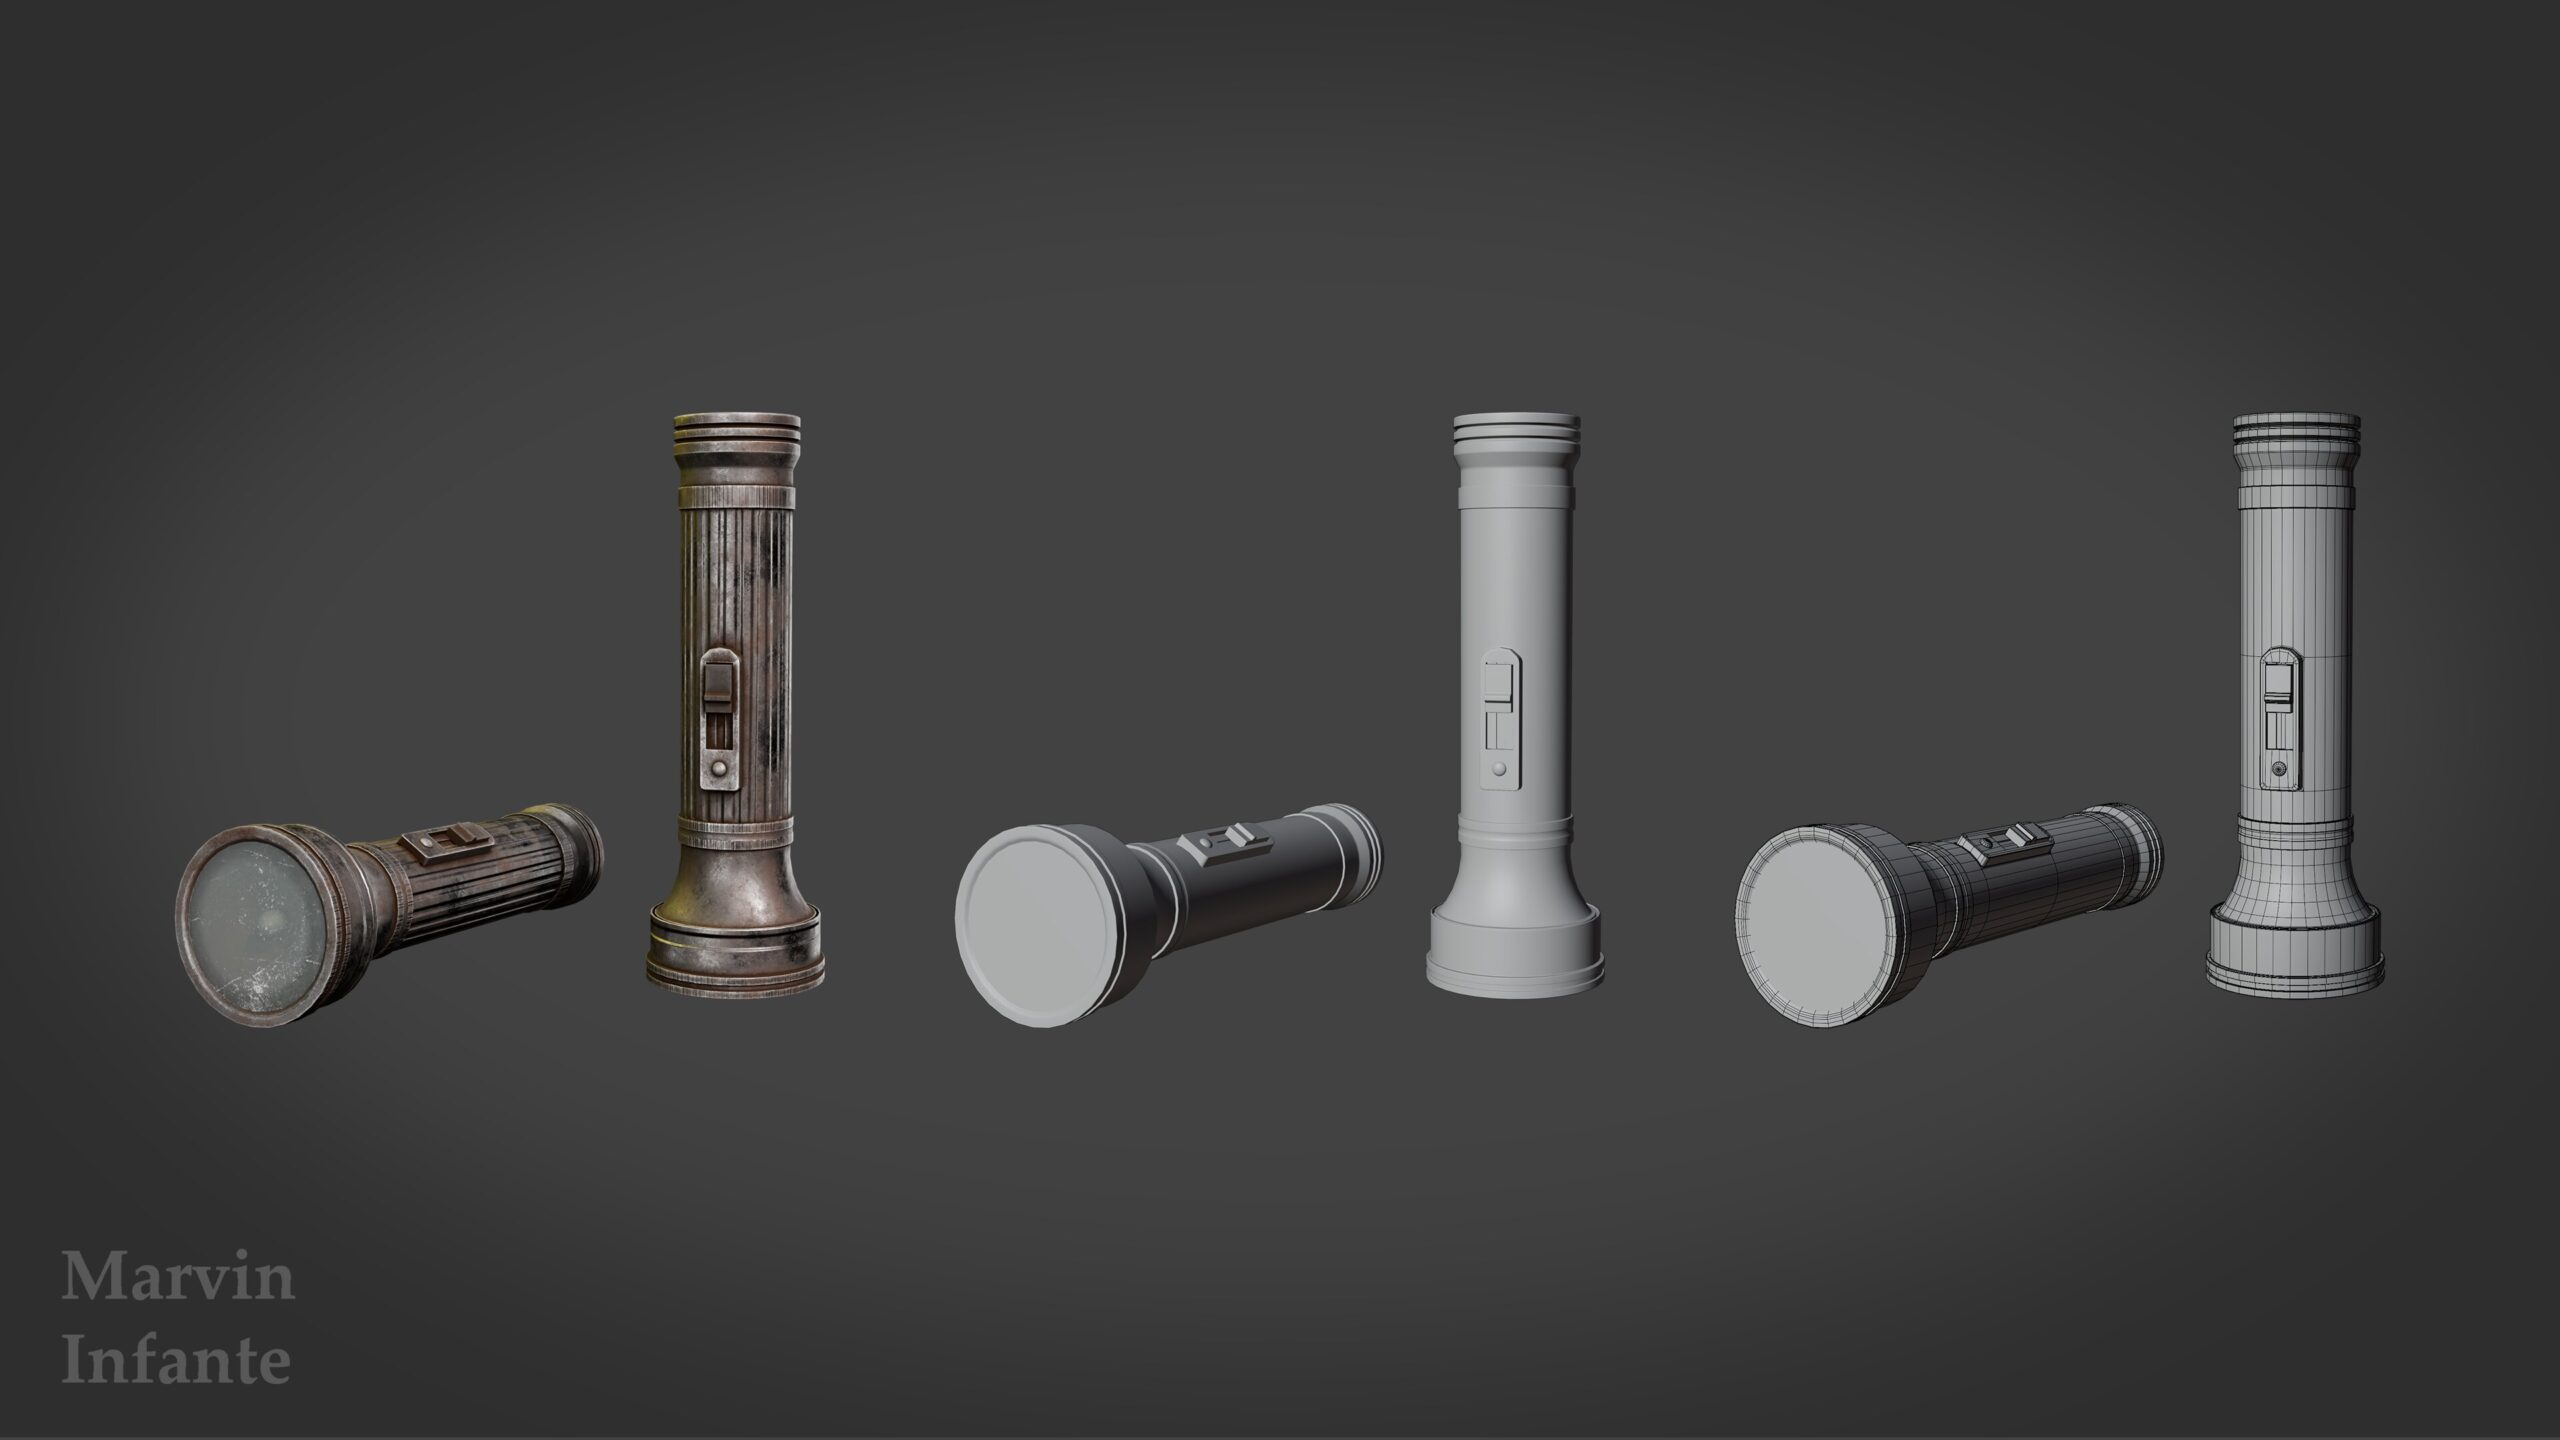
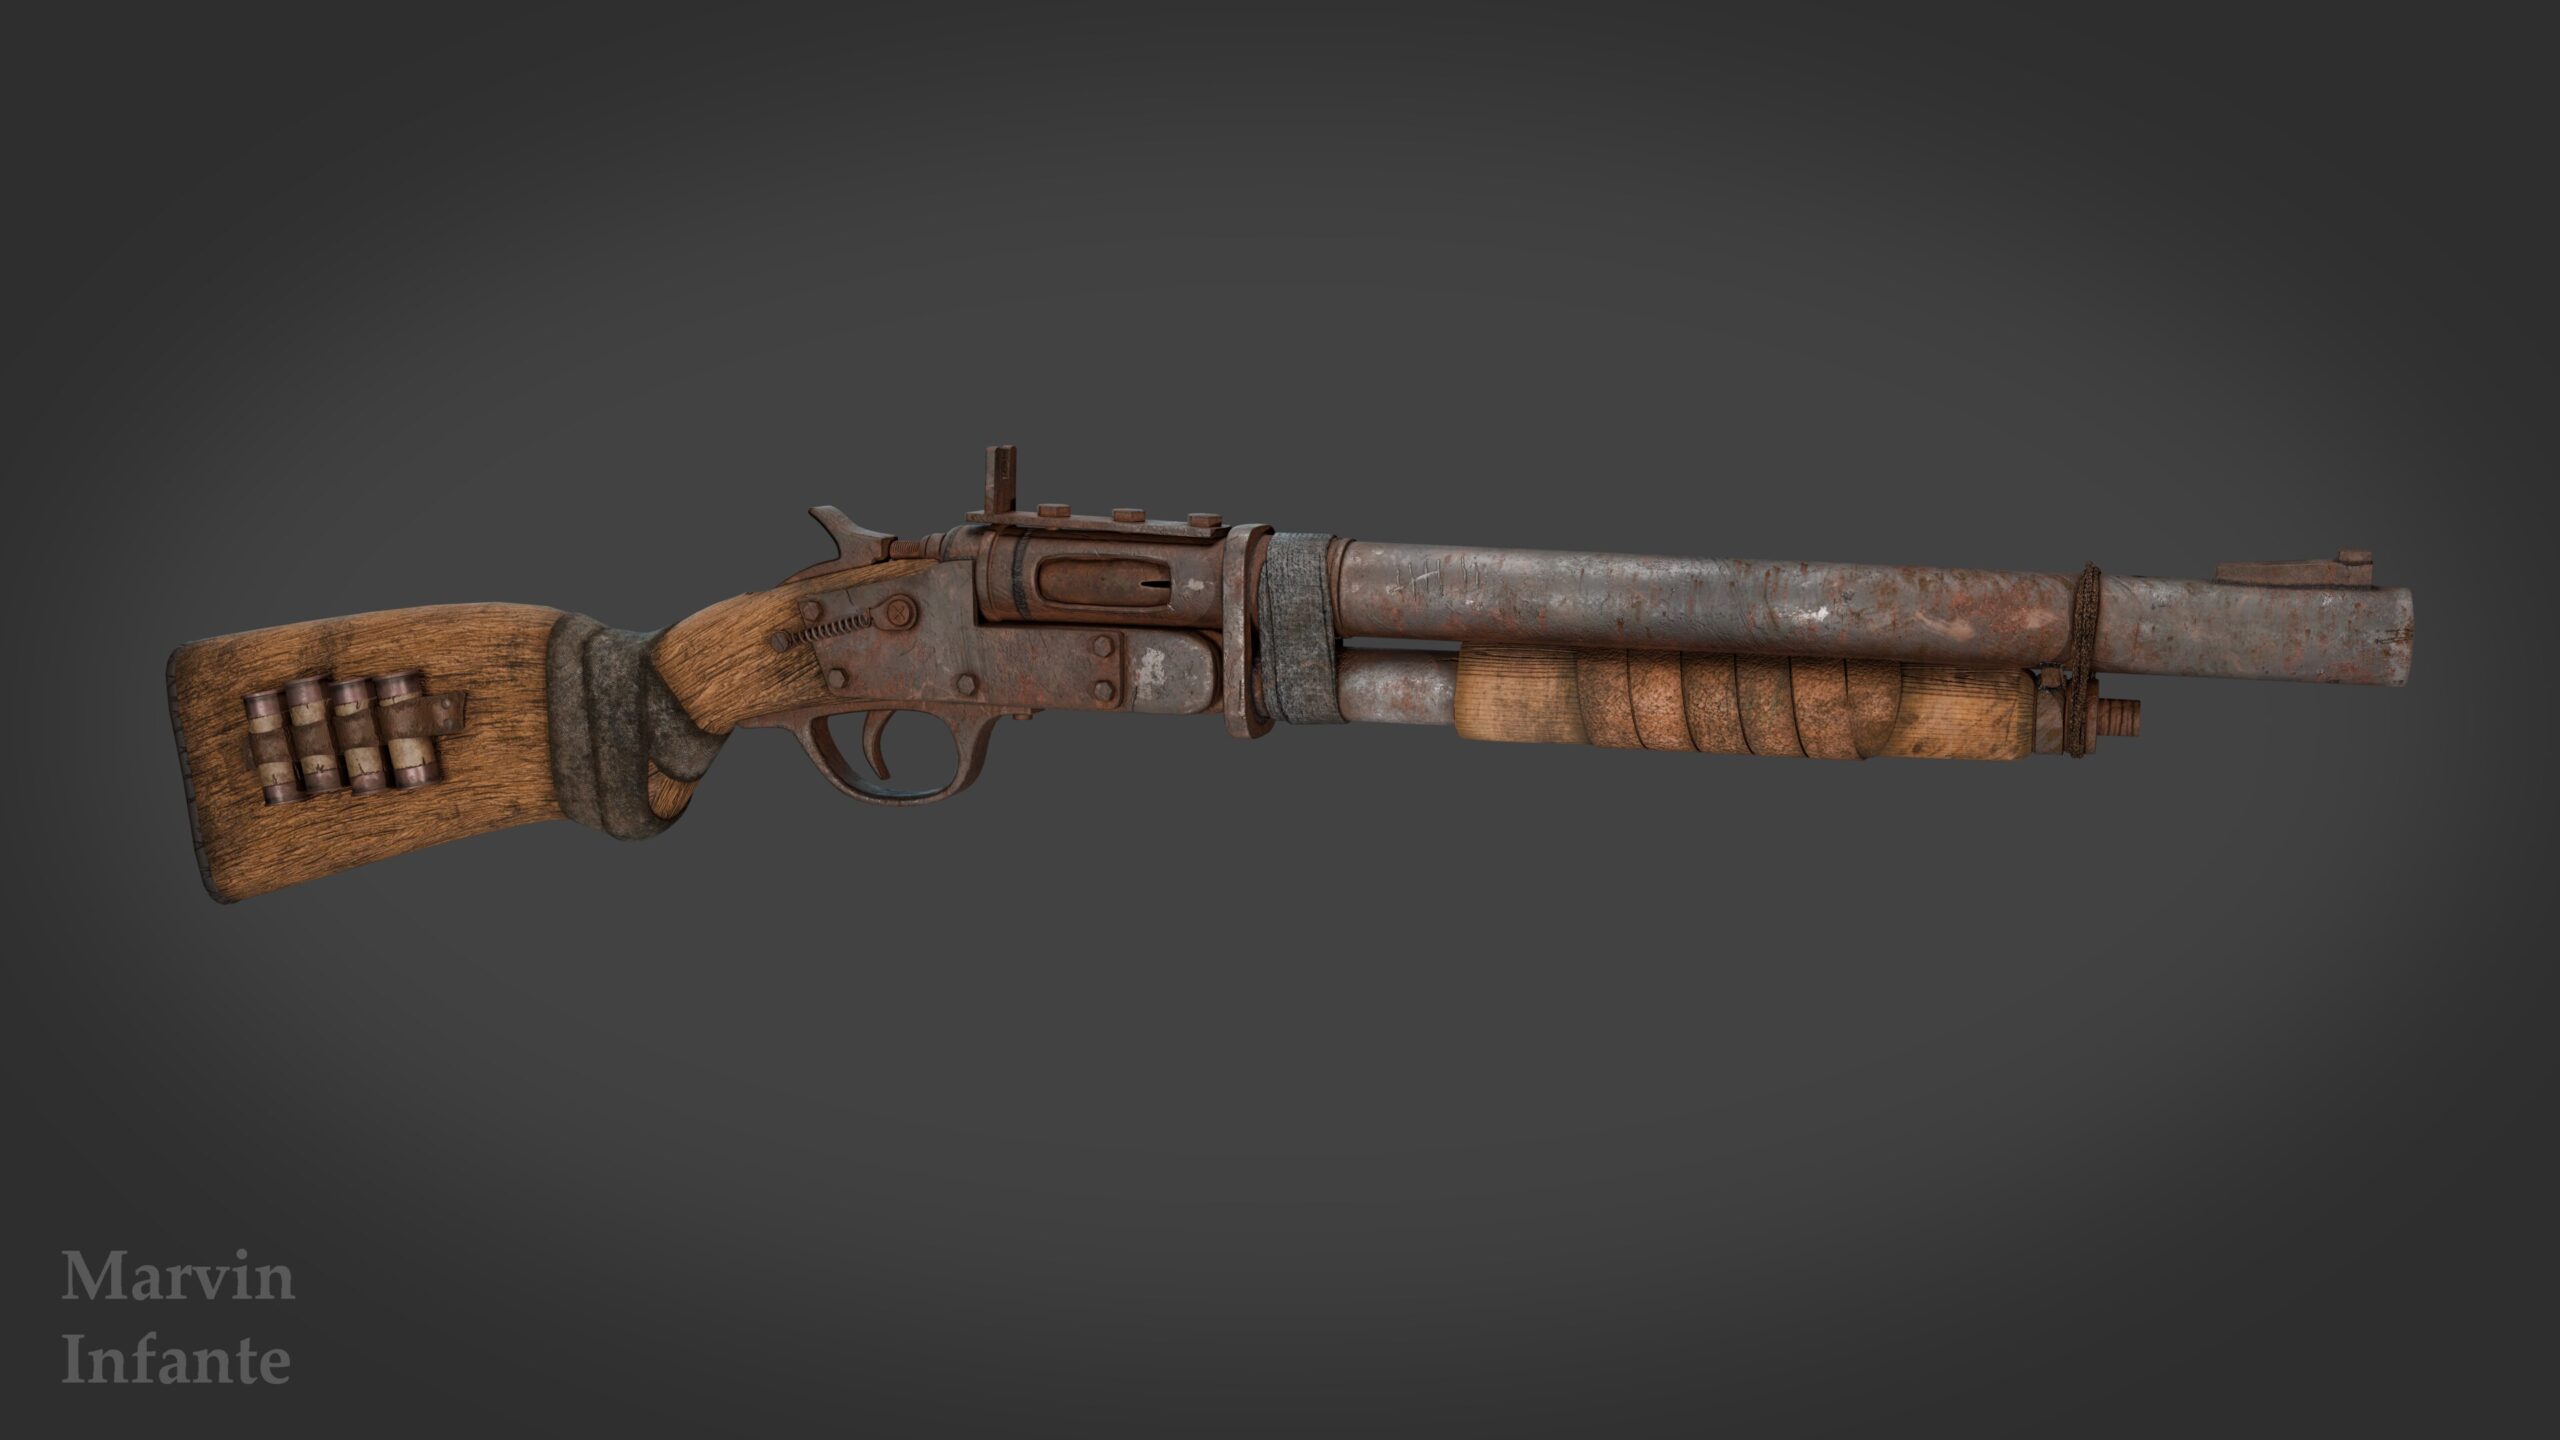
Building on the foundations developed in previous years, 2026 marks my transition toward game-ready assets and game production. My work during this period focuses on creating optimized, production-ready content for game engines, combining artistic quality with technical efficiency. This category represents my current level as a 3D artist and the practical application of the skills I have acquired so far.
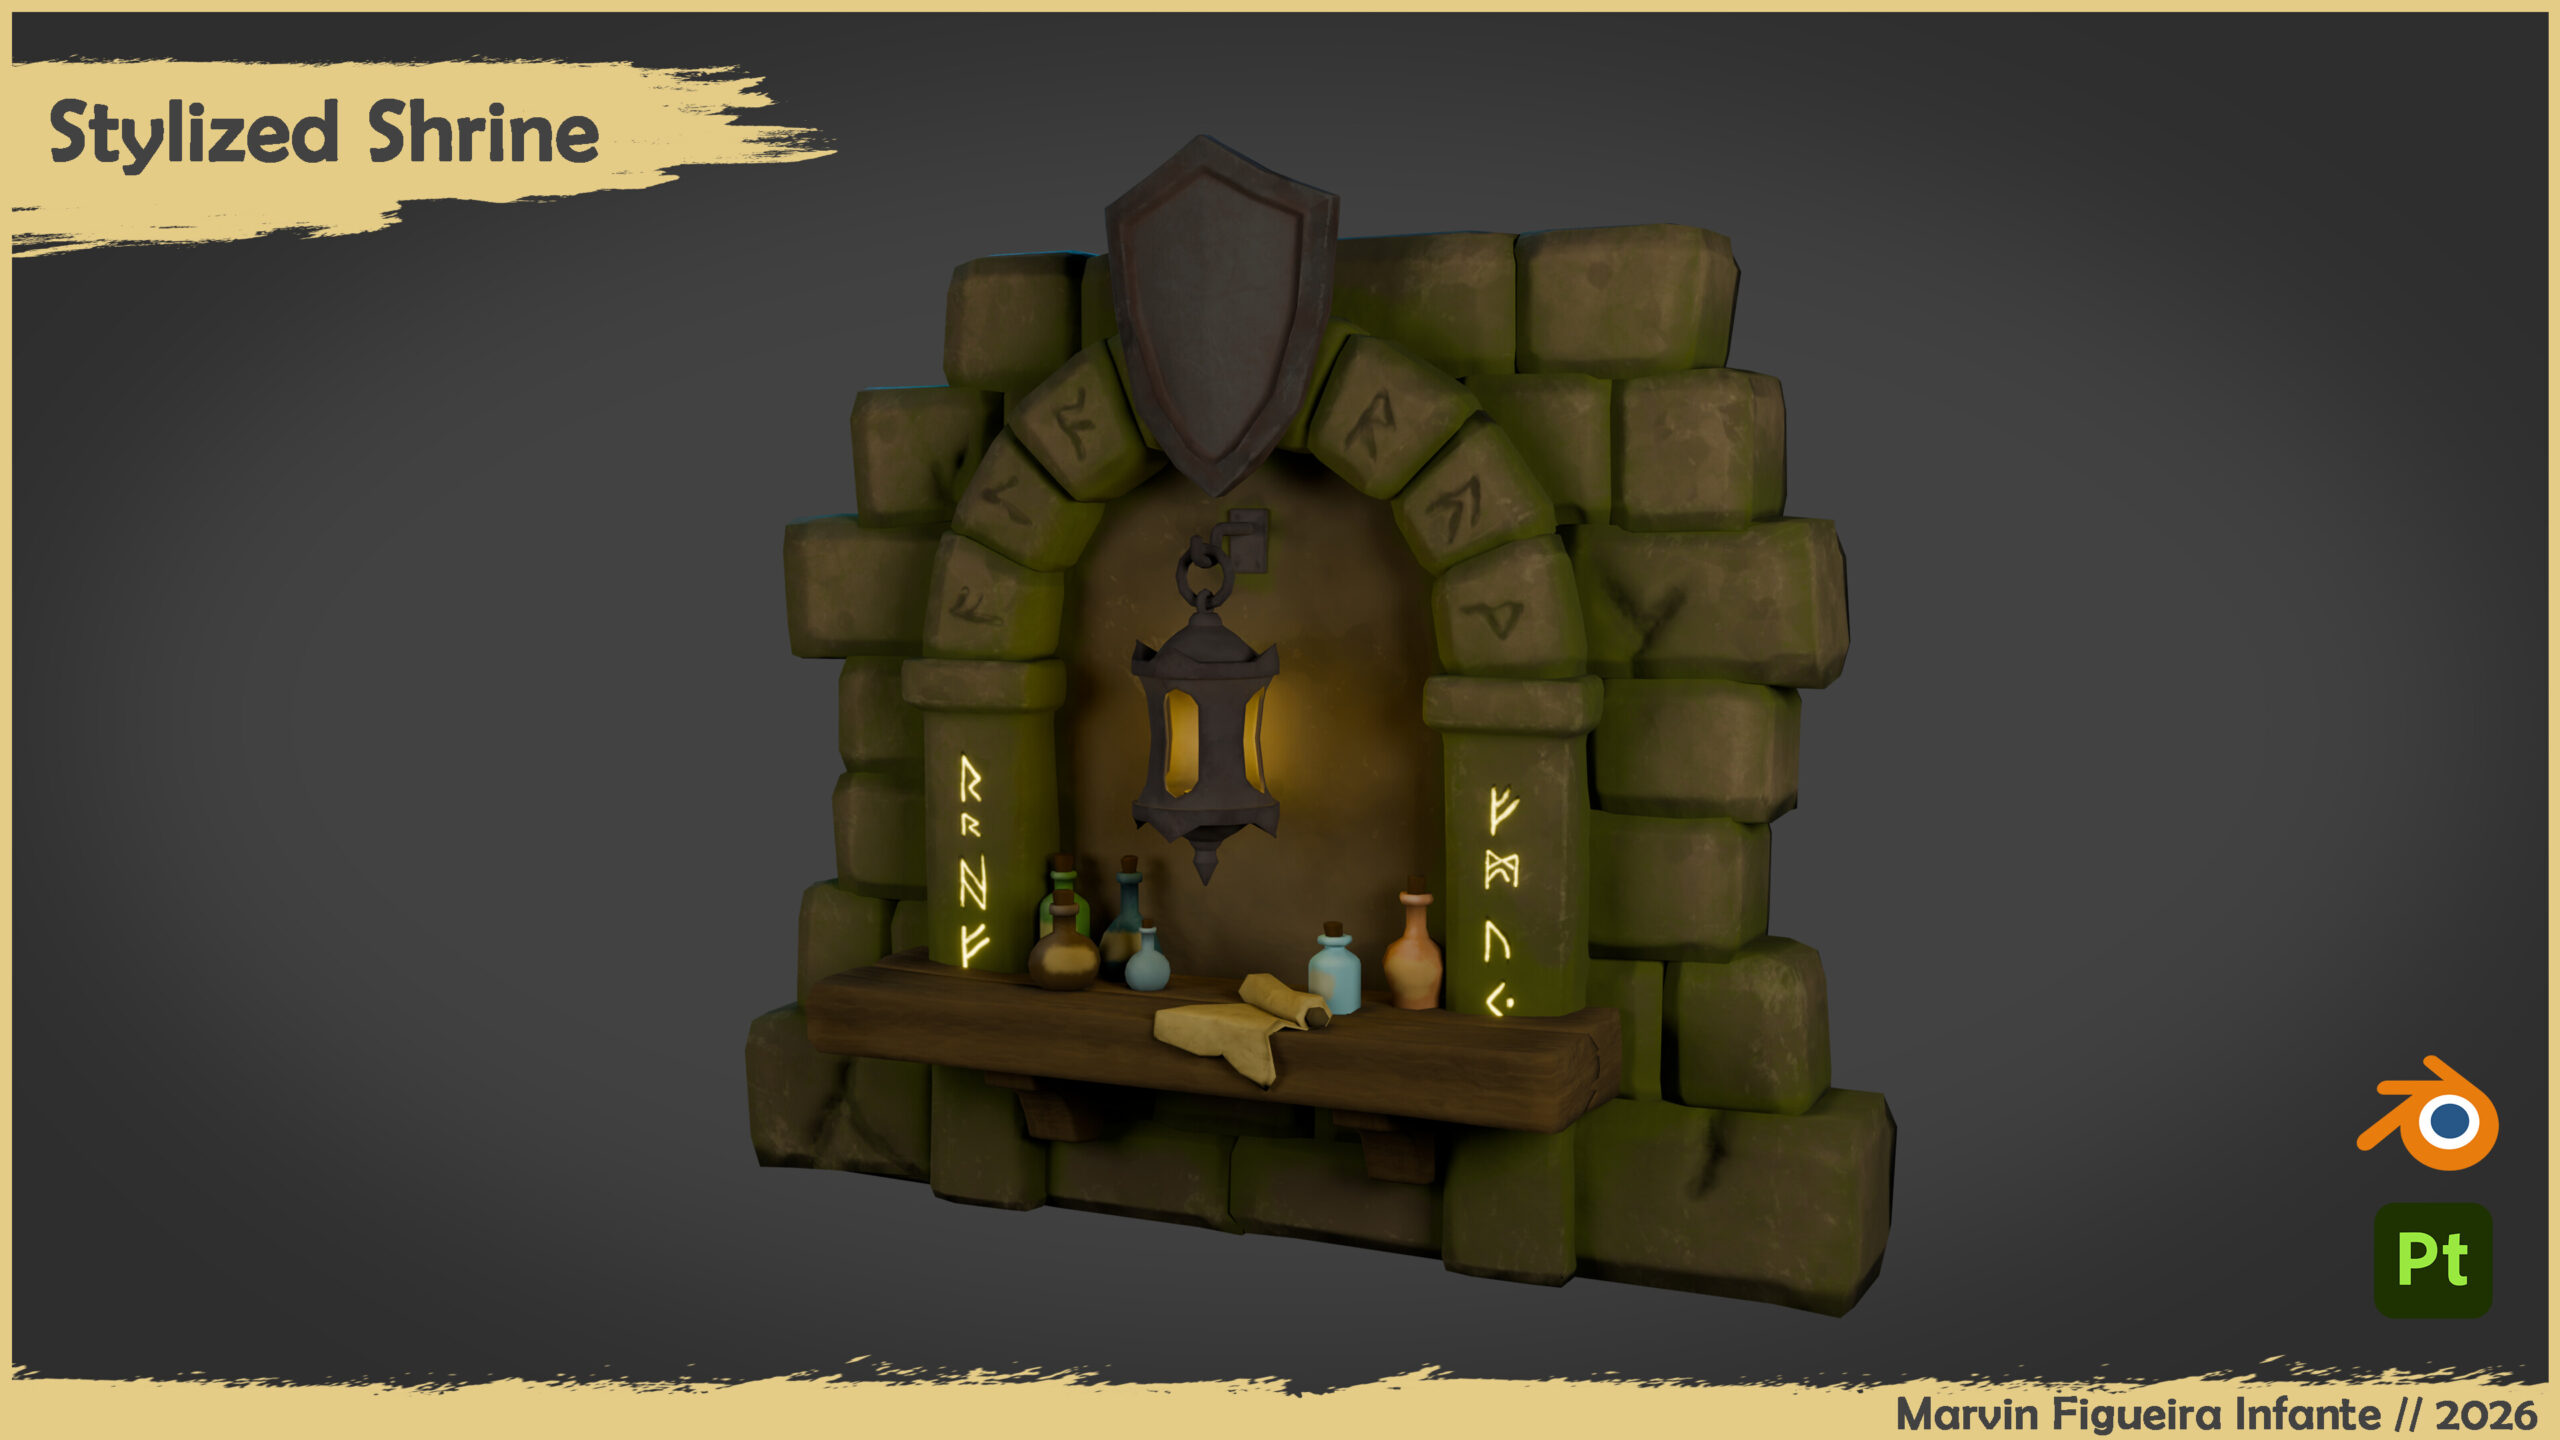
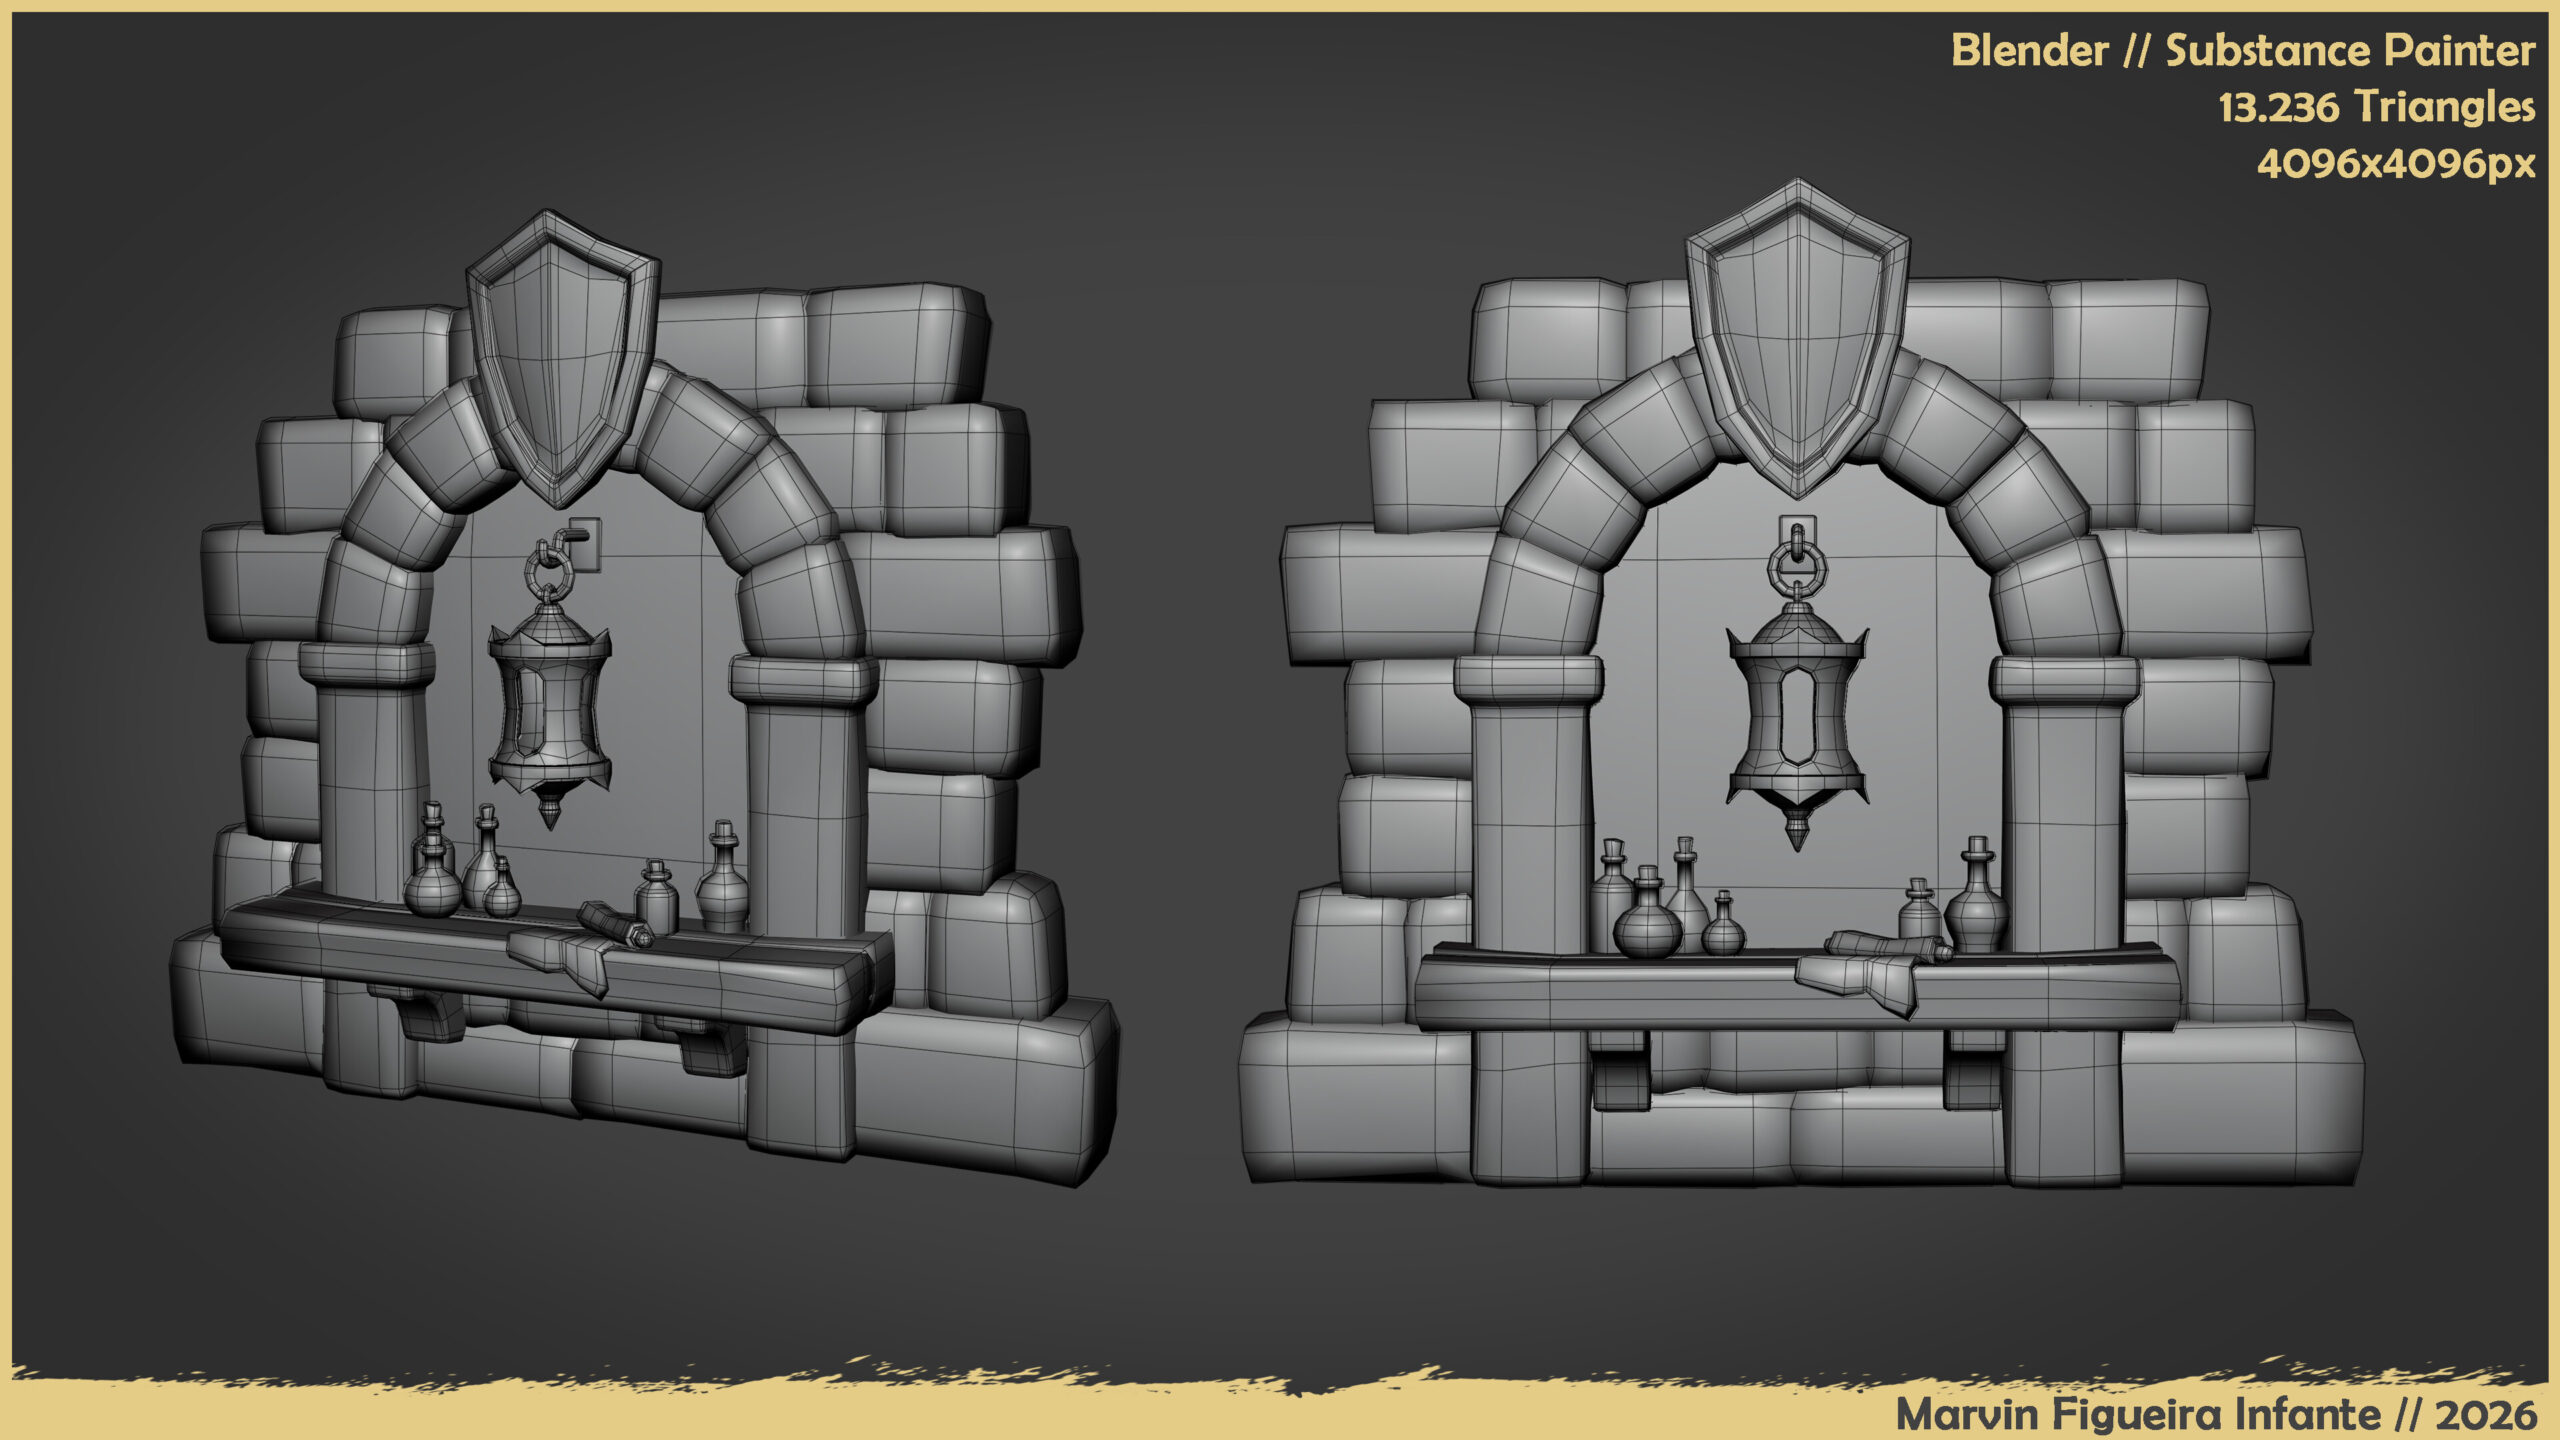
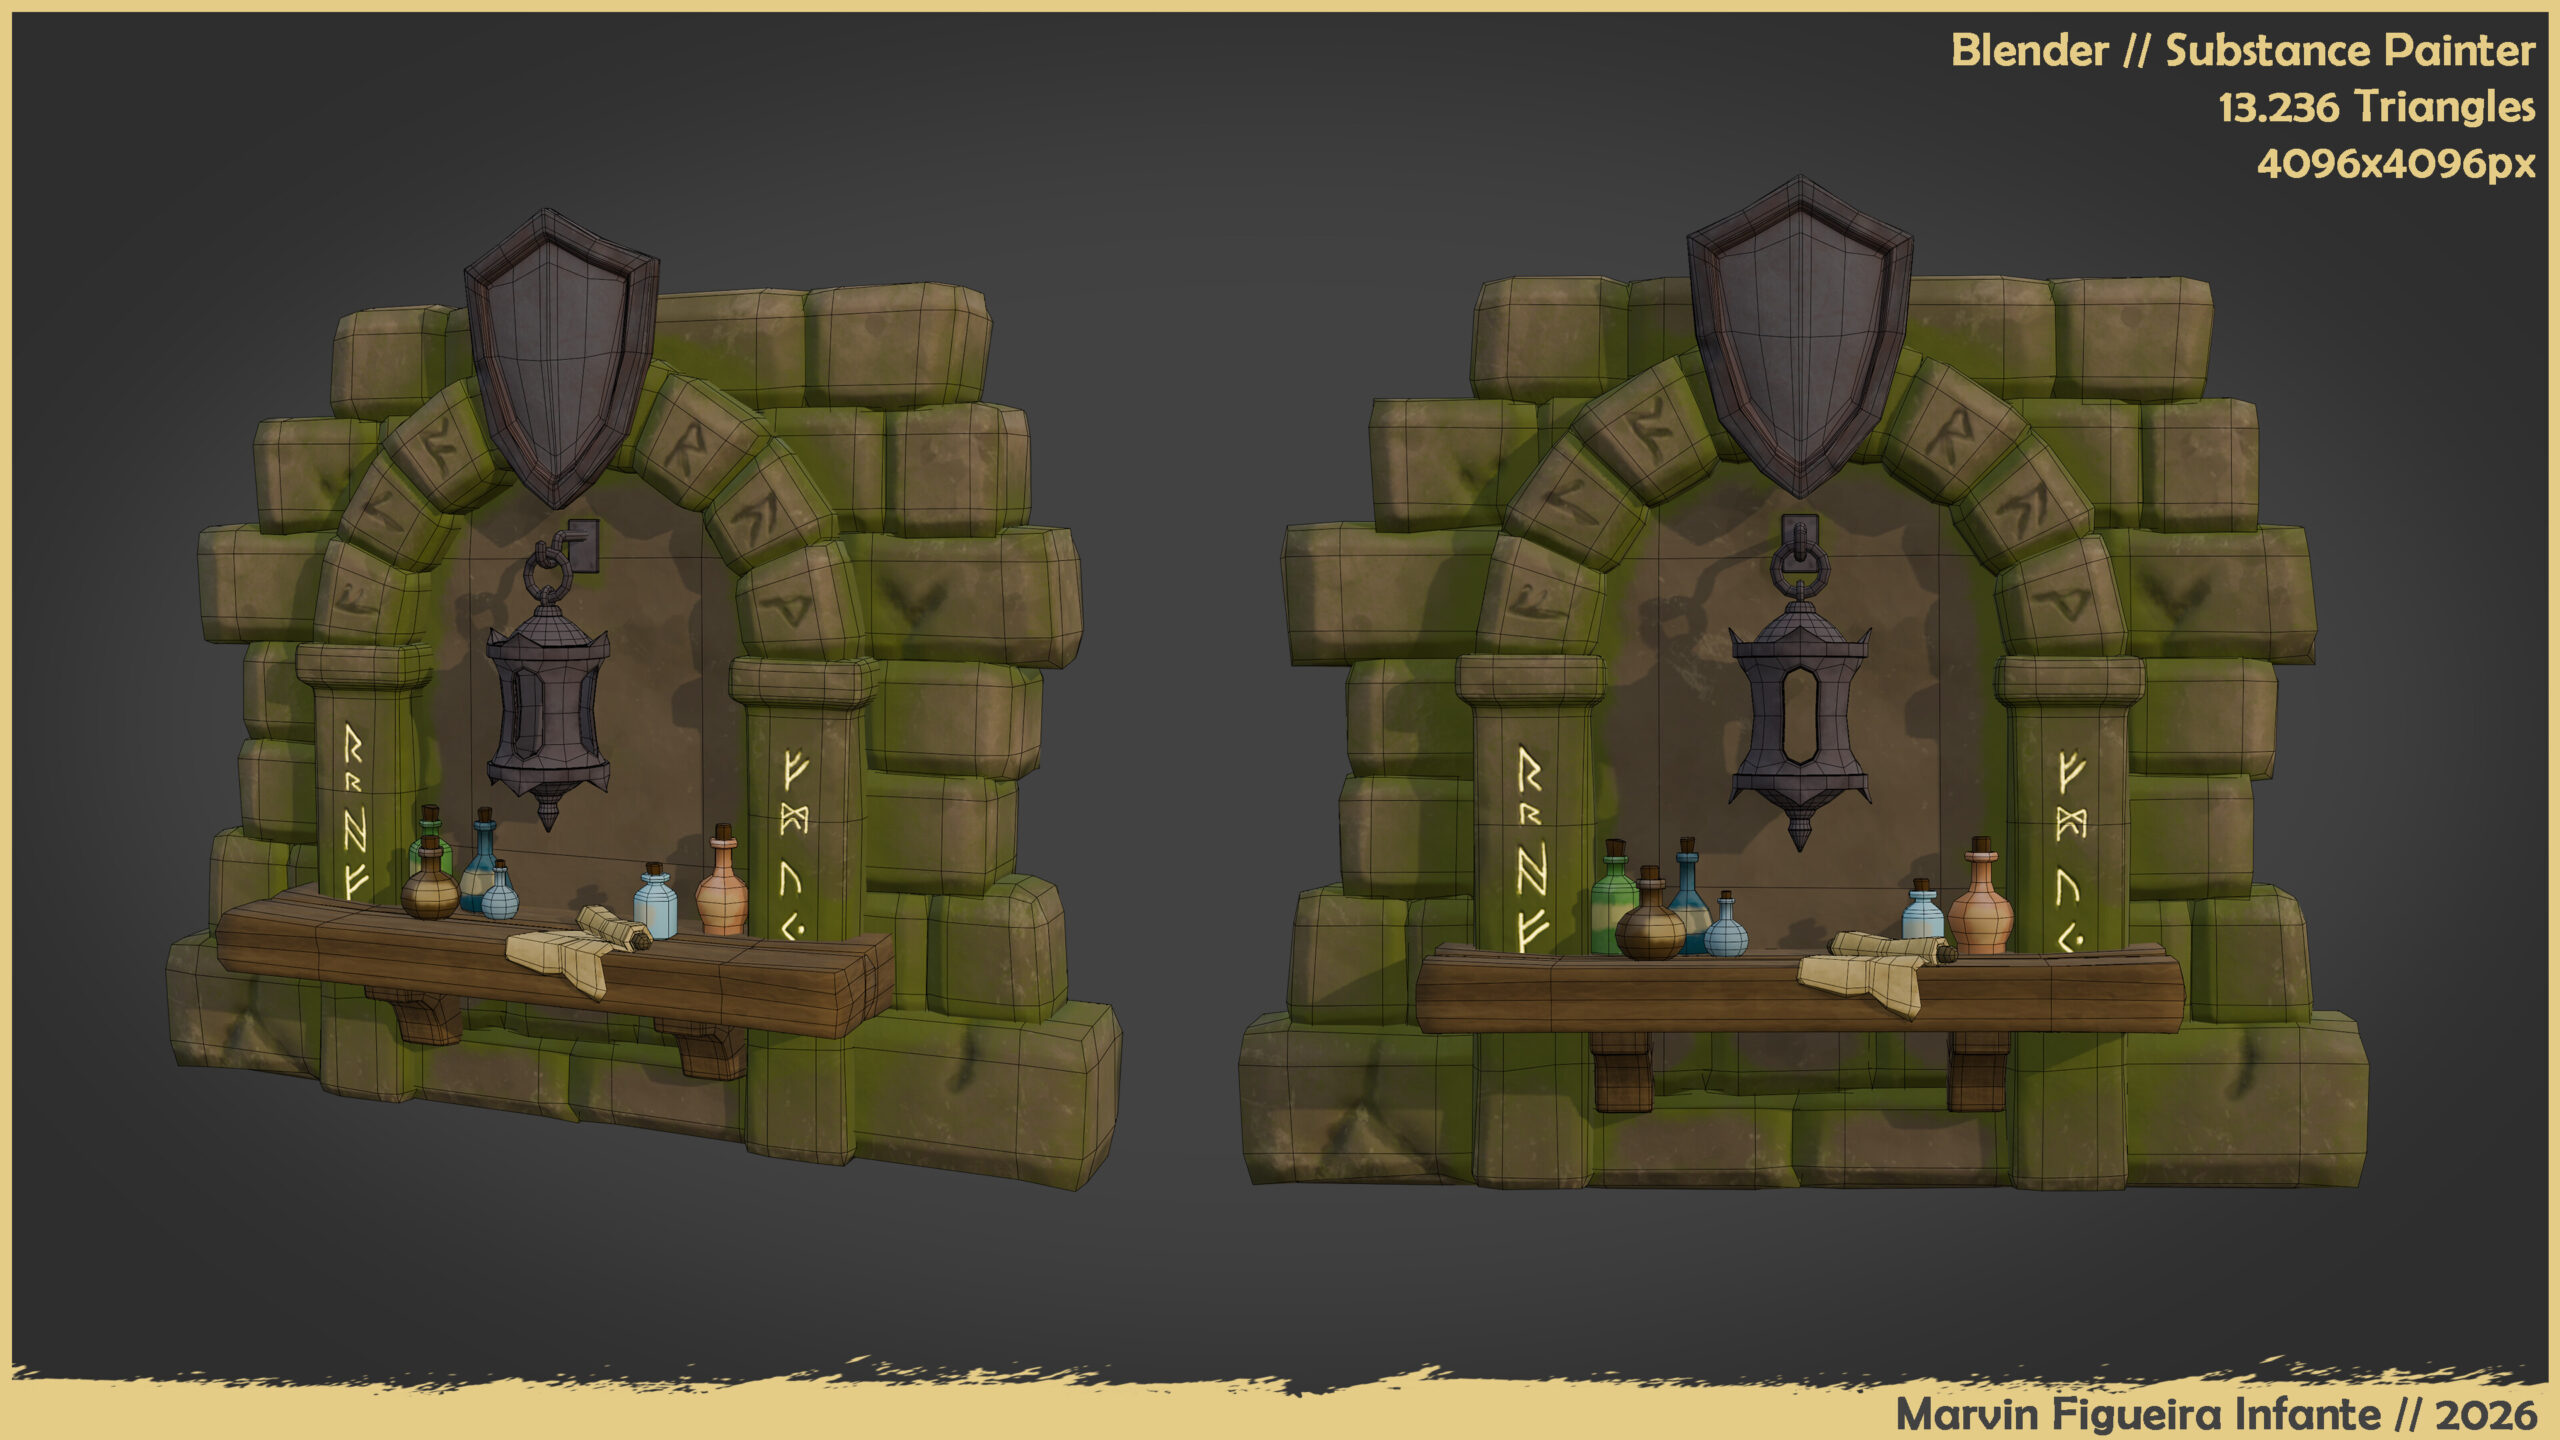
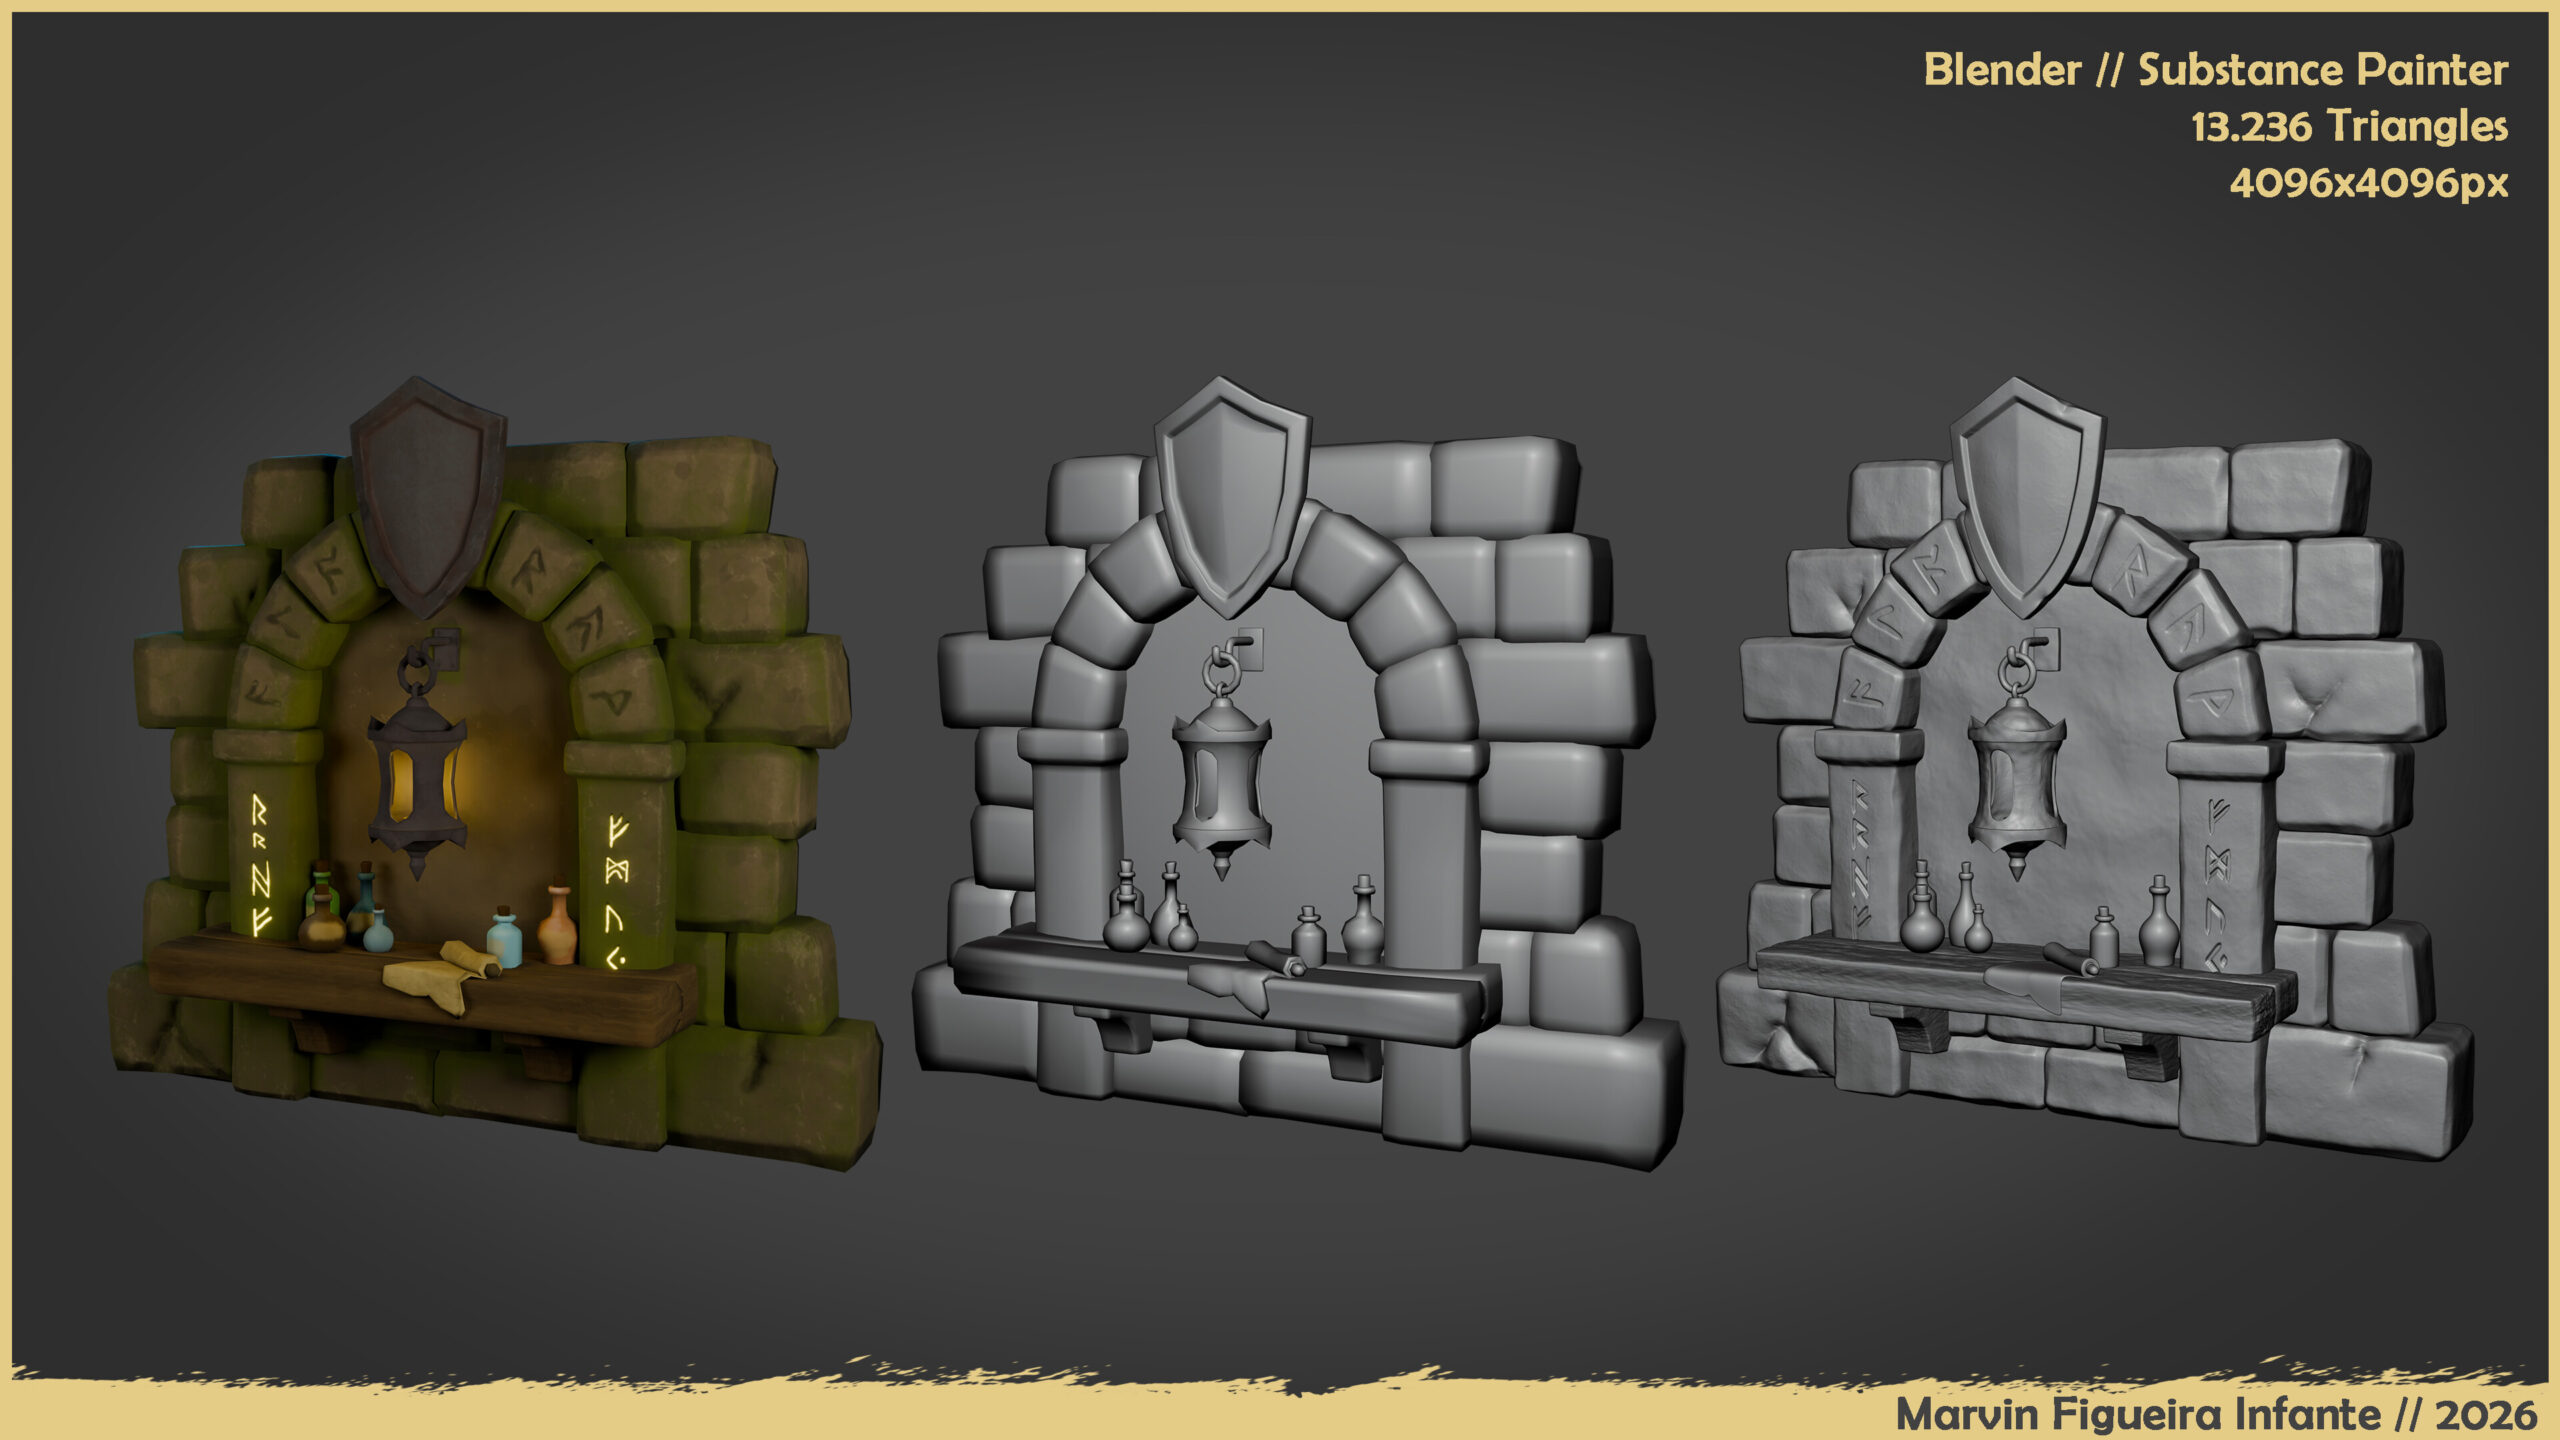
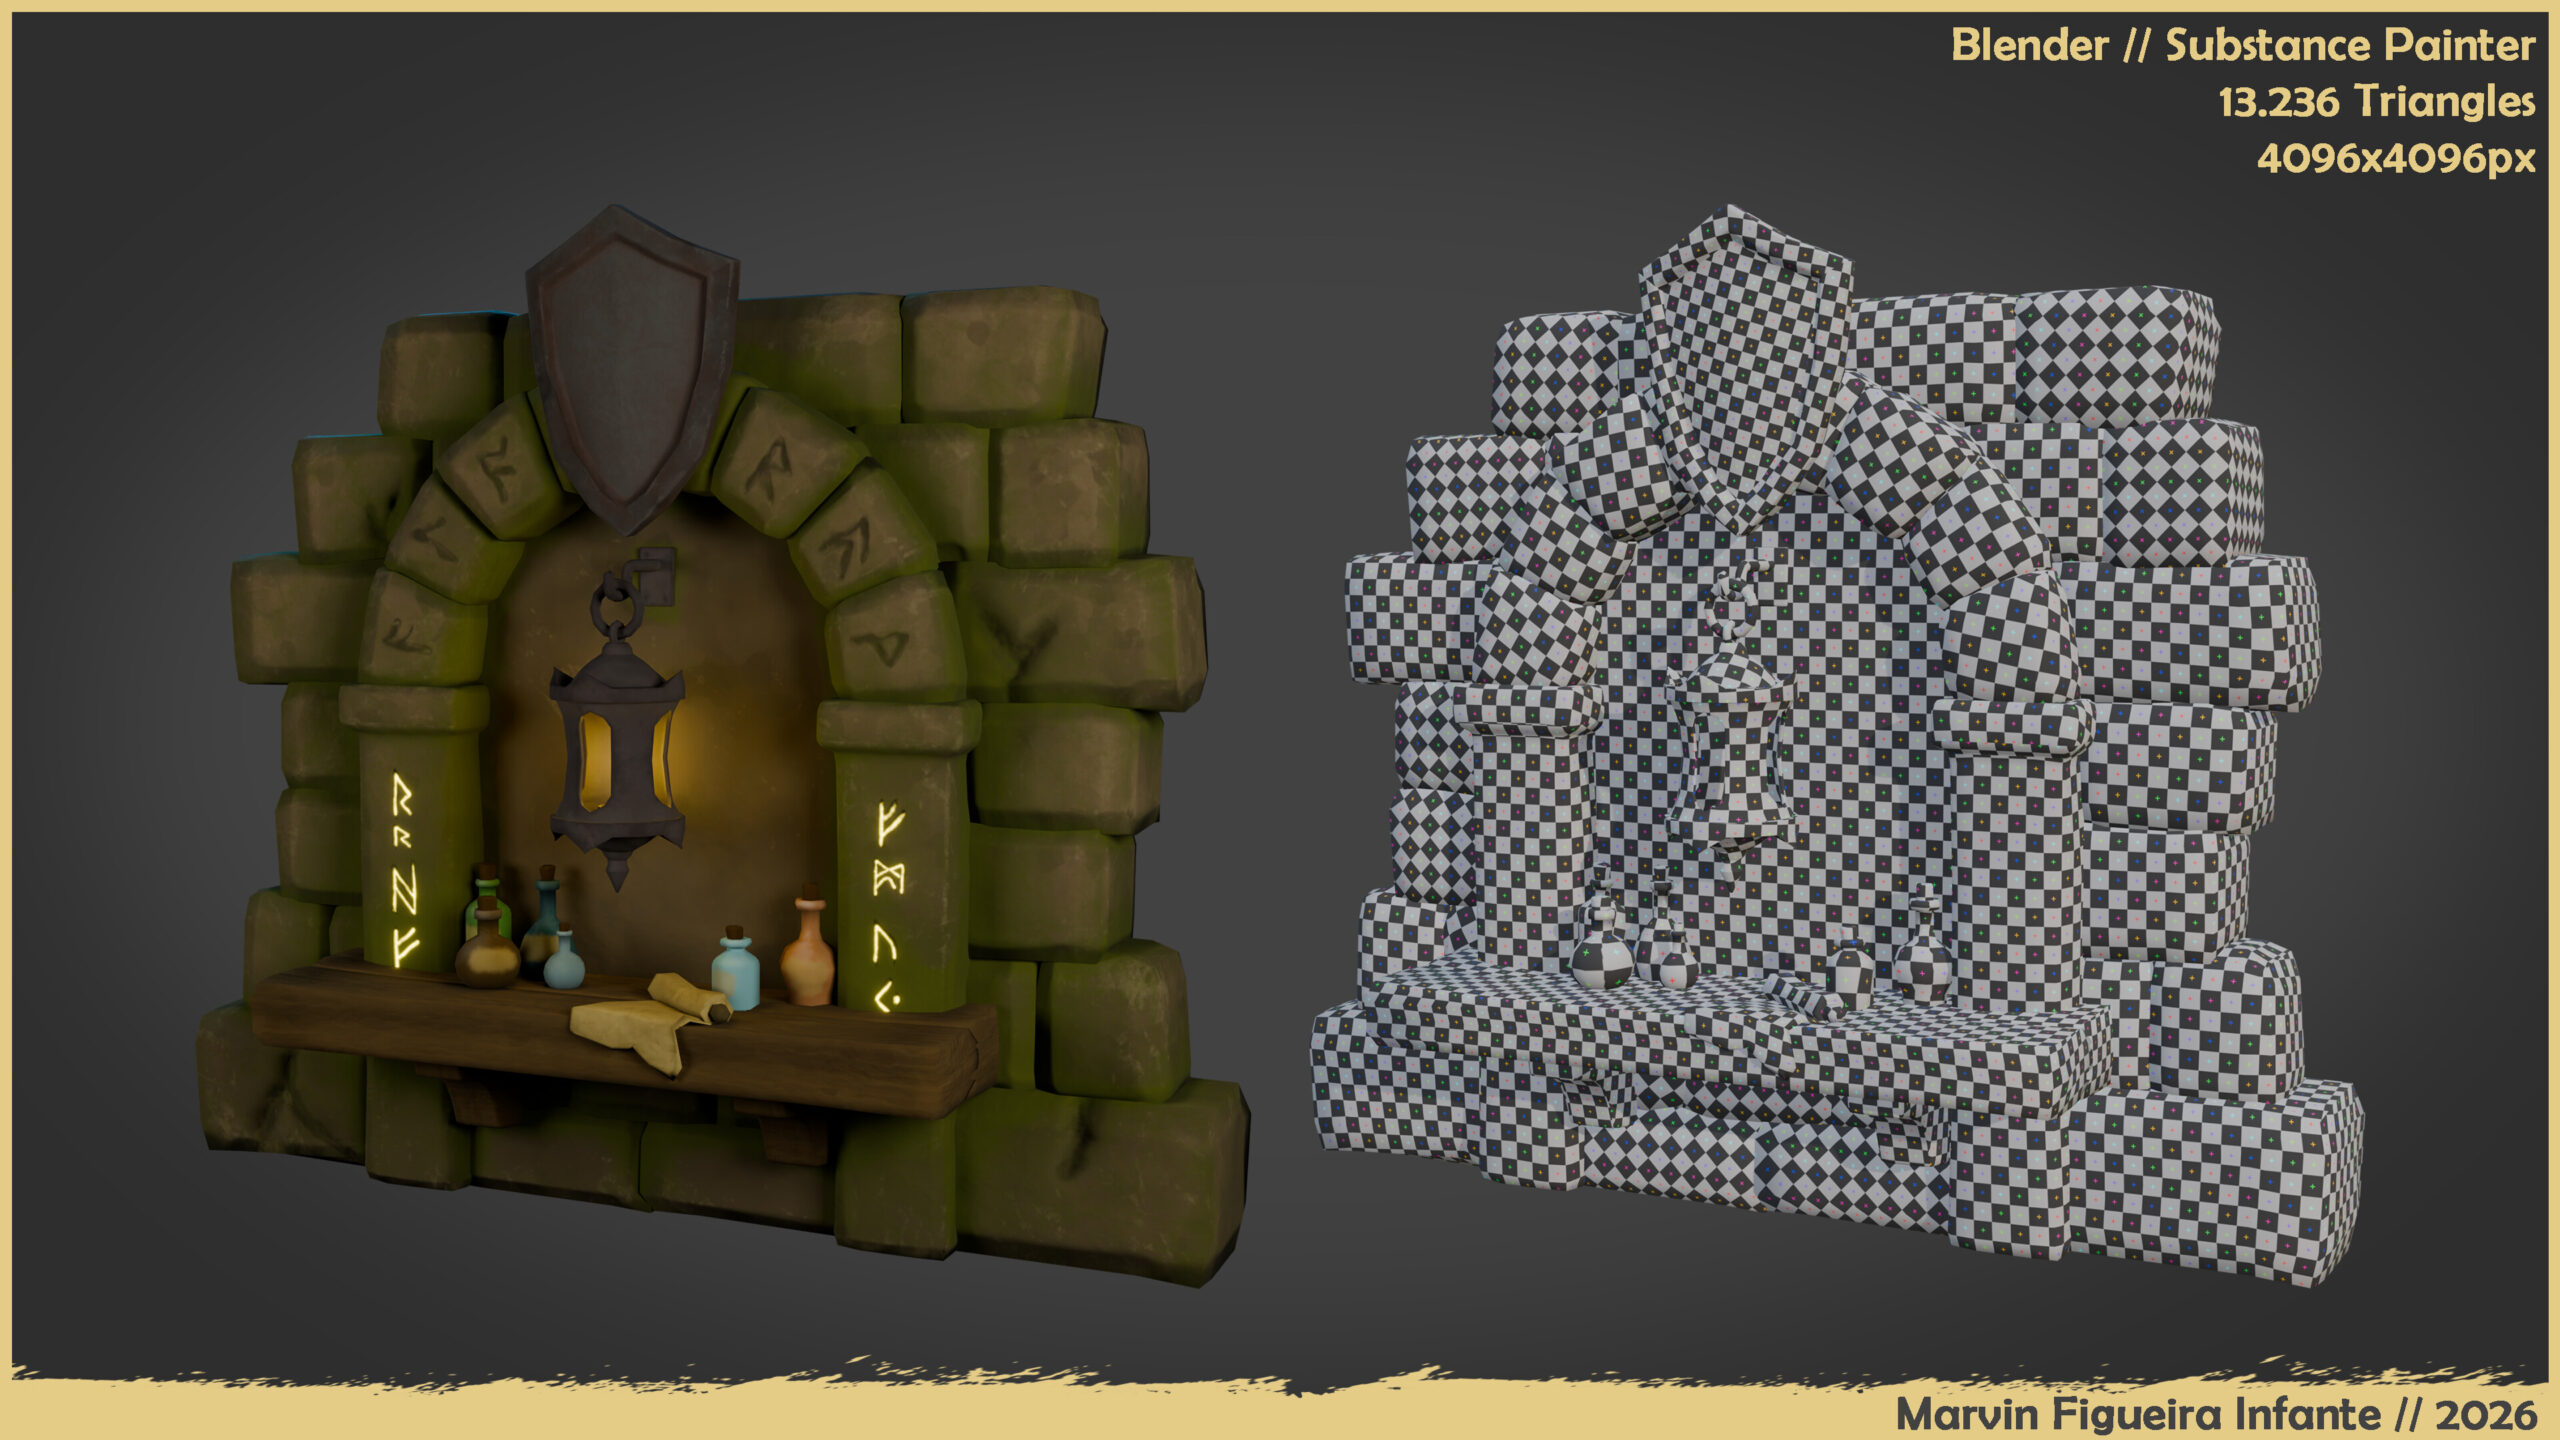
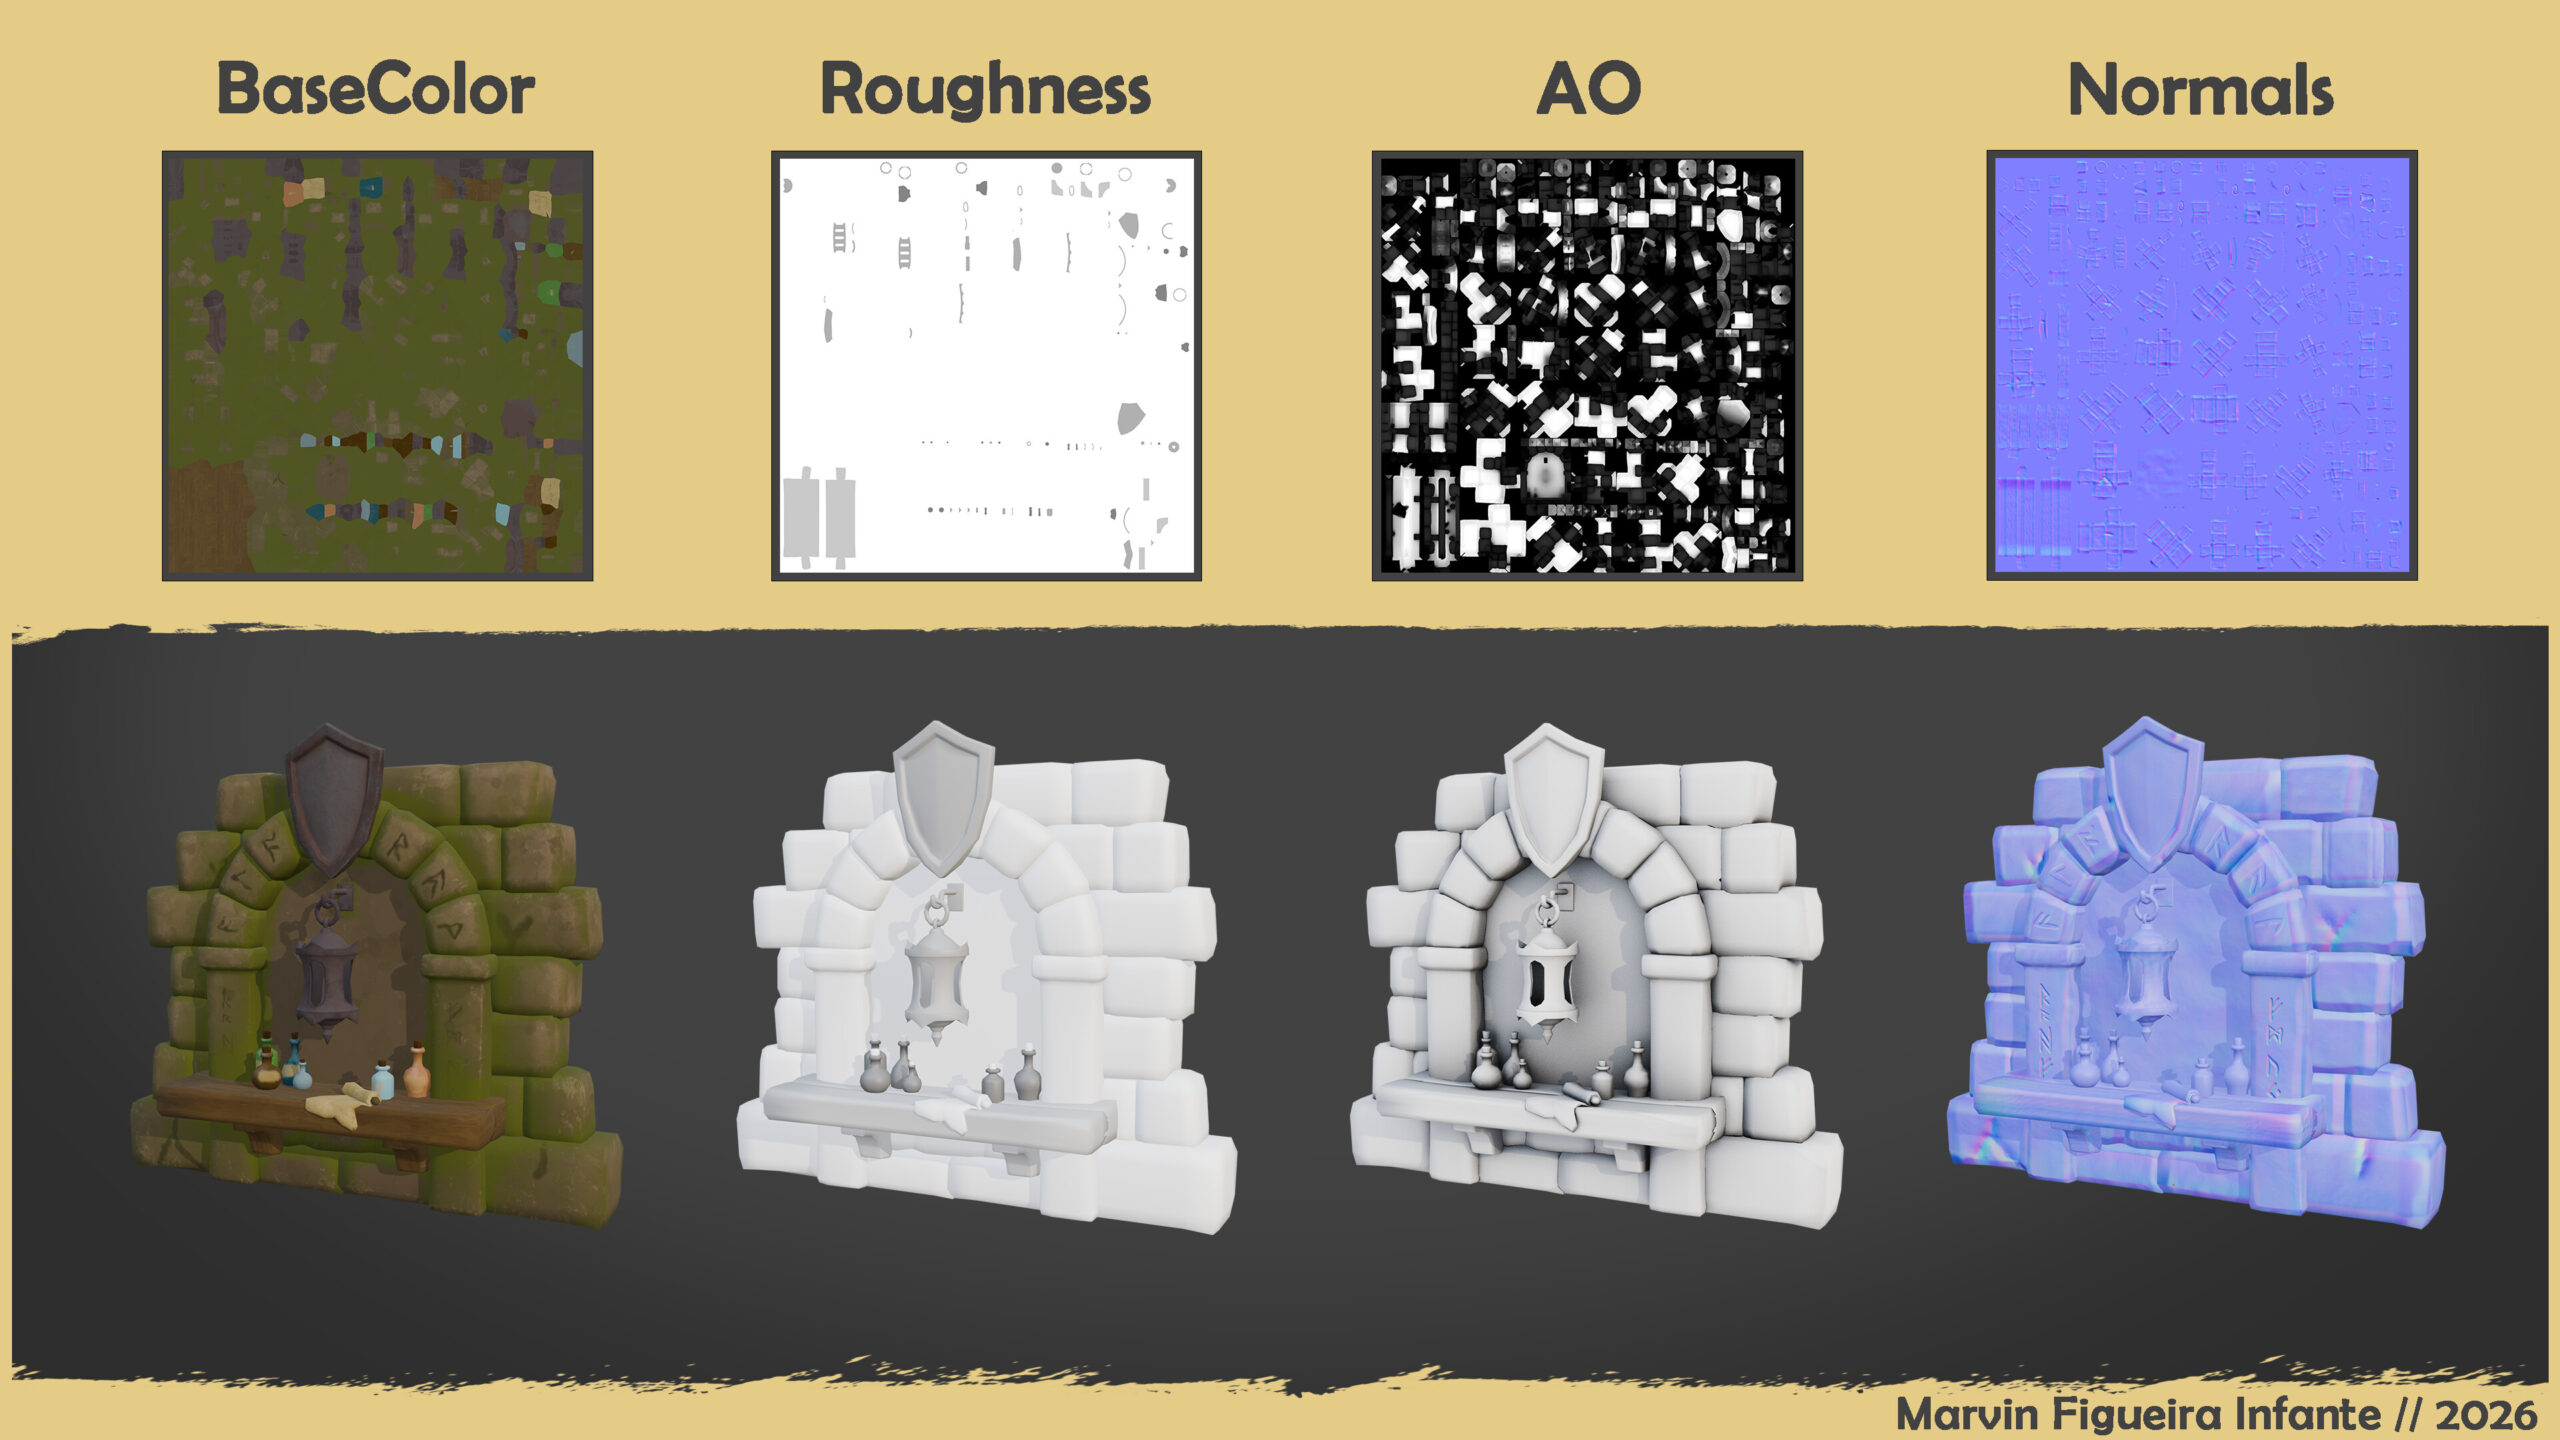
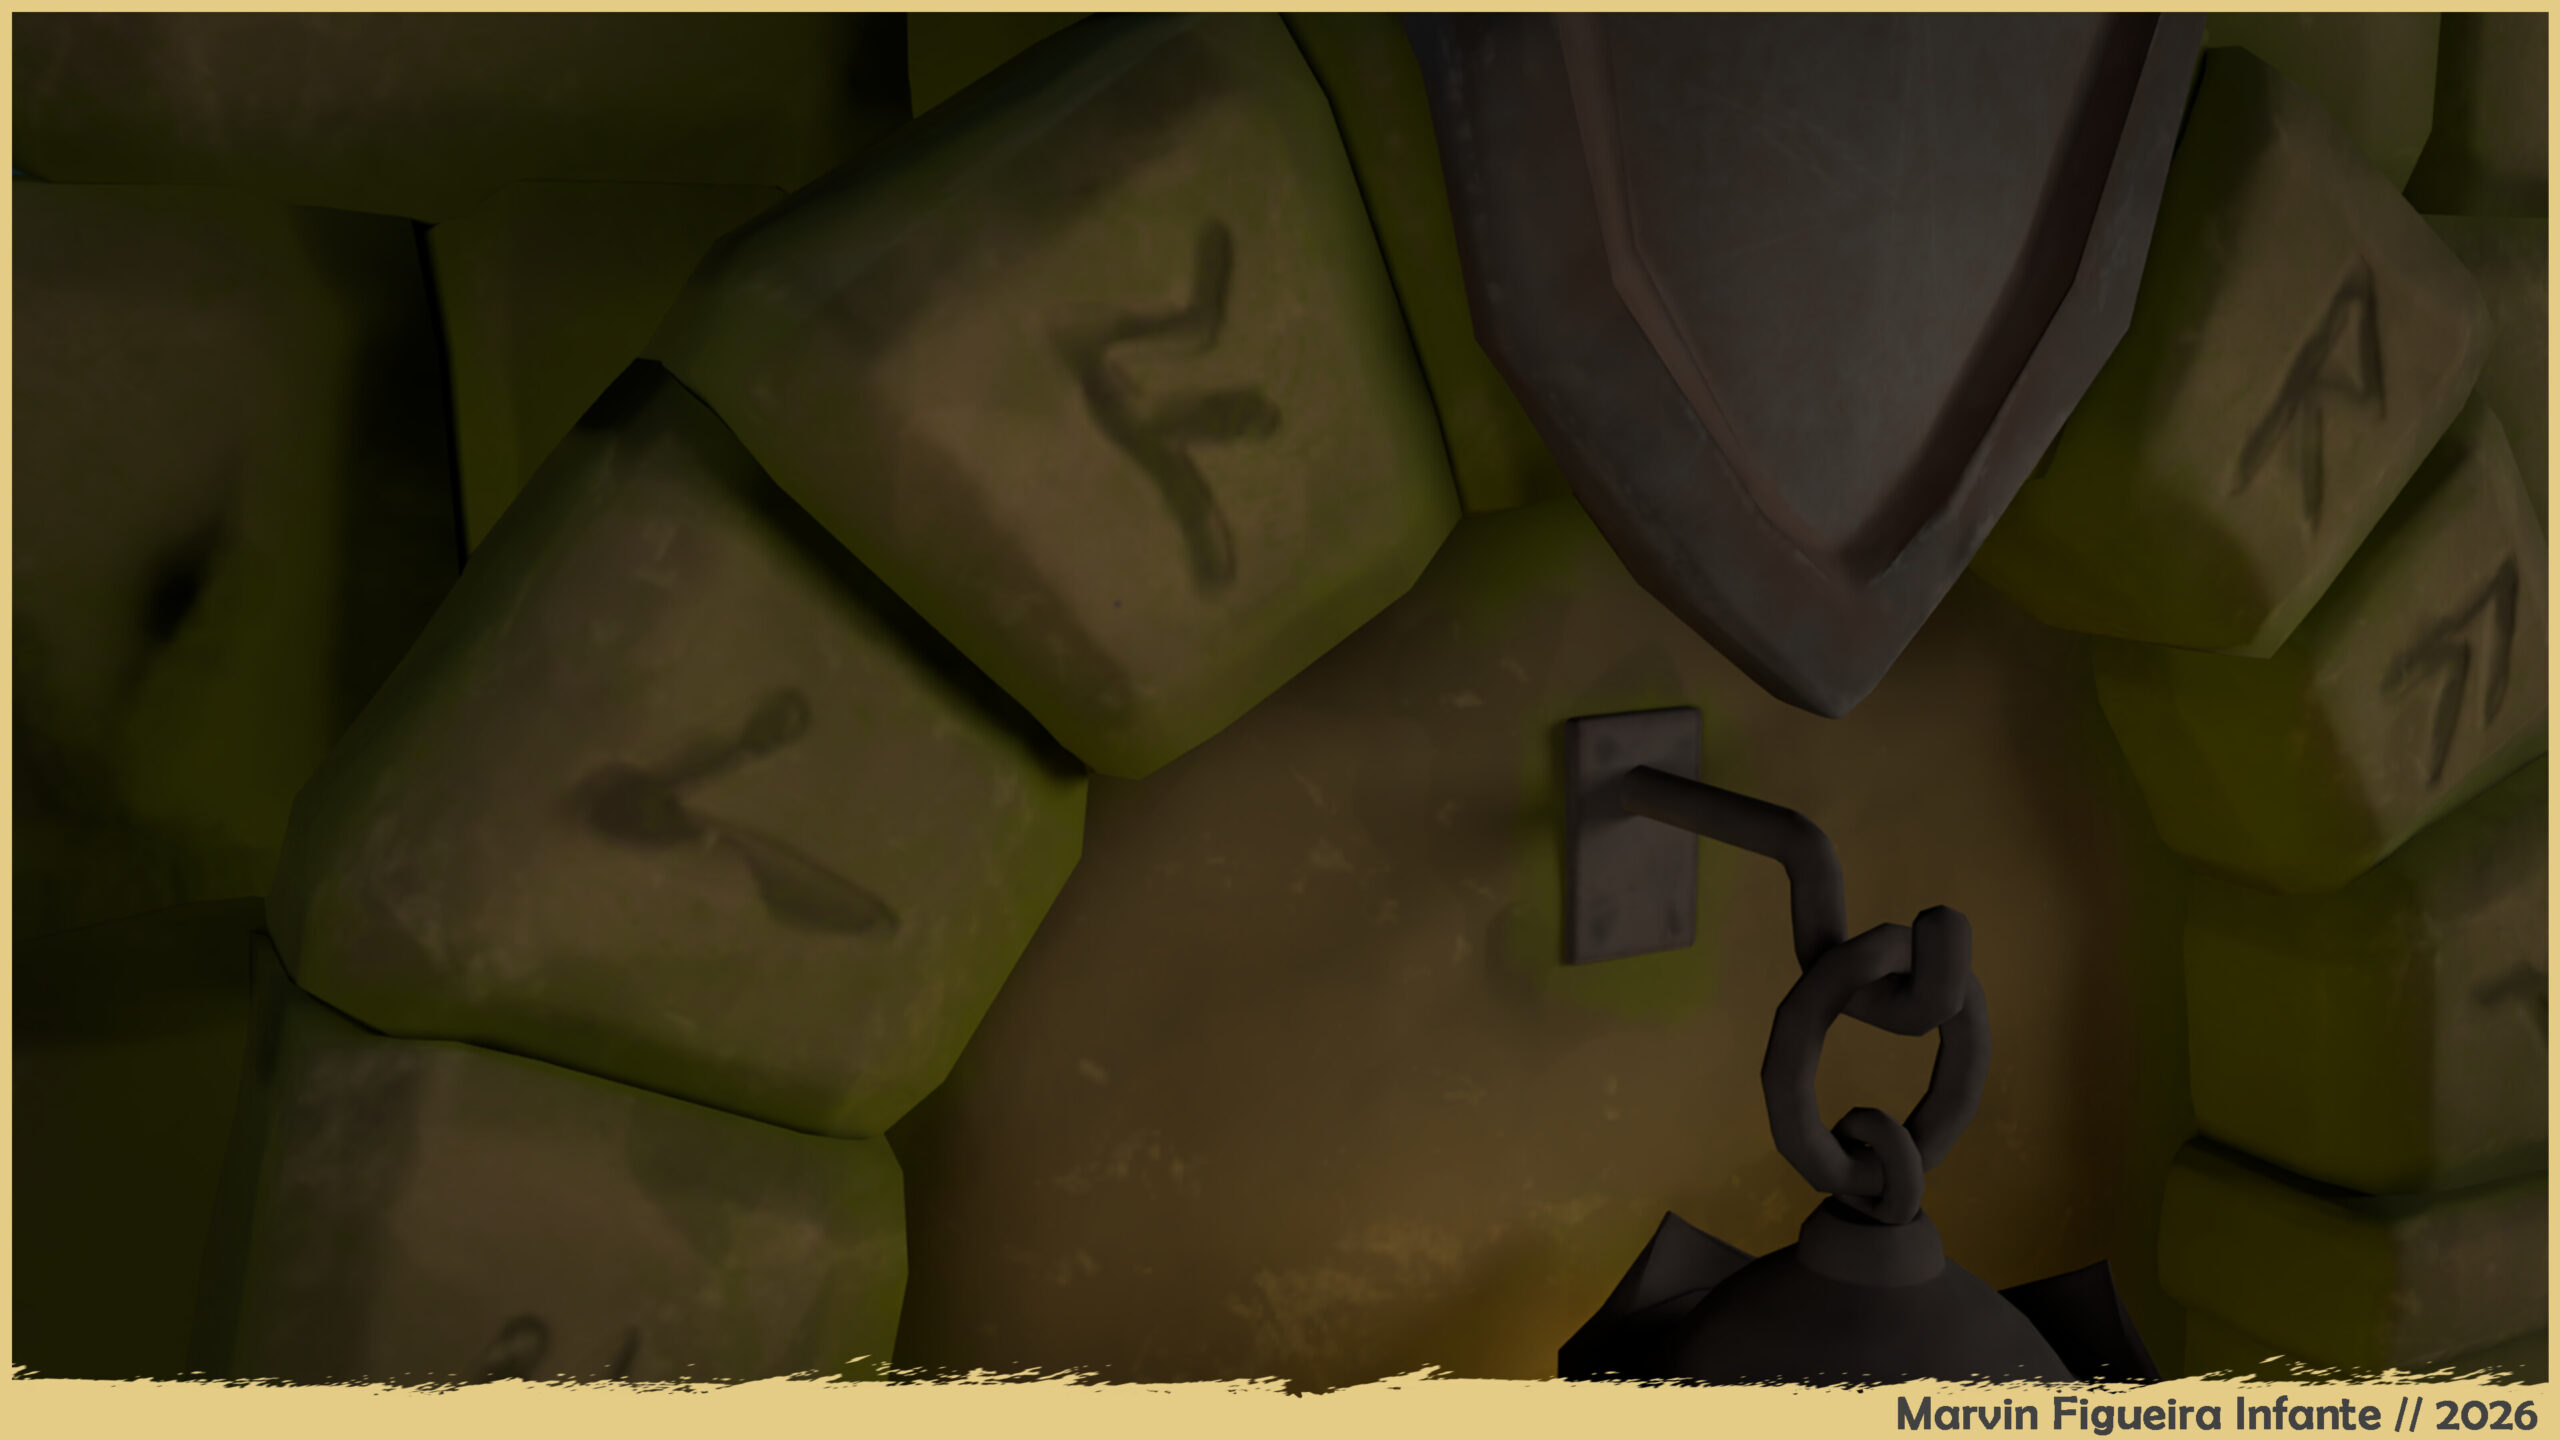
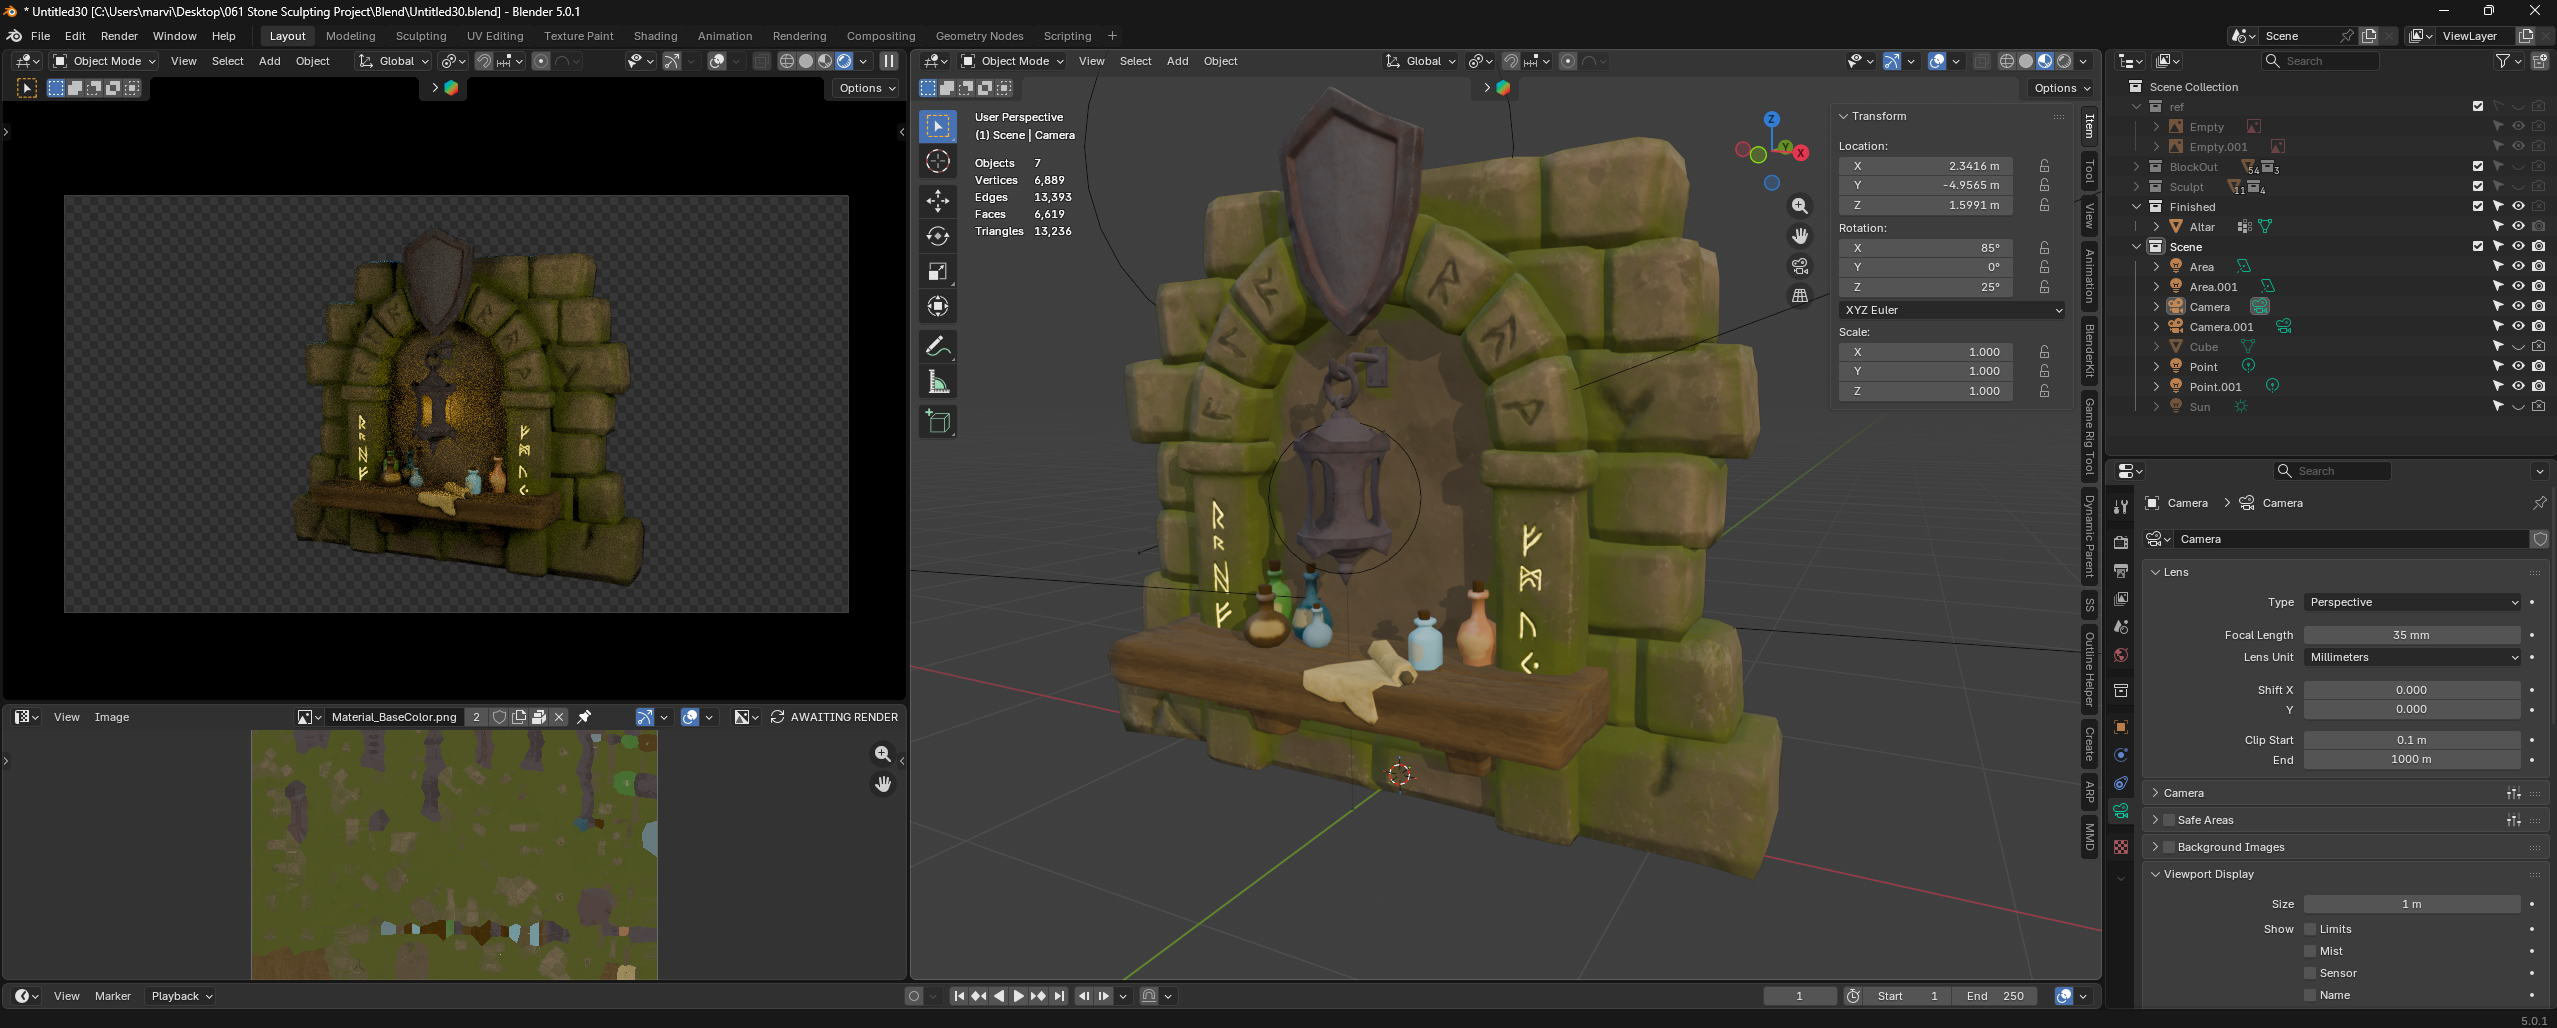
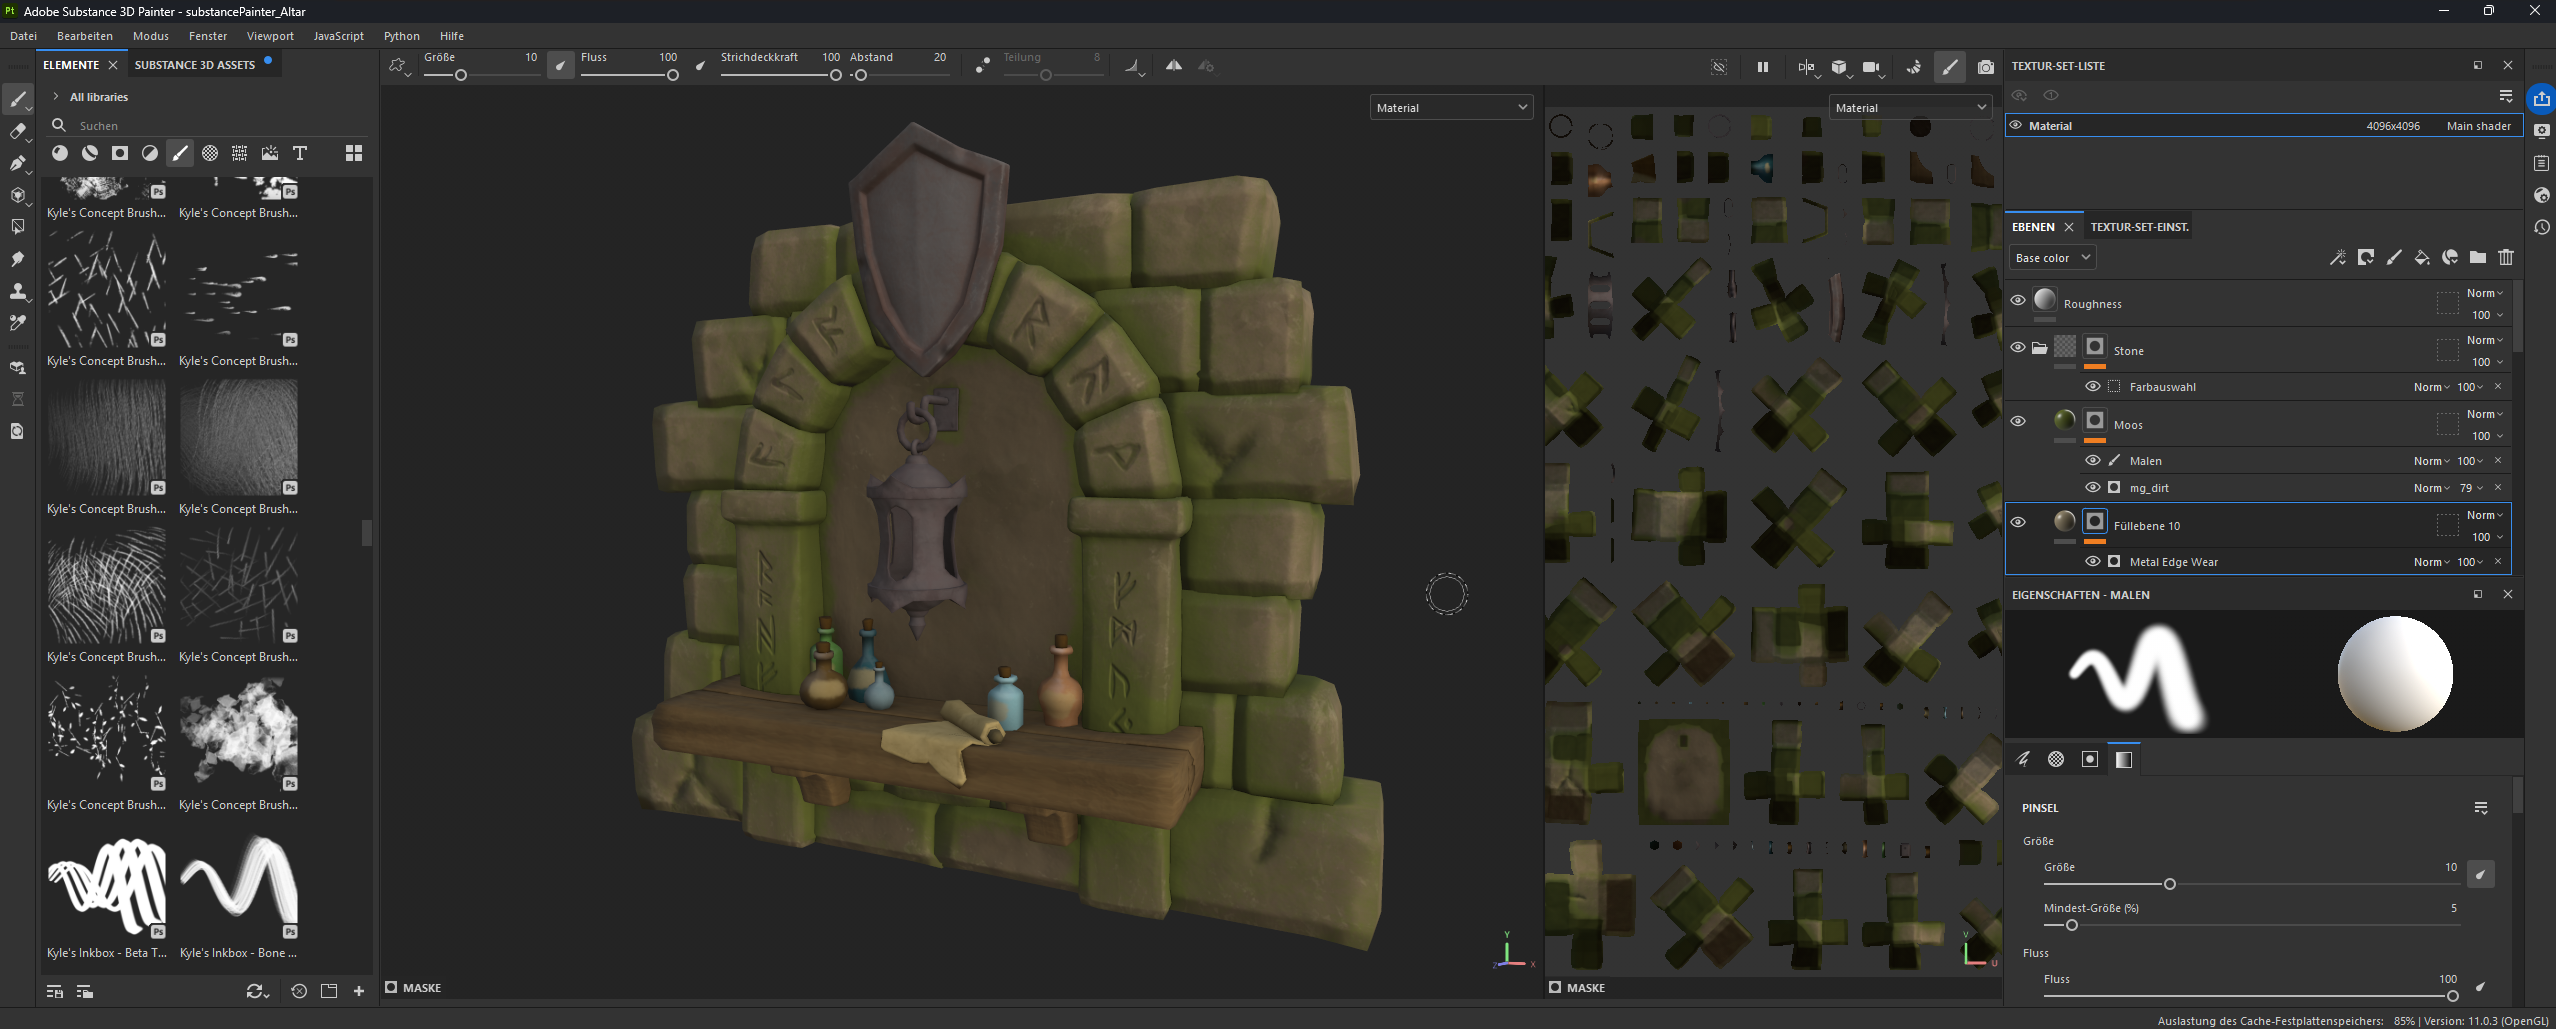
For this project, I created a stylized shrine using Blender and Substance Painter, with a strong focus on optimizing the asset for real-time applications. The goal was to work within a low poly-count budget while still achieving a compelling visual result through stylized texturing.
I followed a complete high-poly to low-poly workflow: sculpting detailed geometry, baking those details to a low-poly mesh, and then building the final PBR texture set in Substance Painter. Throughout the process, I paid particular attention to material readability and clarity in a stylized context.
This project helped me deepen my understanding of real-time optimization, refine my UV and baking workflow, and expand my skills in stylized texture creation. While I’m satisfied with the overall outcome, I see clear areas for growth—particularly in texture quality and visual language. In future work, I plan to invest more time in color theory, lighting, and hand-painted/stylized texture techniques to further elevate my stylized assets.
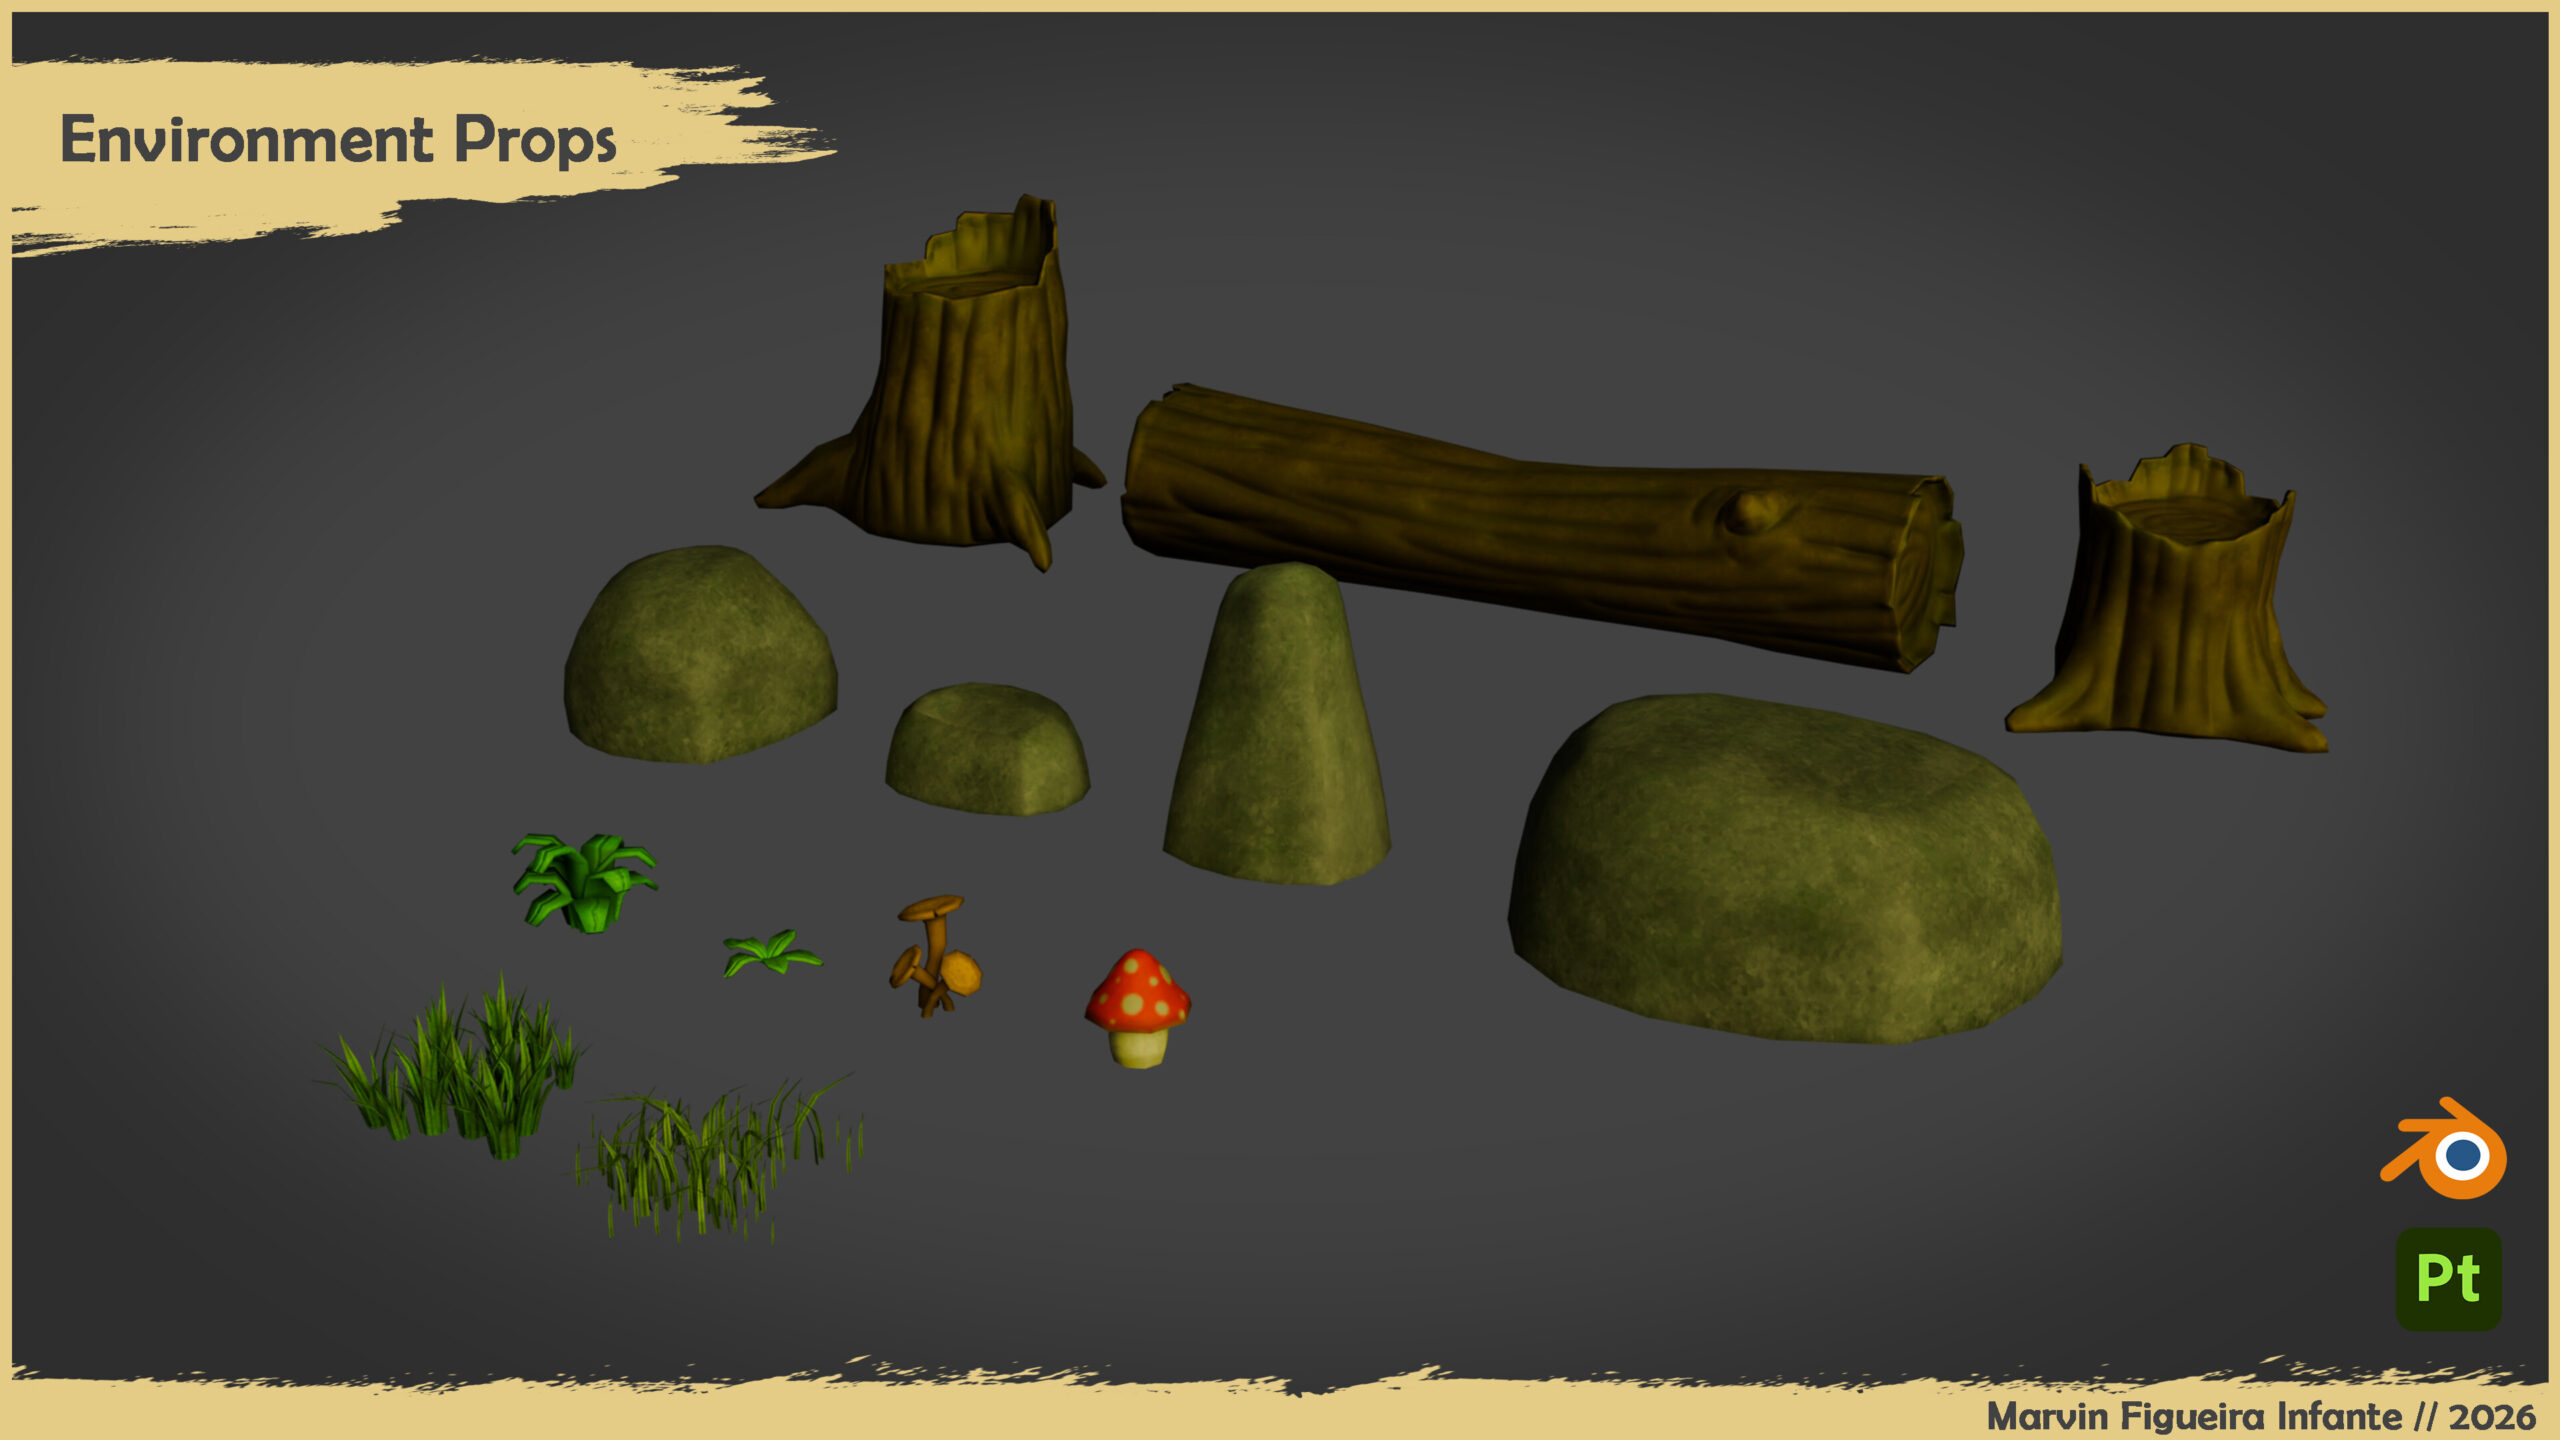
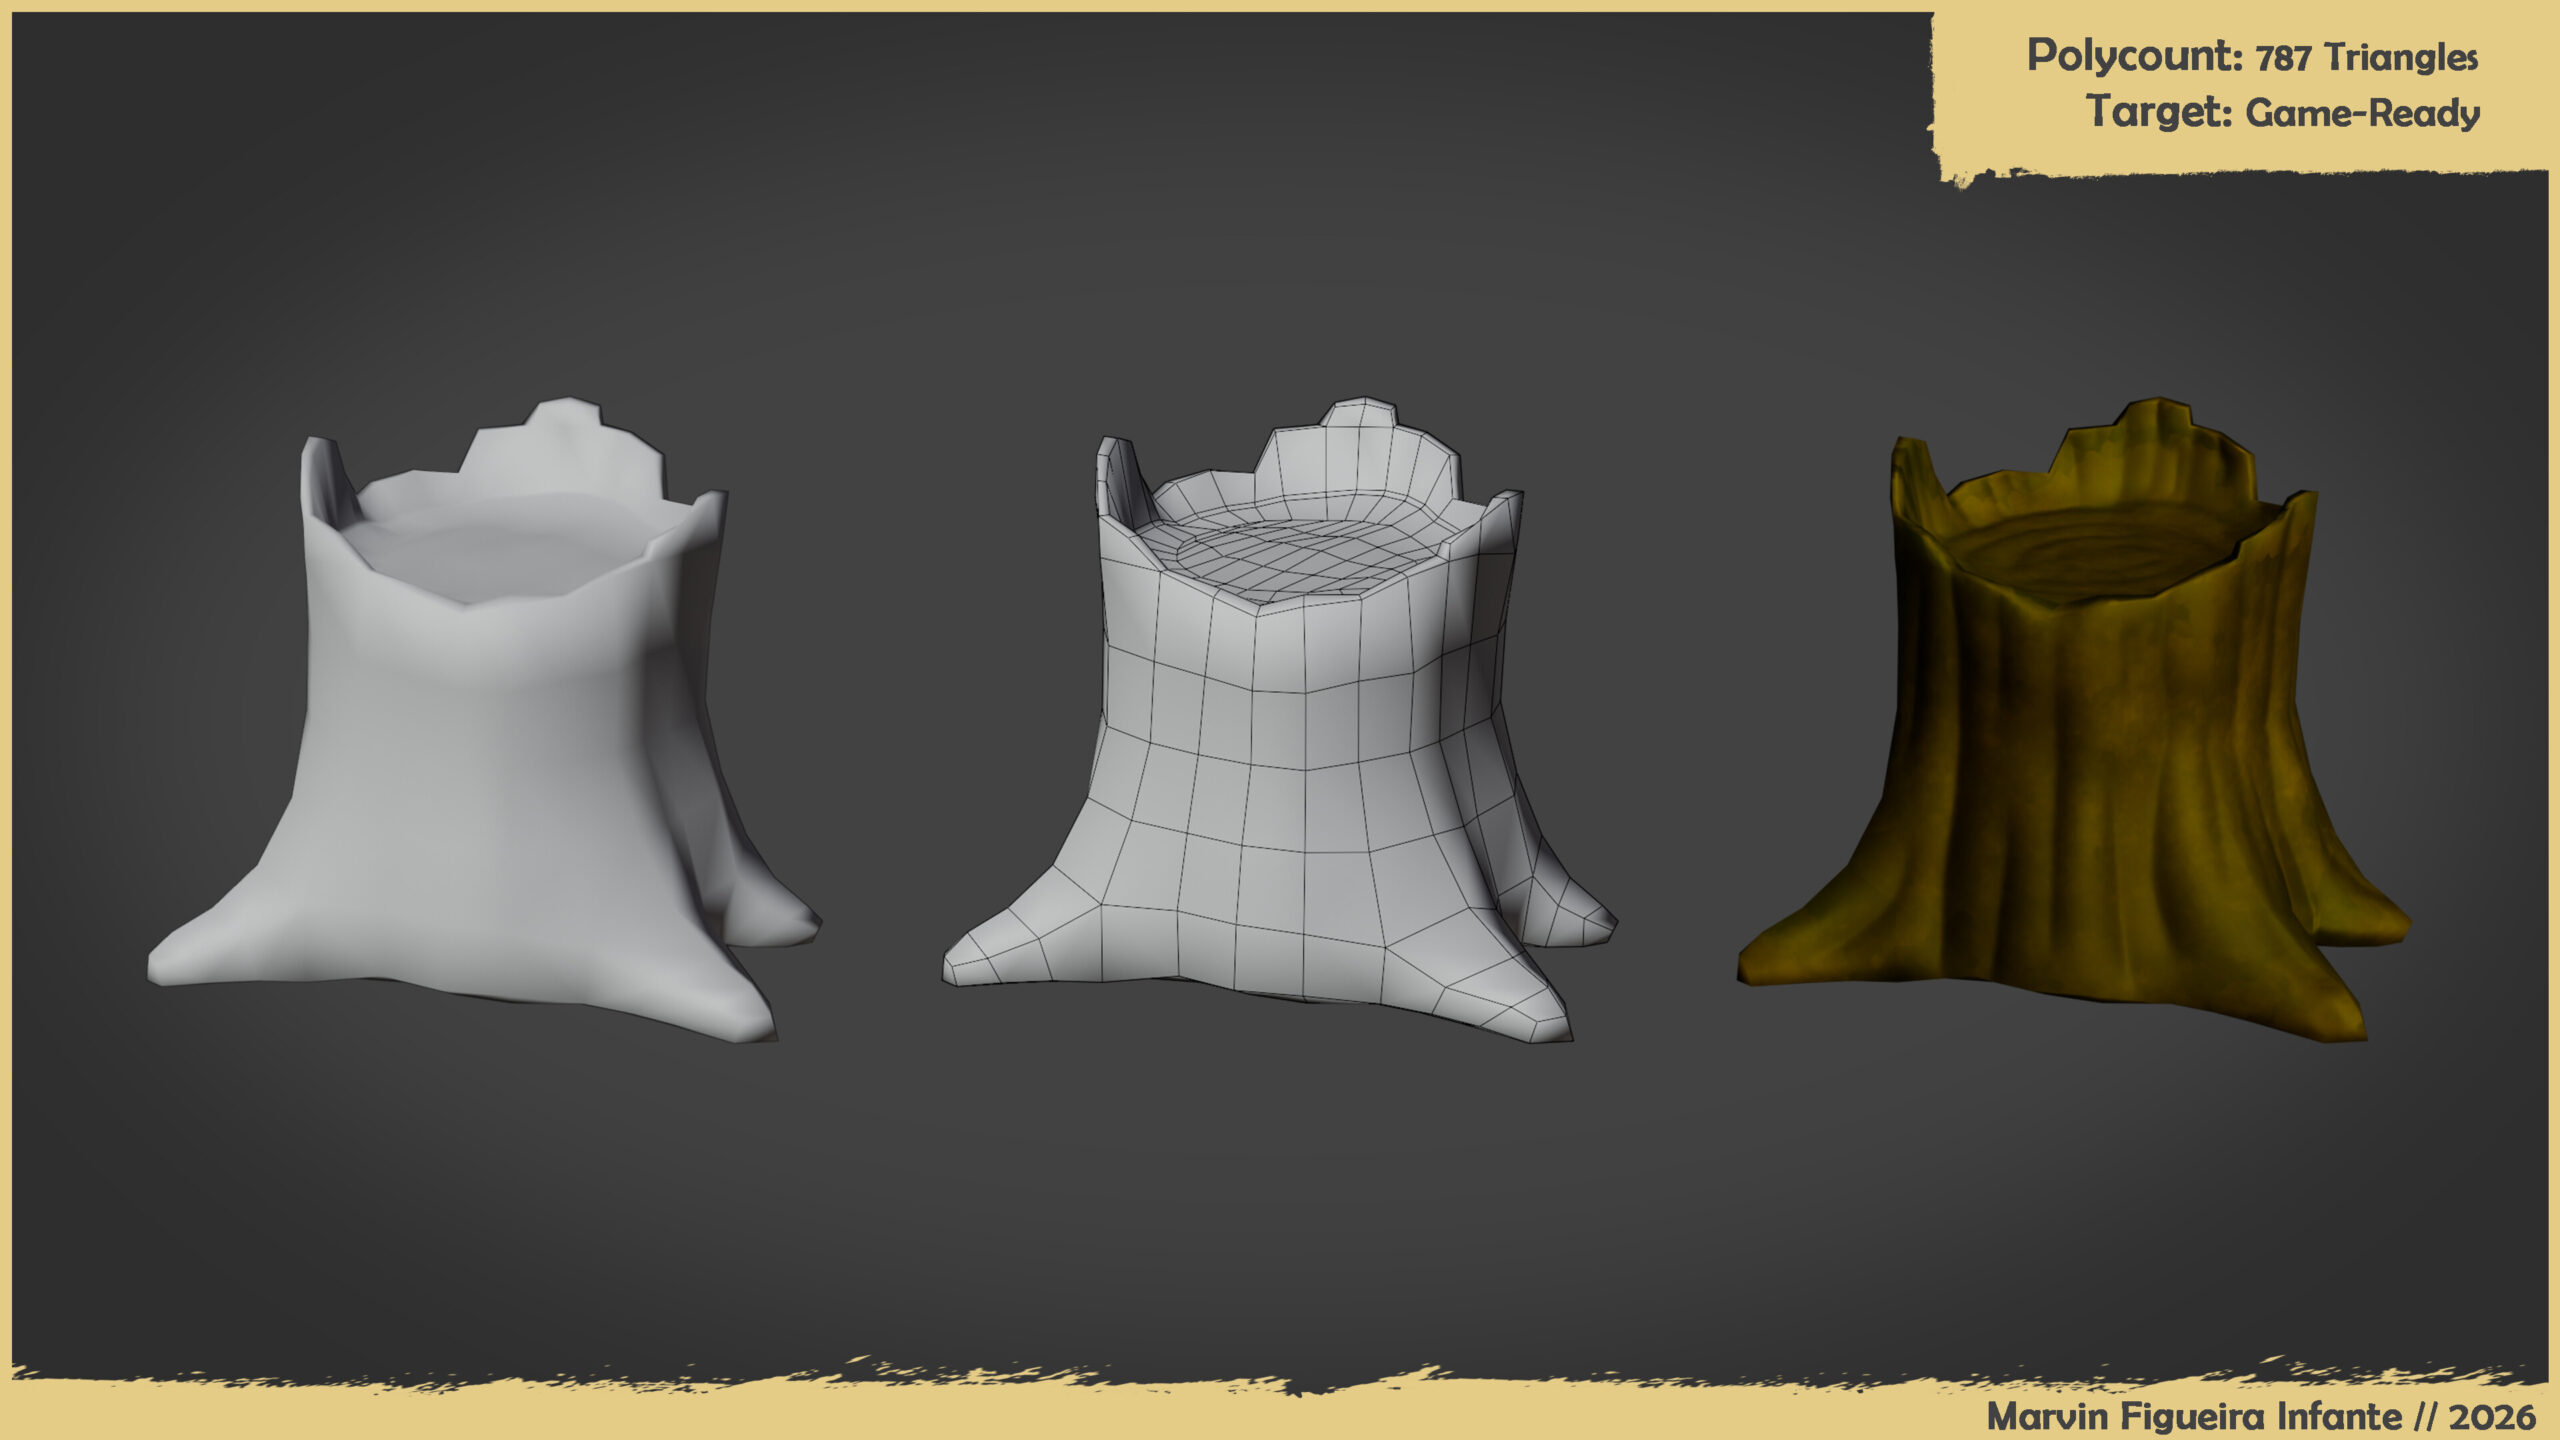
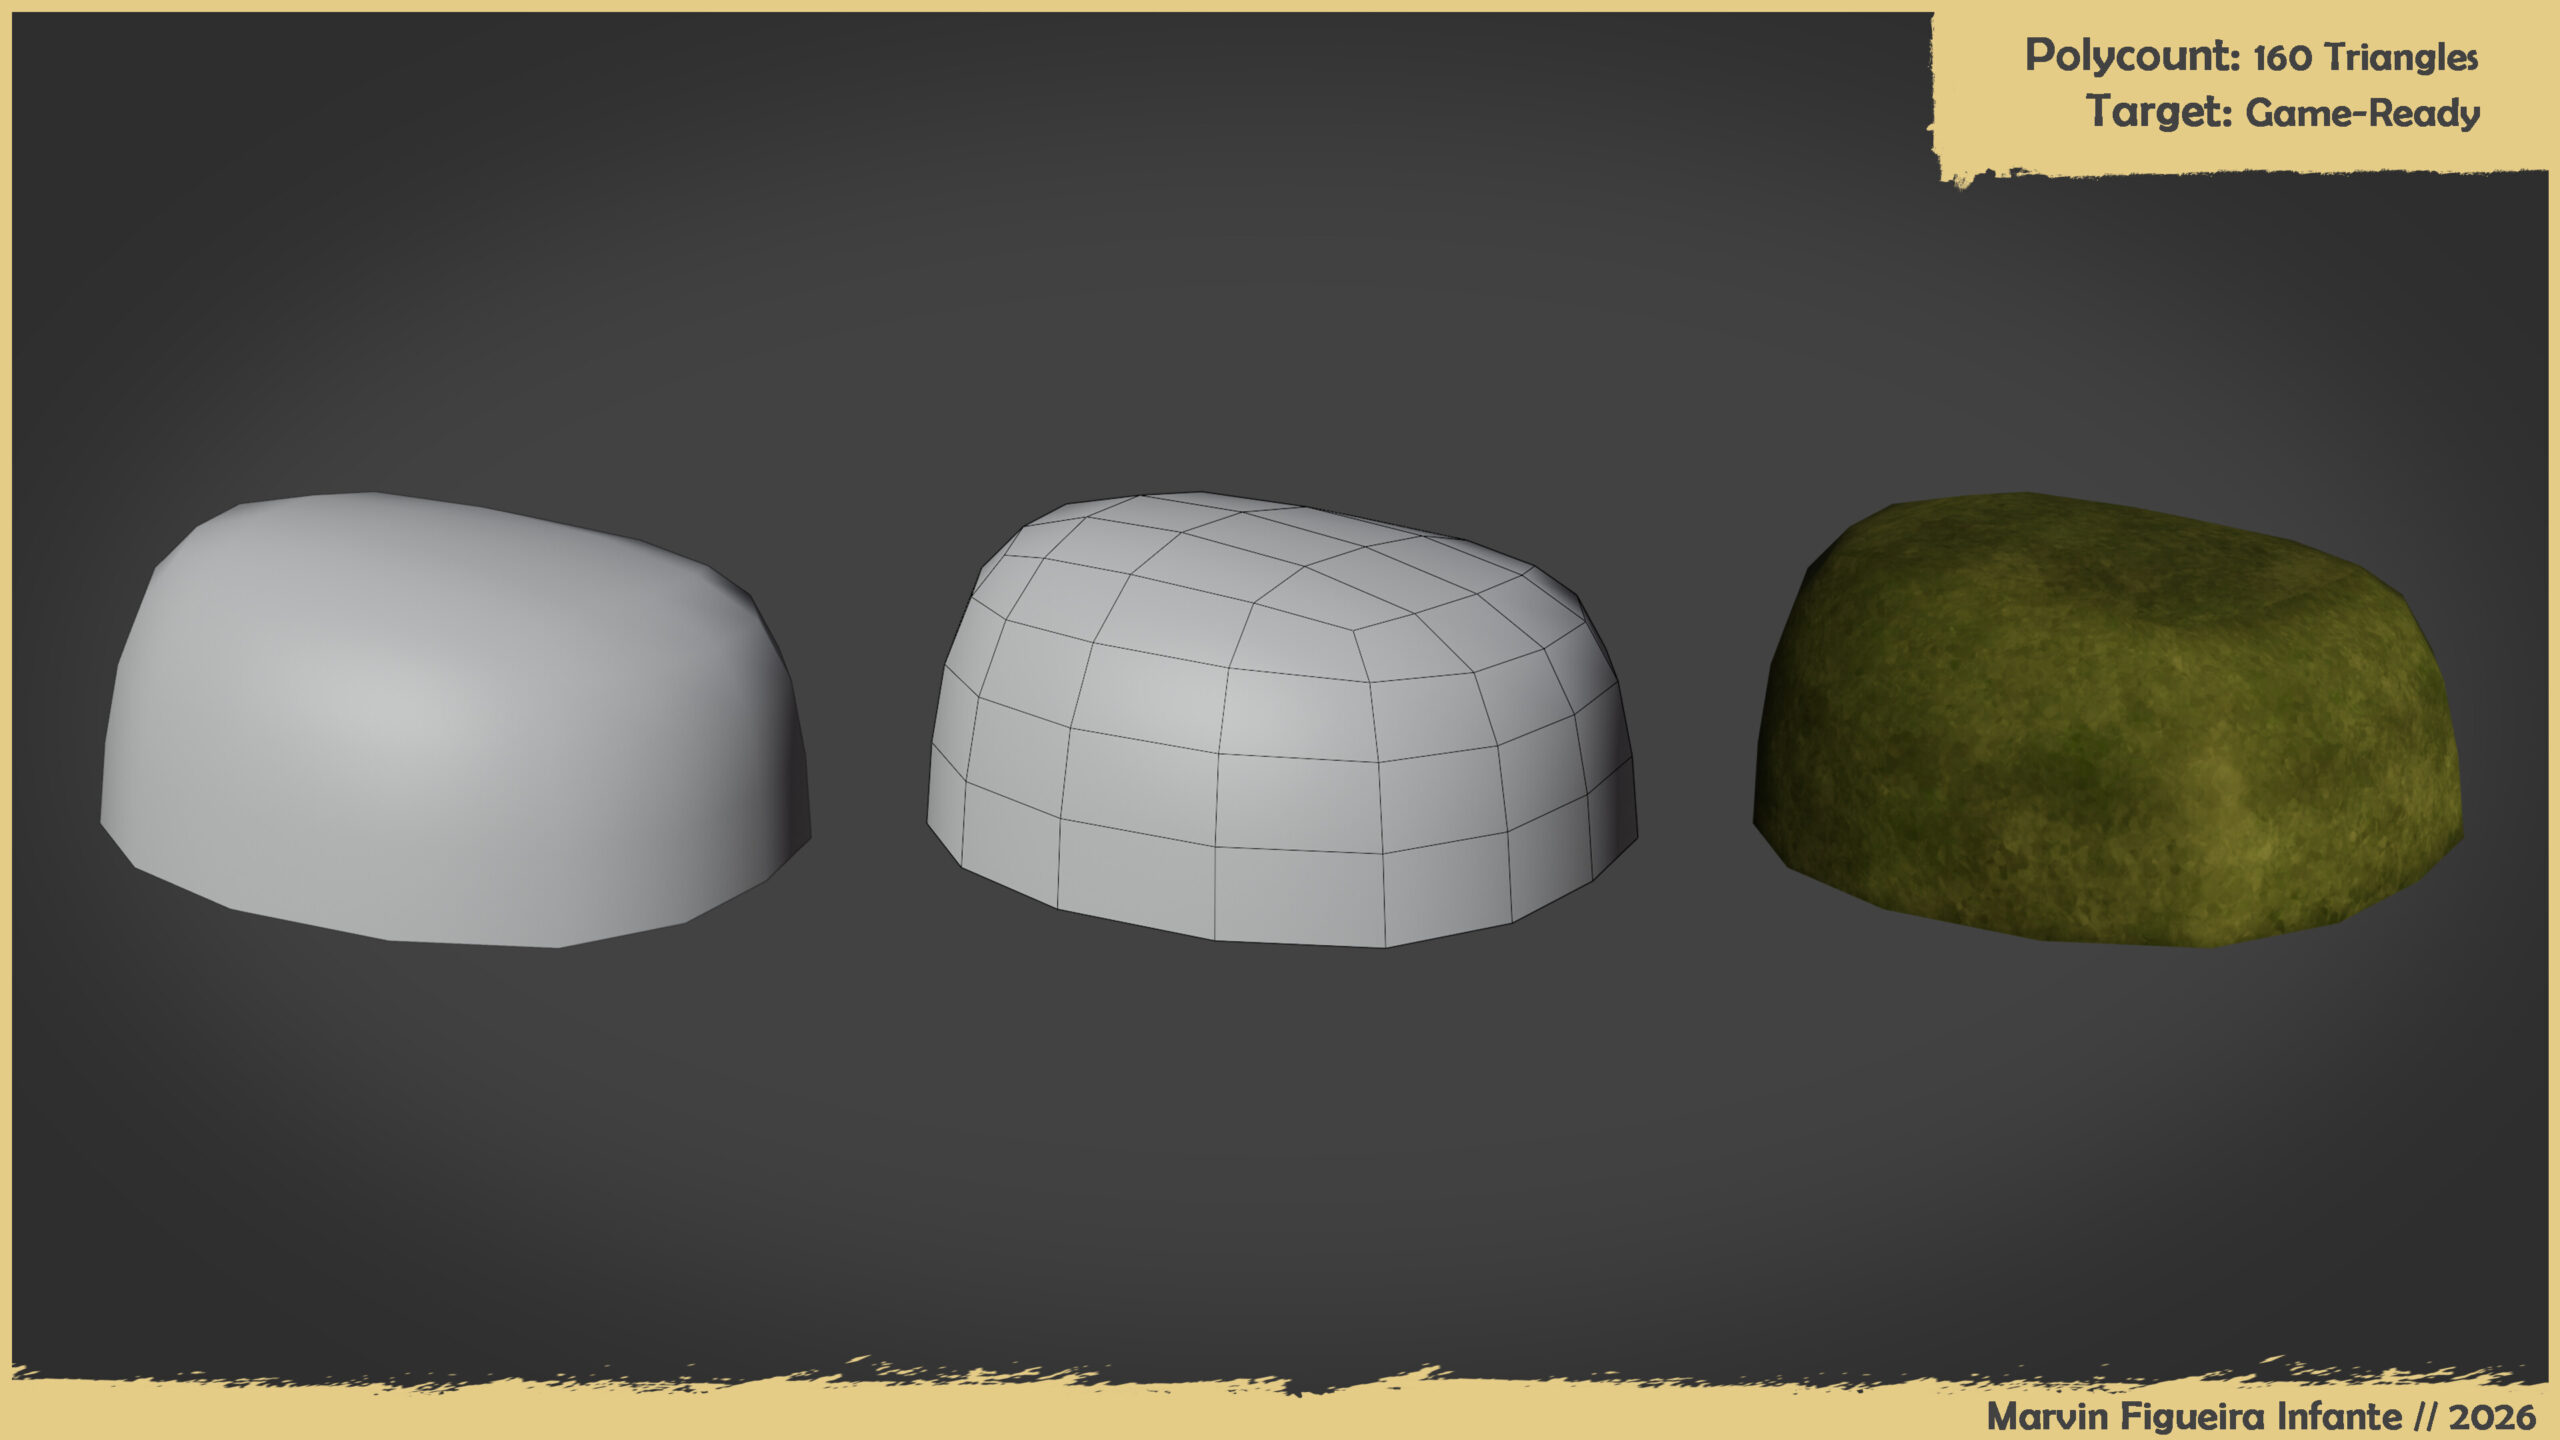
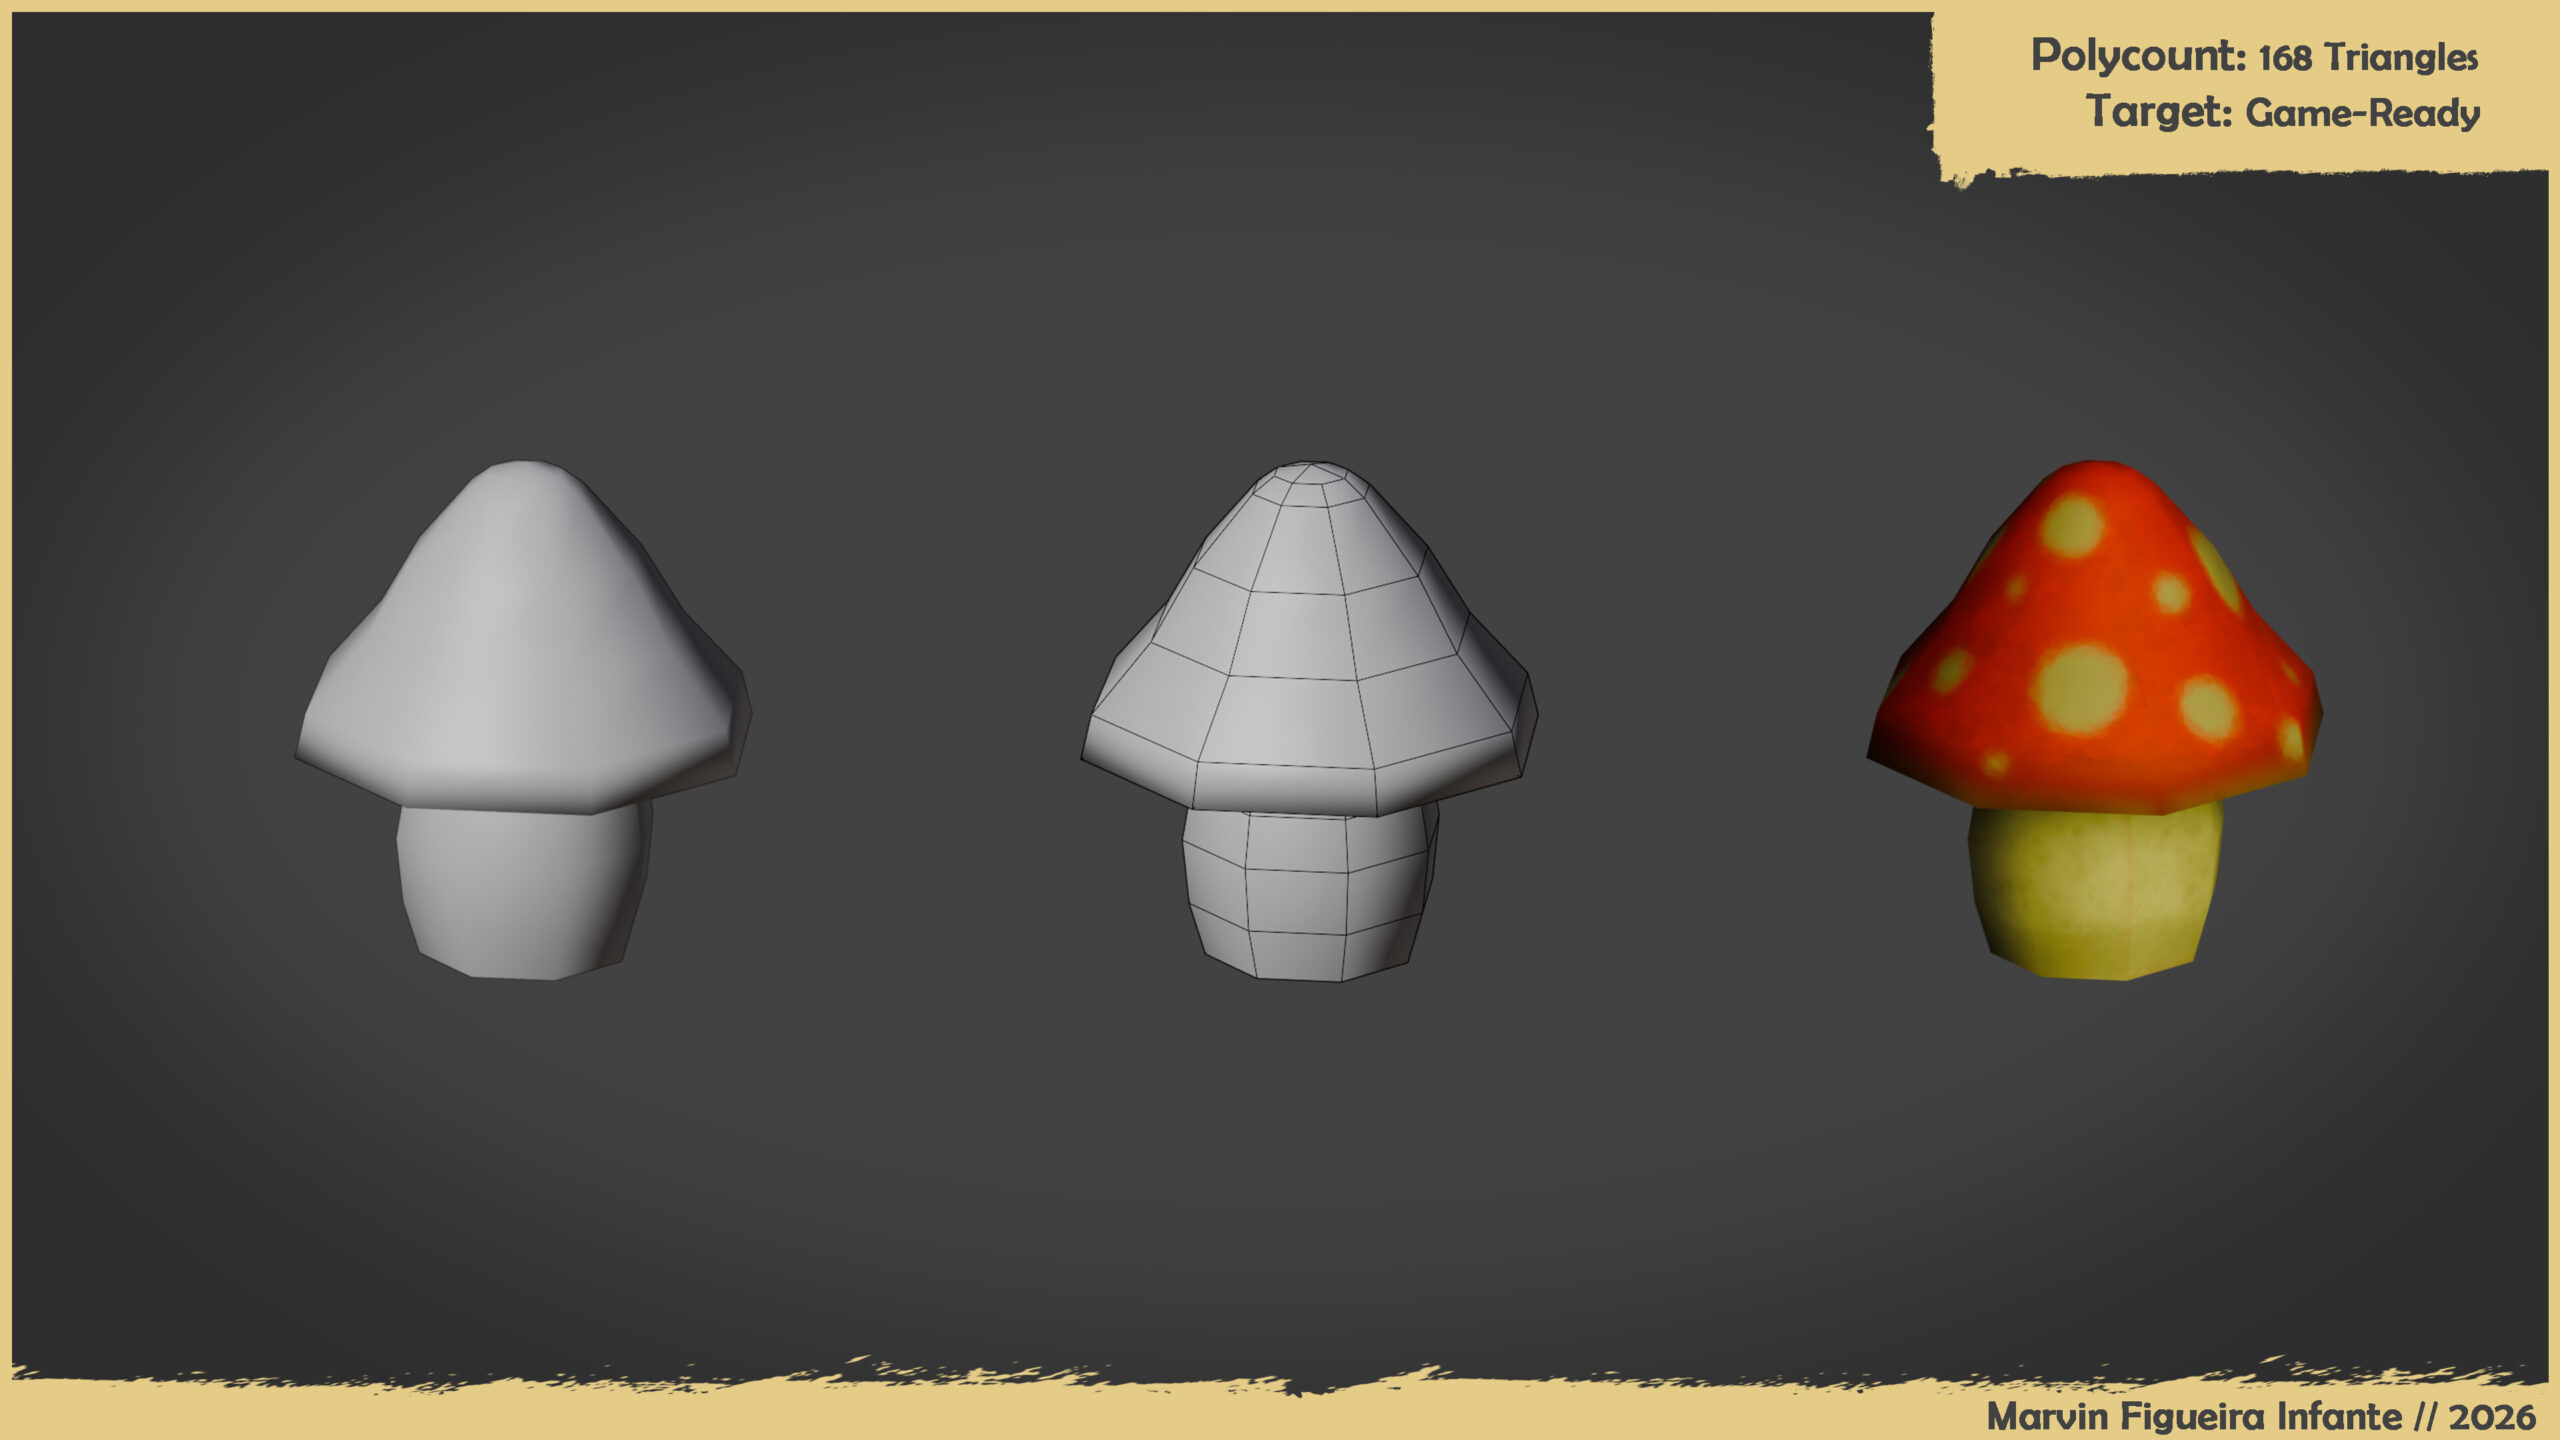
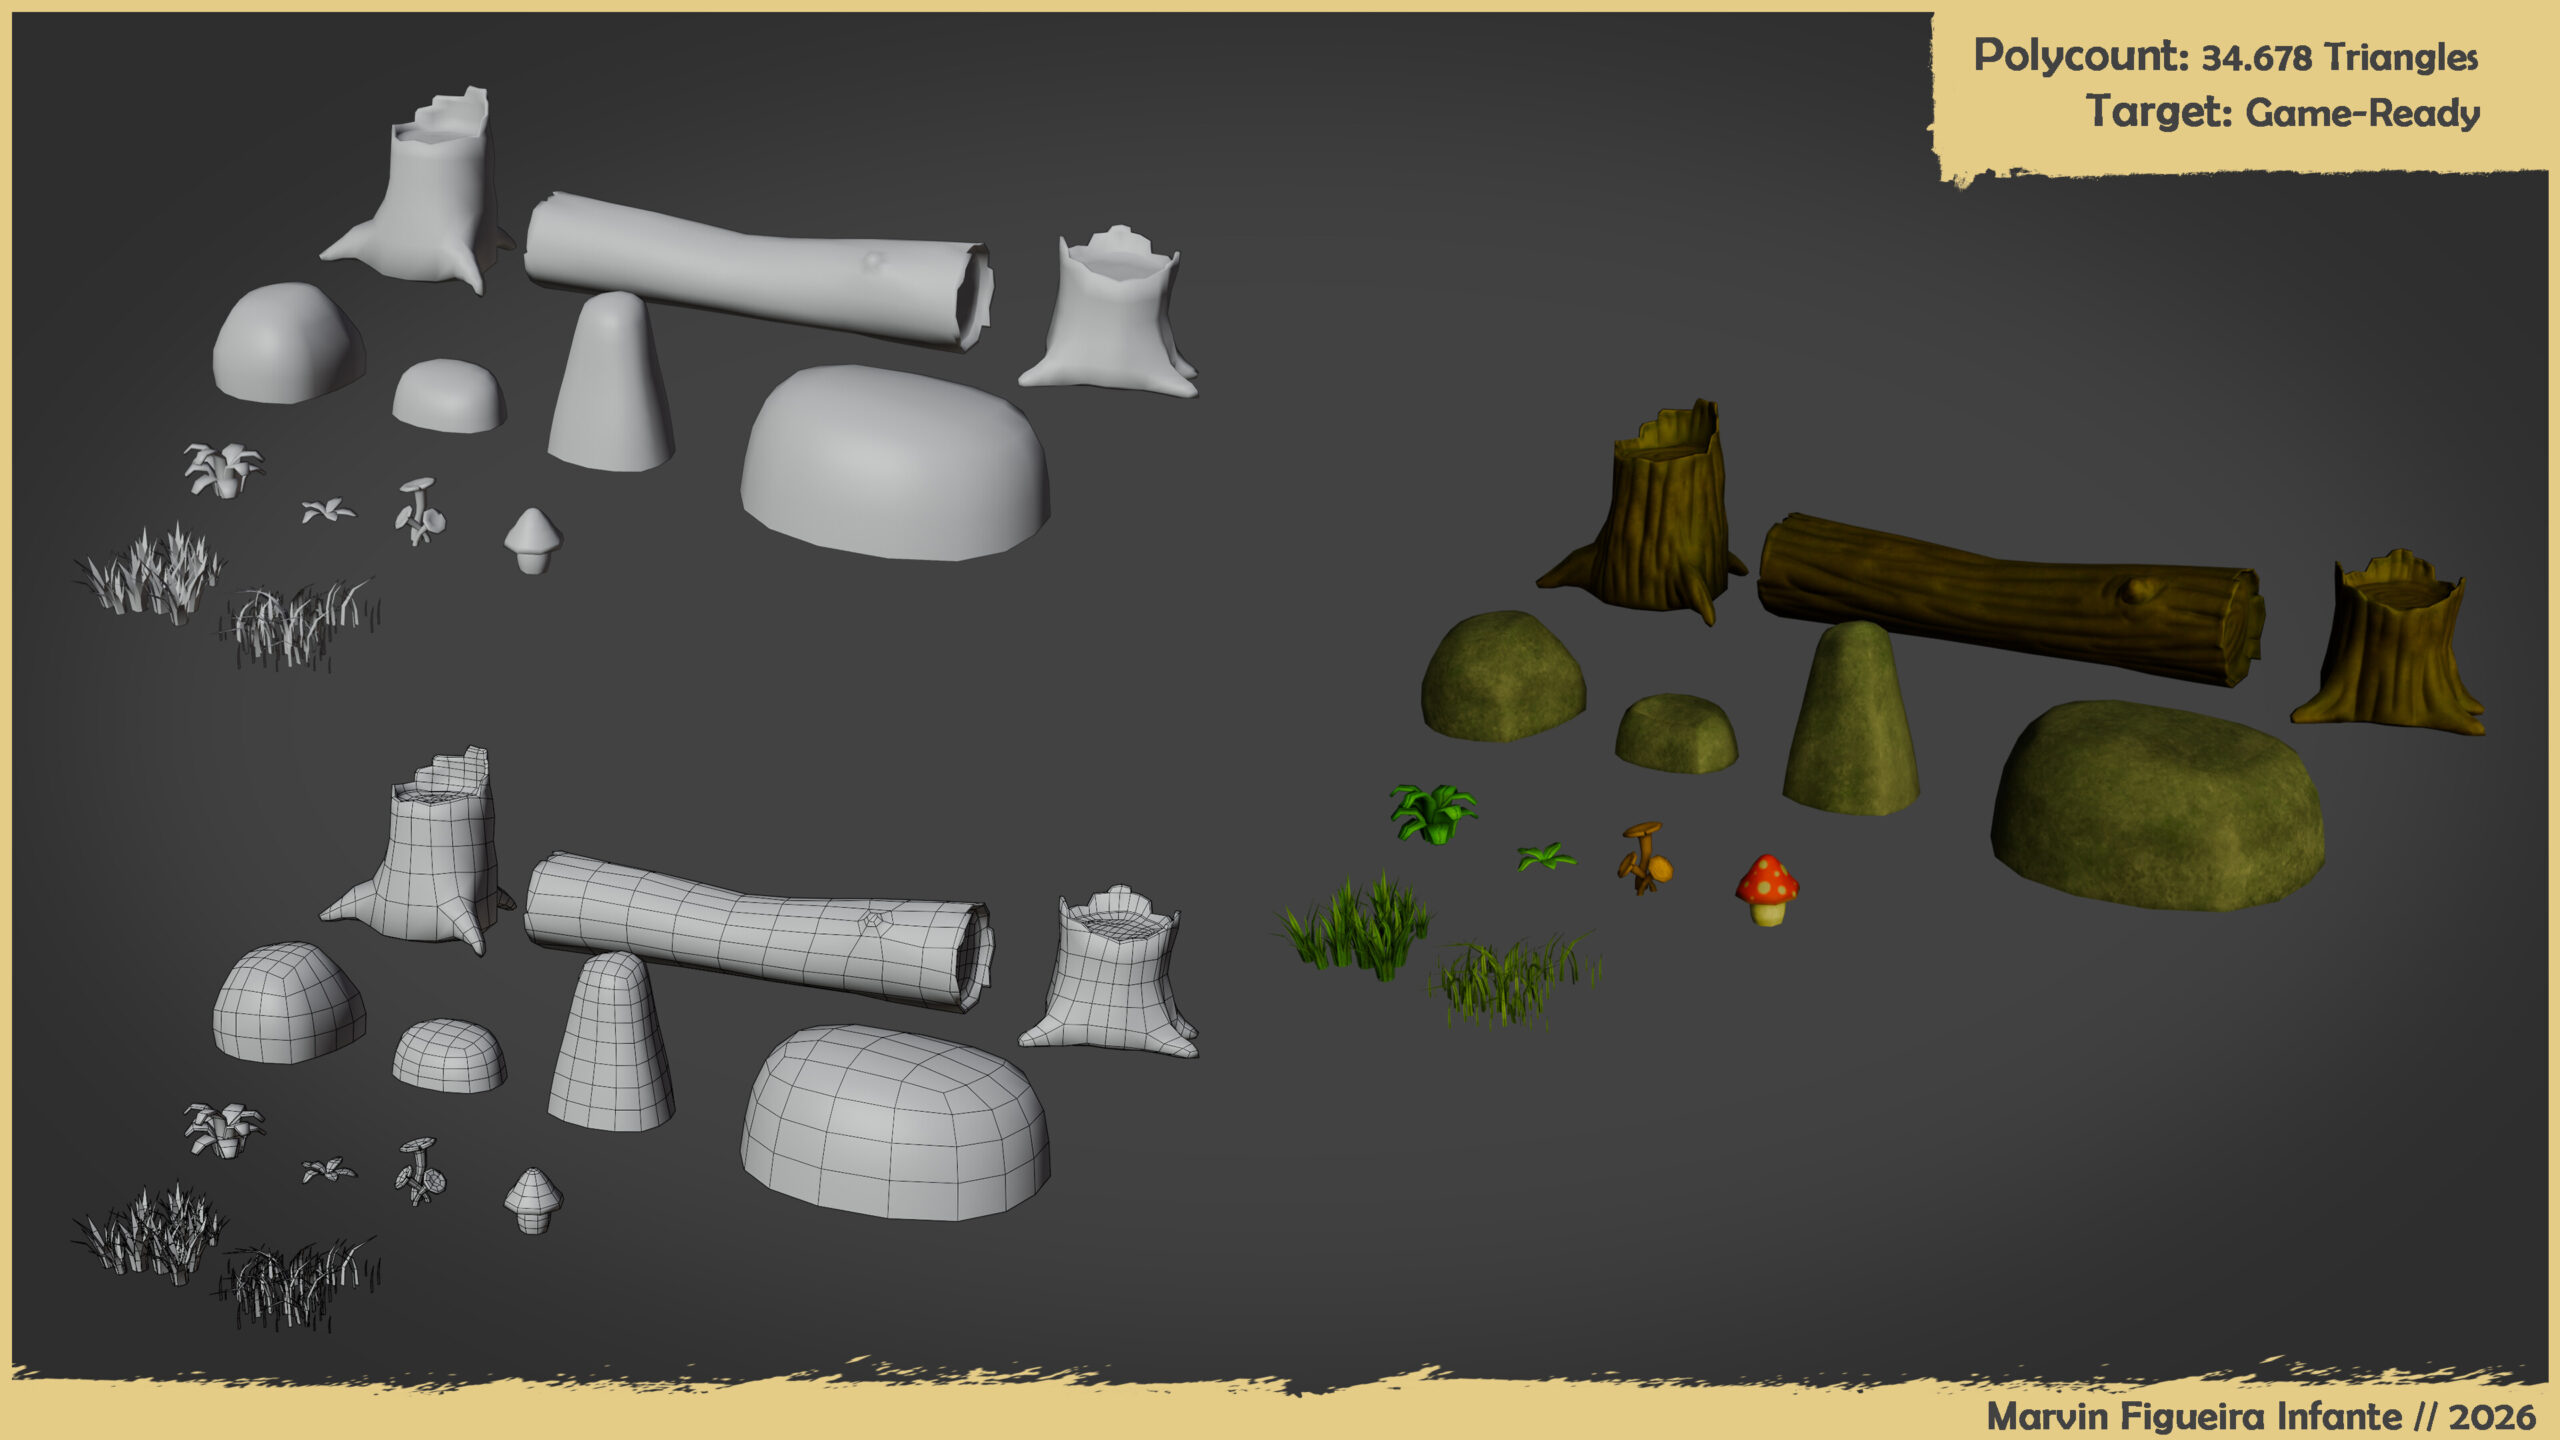
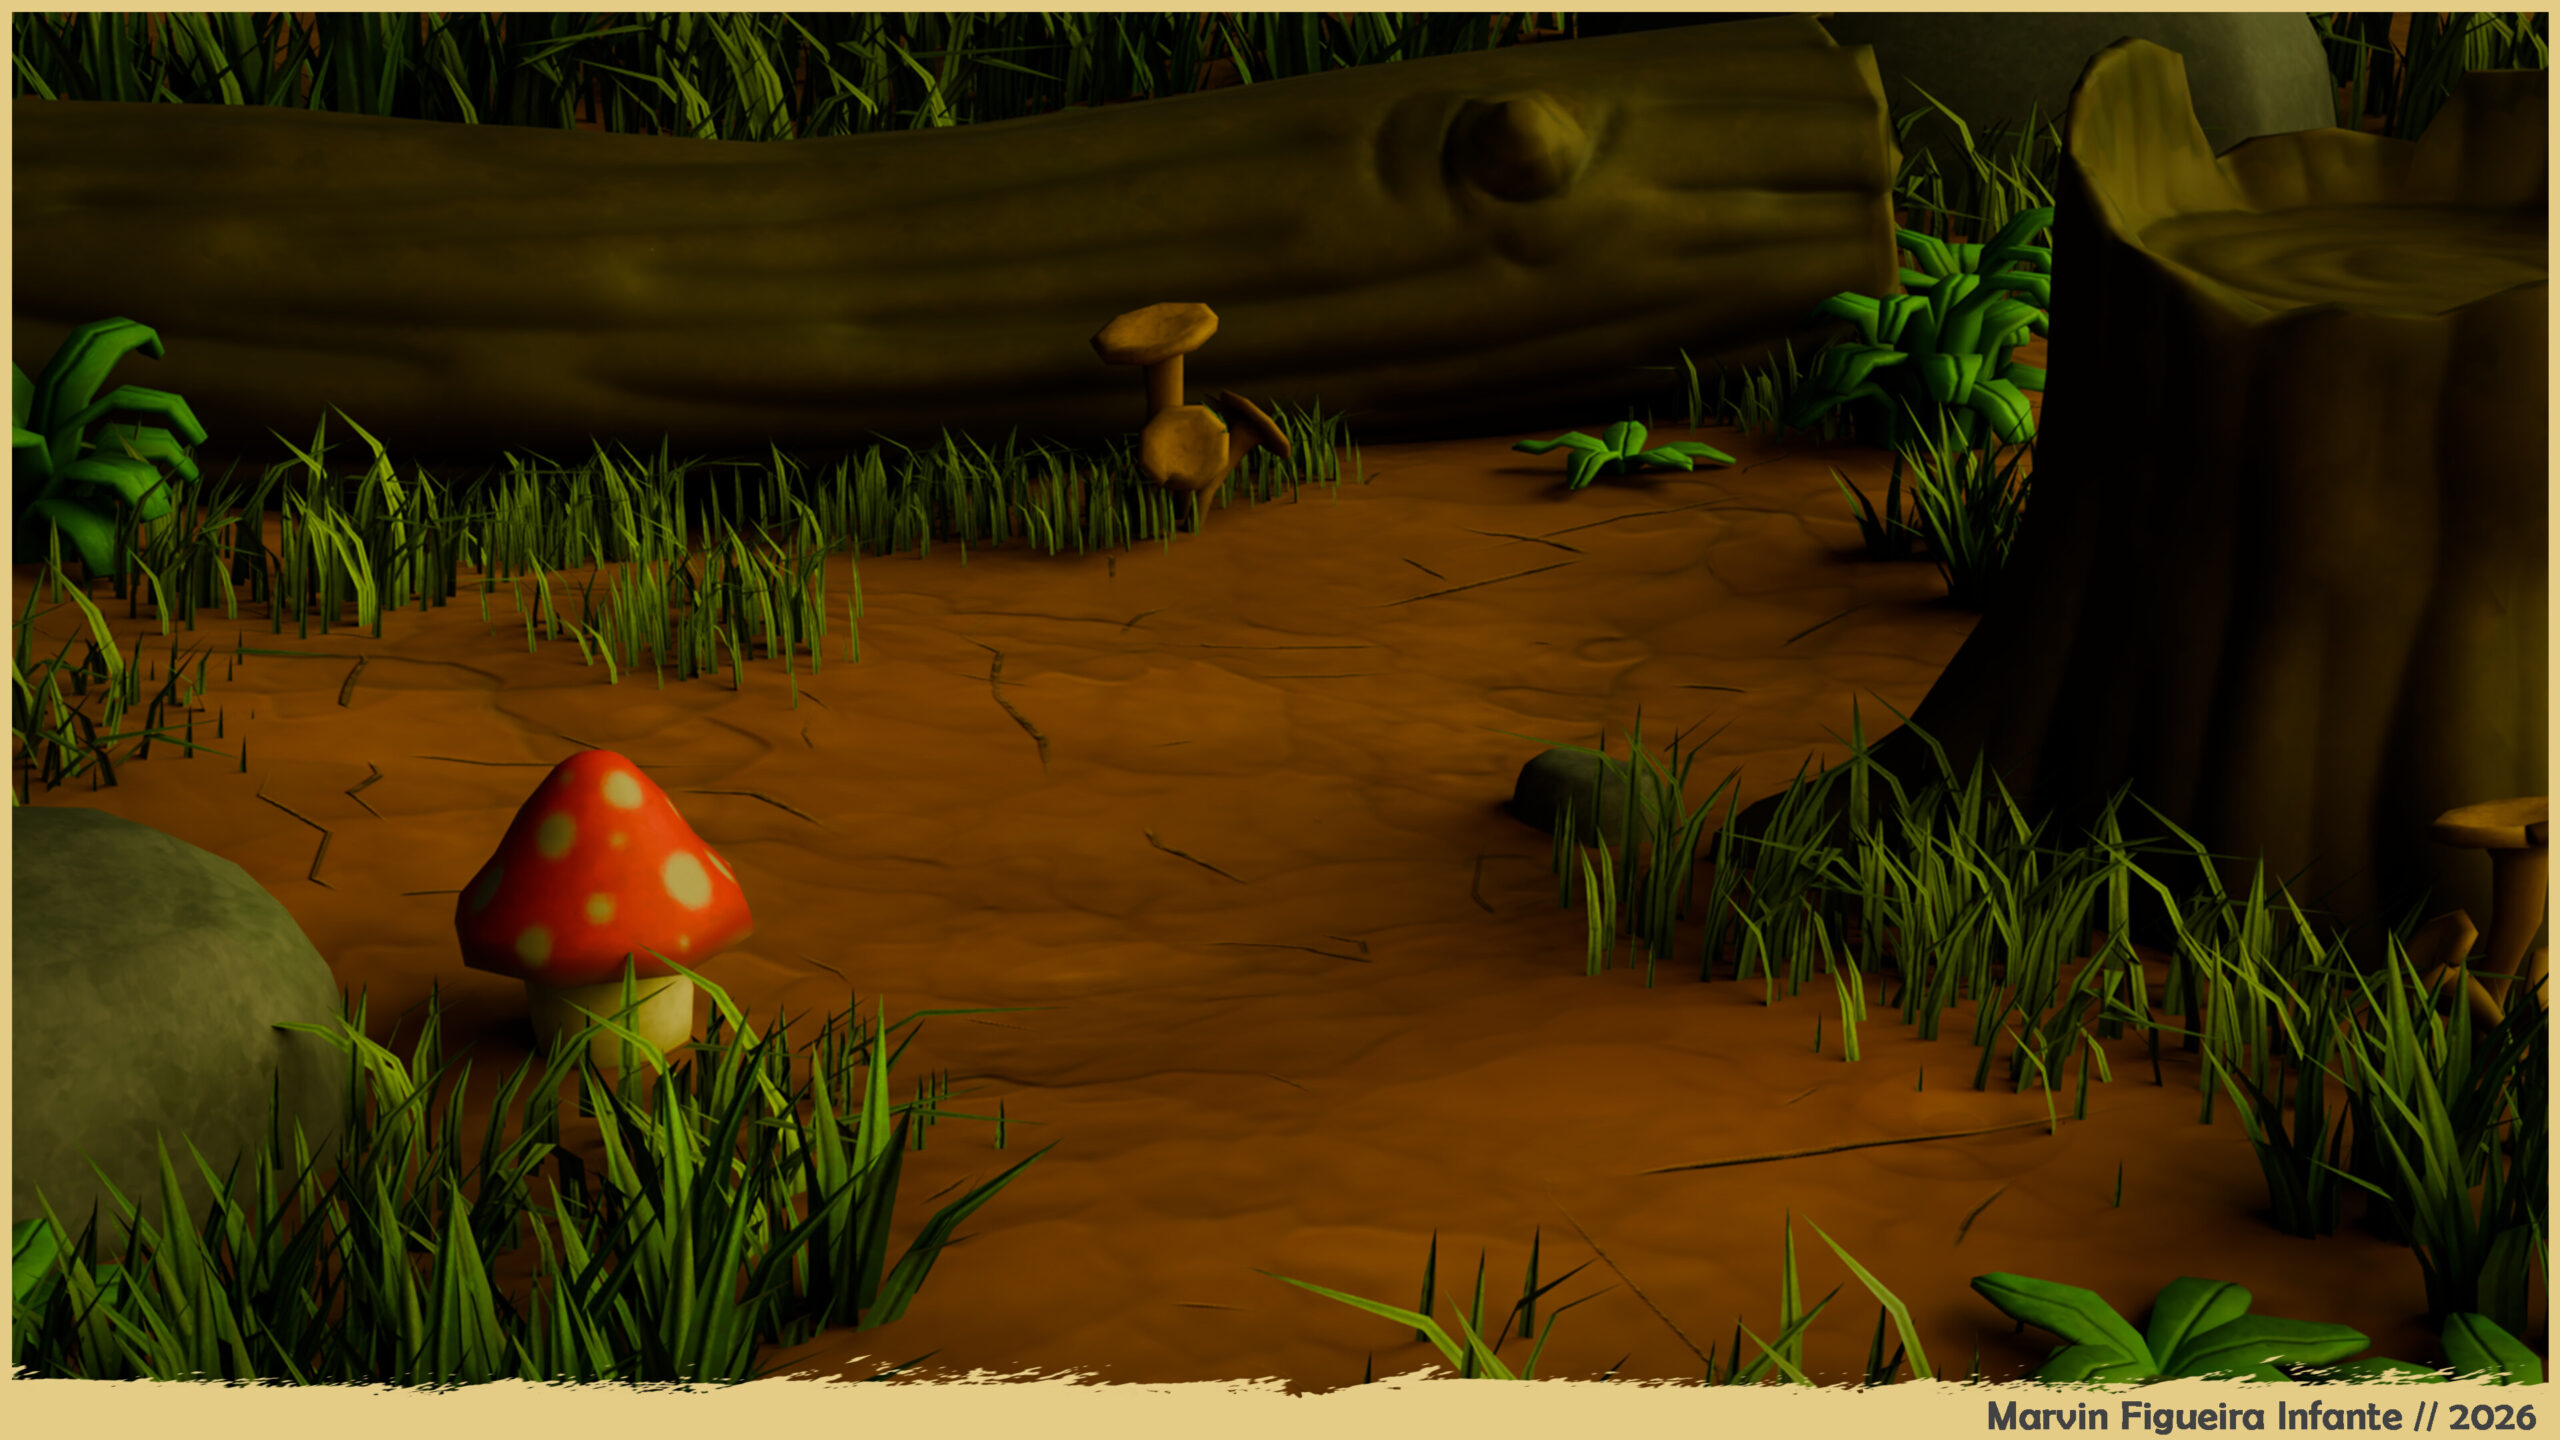
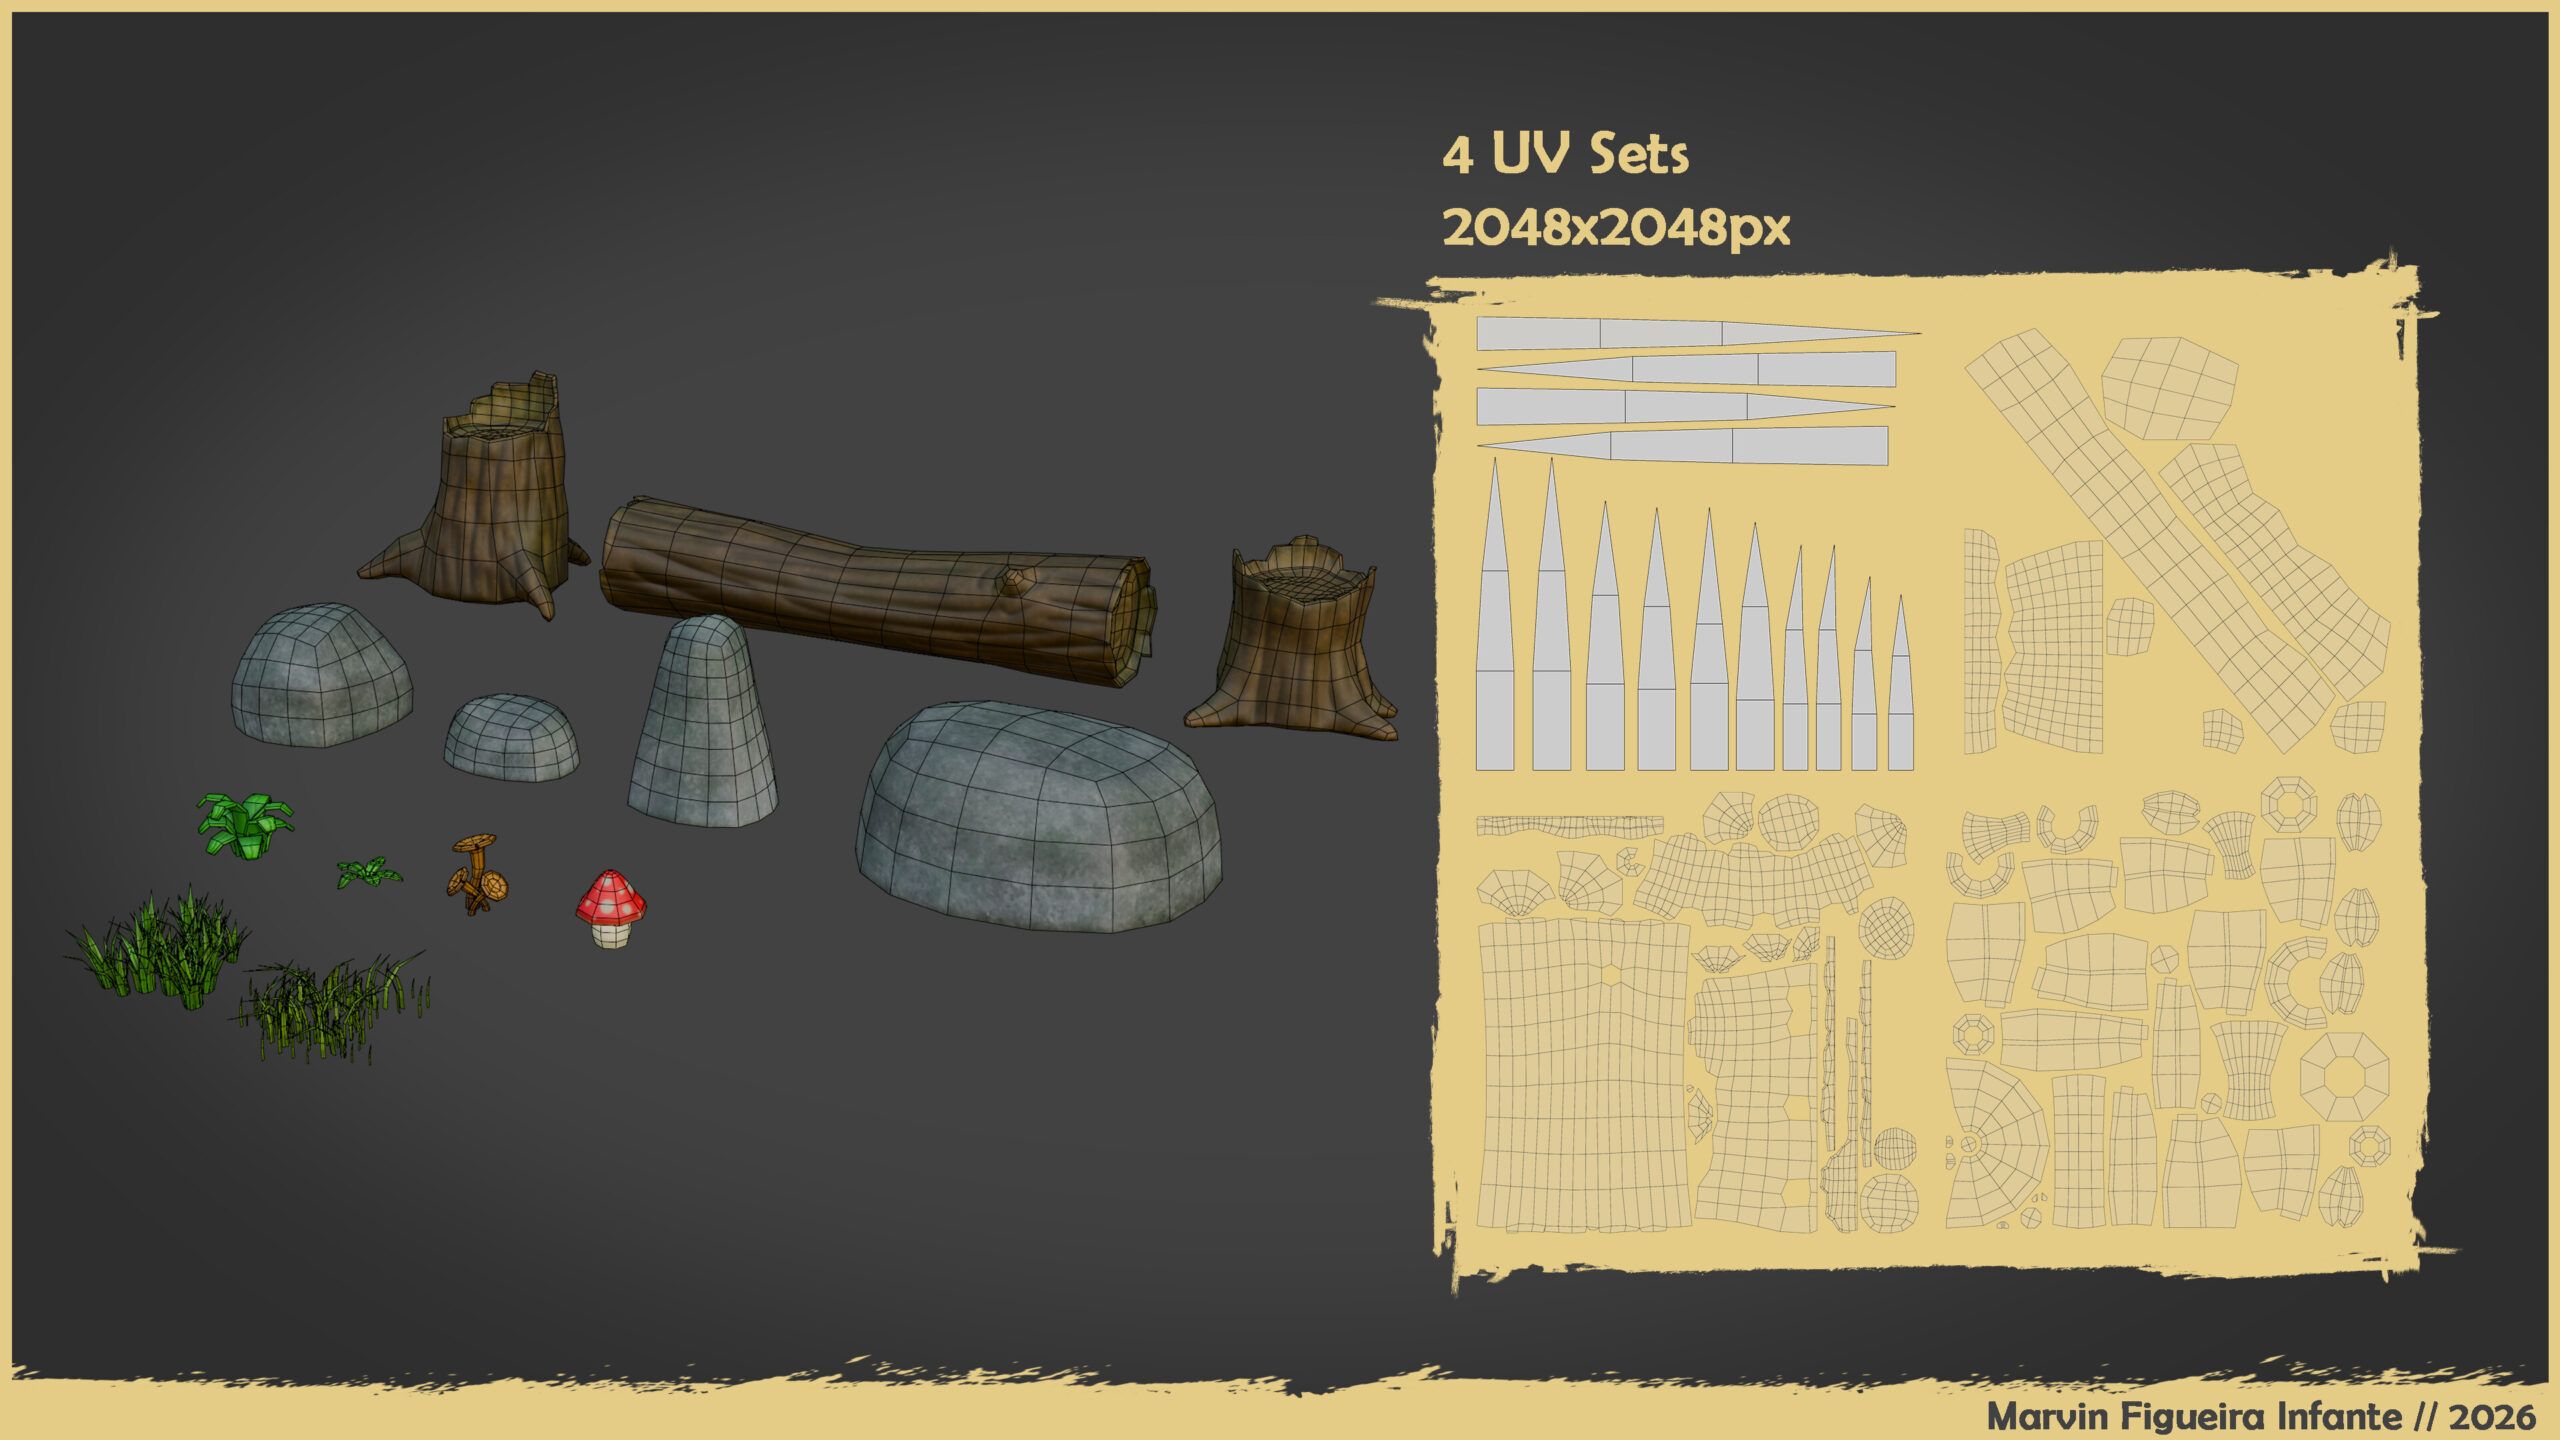
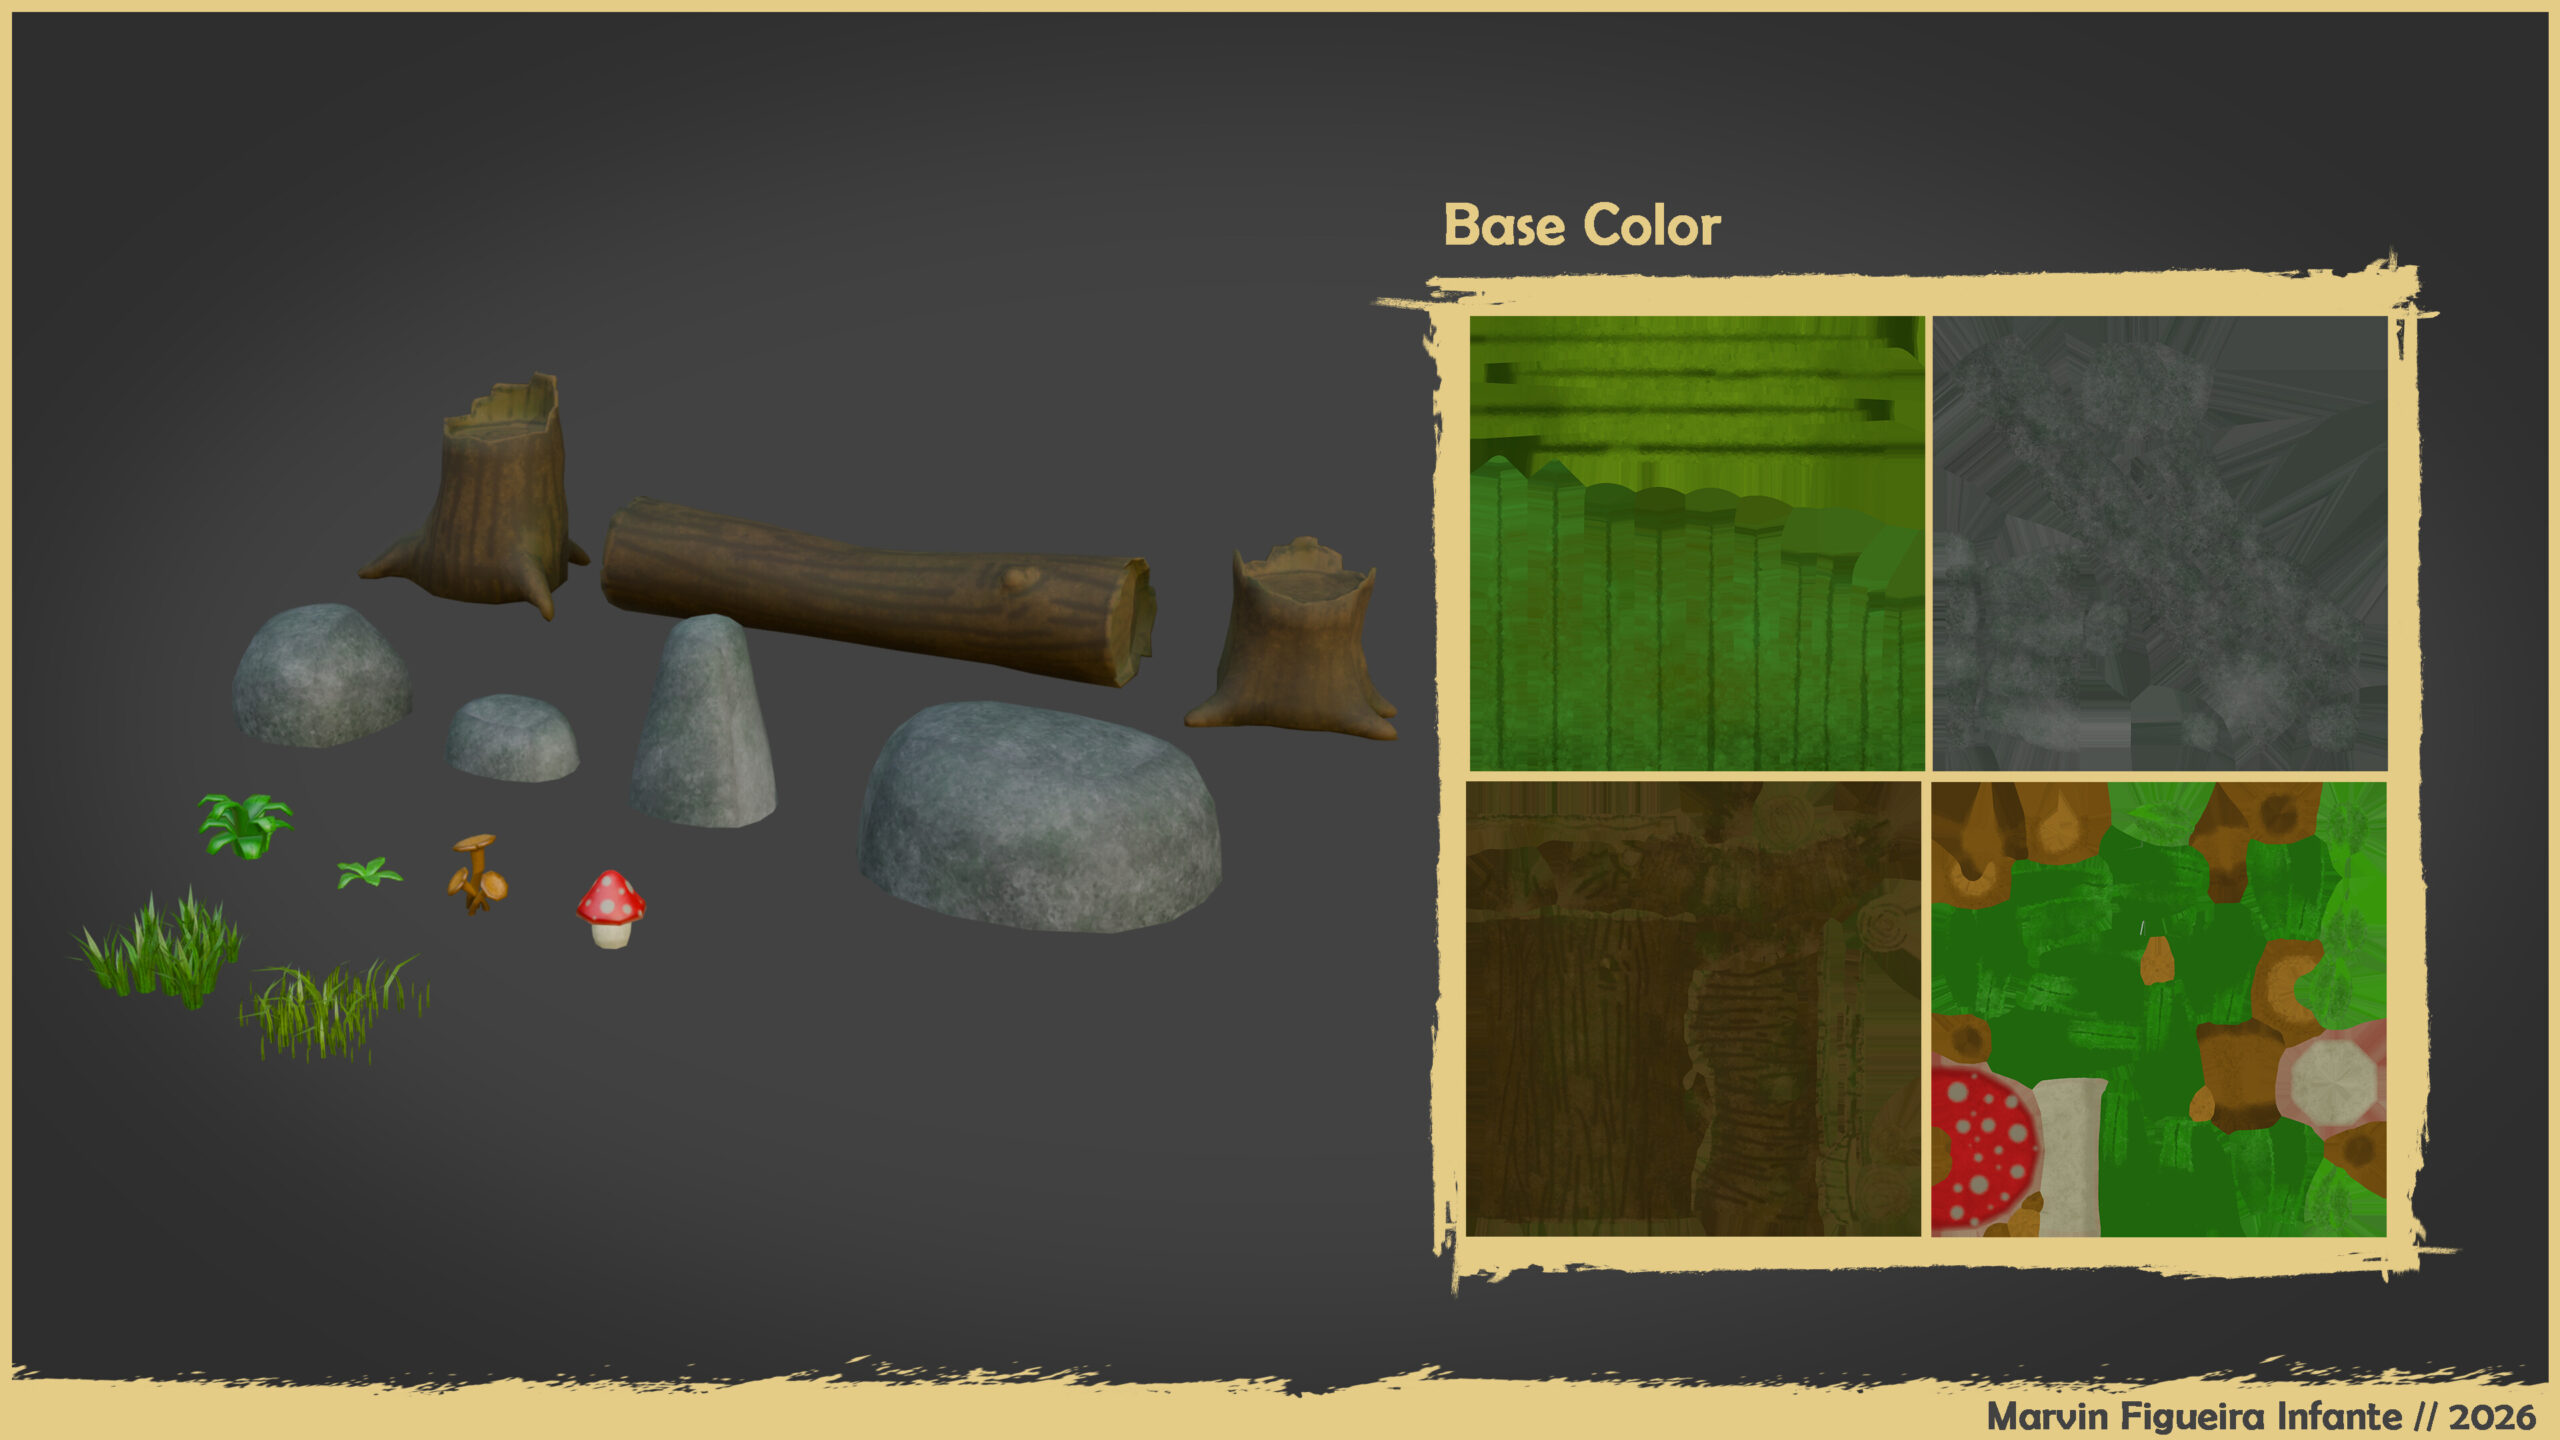
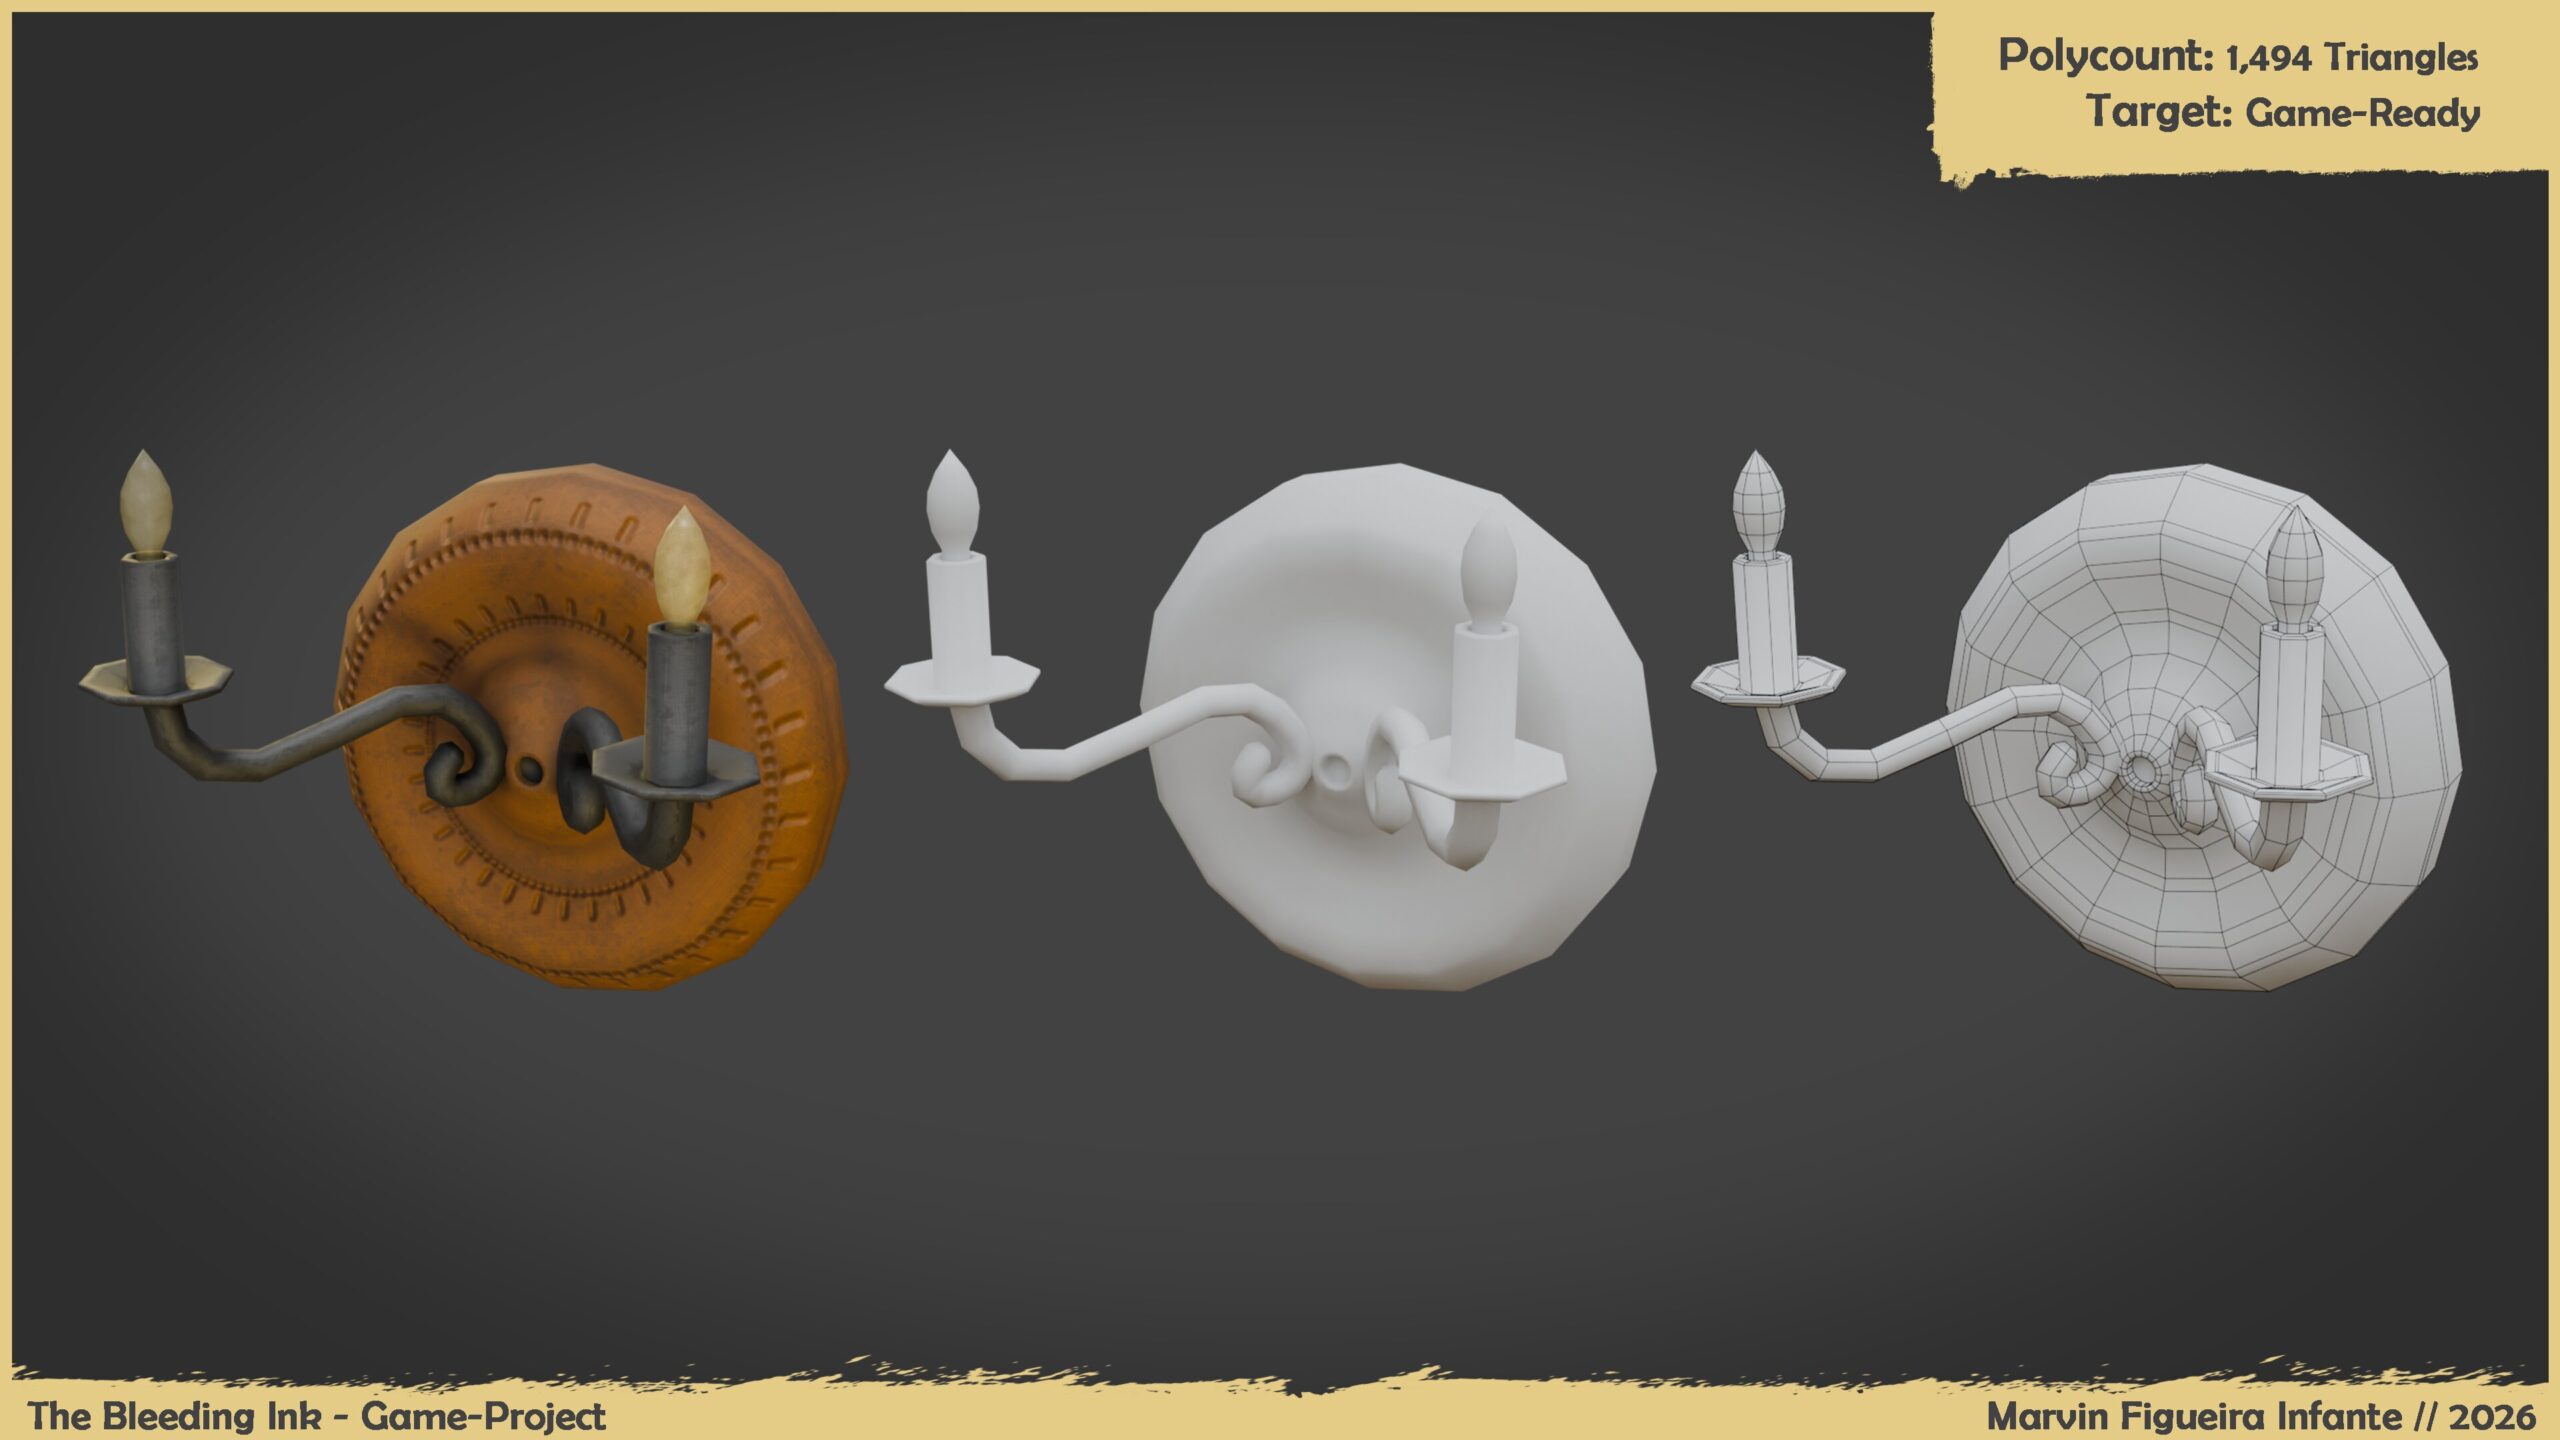
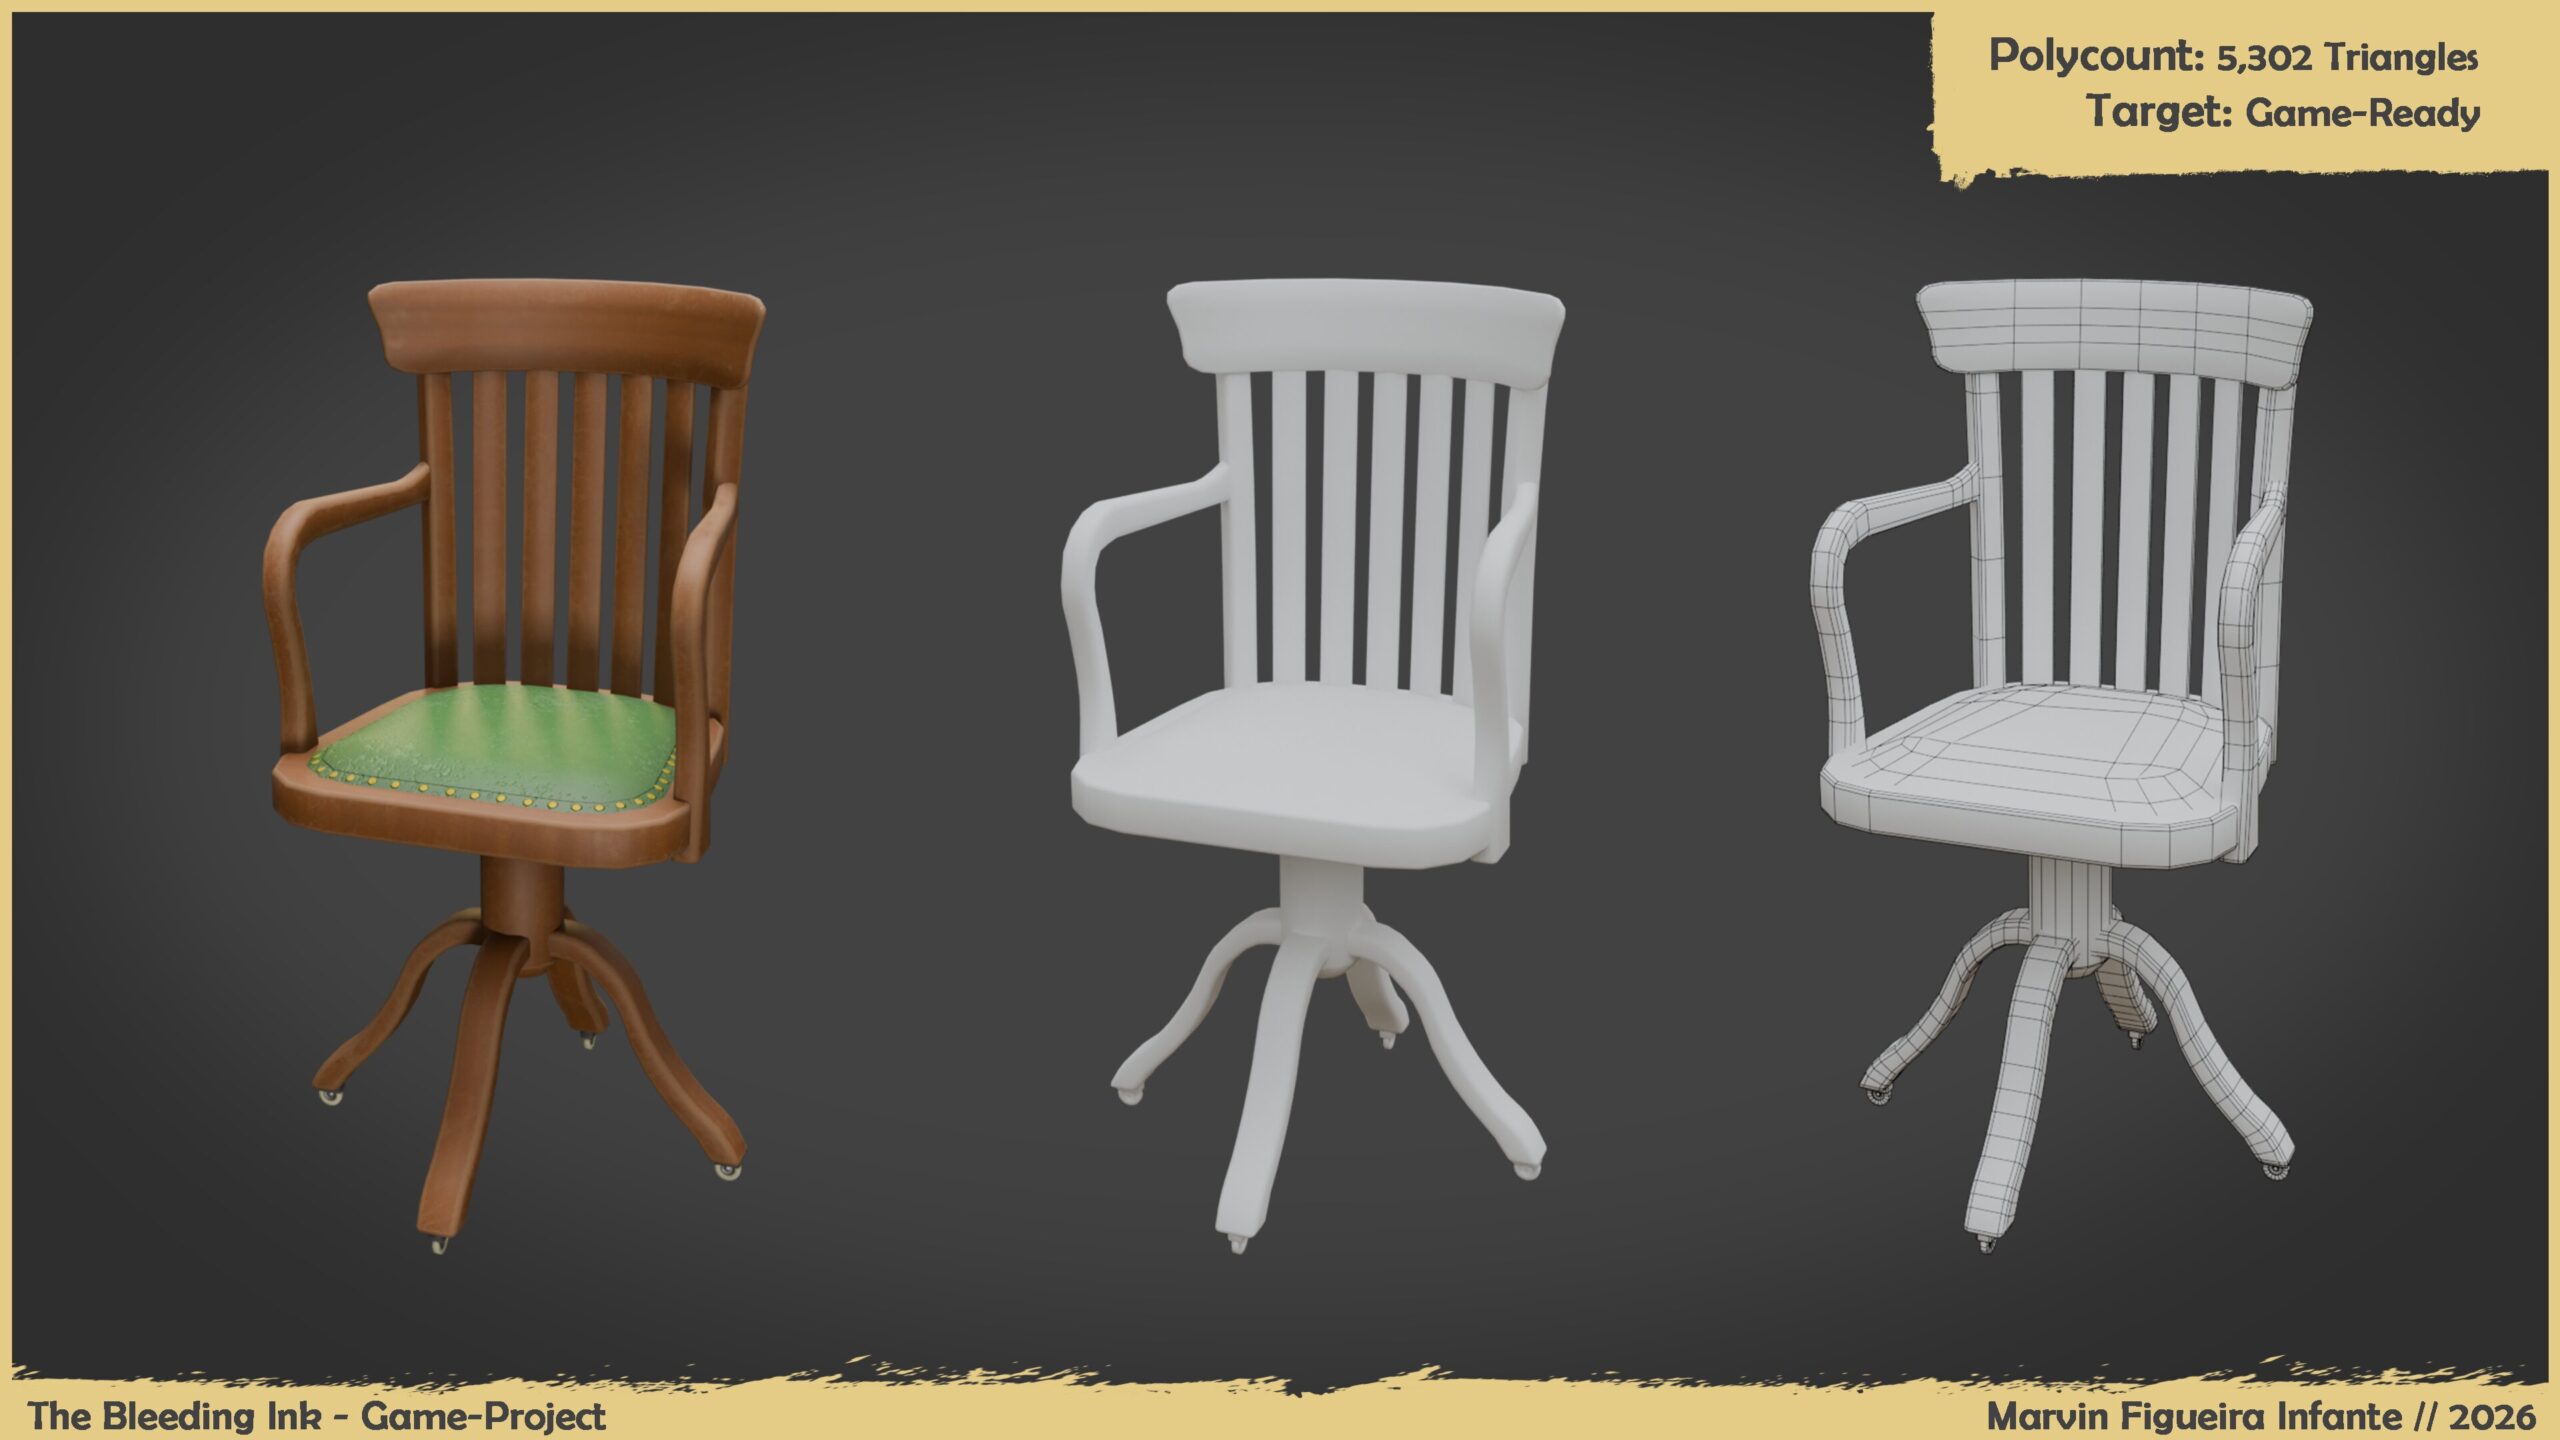
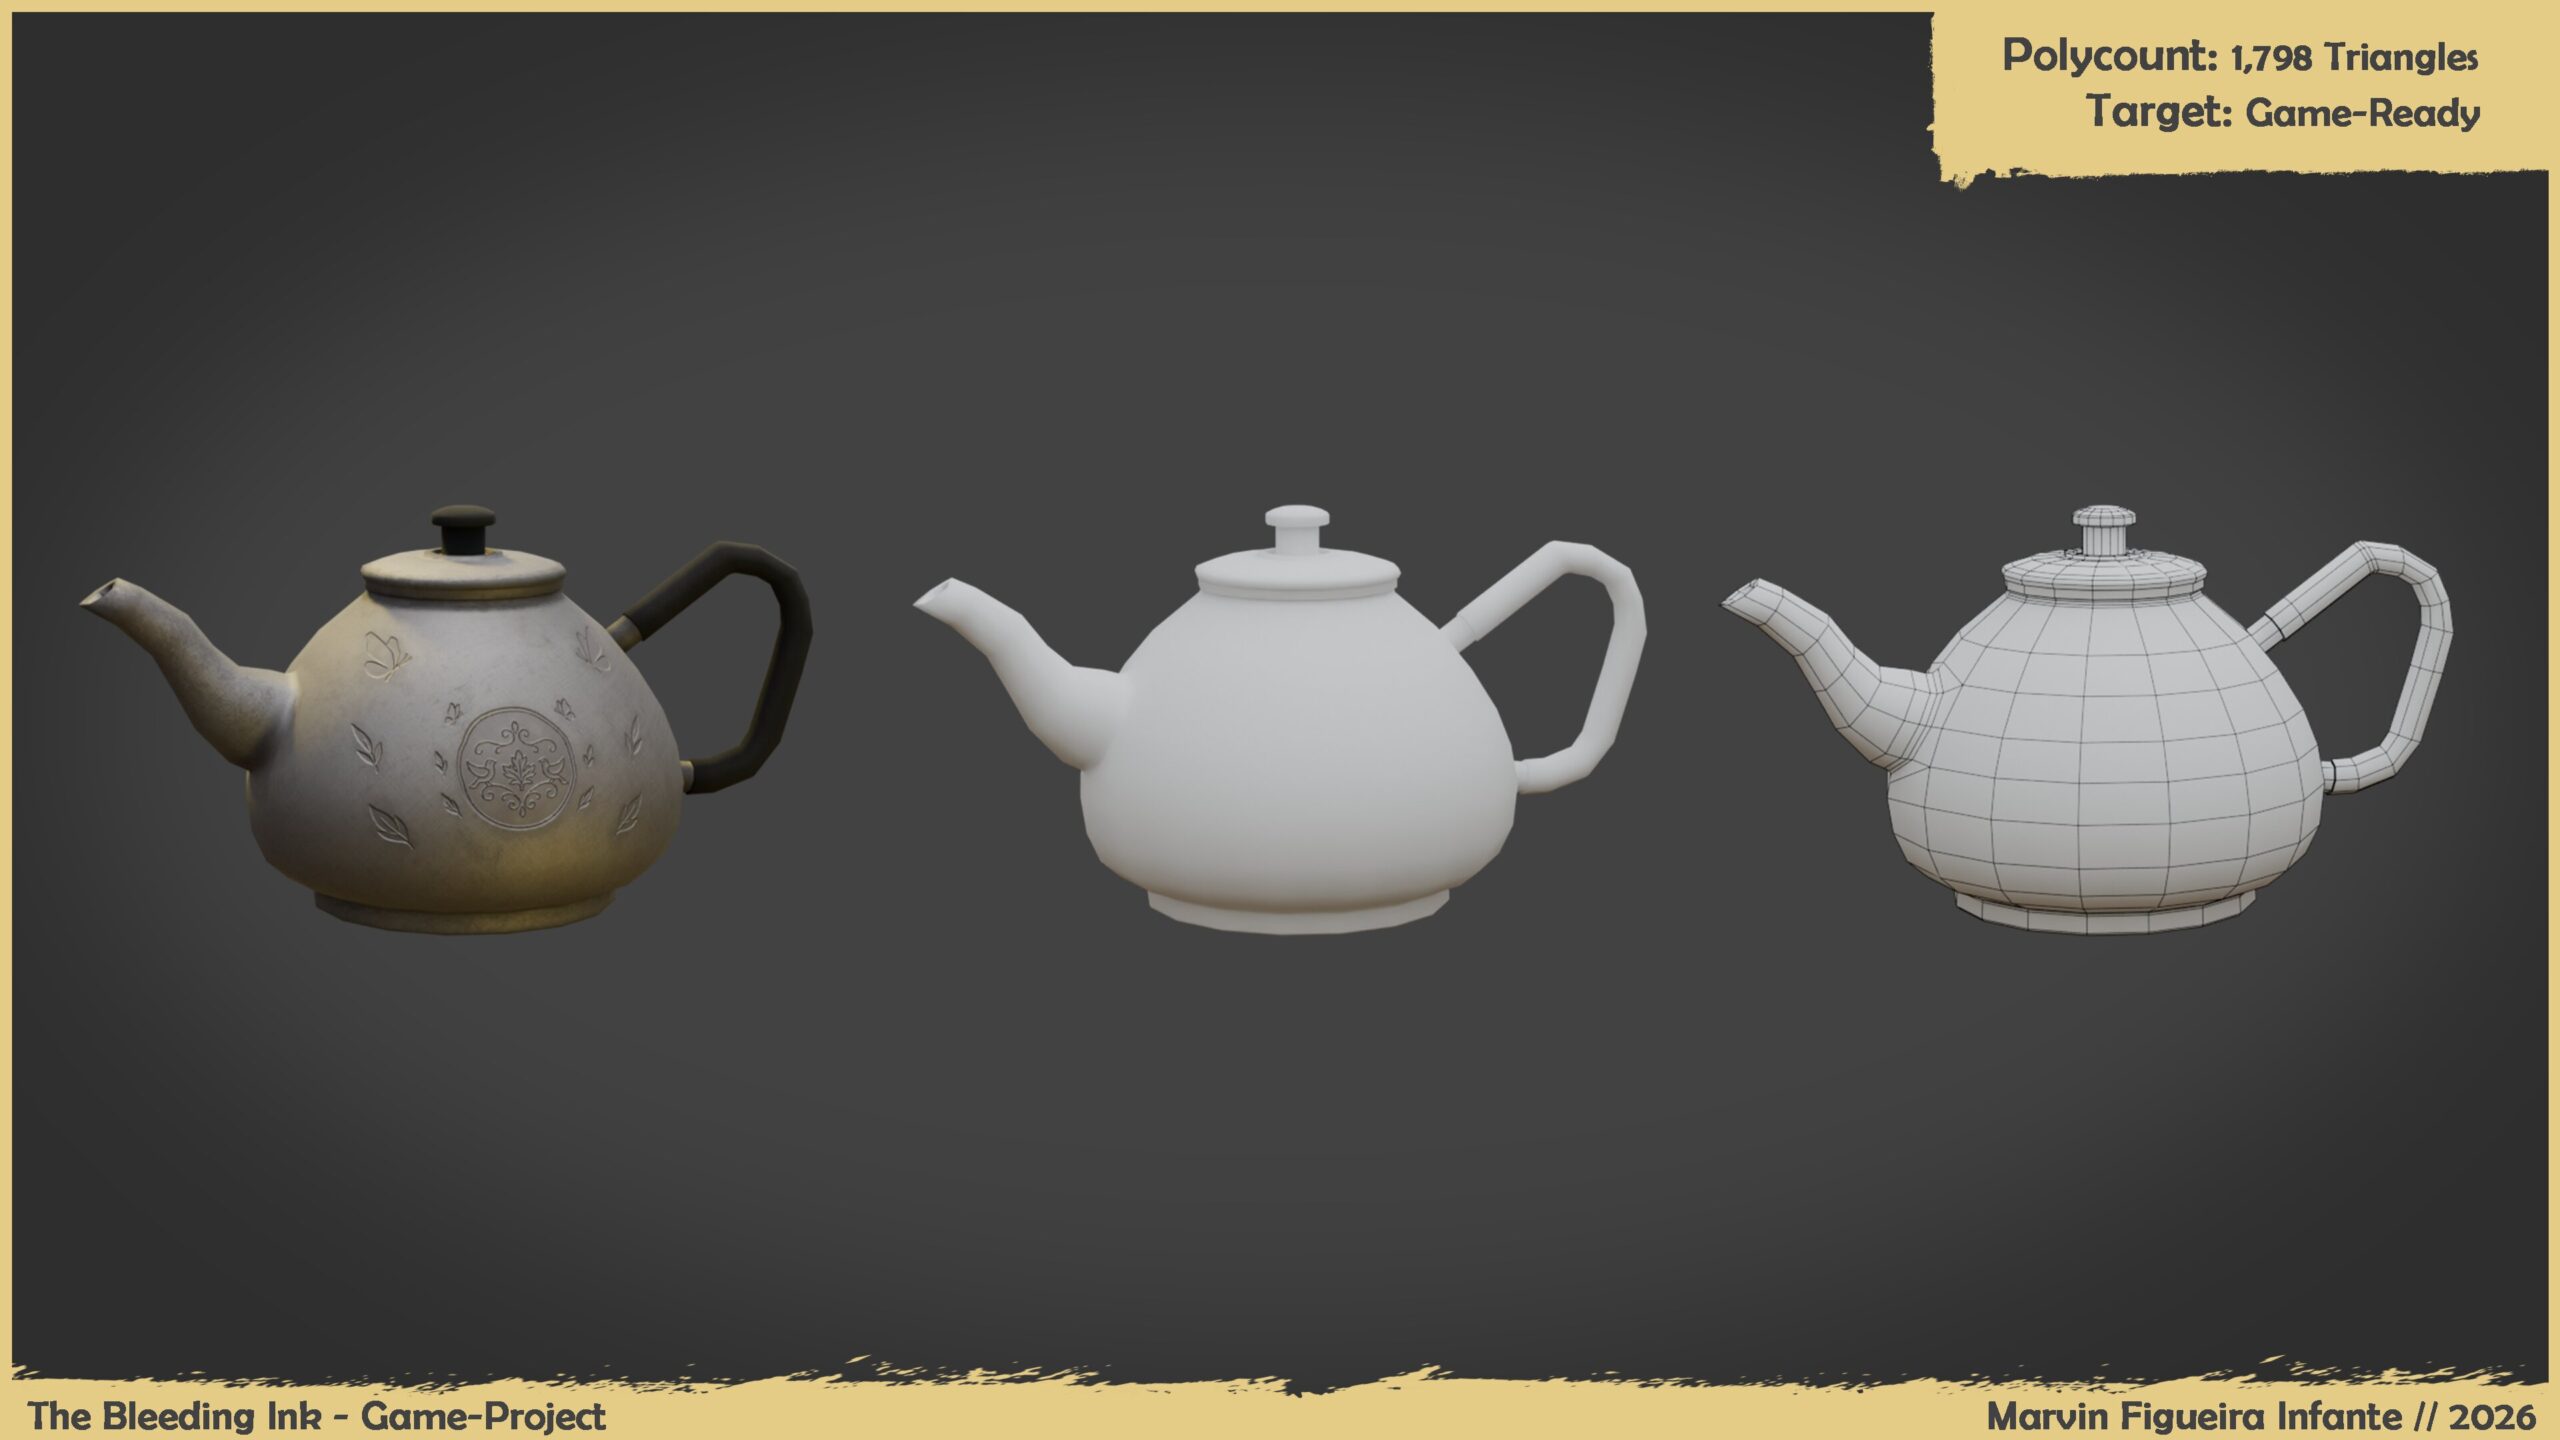
In this project, I created a small set of stylized environment props with a strong focus on game-ready asset creation. The goal was to keep the polycount low while maintaining clear shapes and strong visual readability suitable for real-time applications.
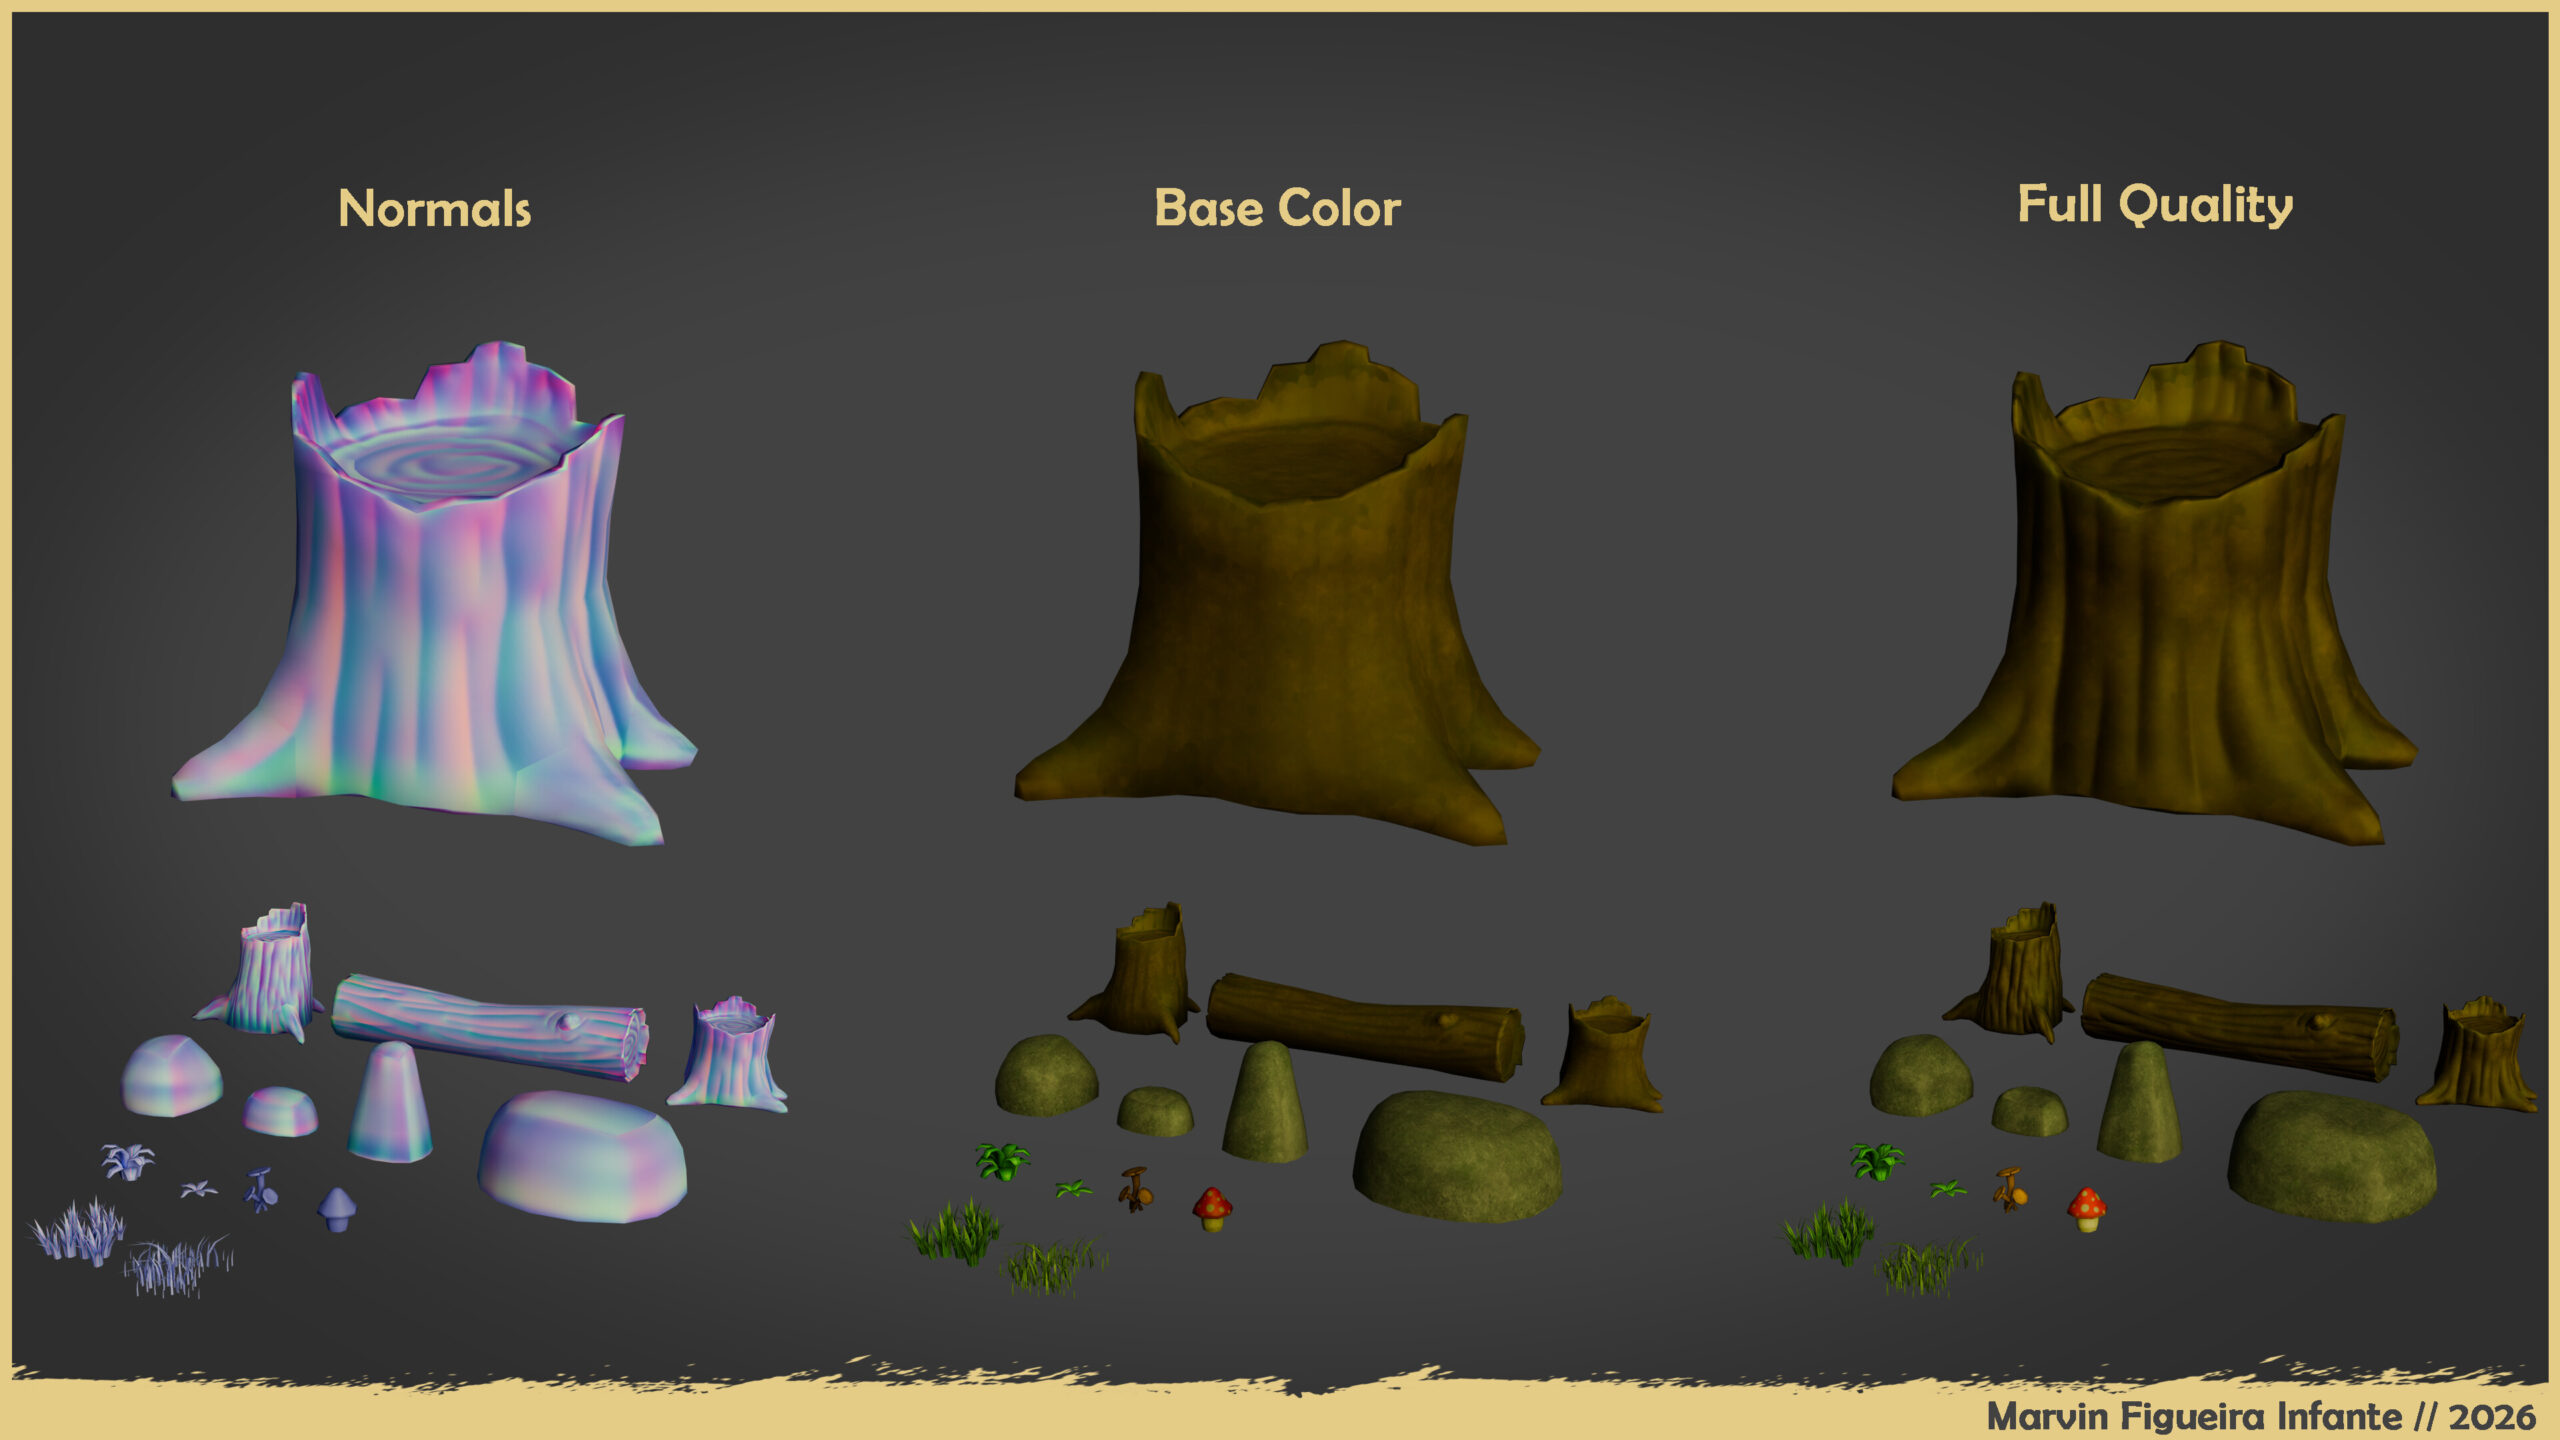
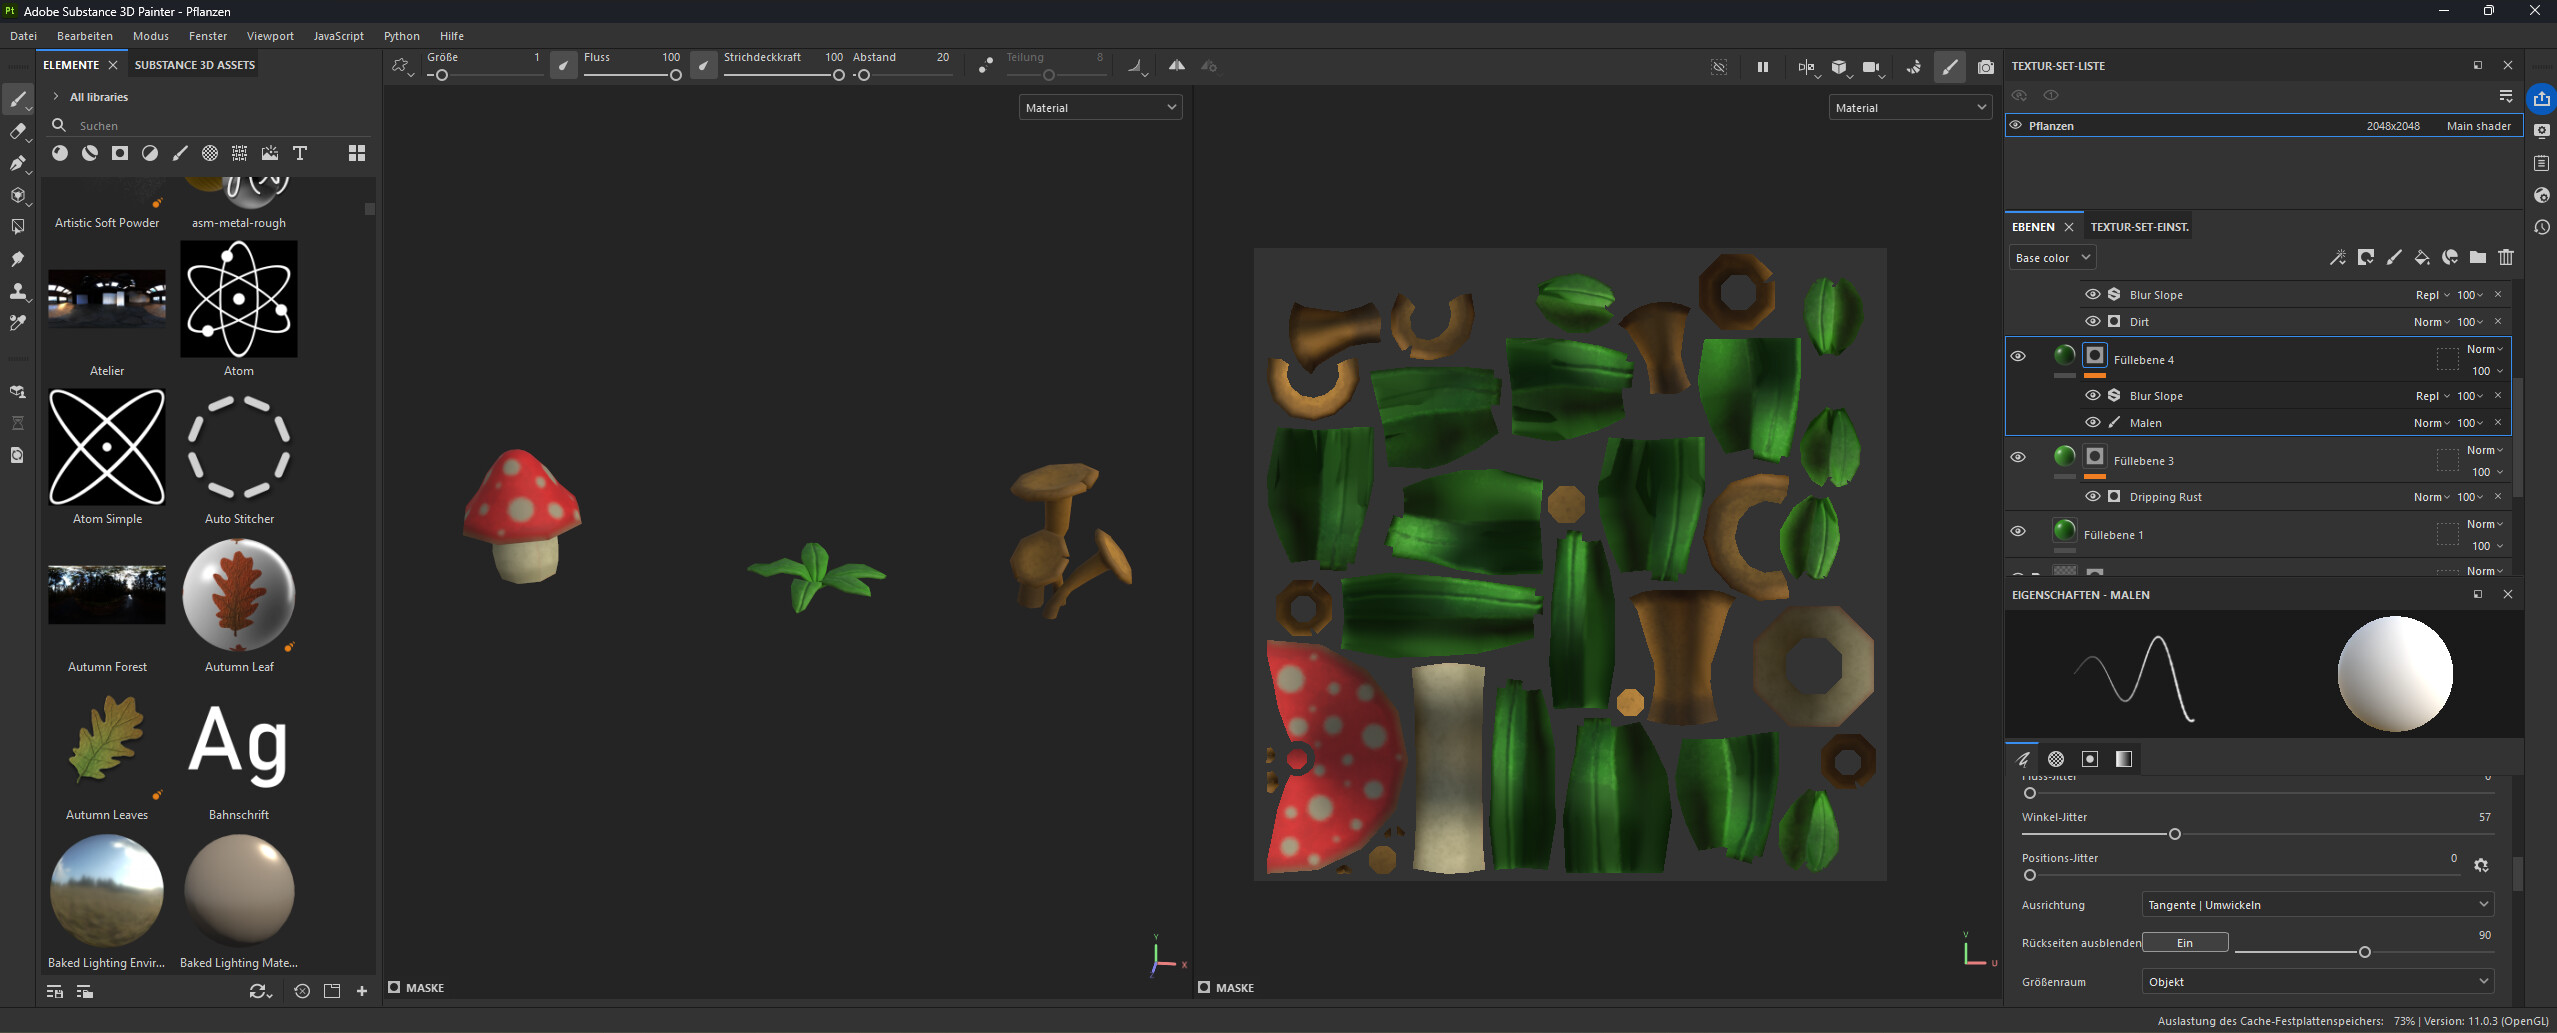
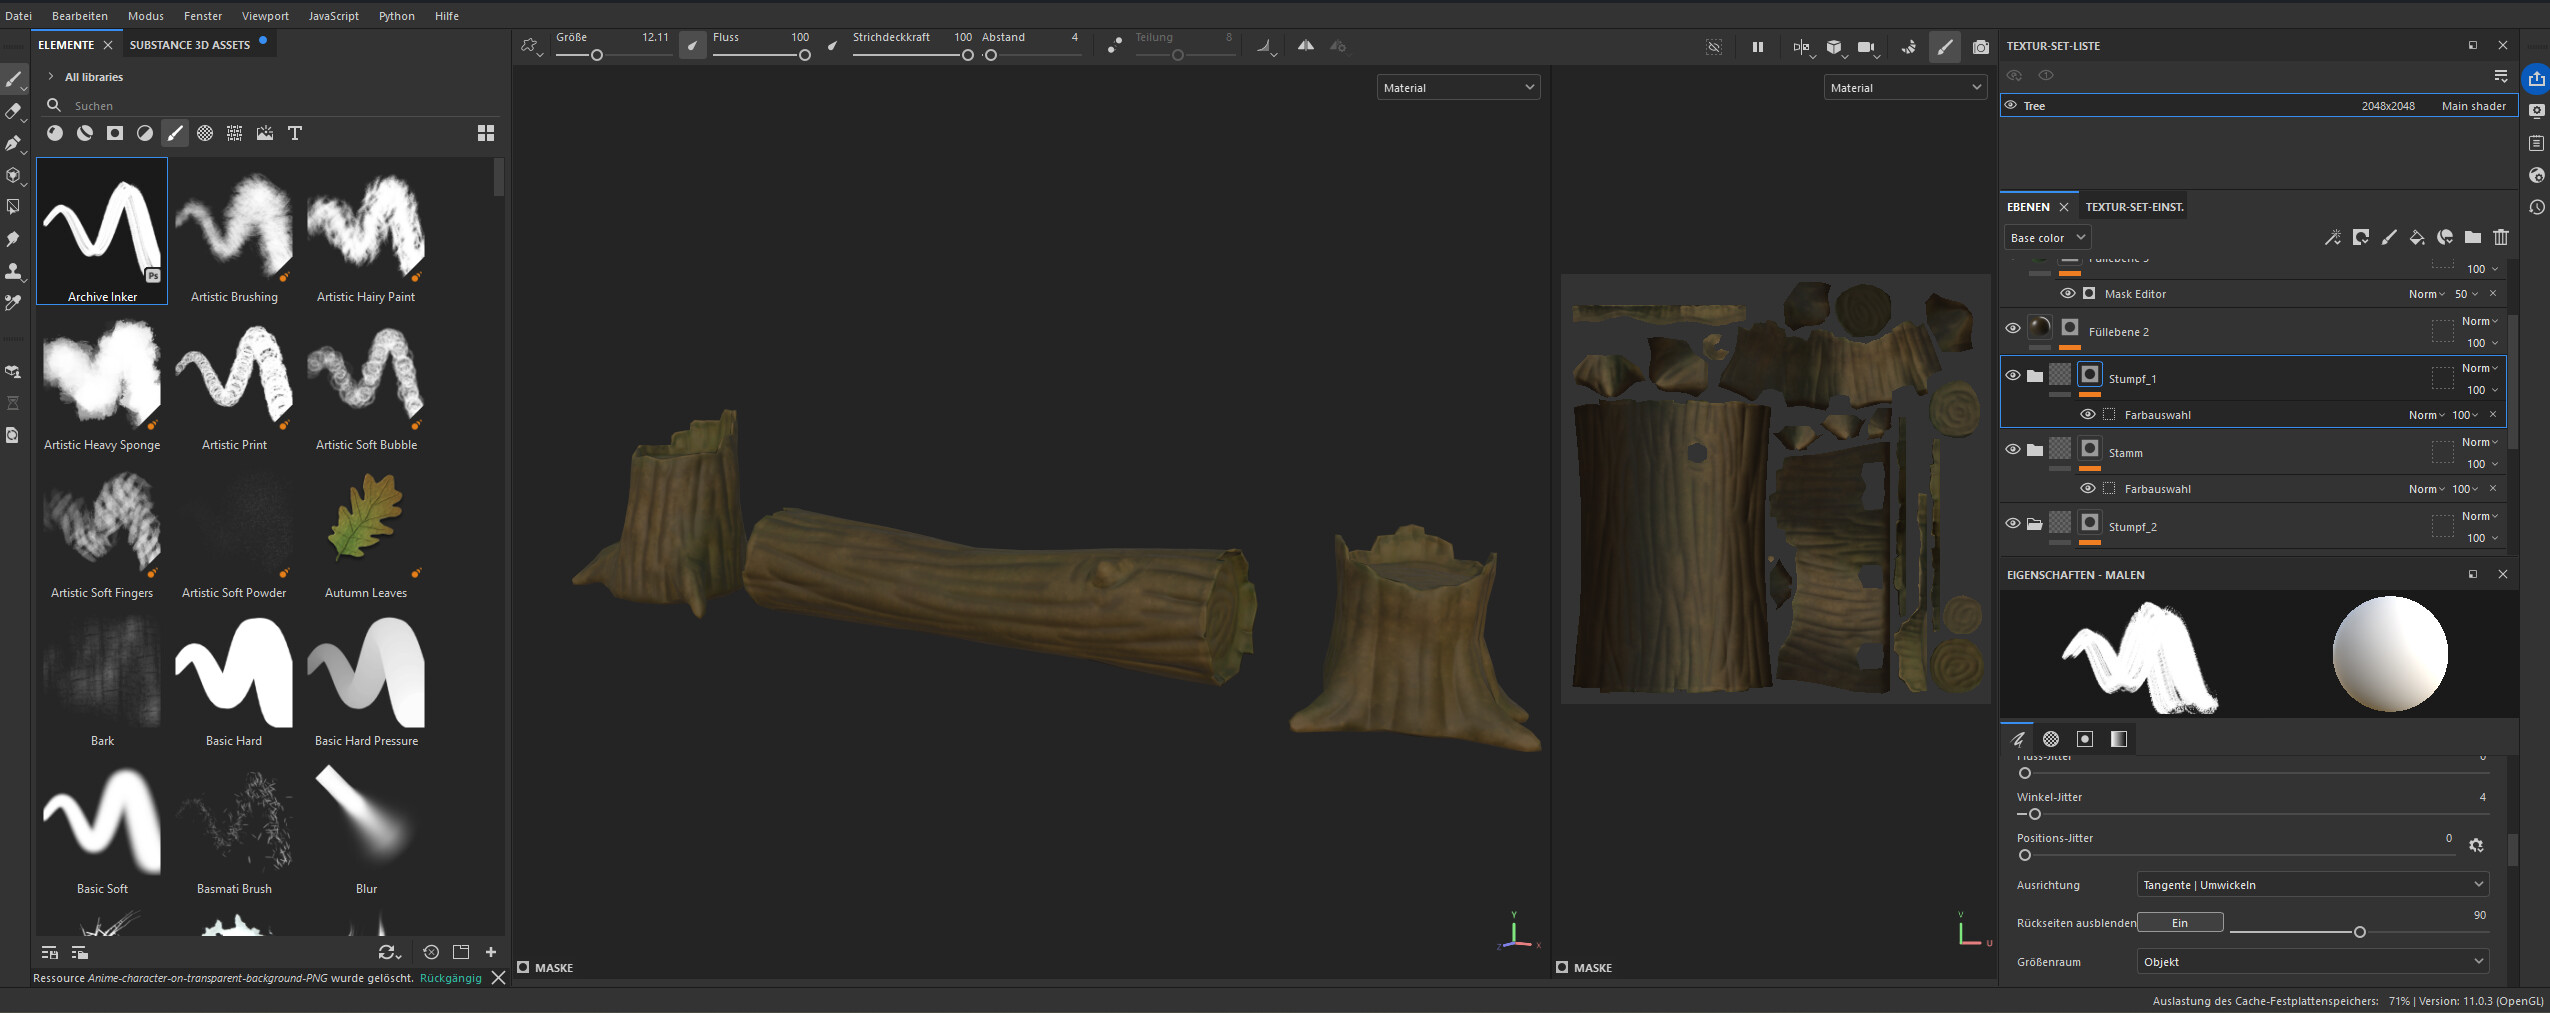
I sculpted the high-poly details in Blender and baked them down to normal maps, which were applied to optimized low-poly meshes. The textures were created in Substance Painter, following a stylized painted texture approach rather than aiming for realism.
This project helped me strengthen my understanding of efficient asset workflows, normal map baking, and stylized texturing for games. It also allowed me to further refine my ability to balance performance and visual quality in real-time environments.
Tools used:
Blender
Substance Painter
Hier klicken, um den Inhalt von itch.io anzuzeigen.
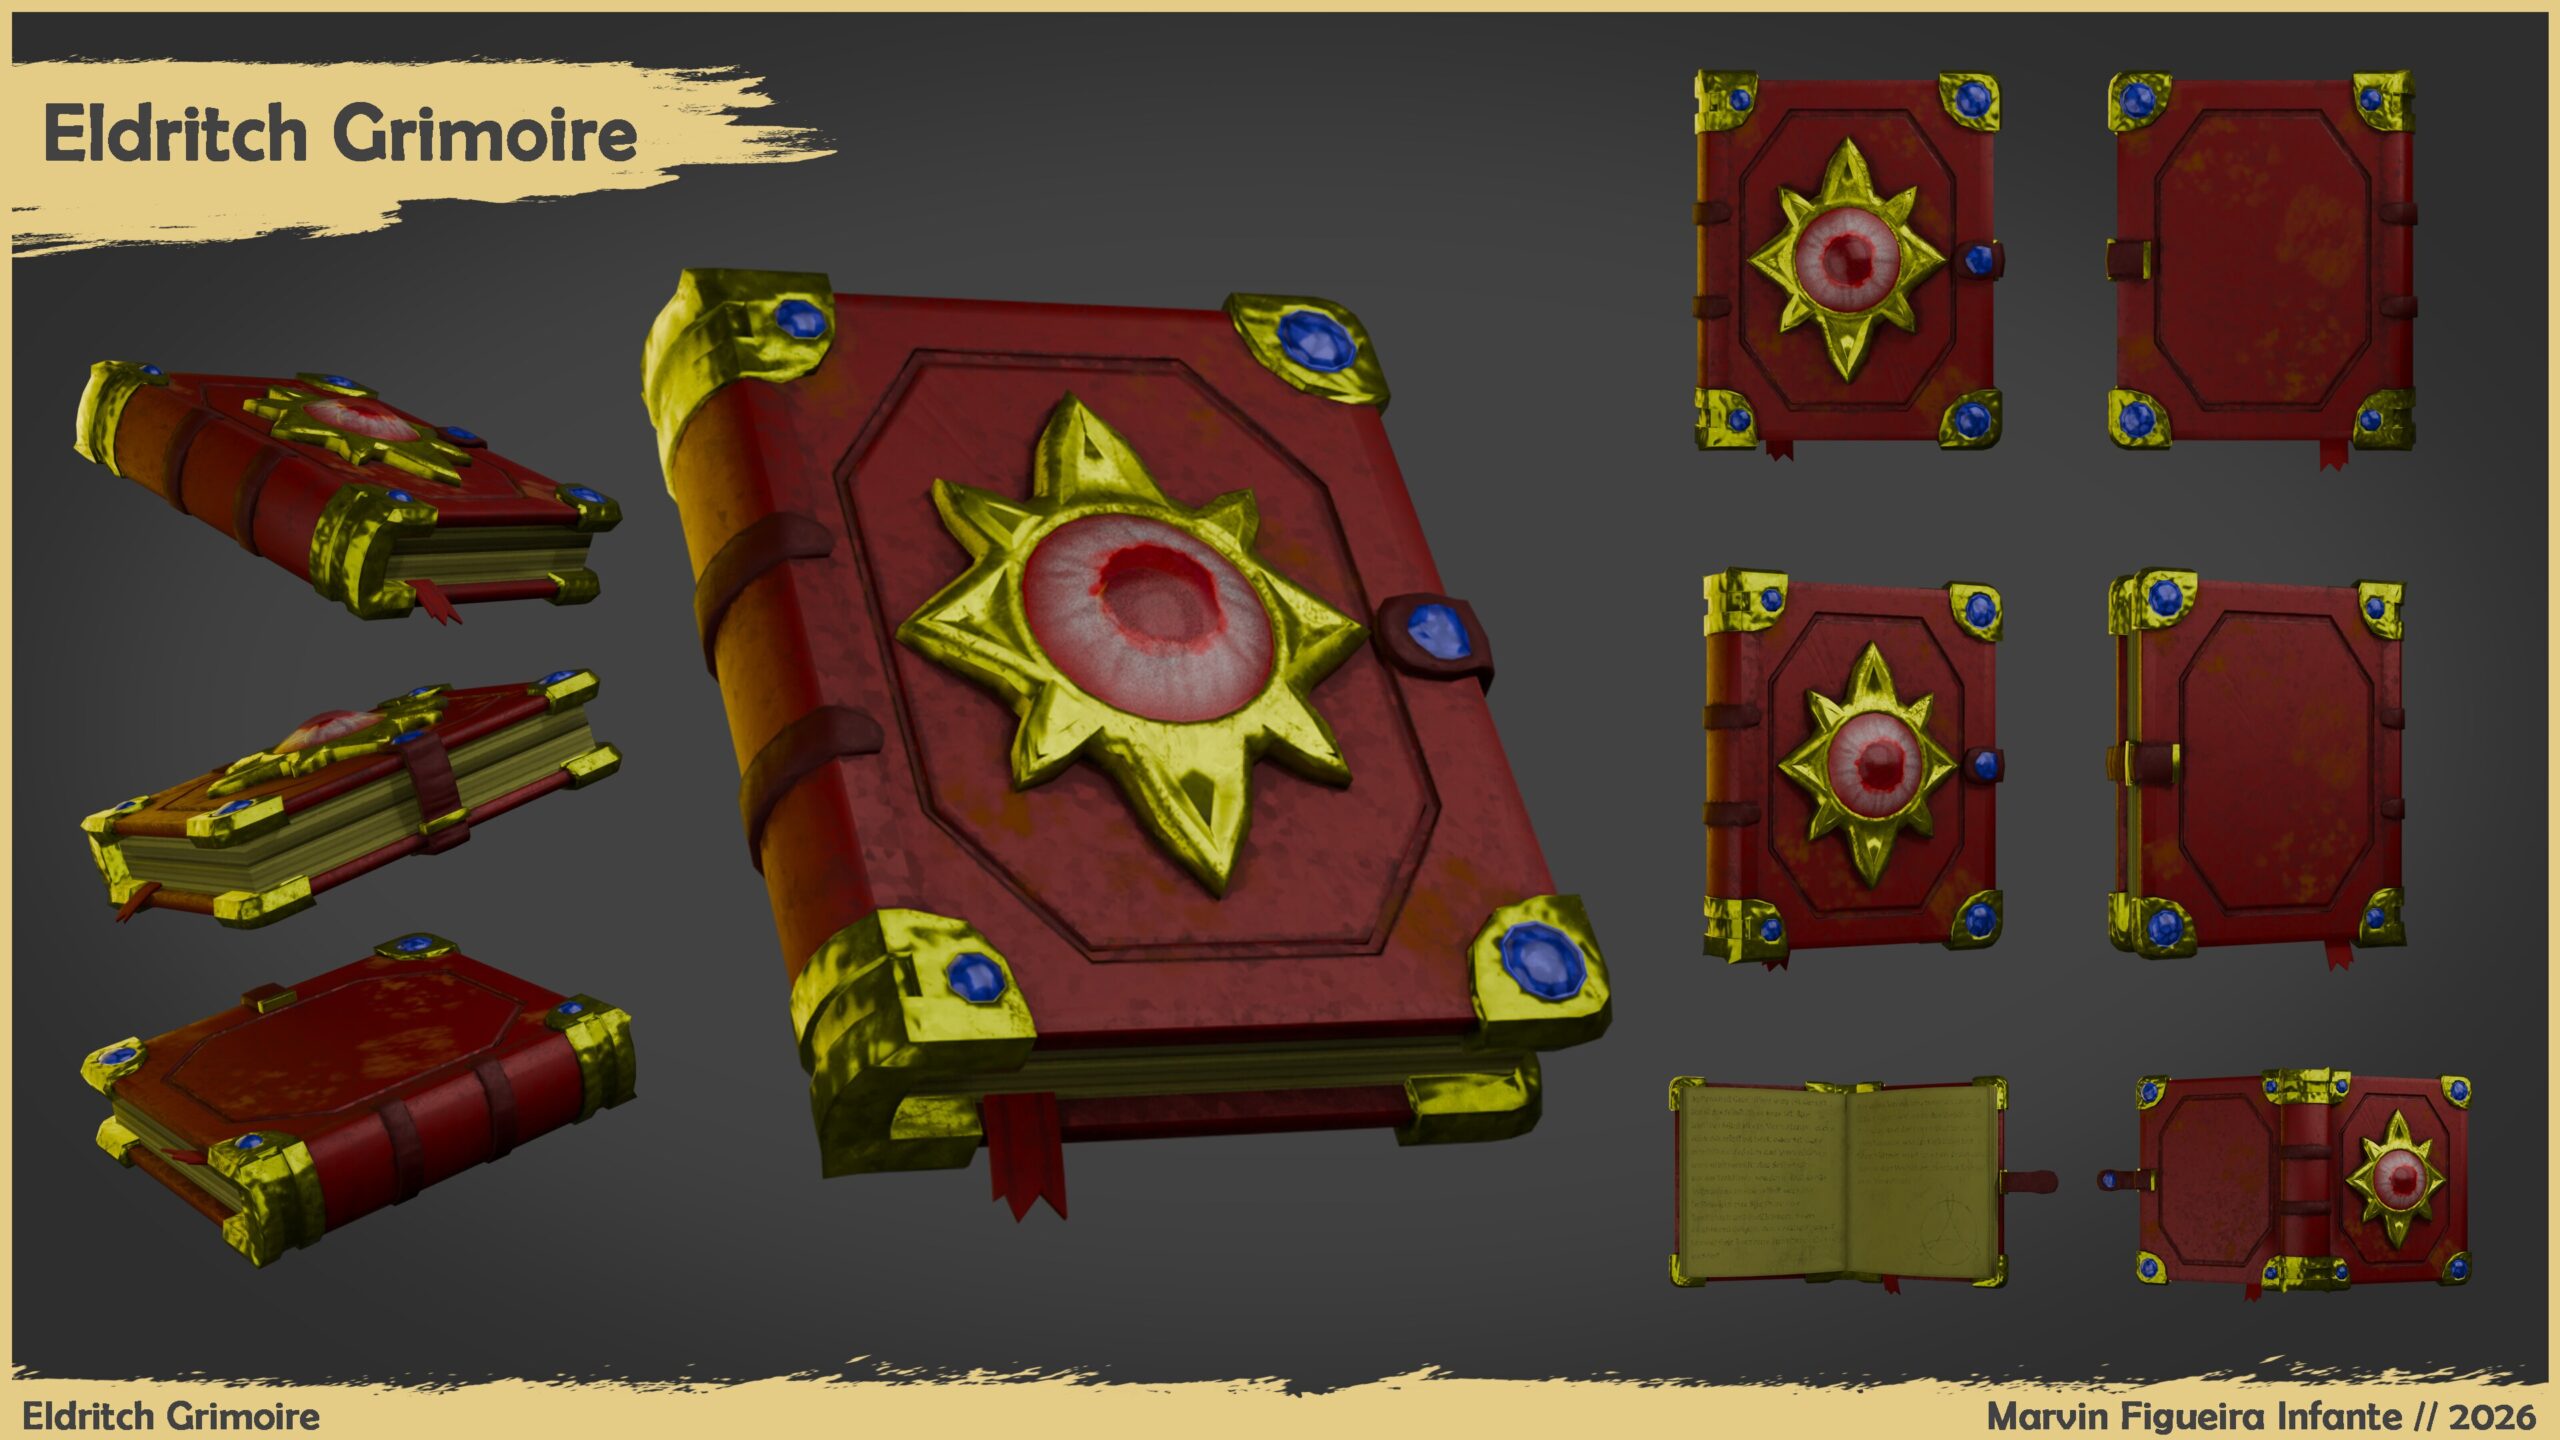
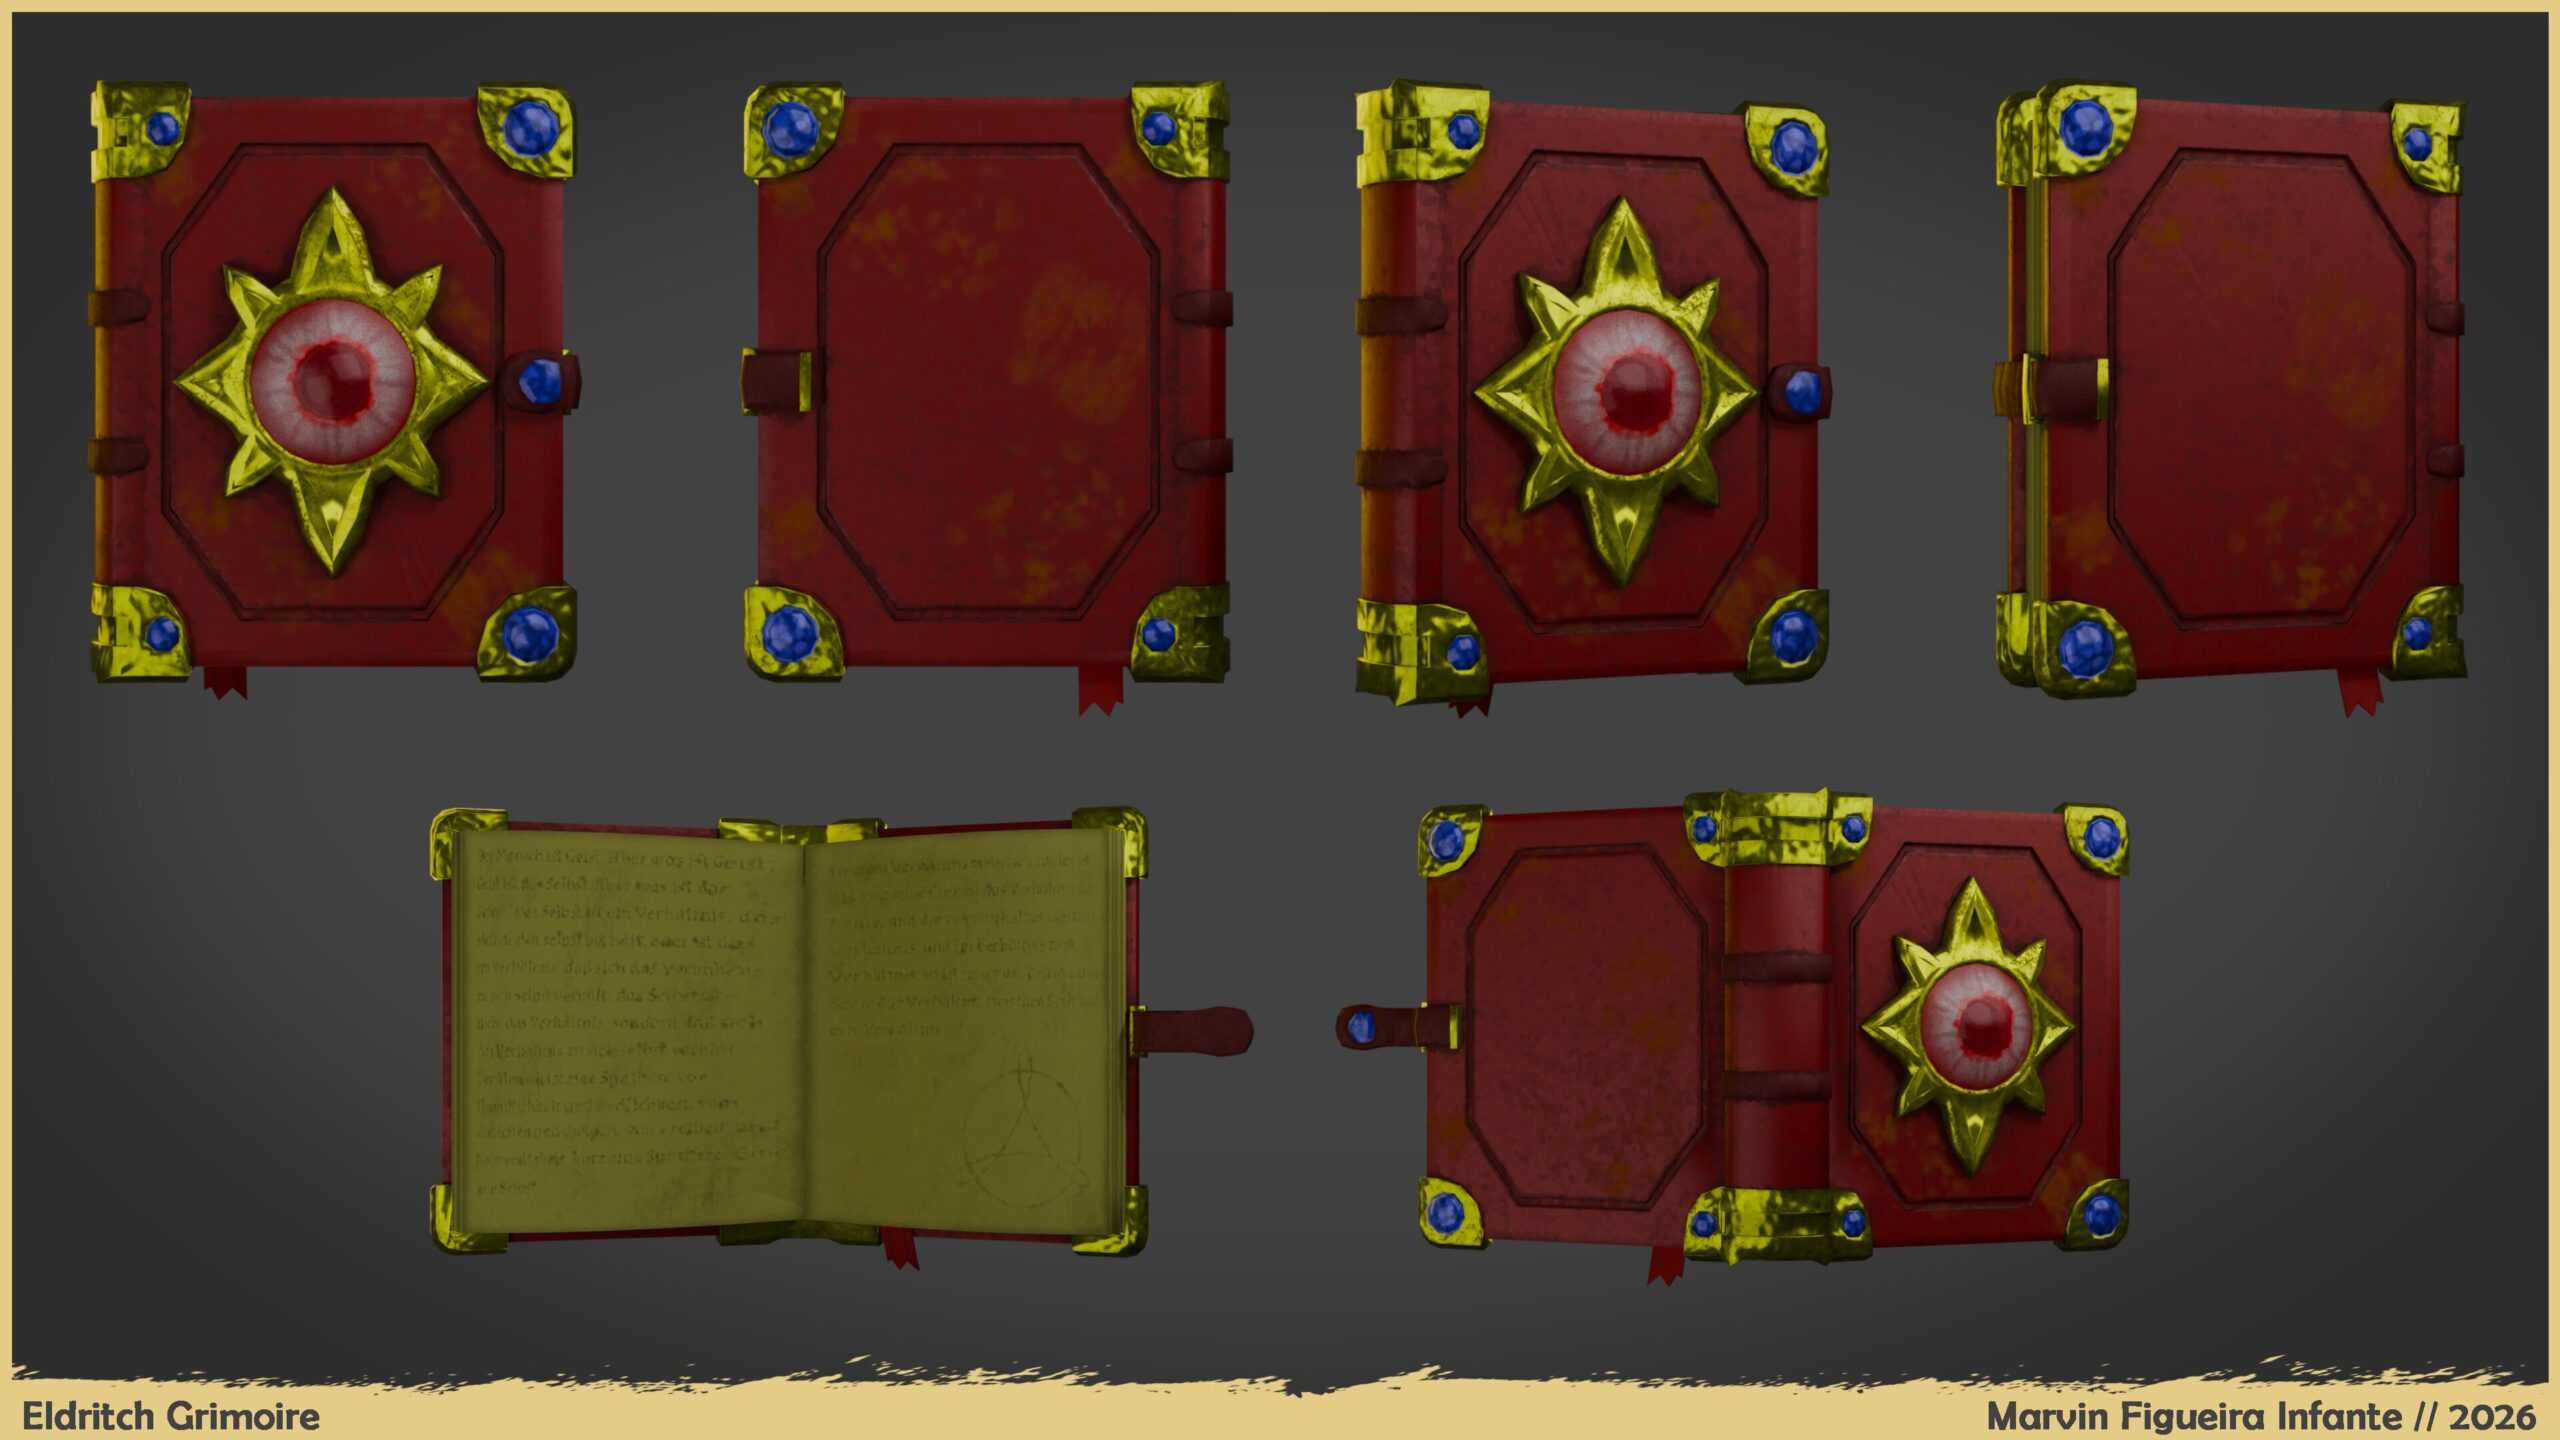
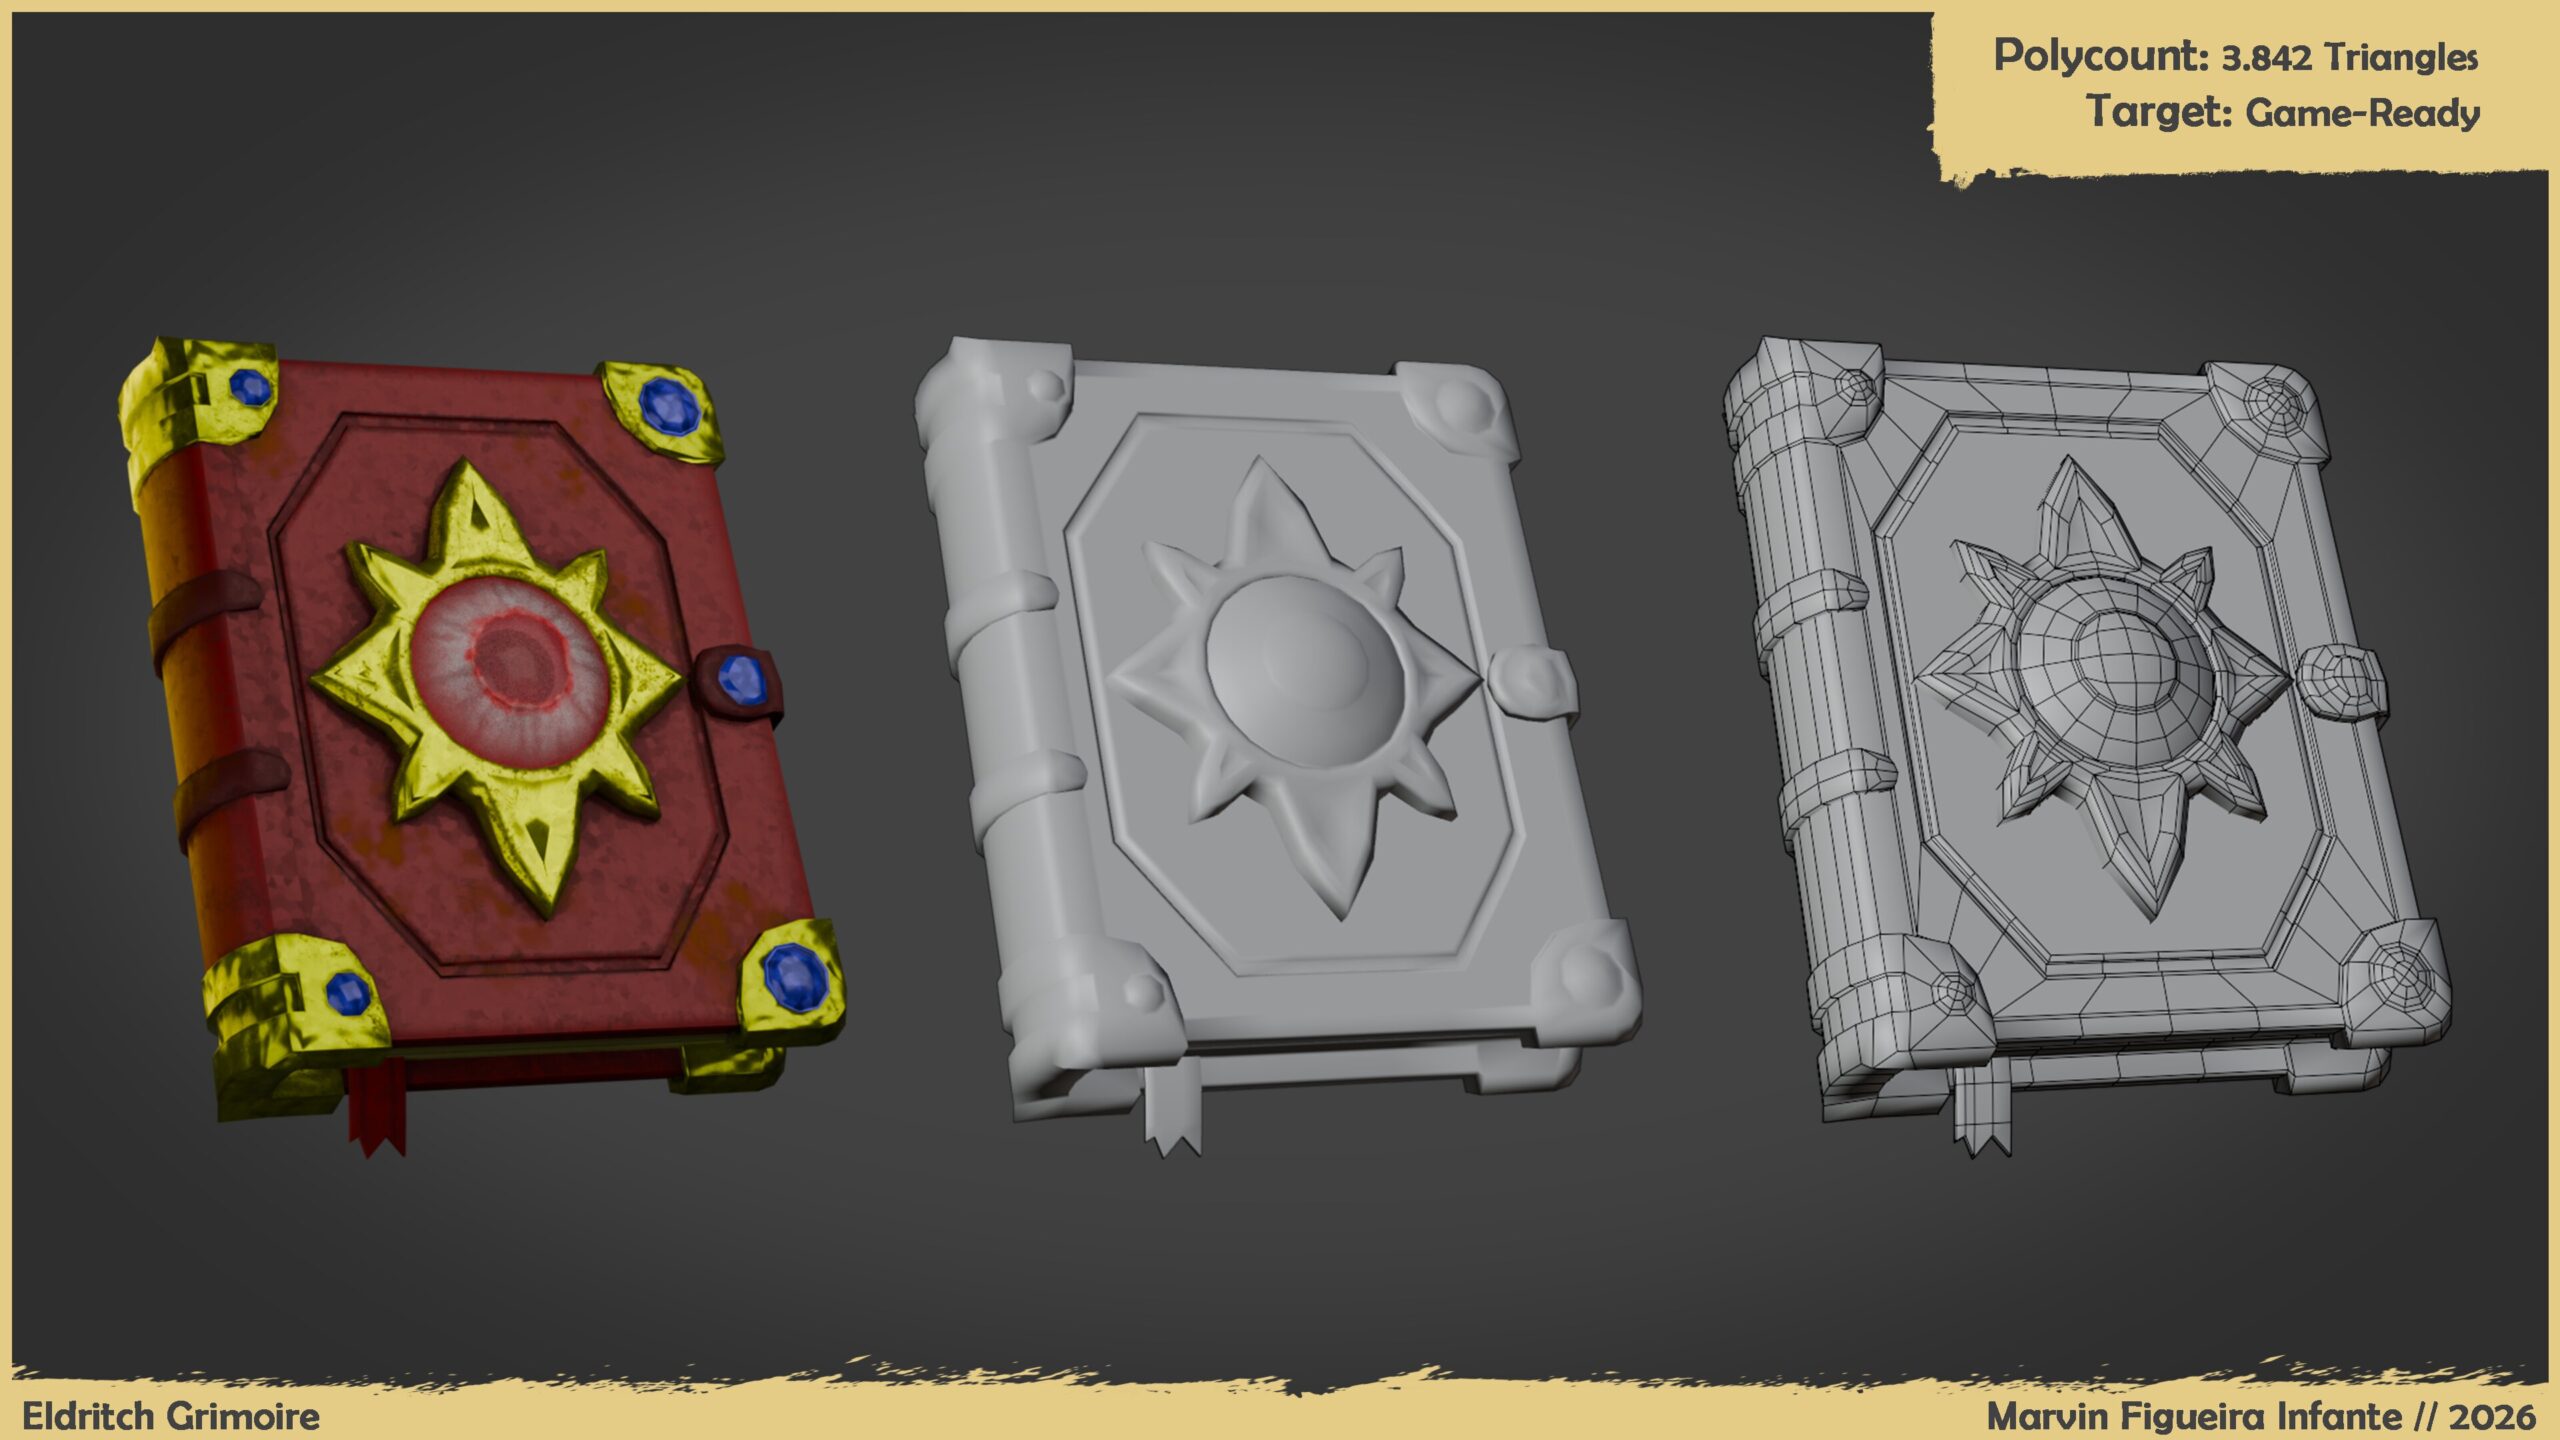
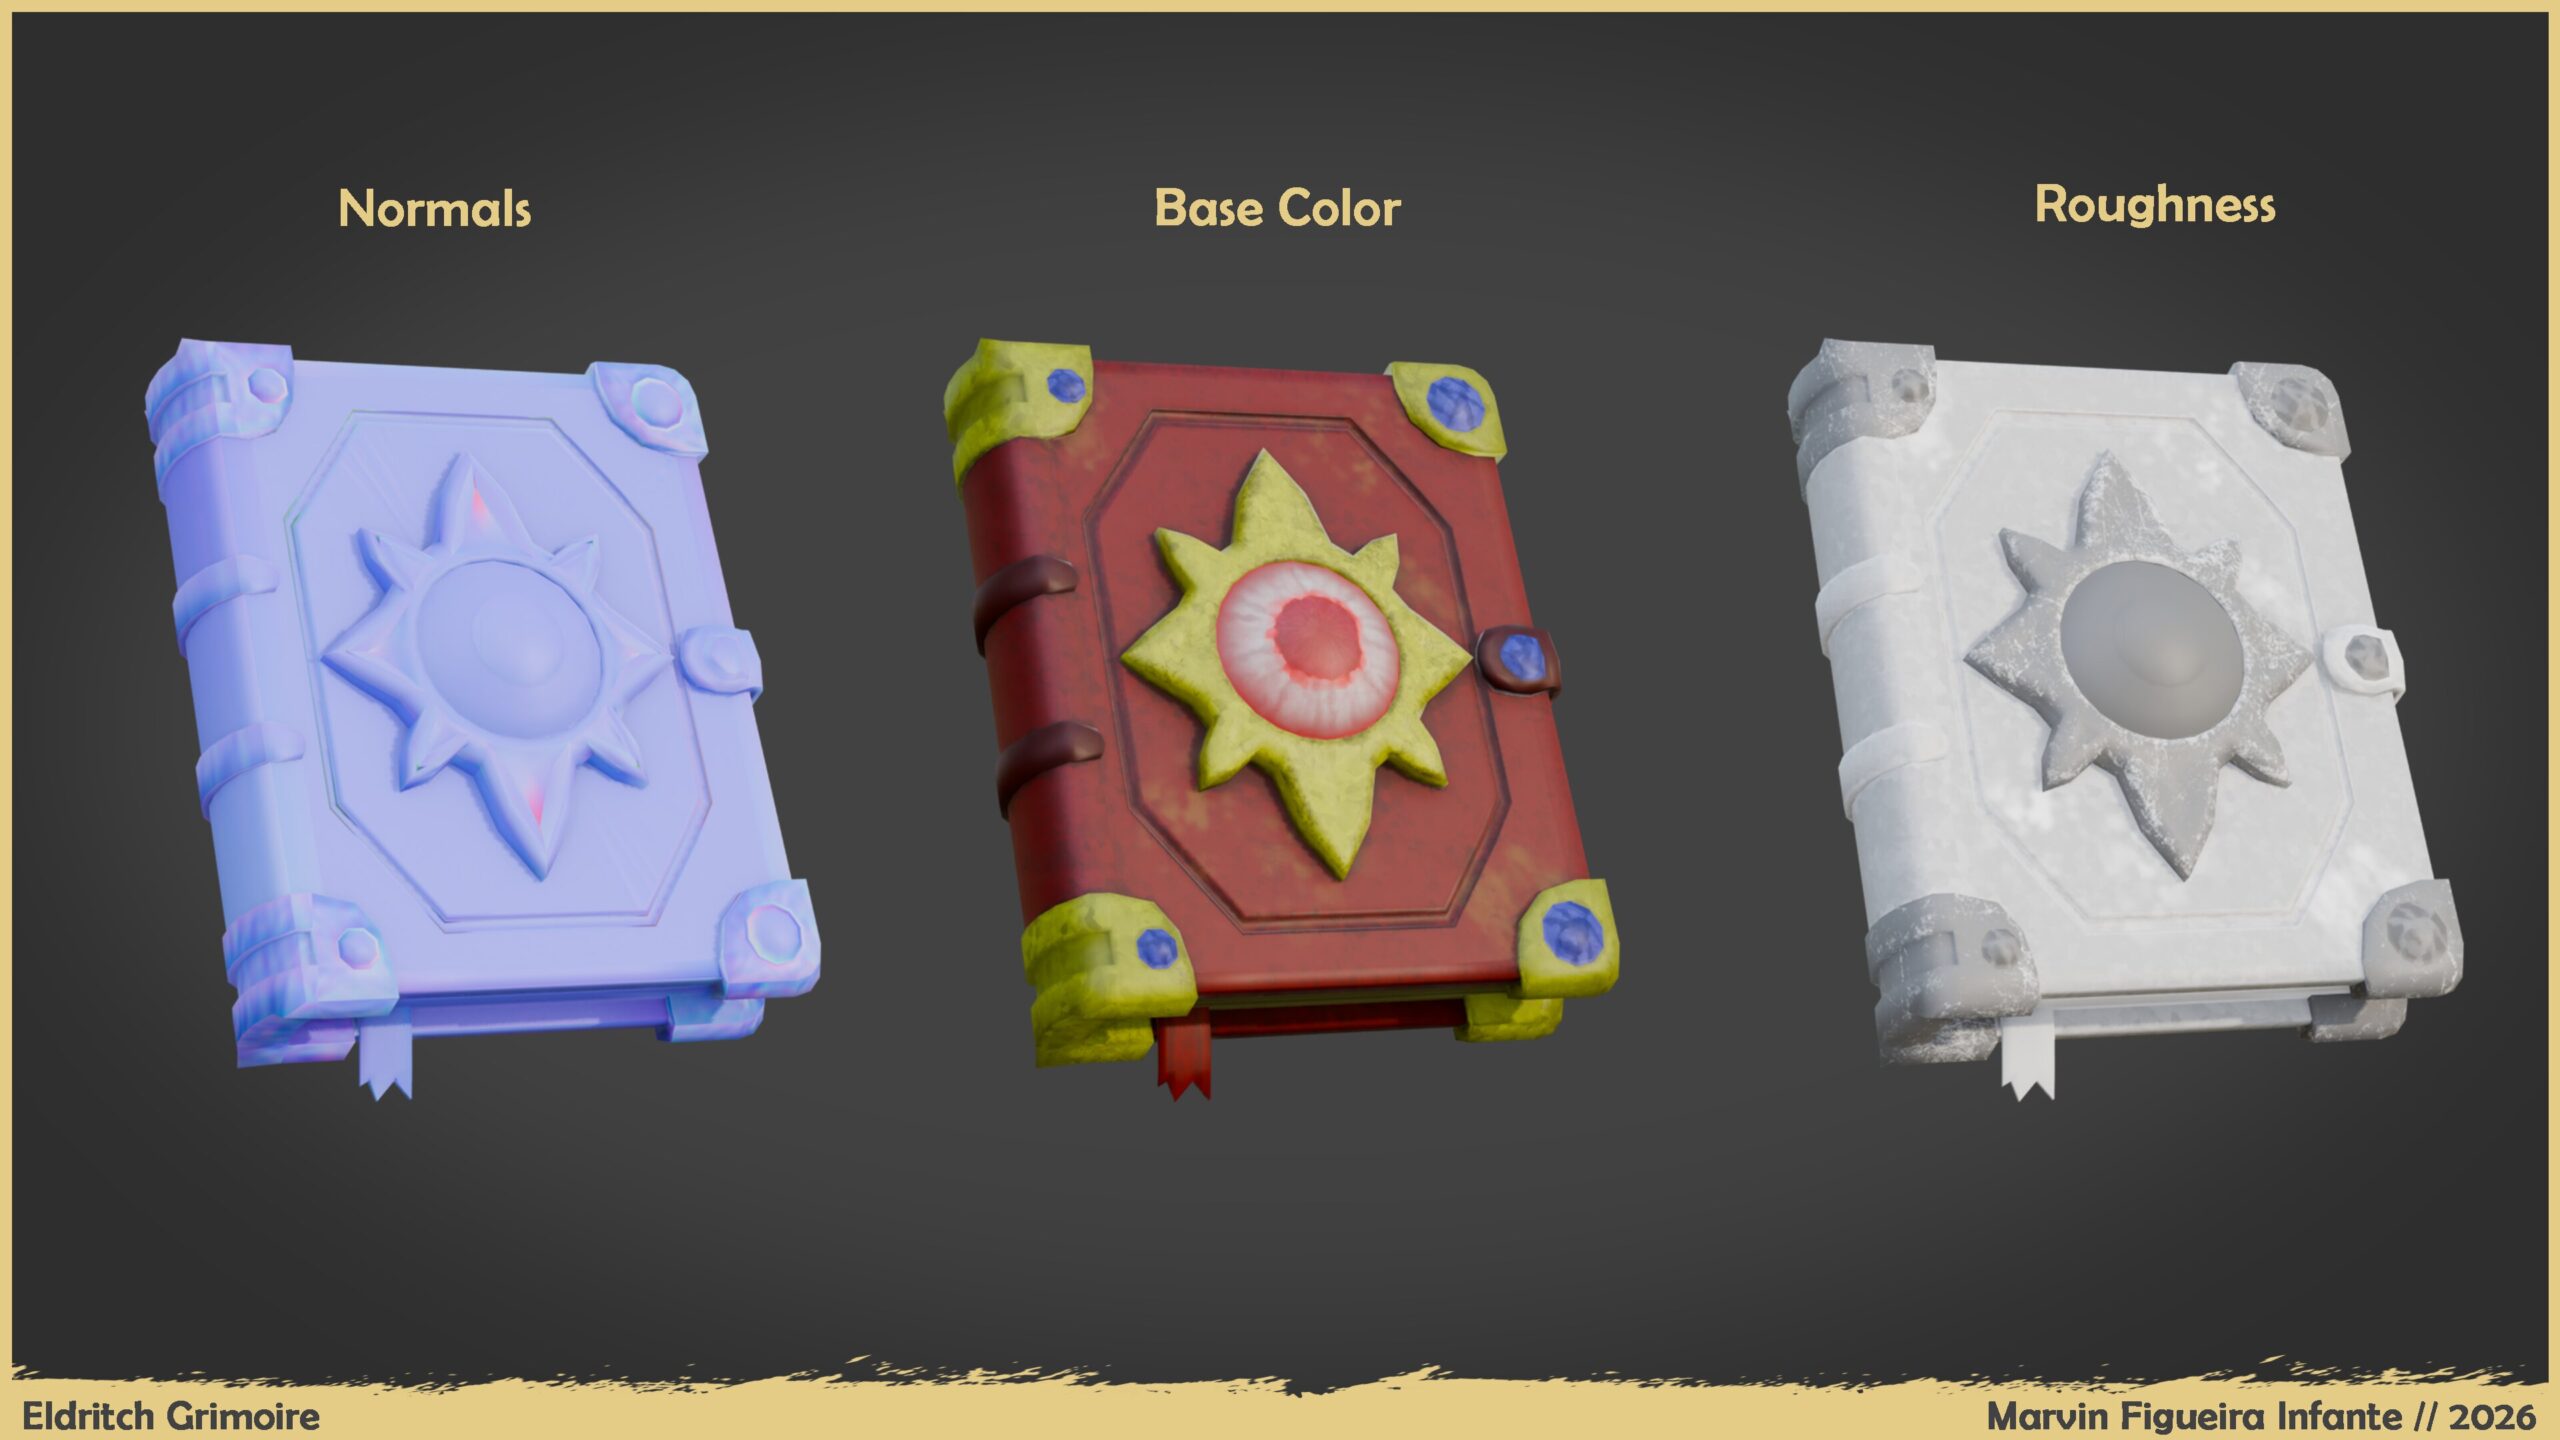
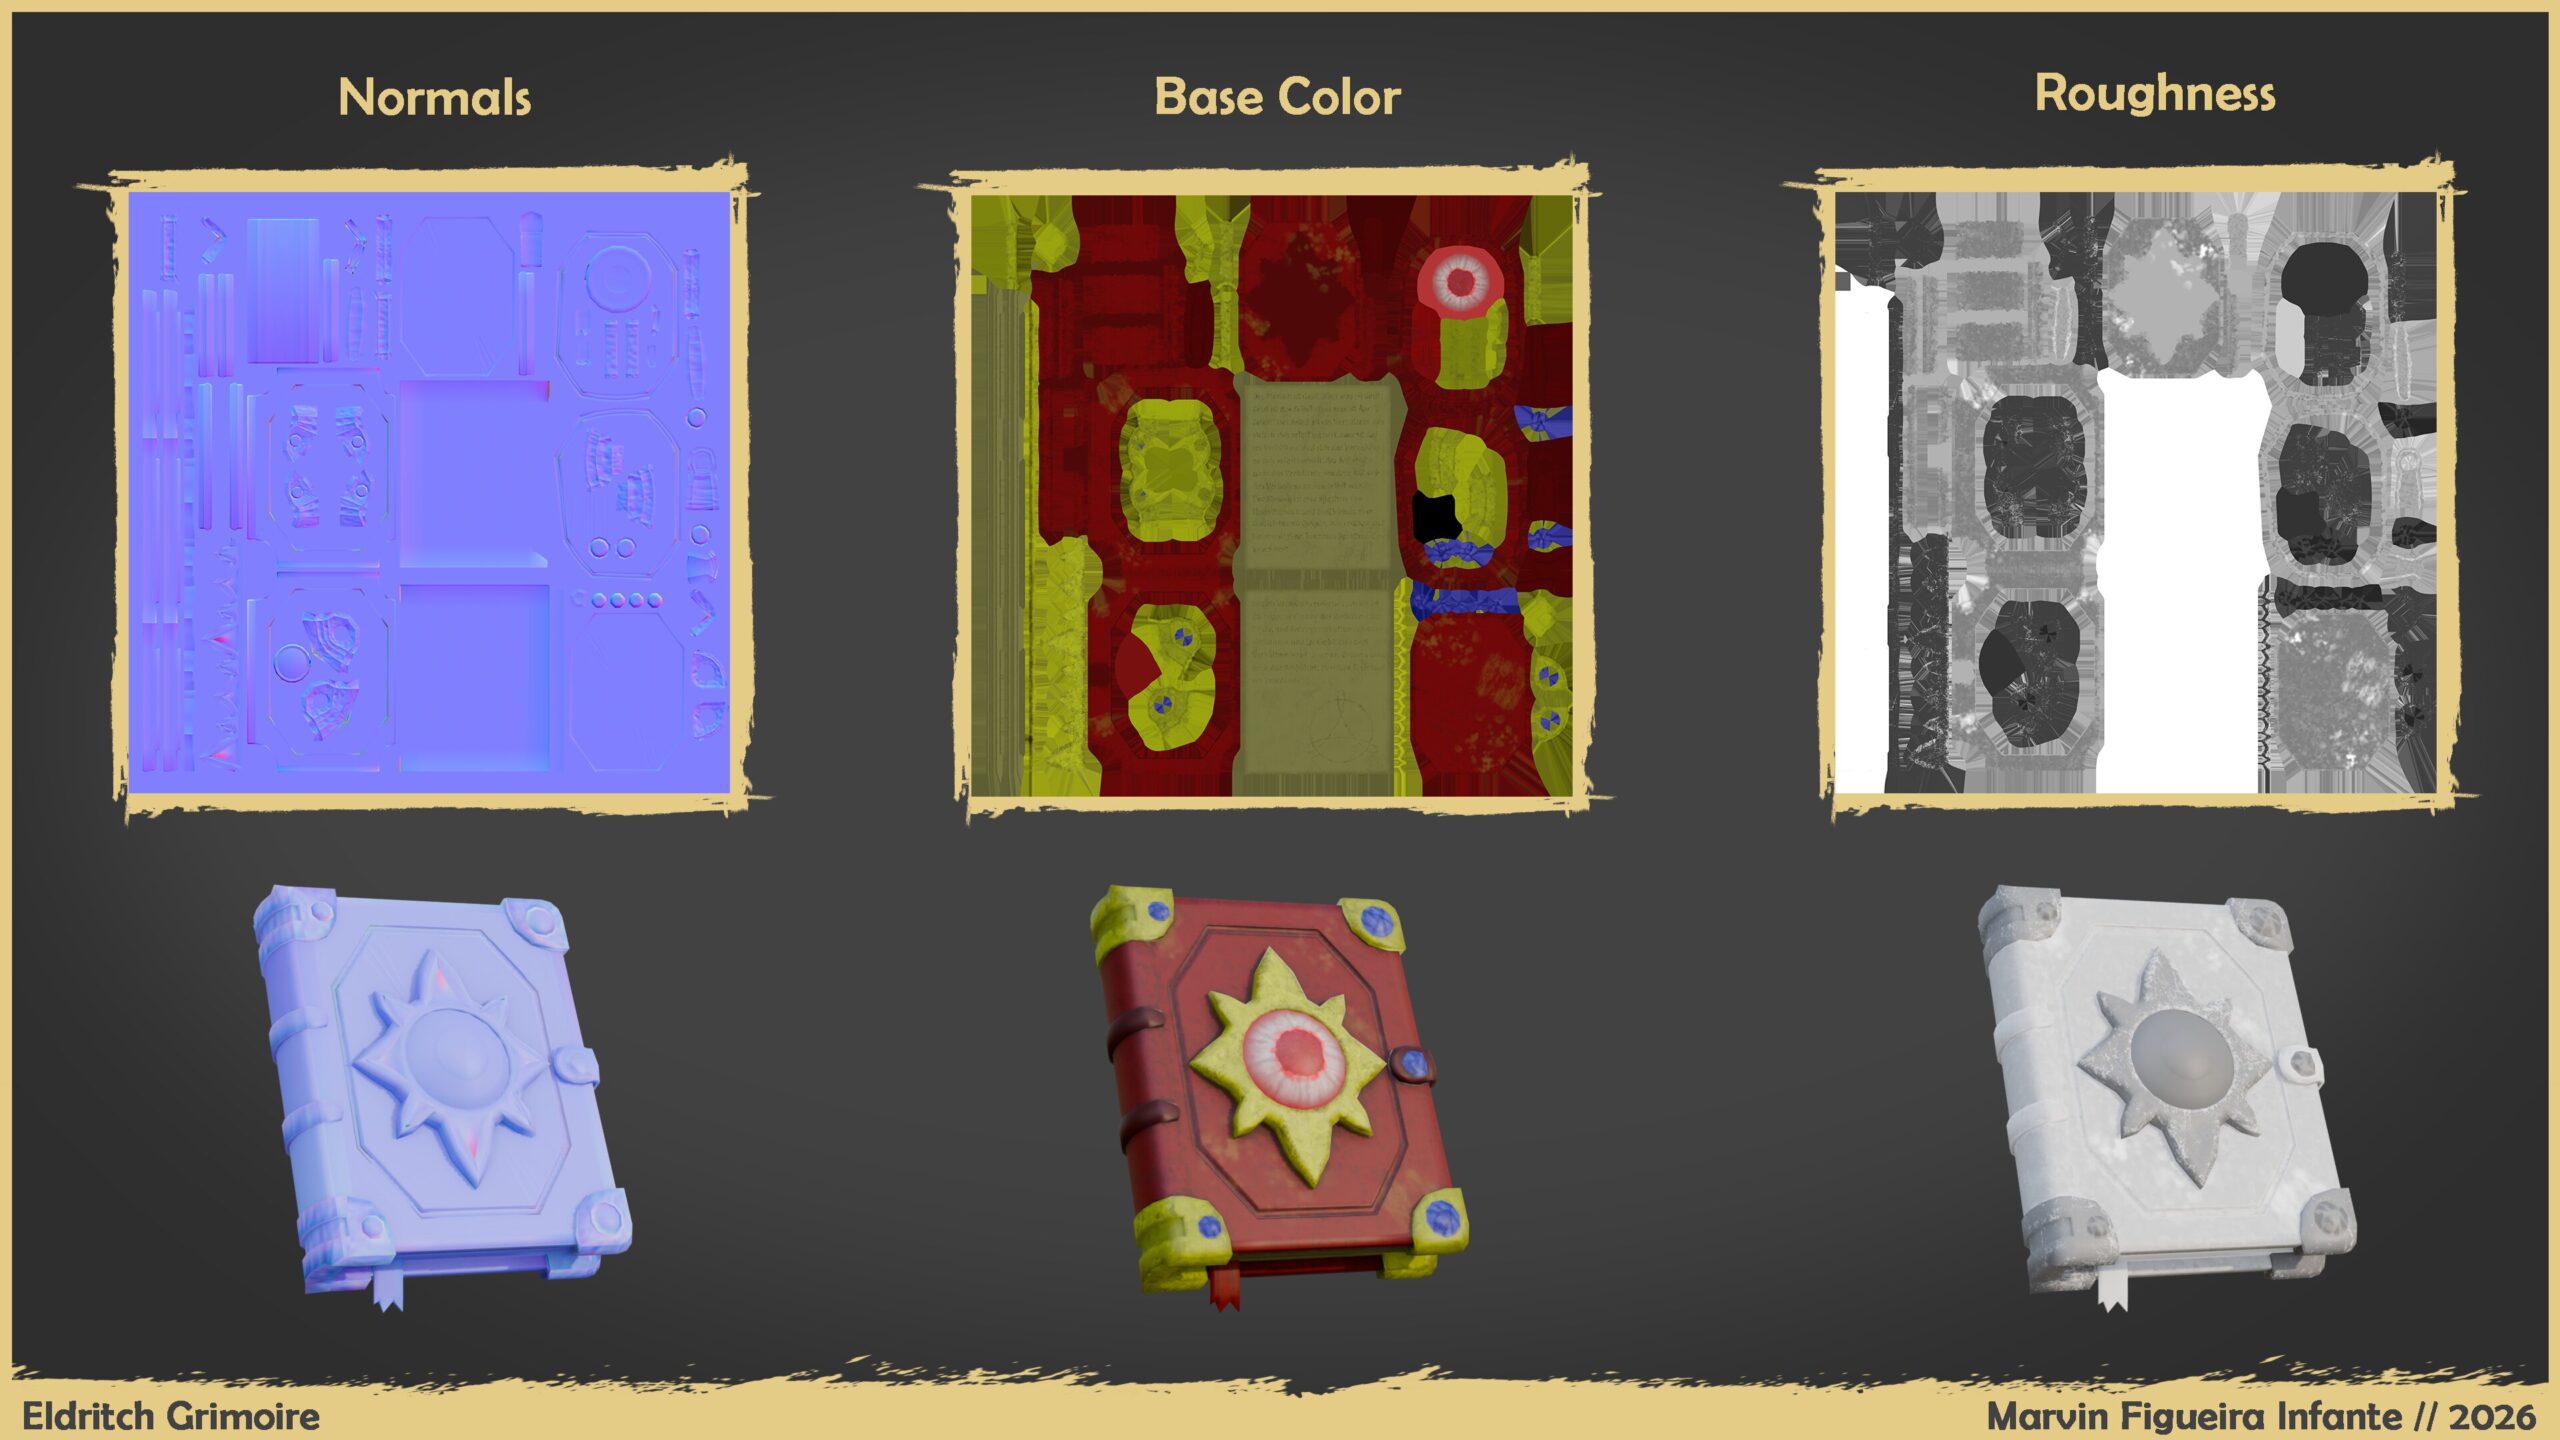
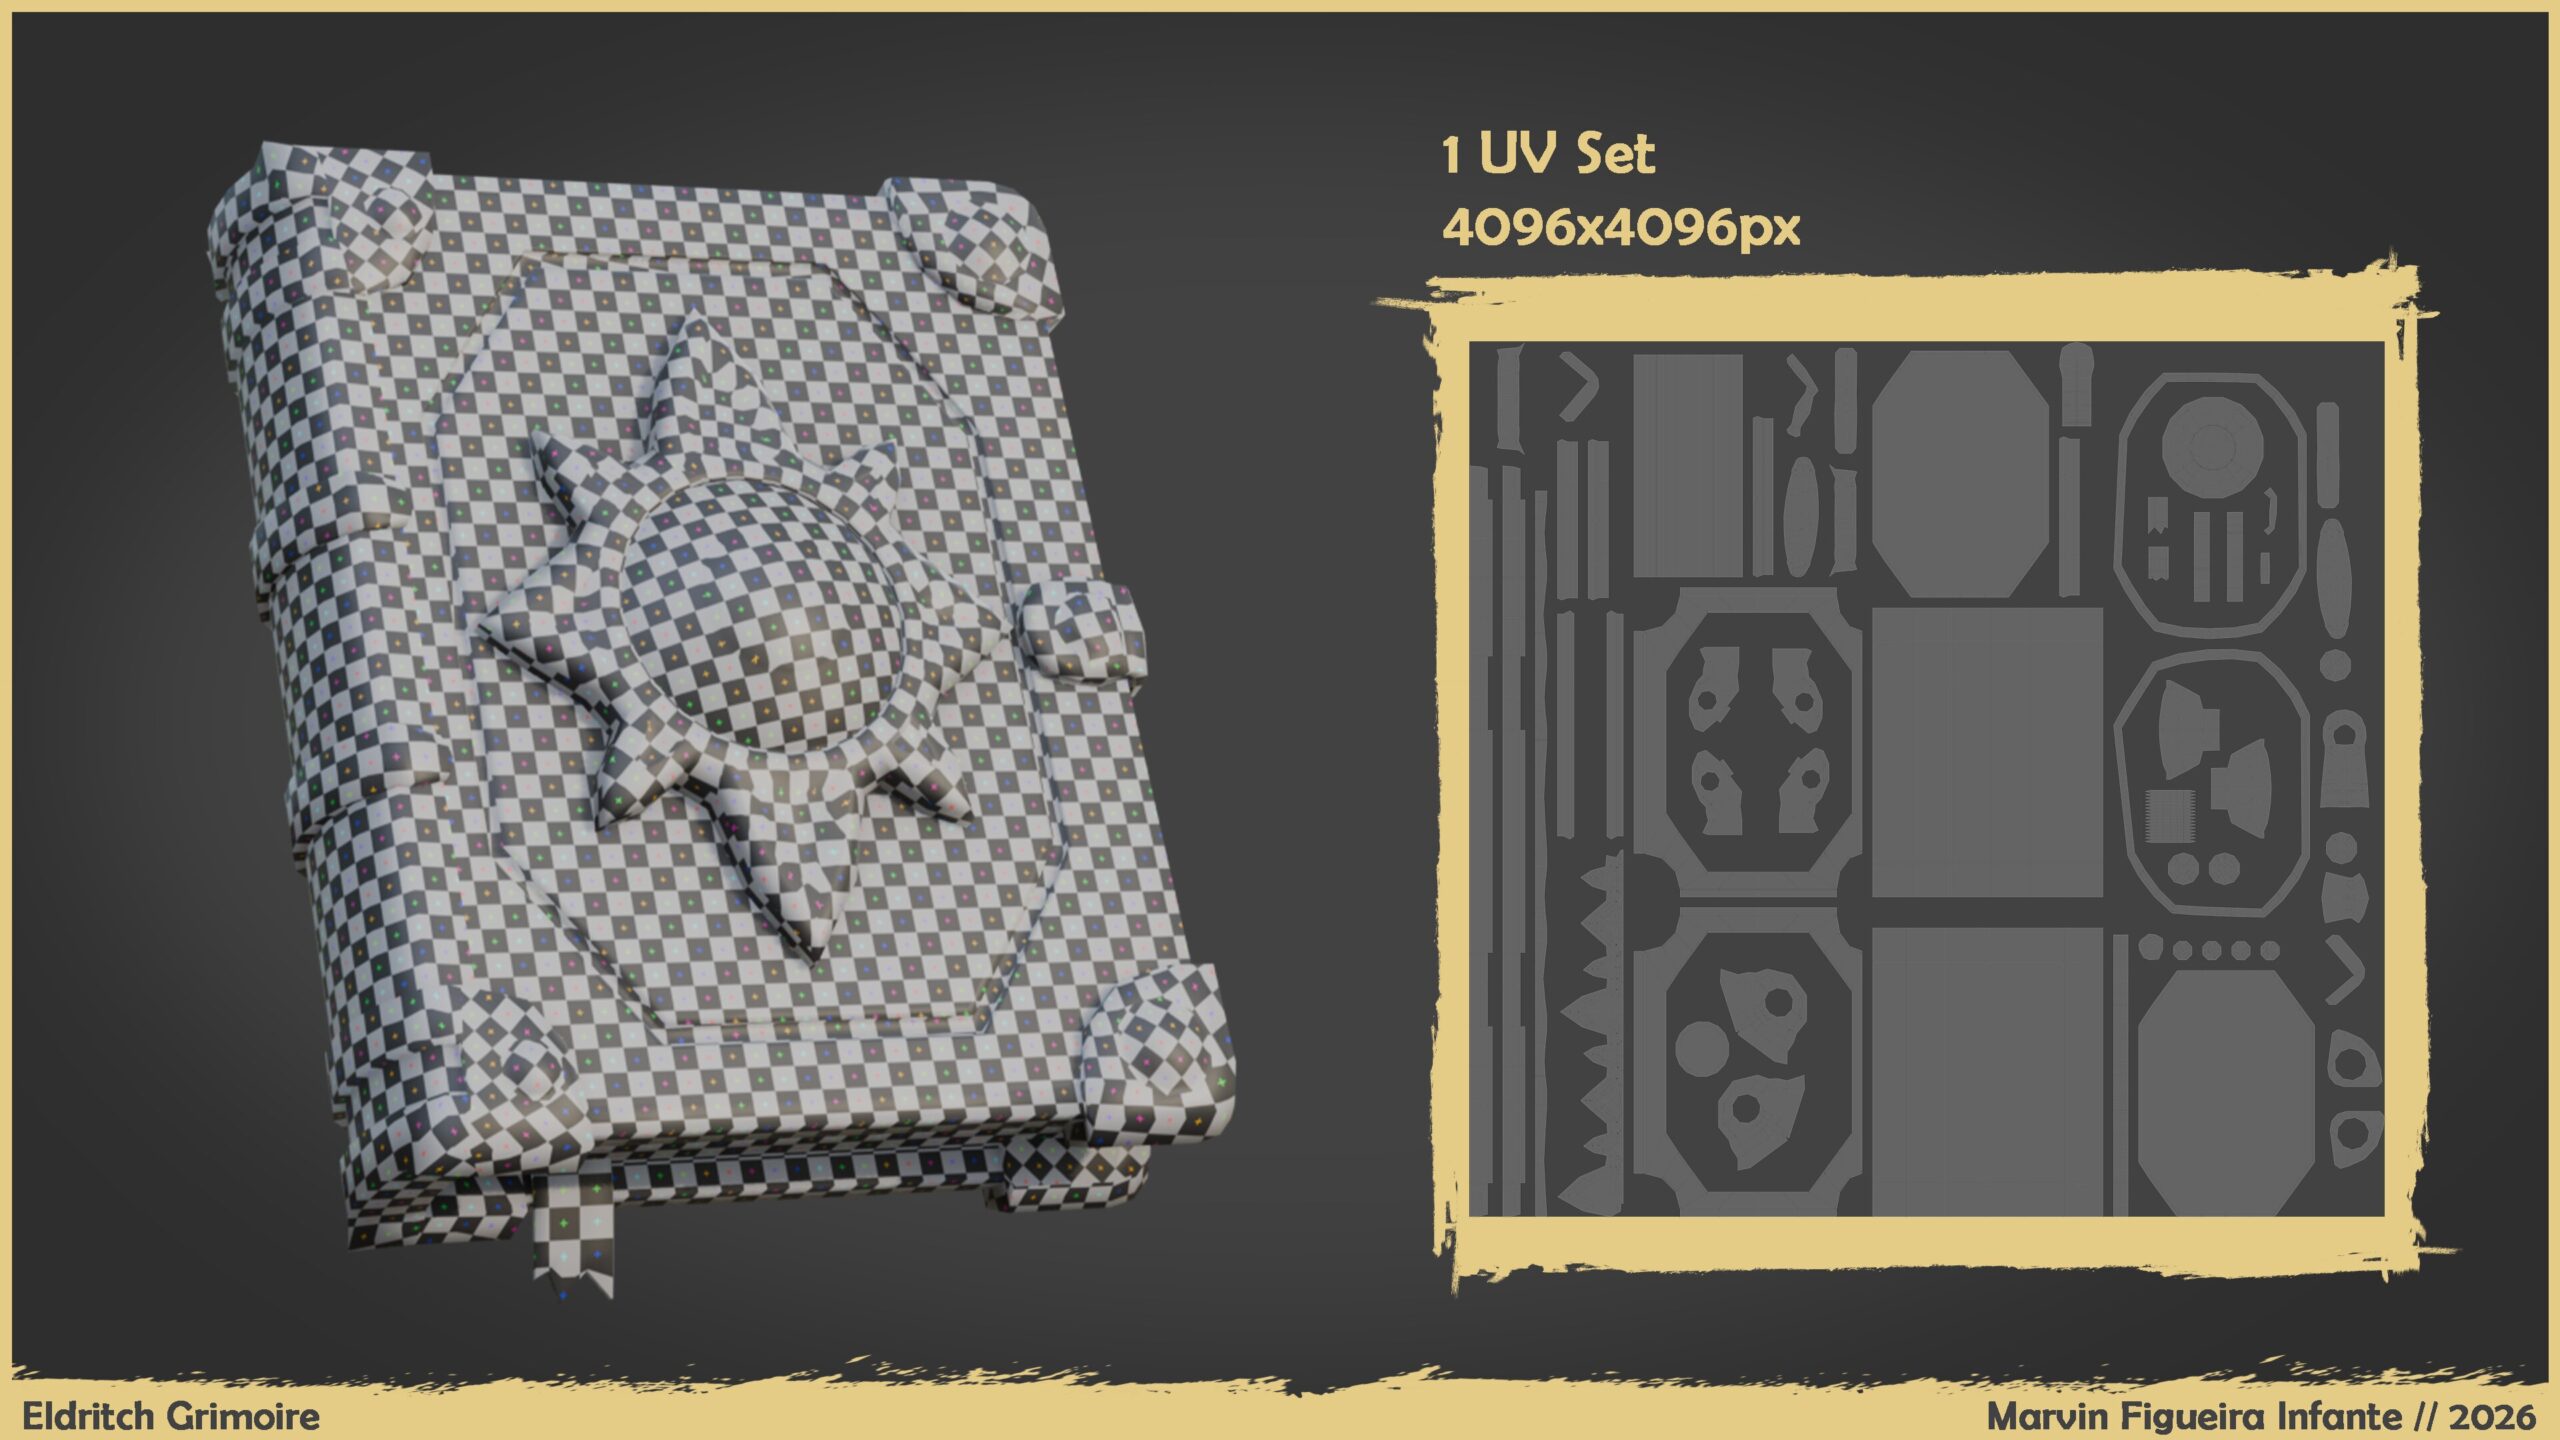
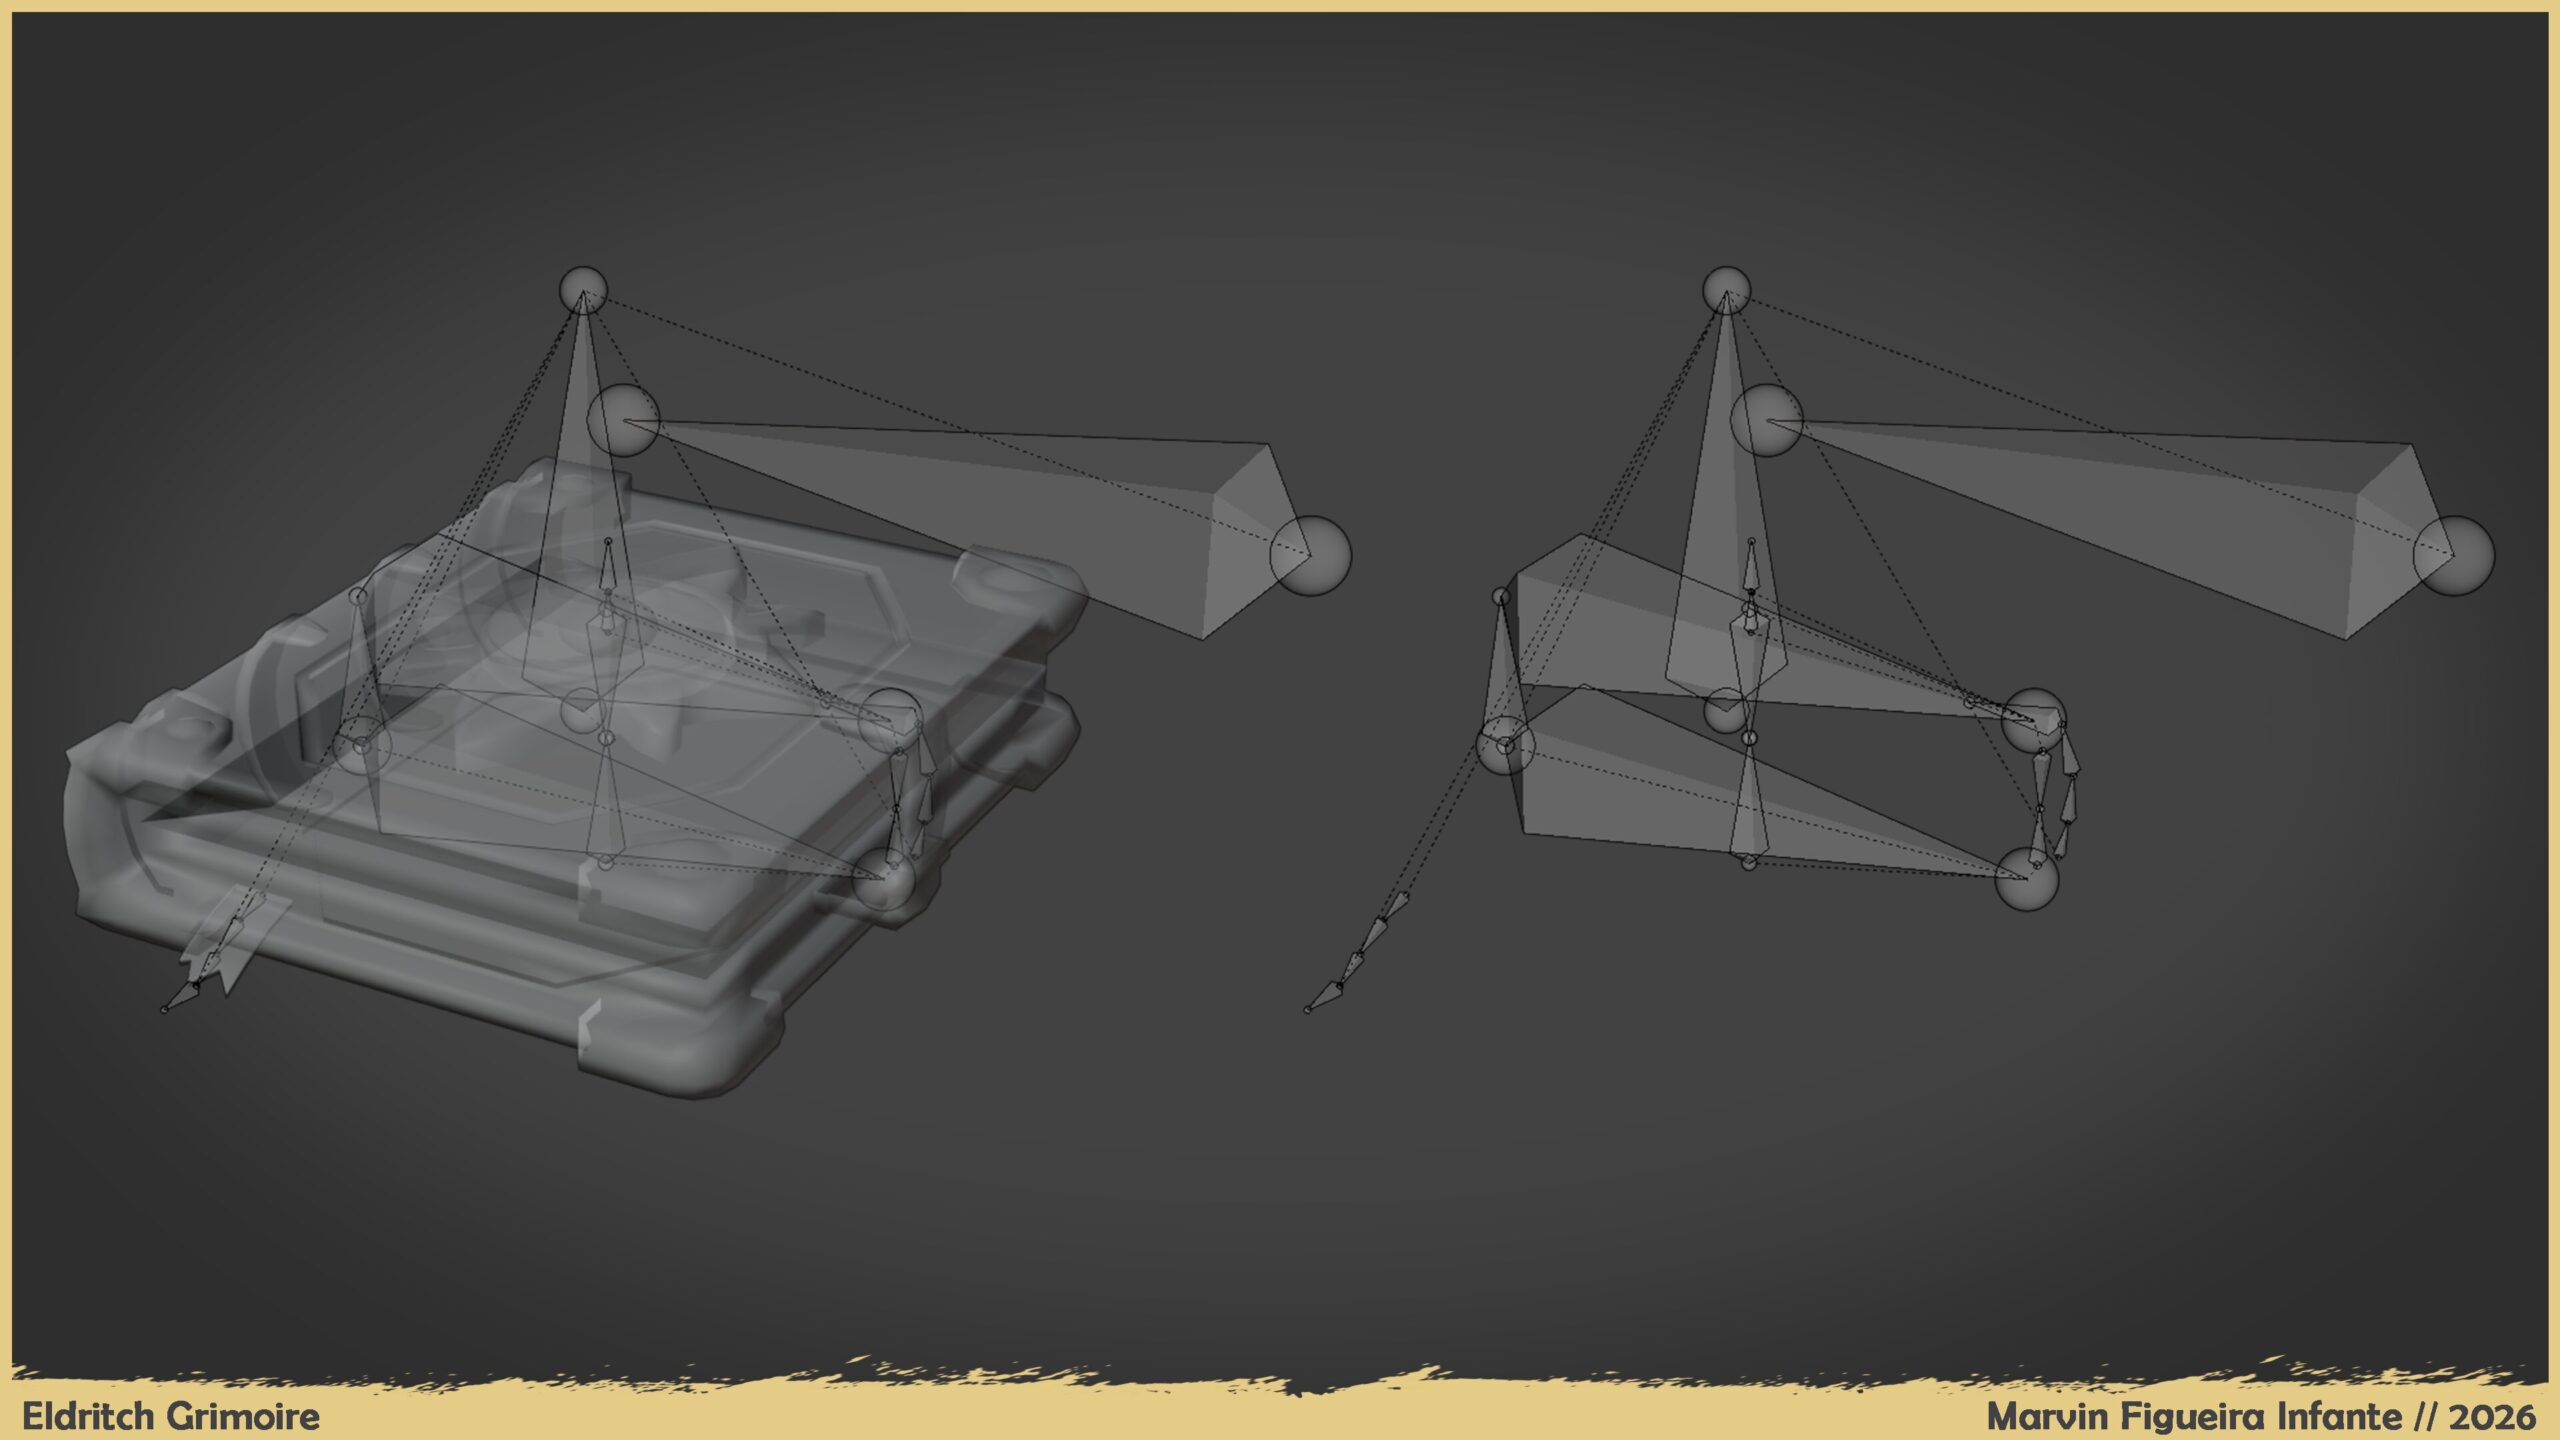
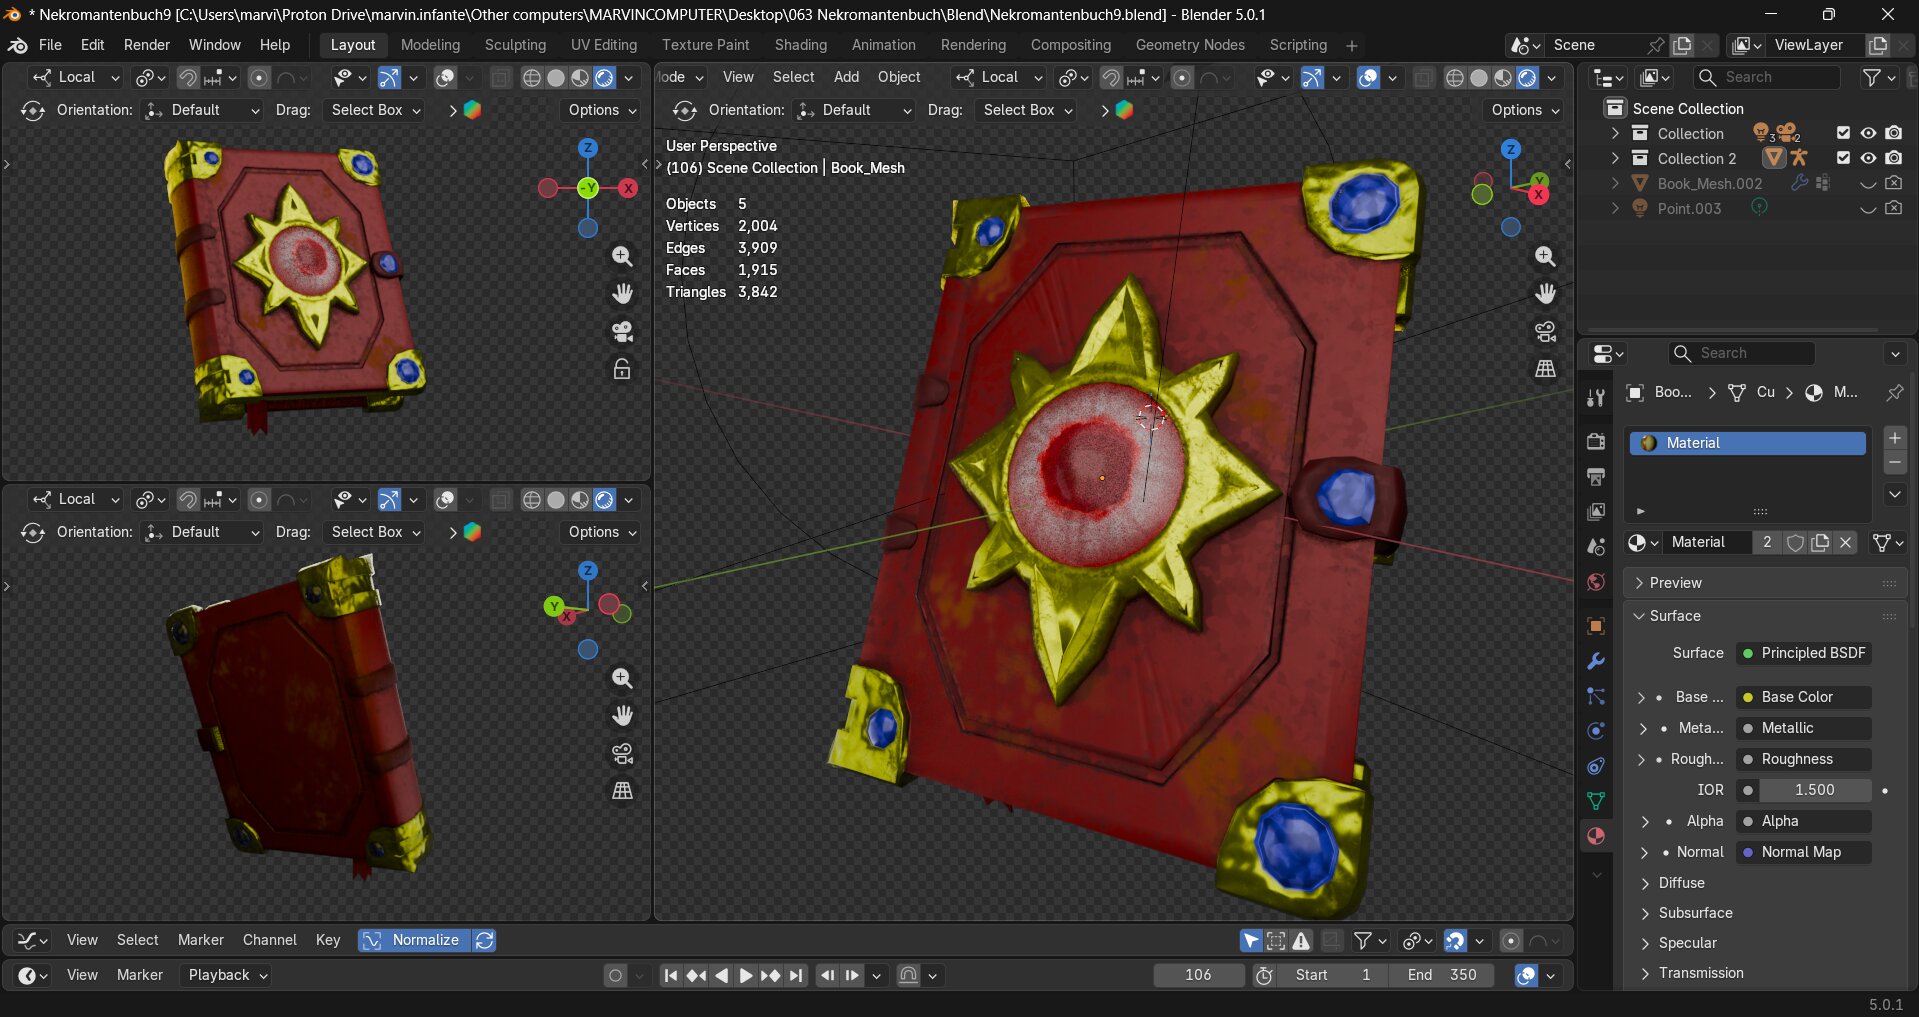
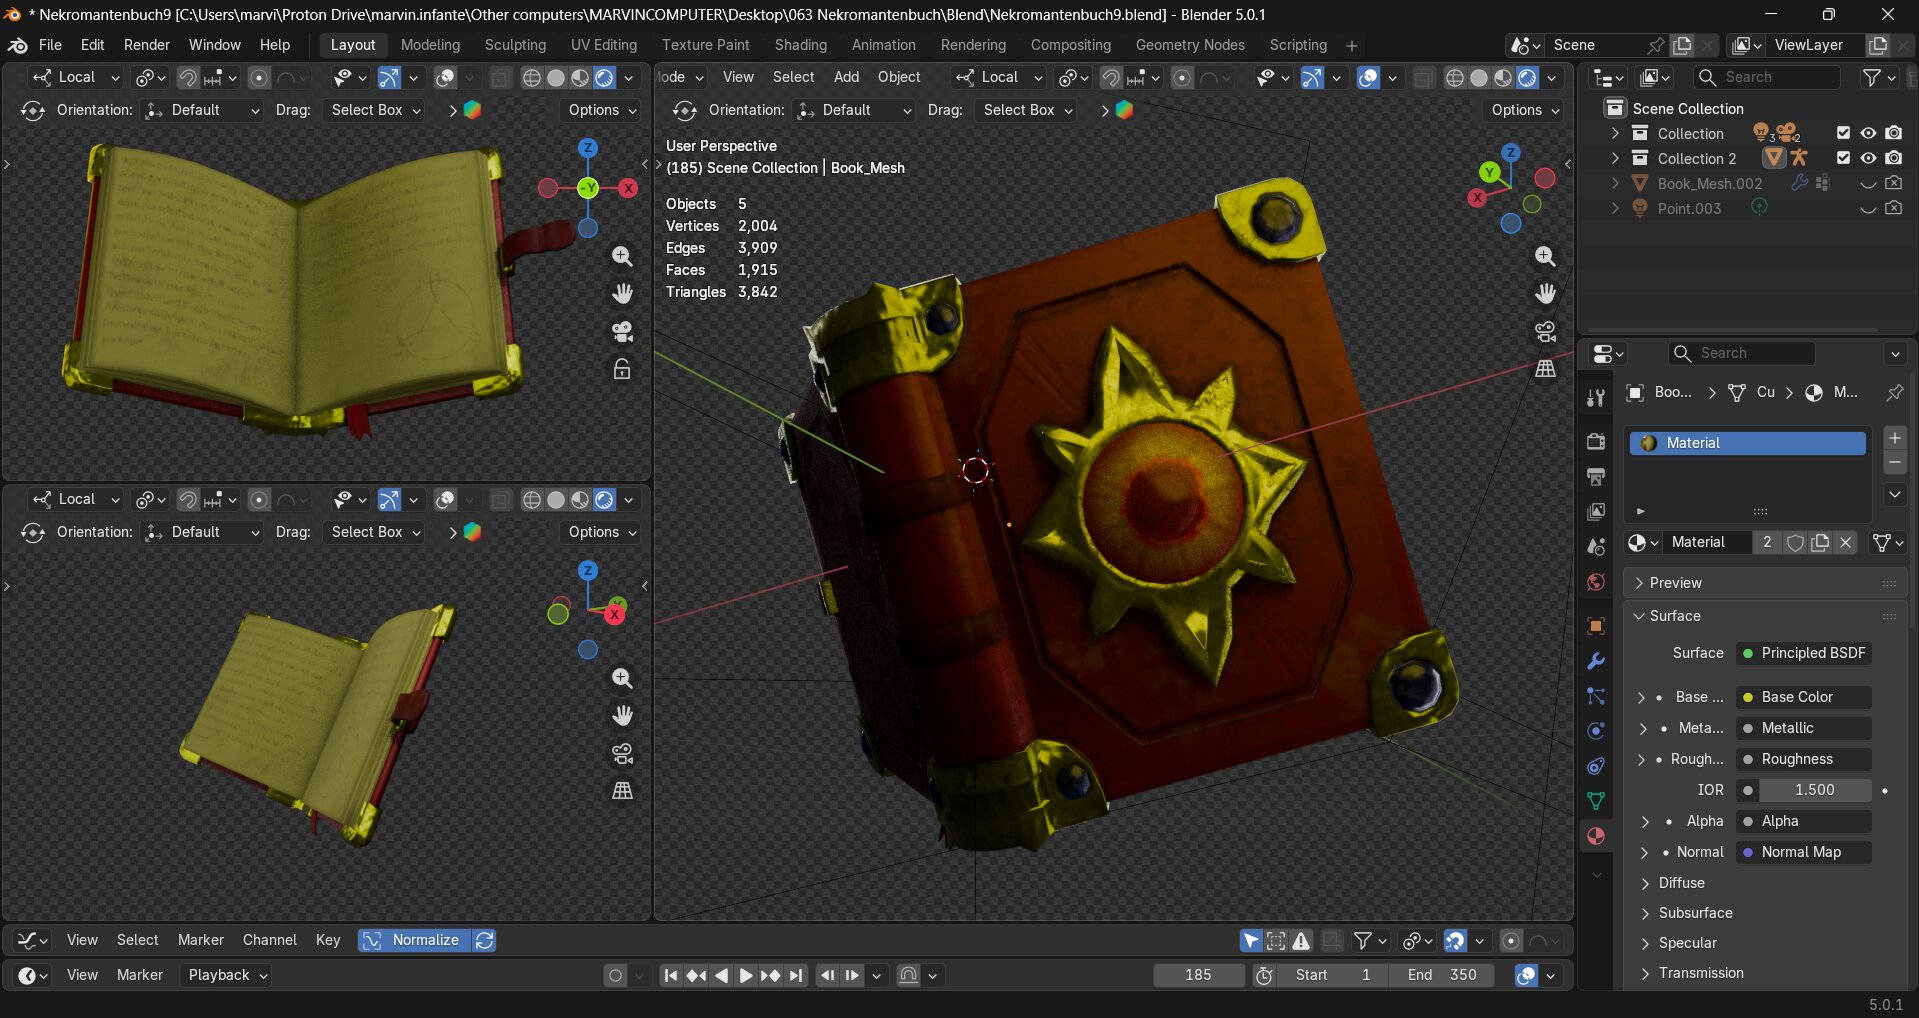
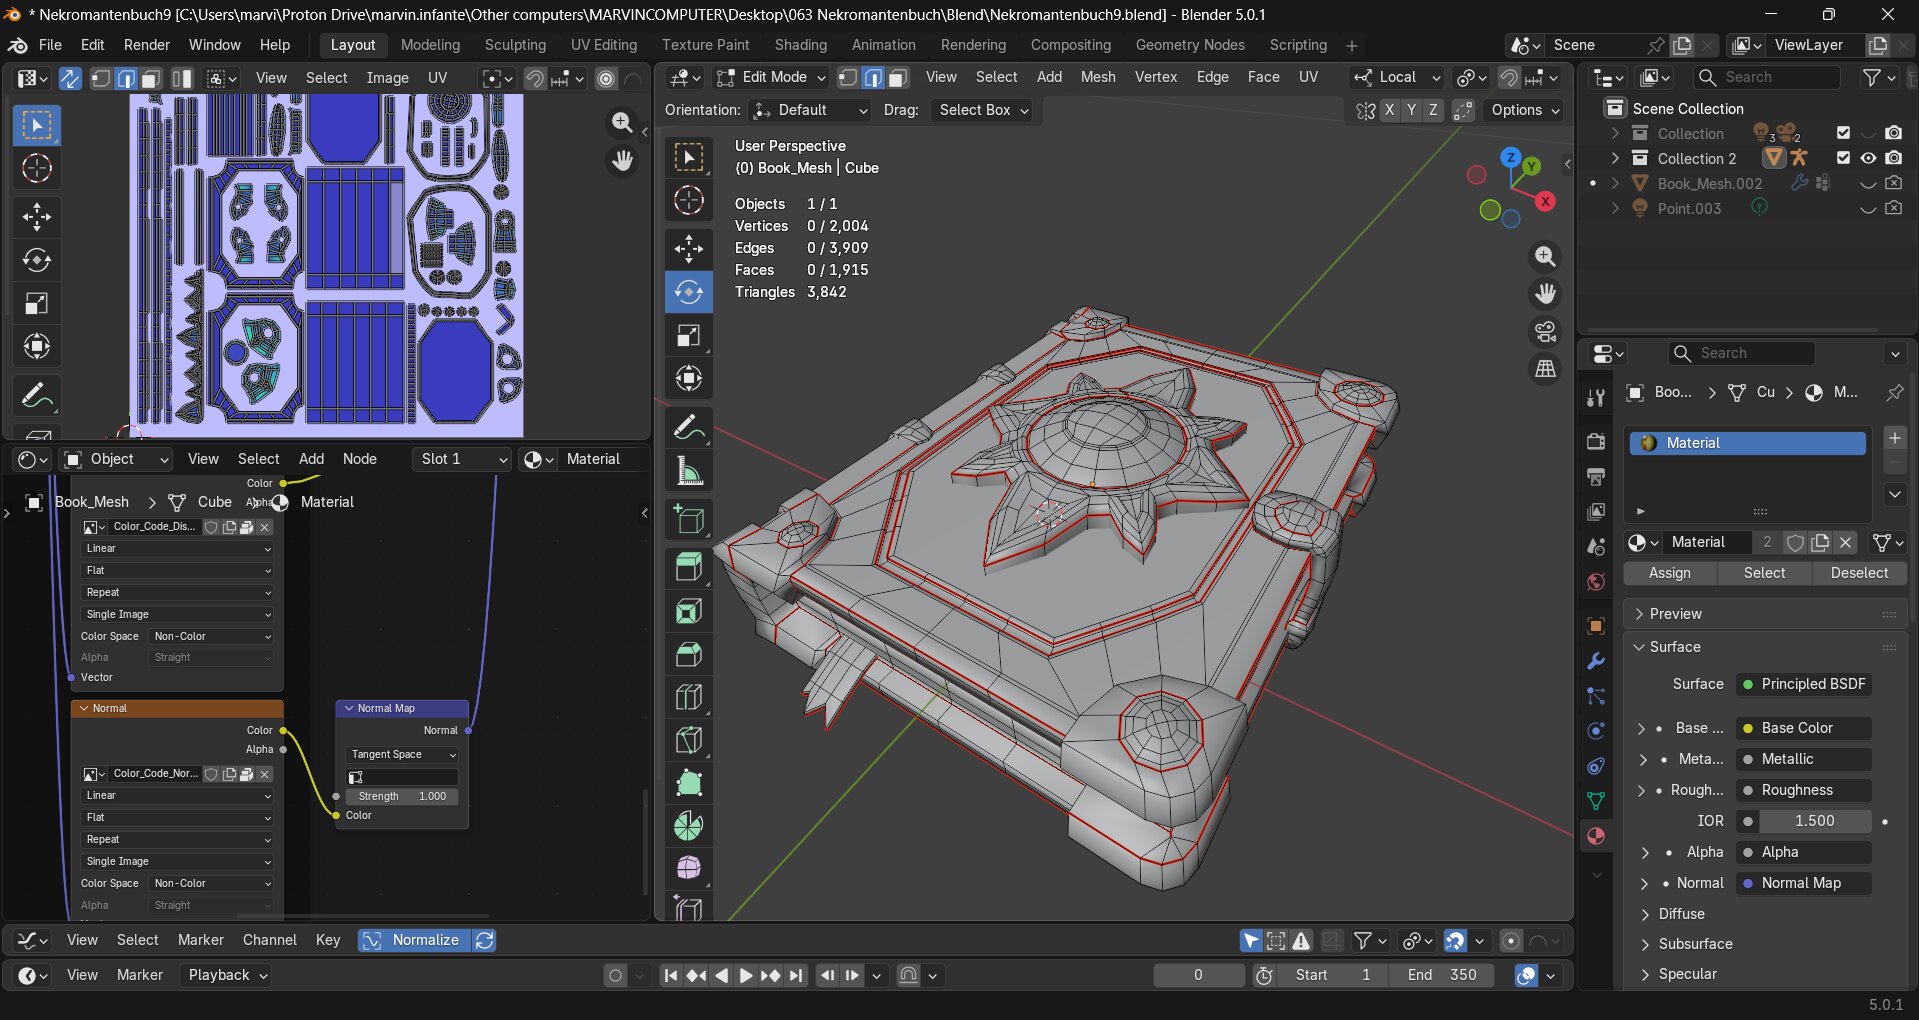
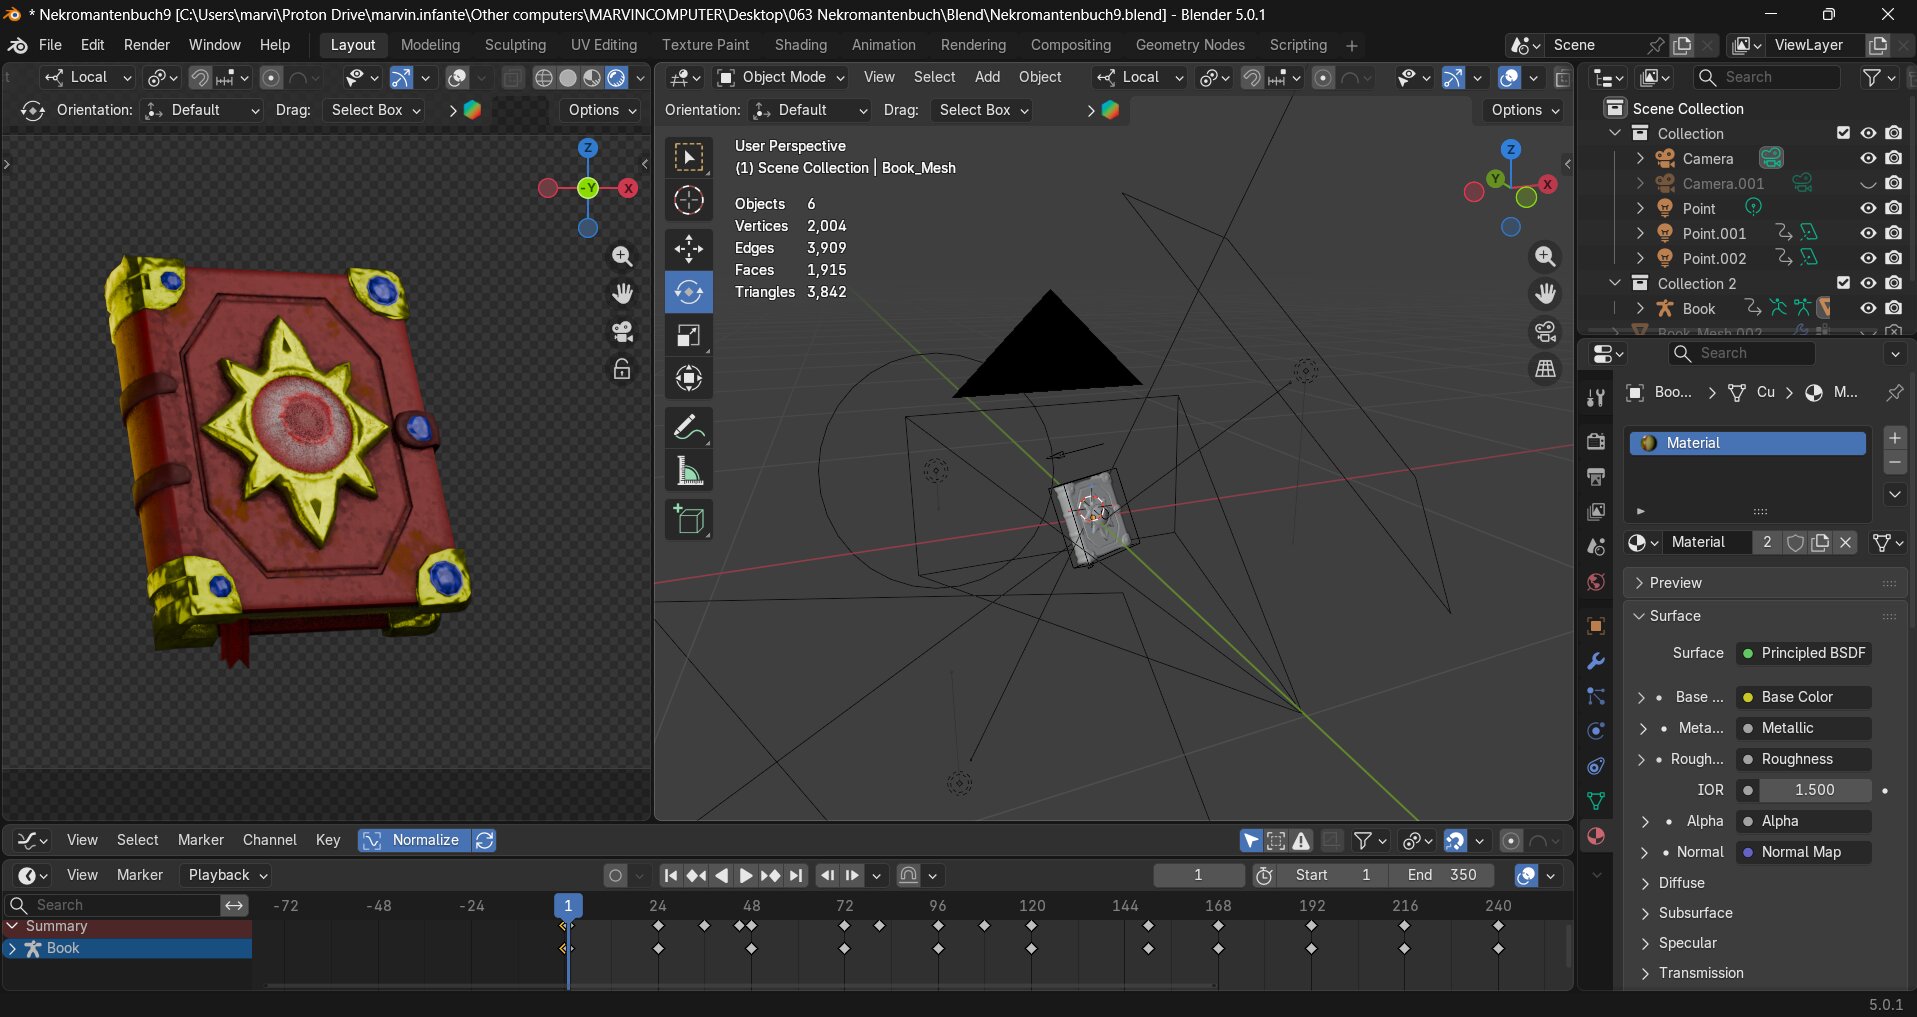
This project is a stylized Eldritch Grimoire created as a game-ready 3D prop. The asset was fully modeled in Blender and textured using Substance Painter, following a PBR workflow with optimized textures and a low polycount suitable for real-time applications.
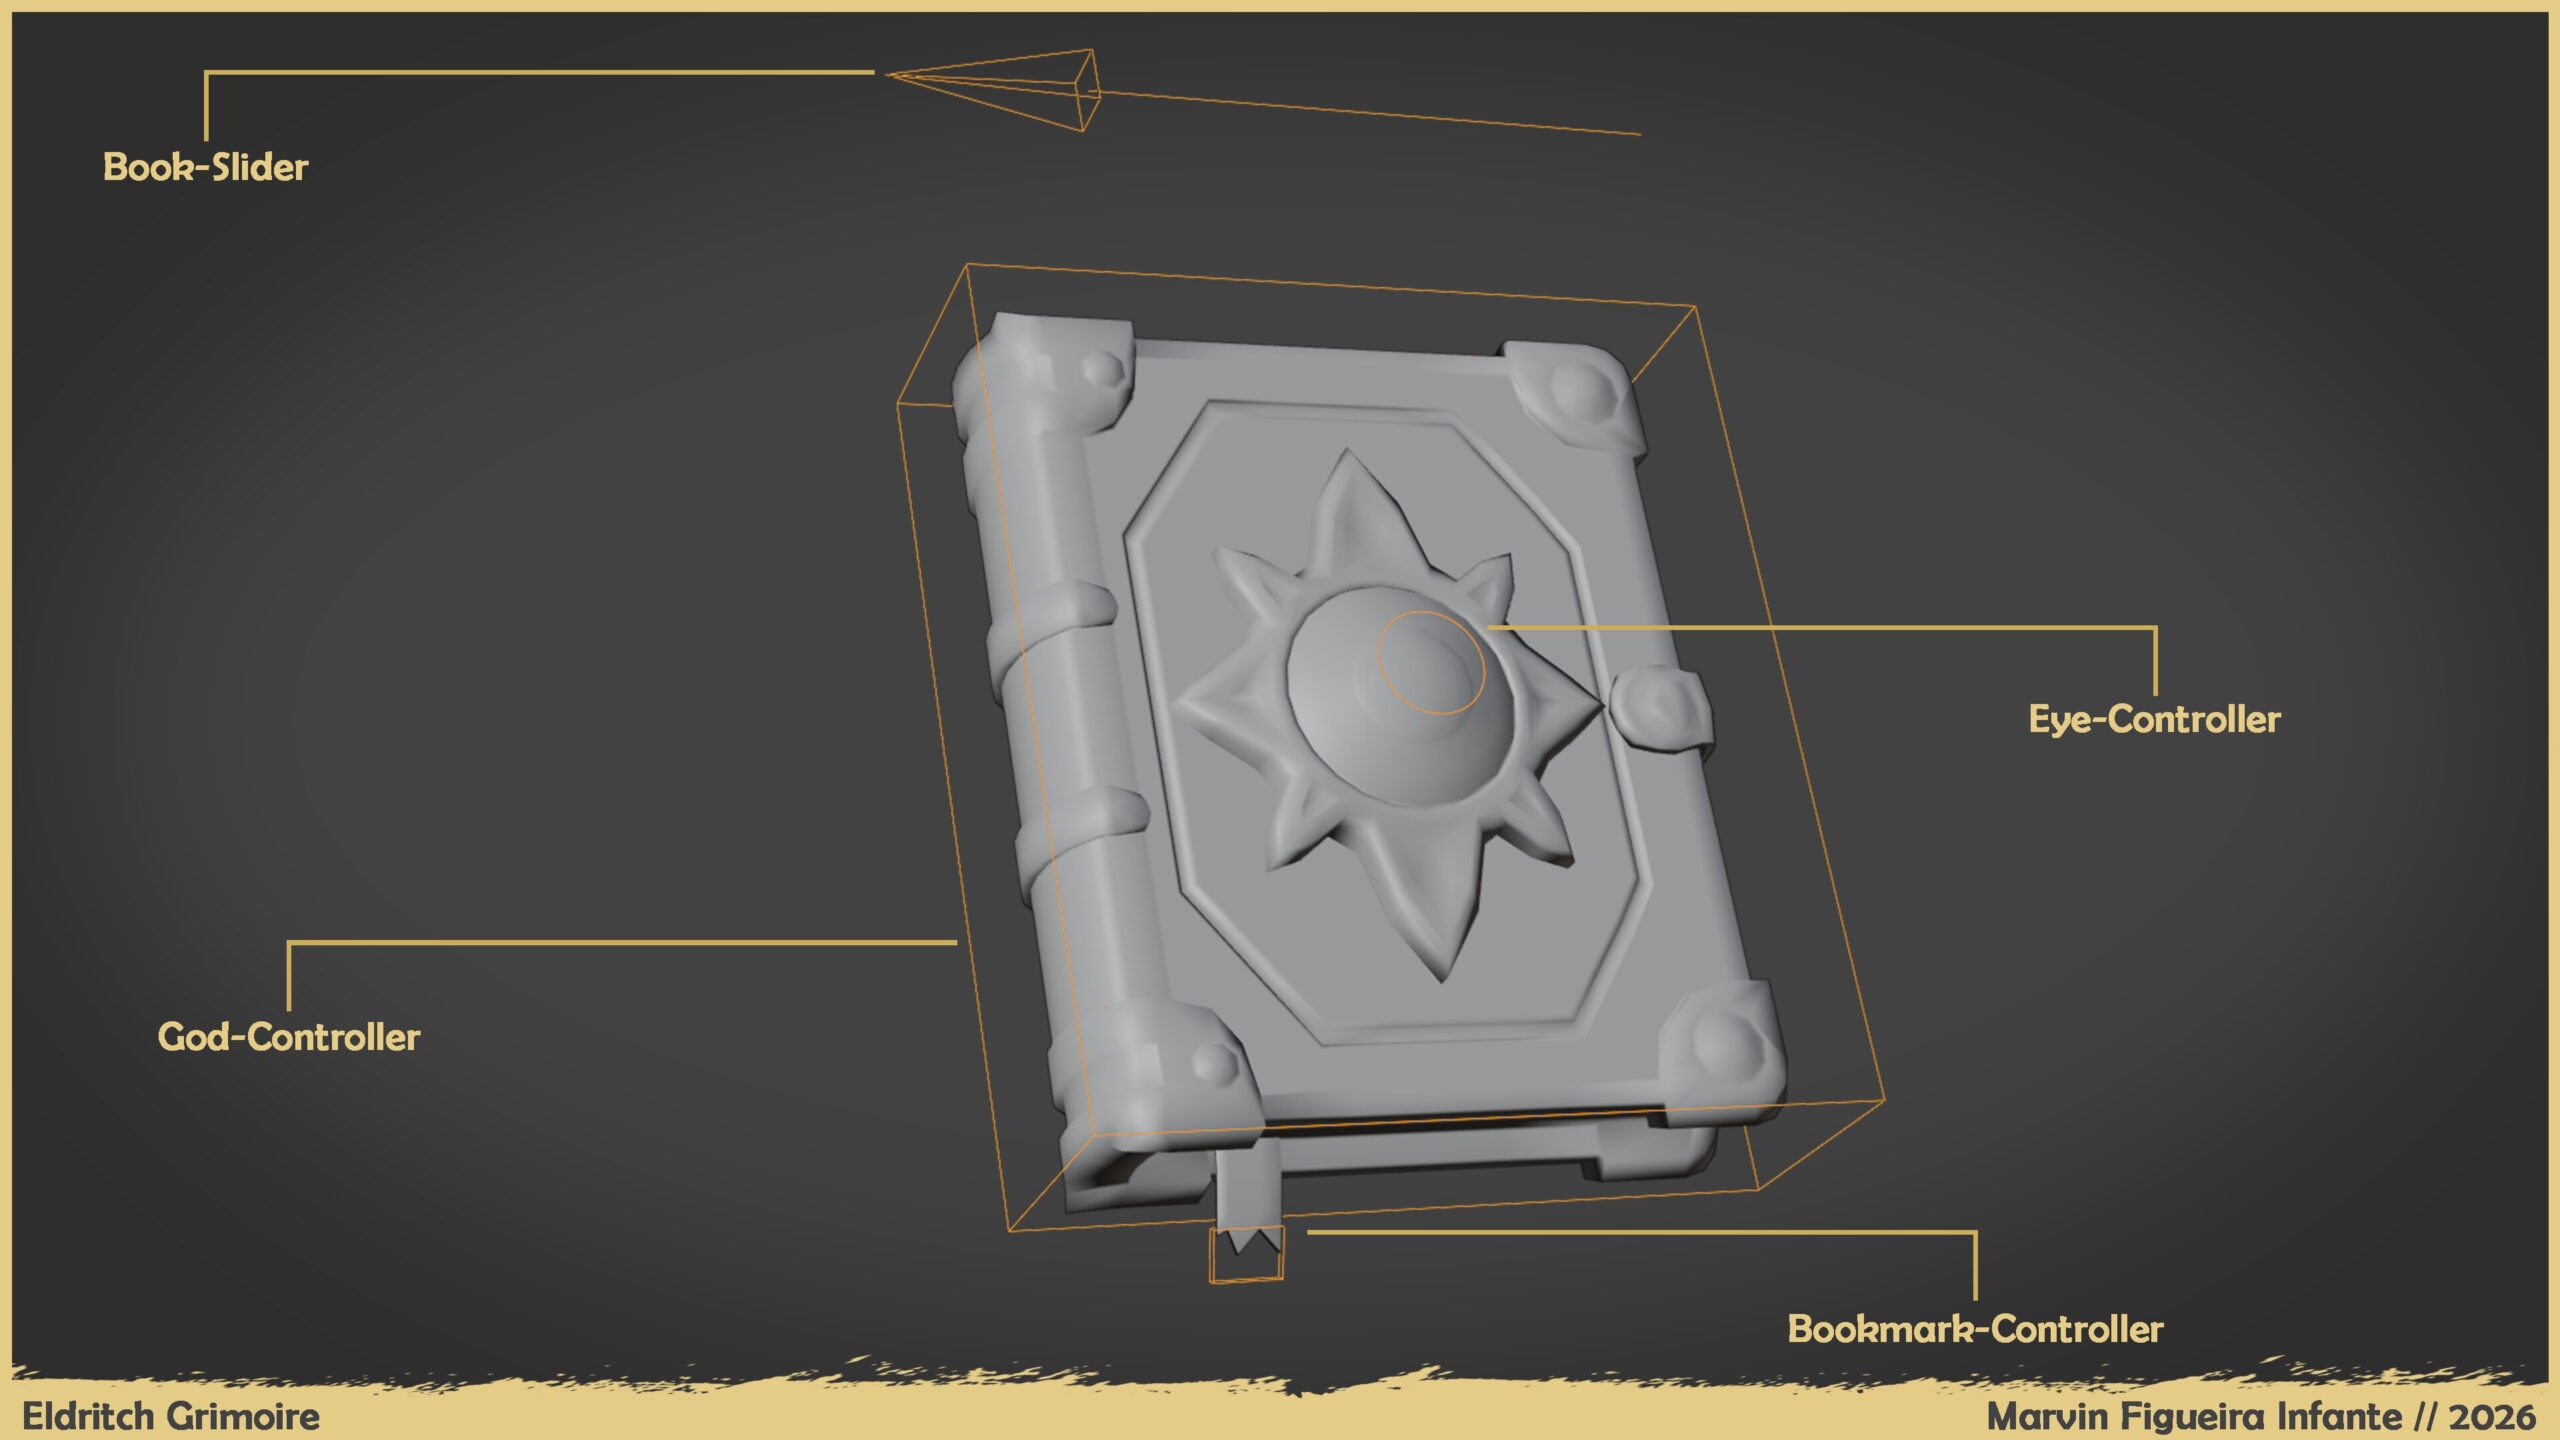
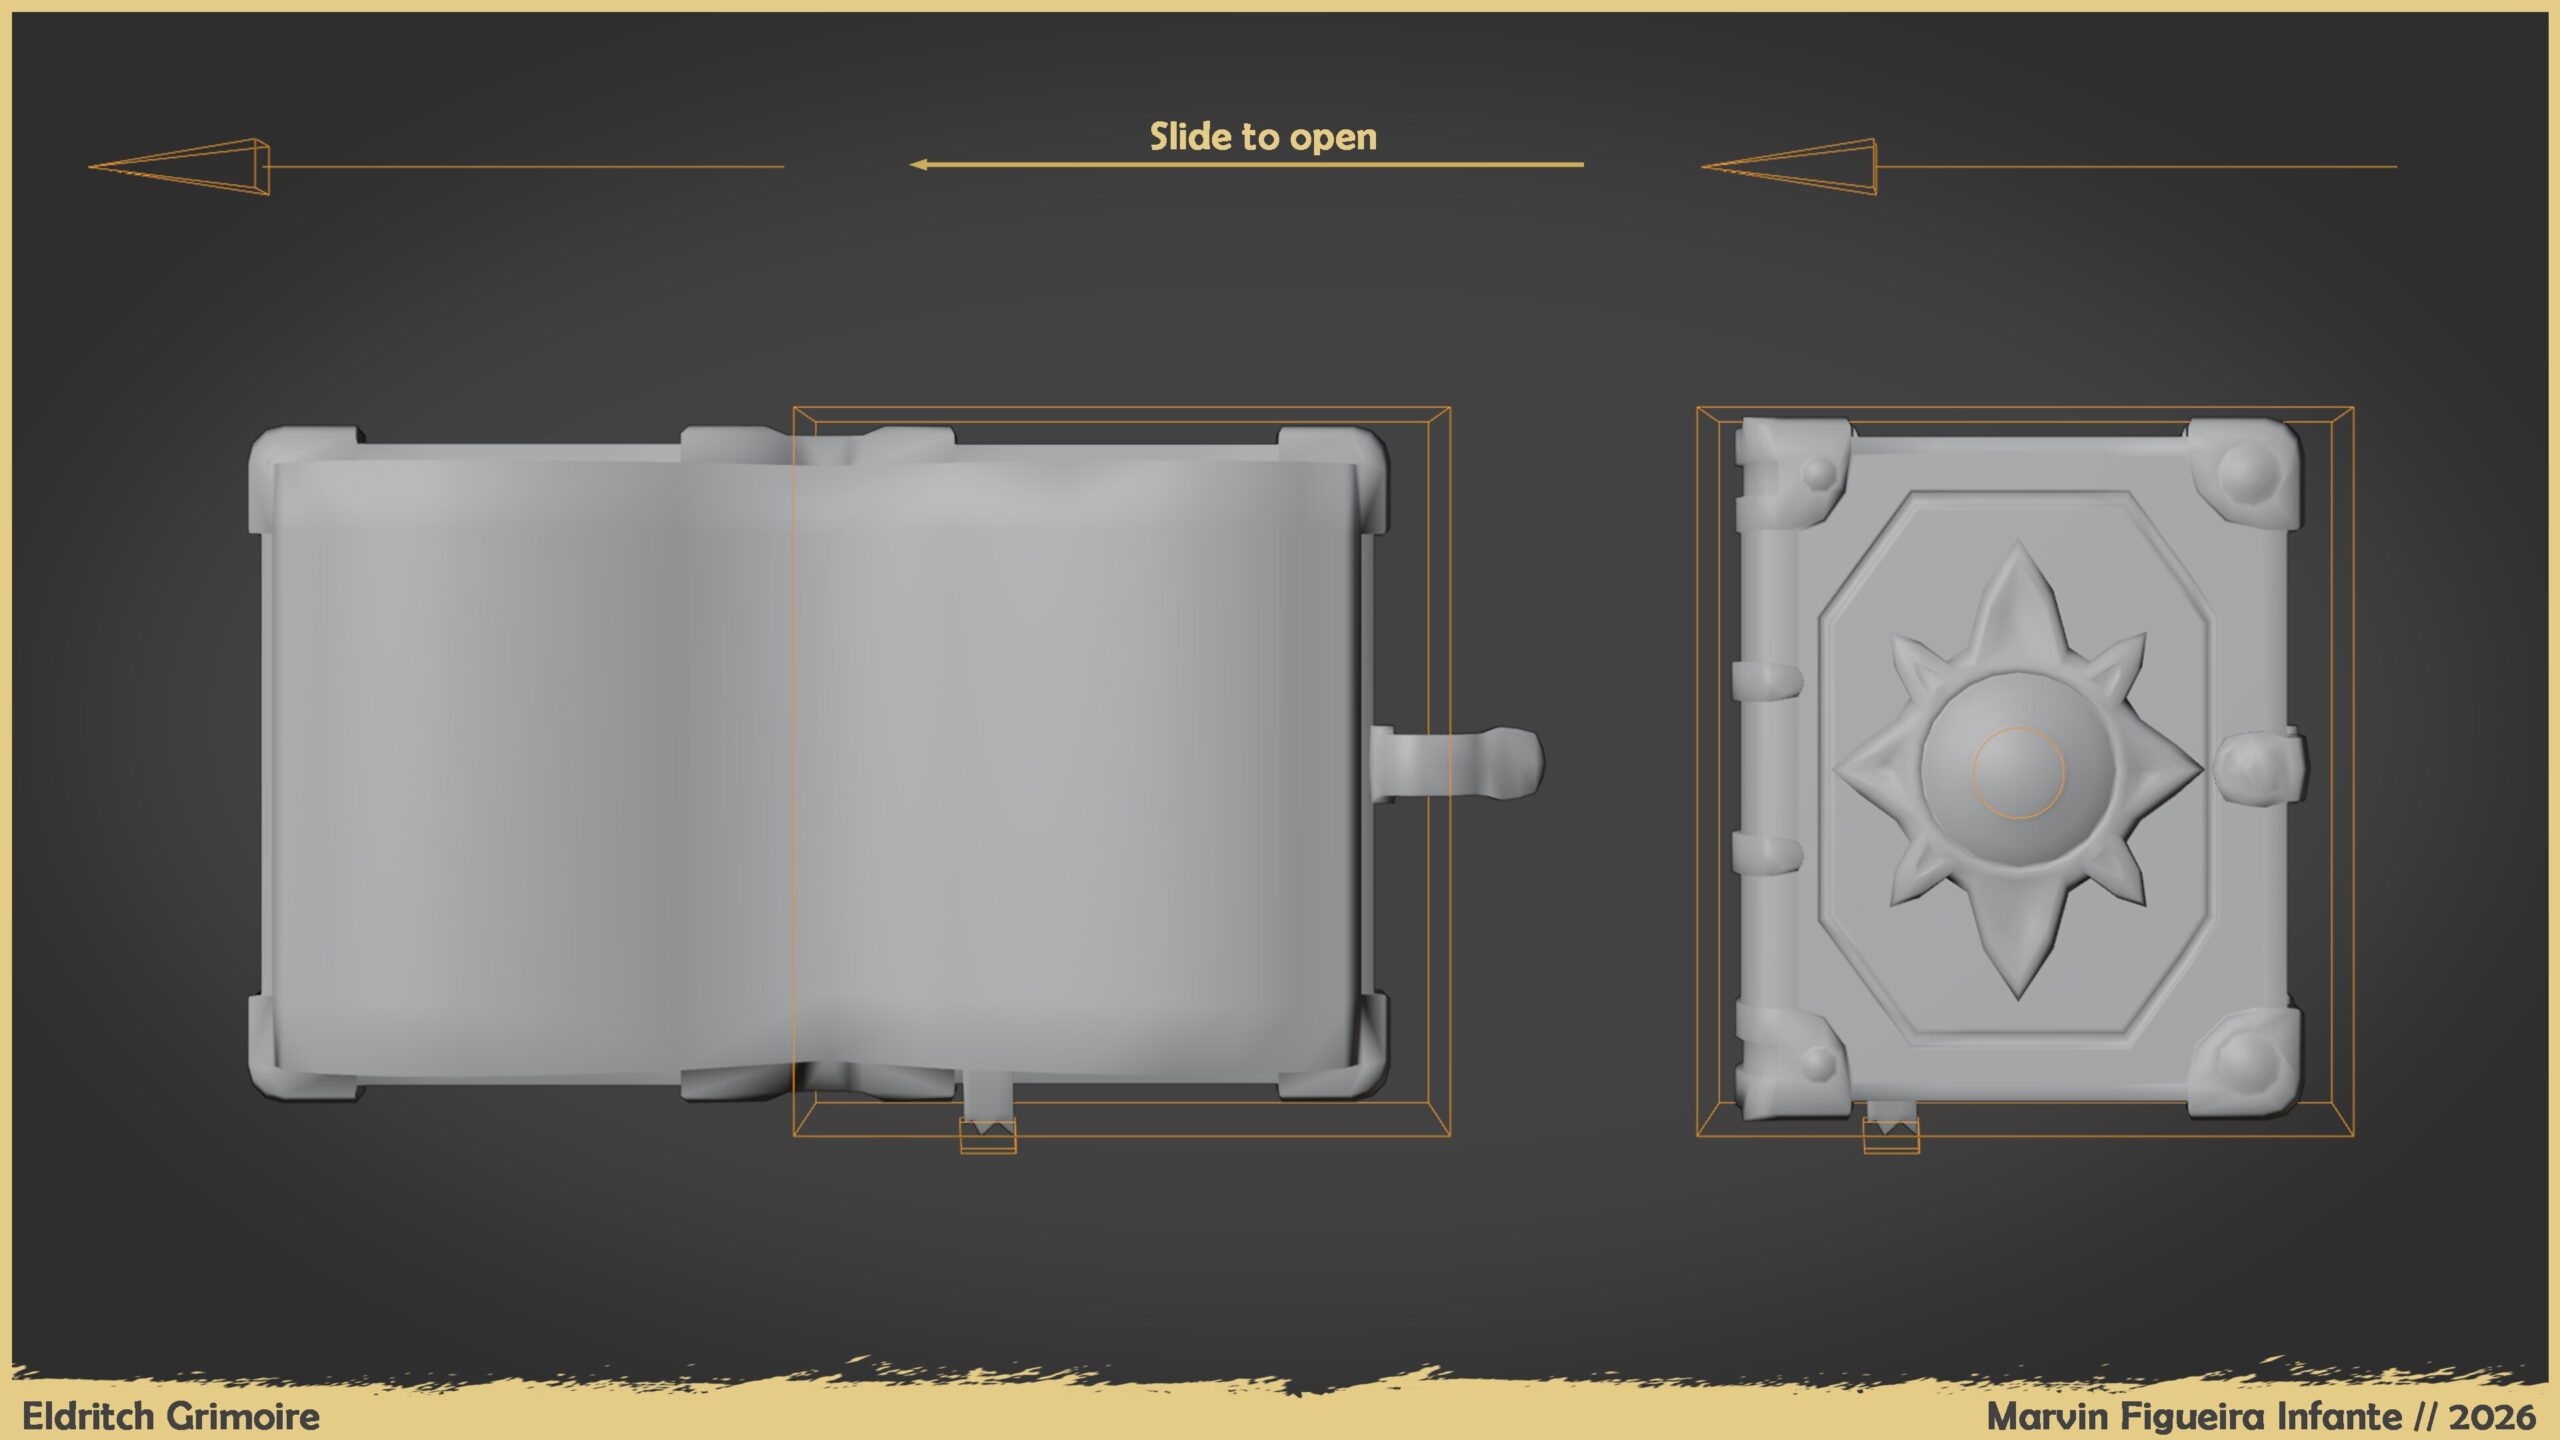
A key feature of this project is the custom prop rig, which allows the book to be opened and closed smoothly, as well as independent movement of the eye and the bookmark.
Tools used:
Blender
Substance Painter
038 The Bleeding Ink | Game
Portfolio Nr. 038
Hier klicken, um den Inhalt von itch.io anzuzeigen.
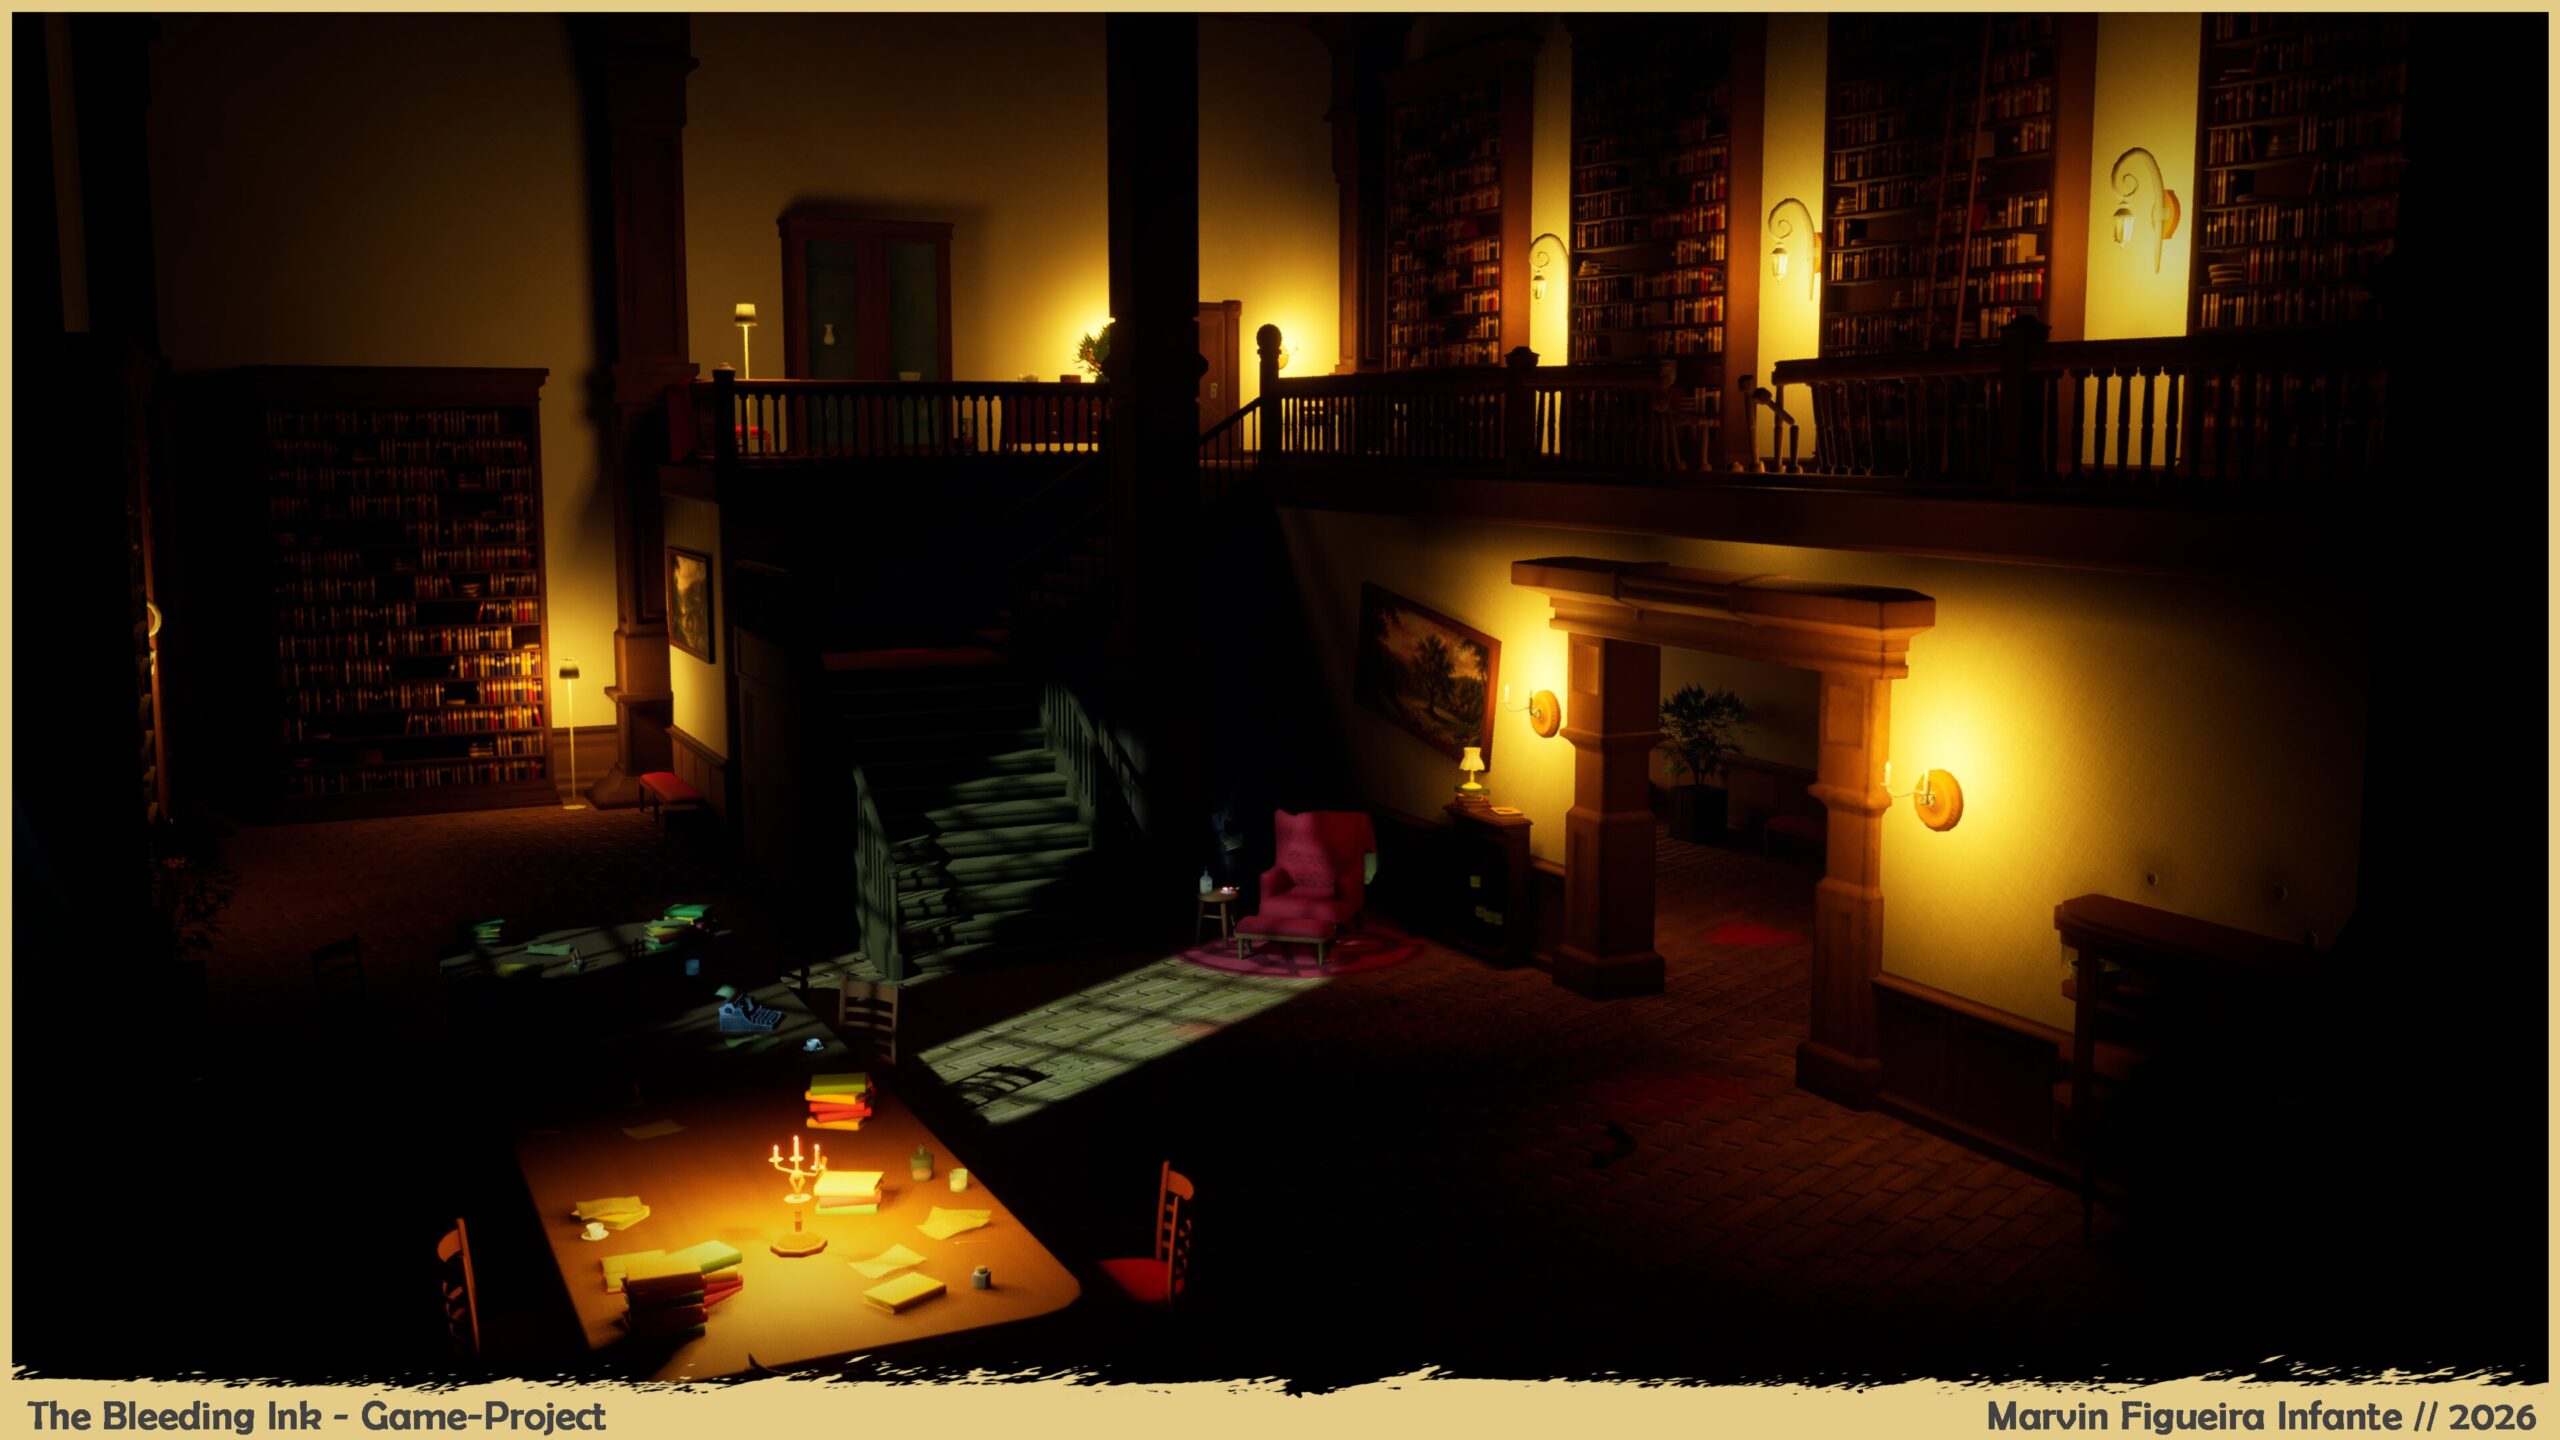
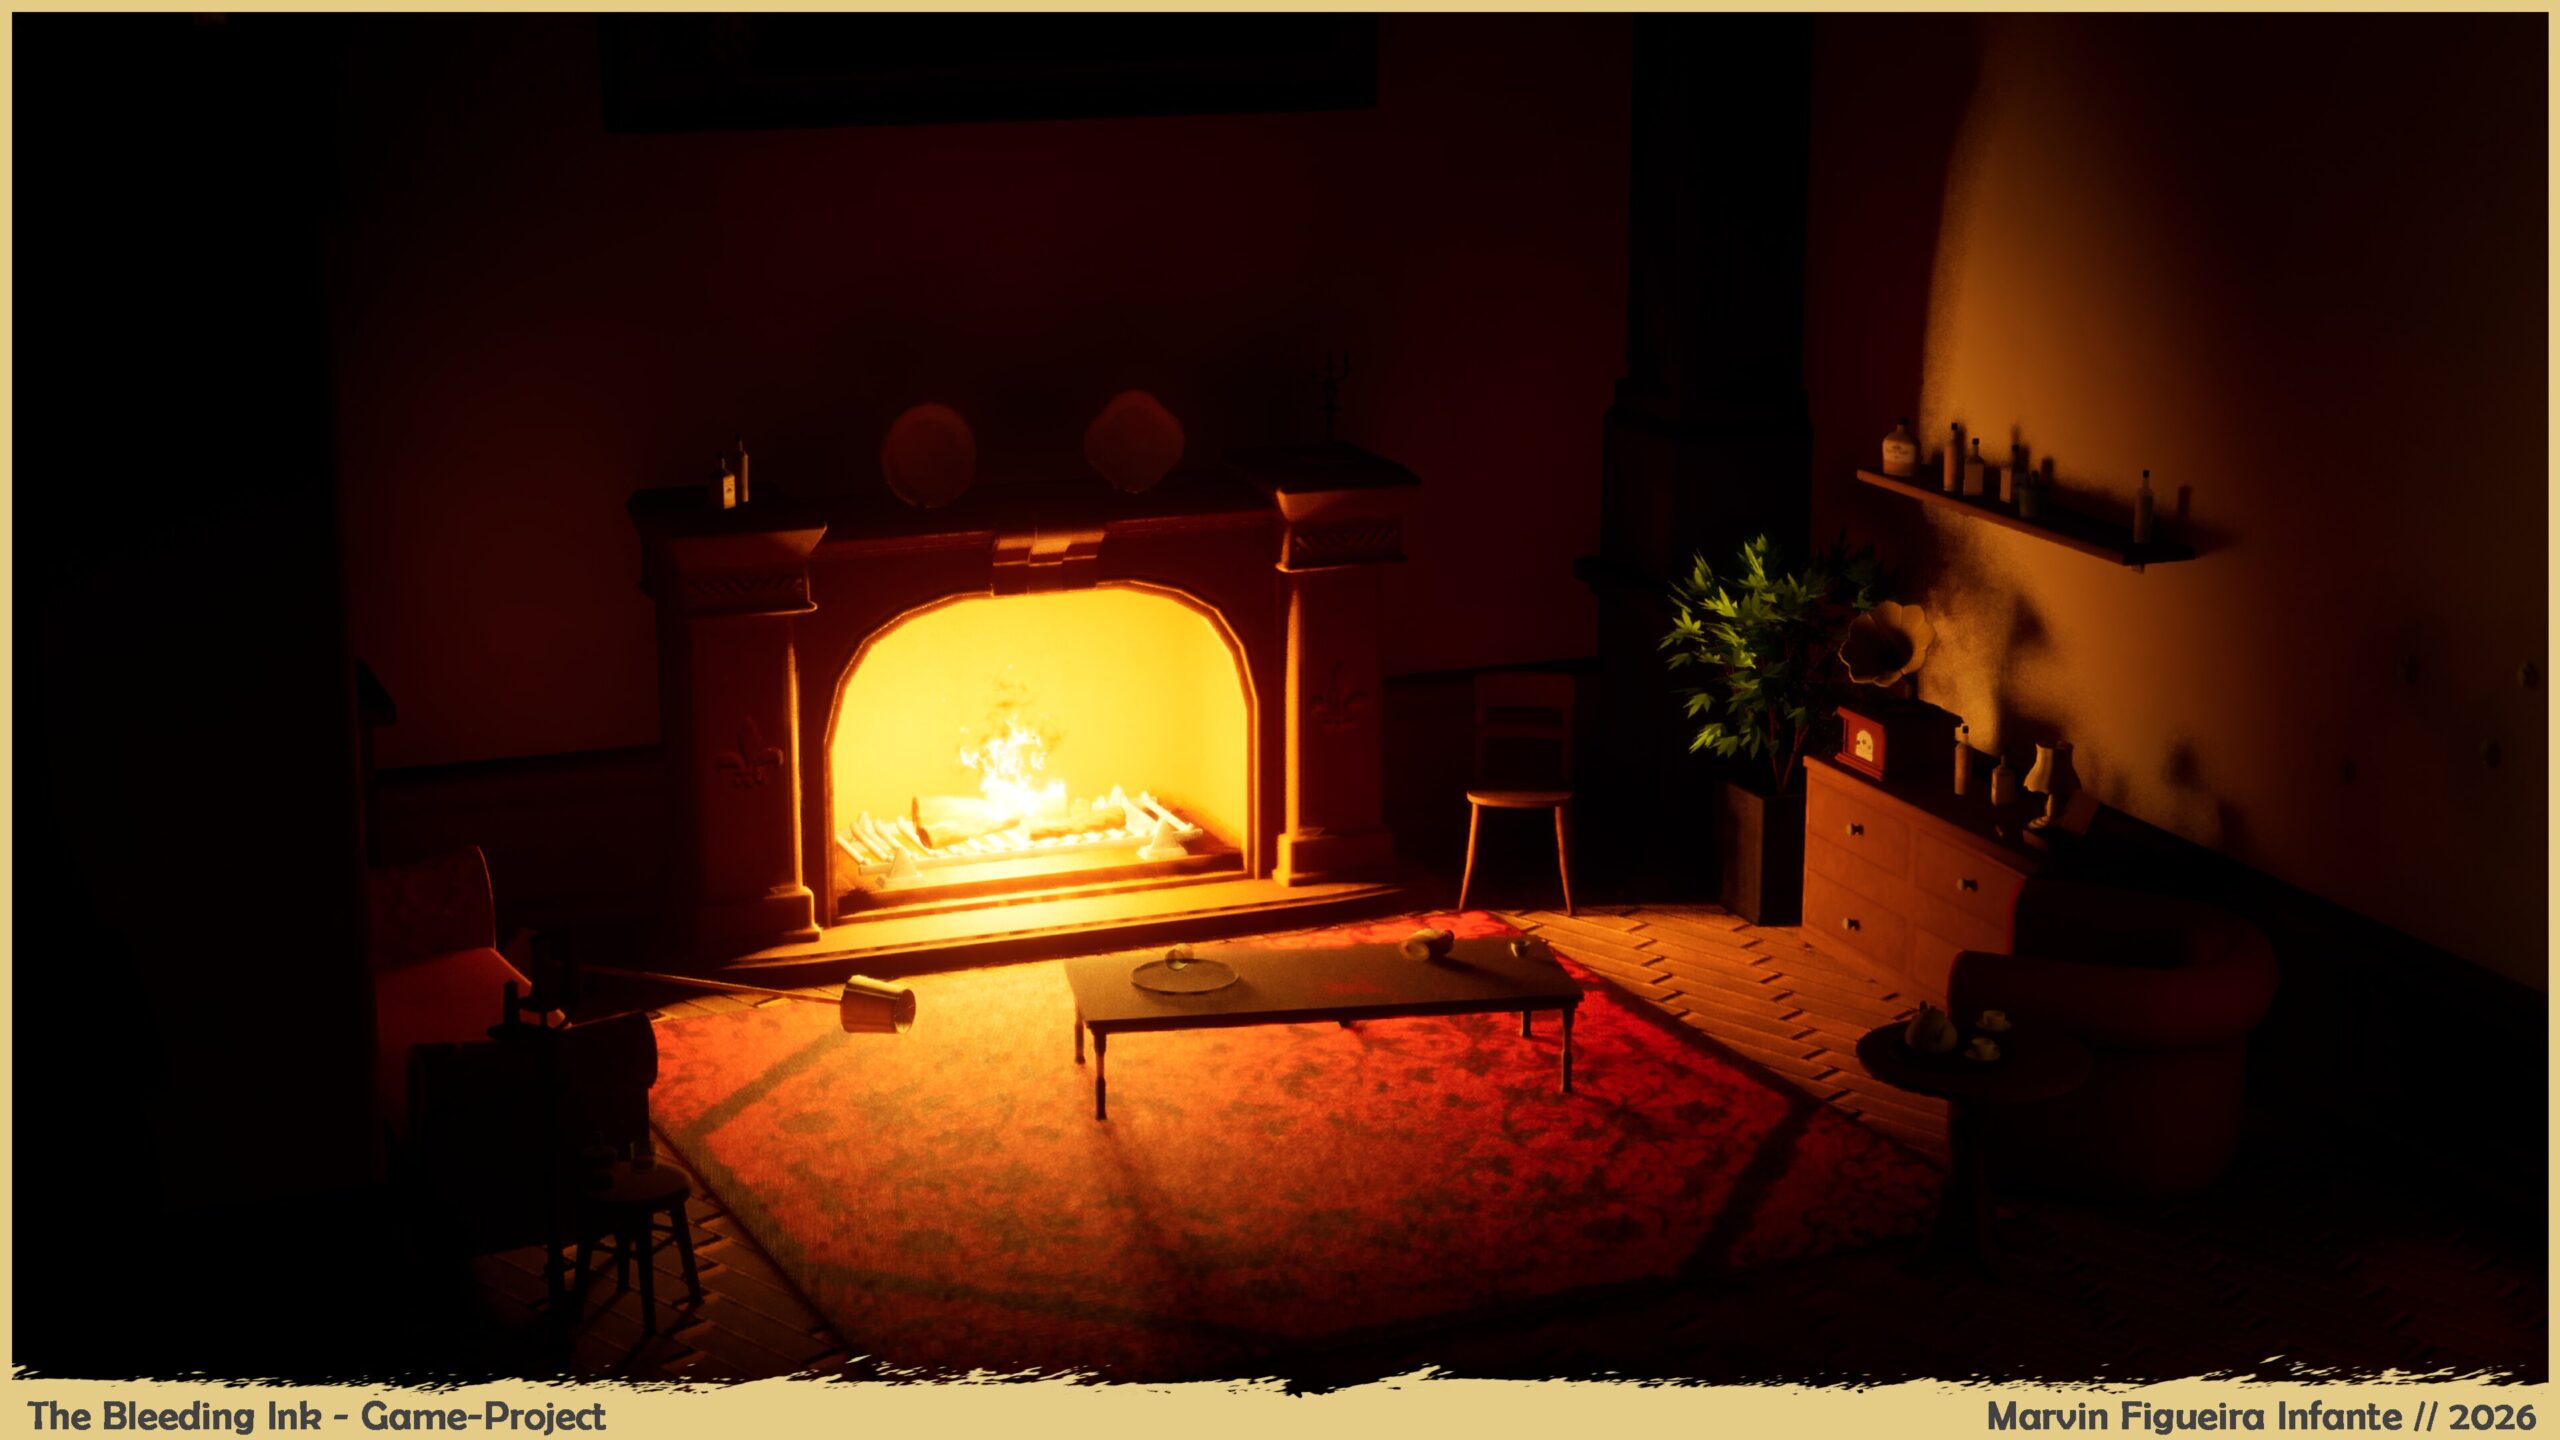
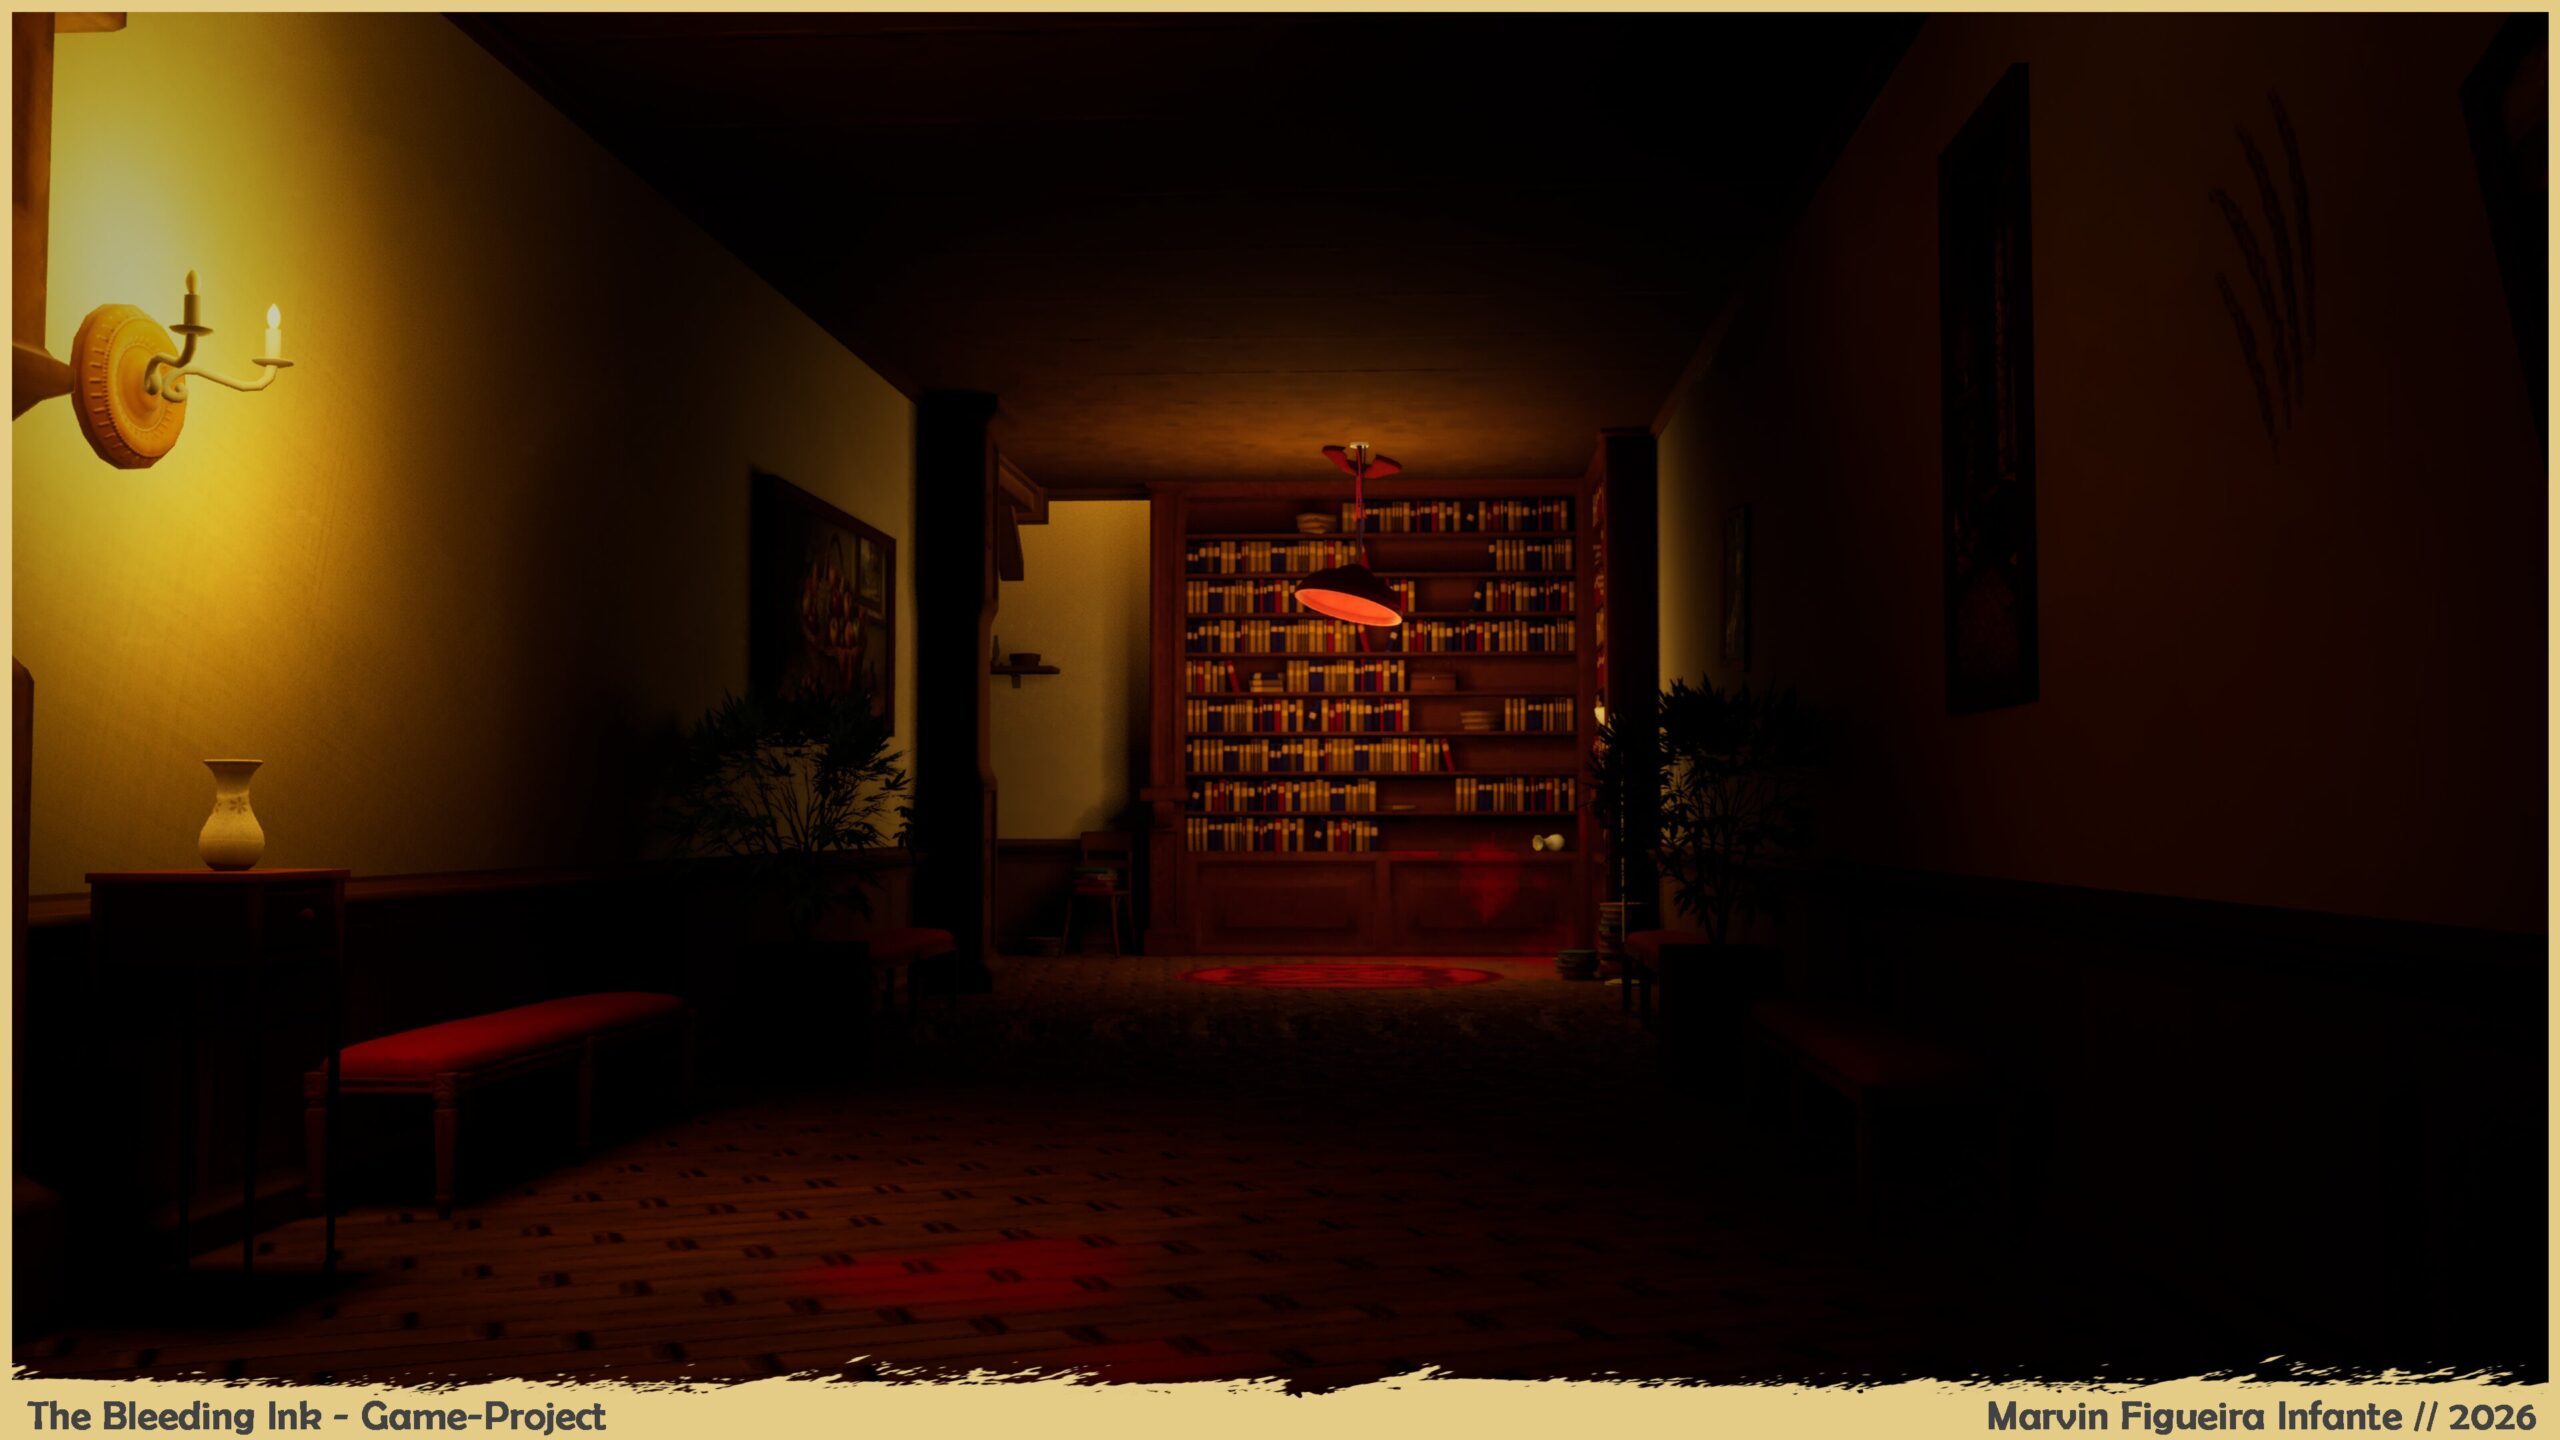
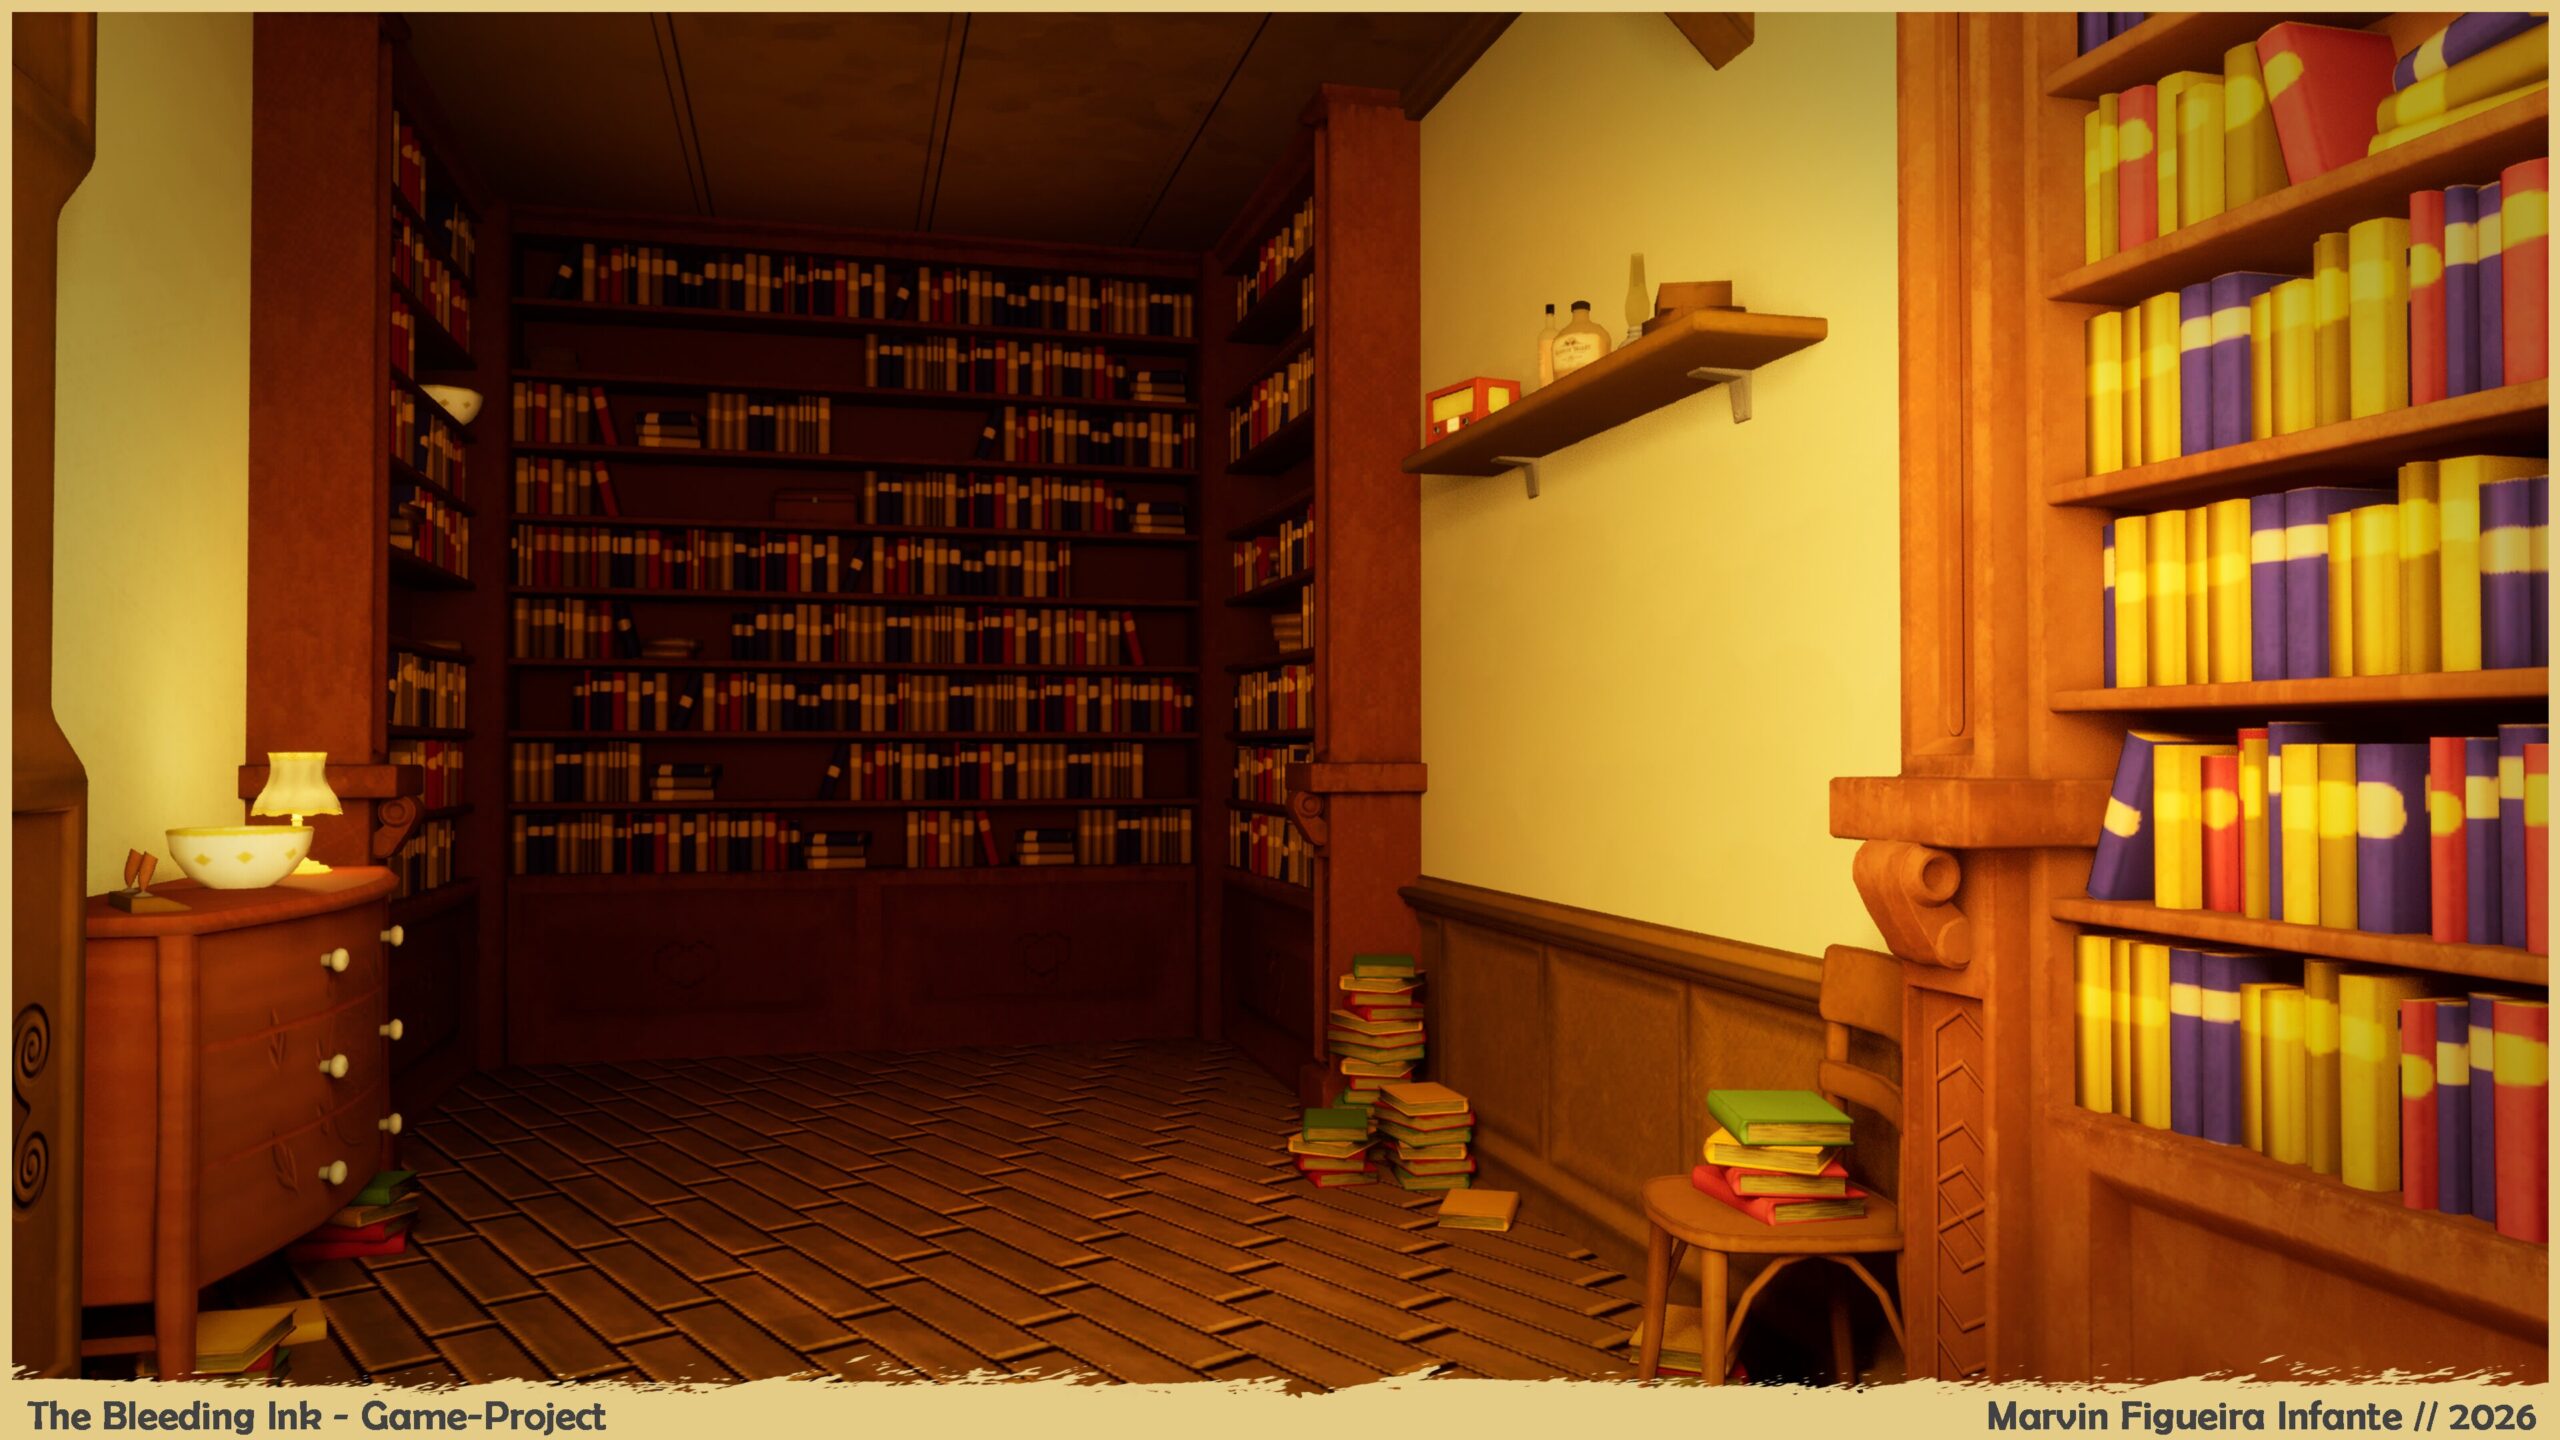
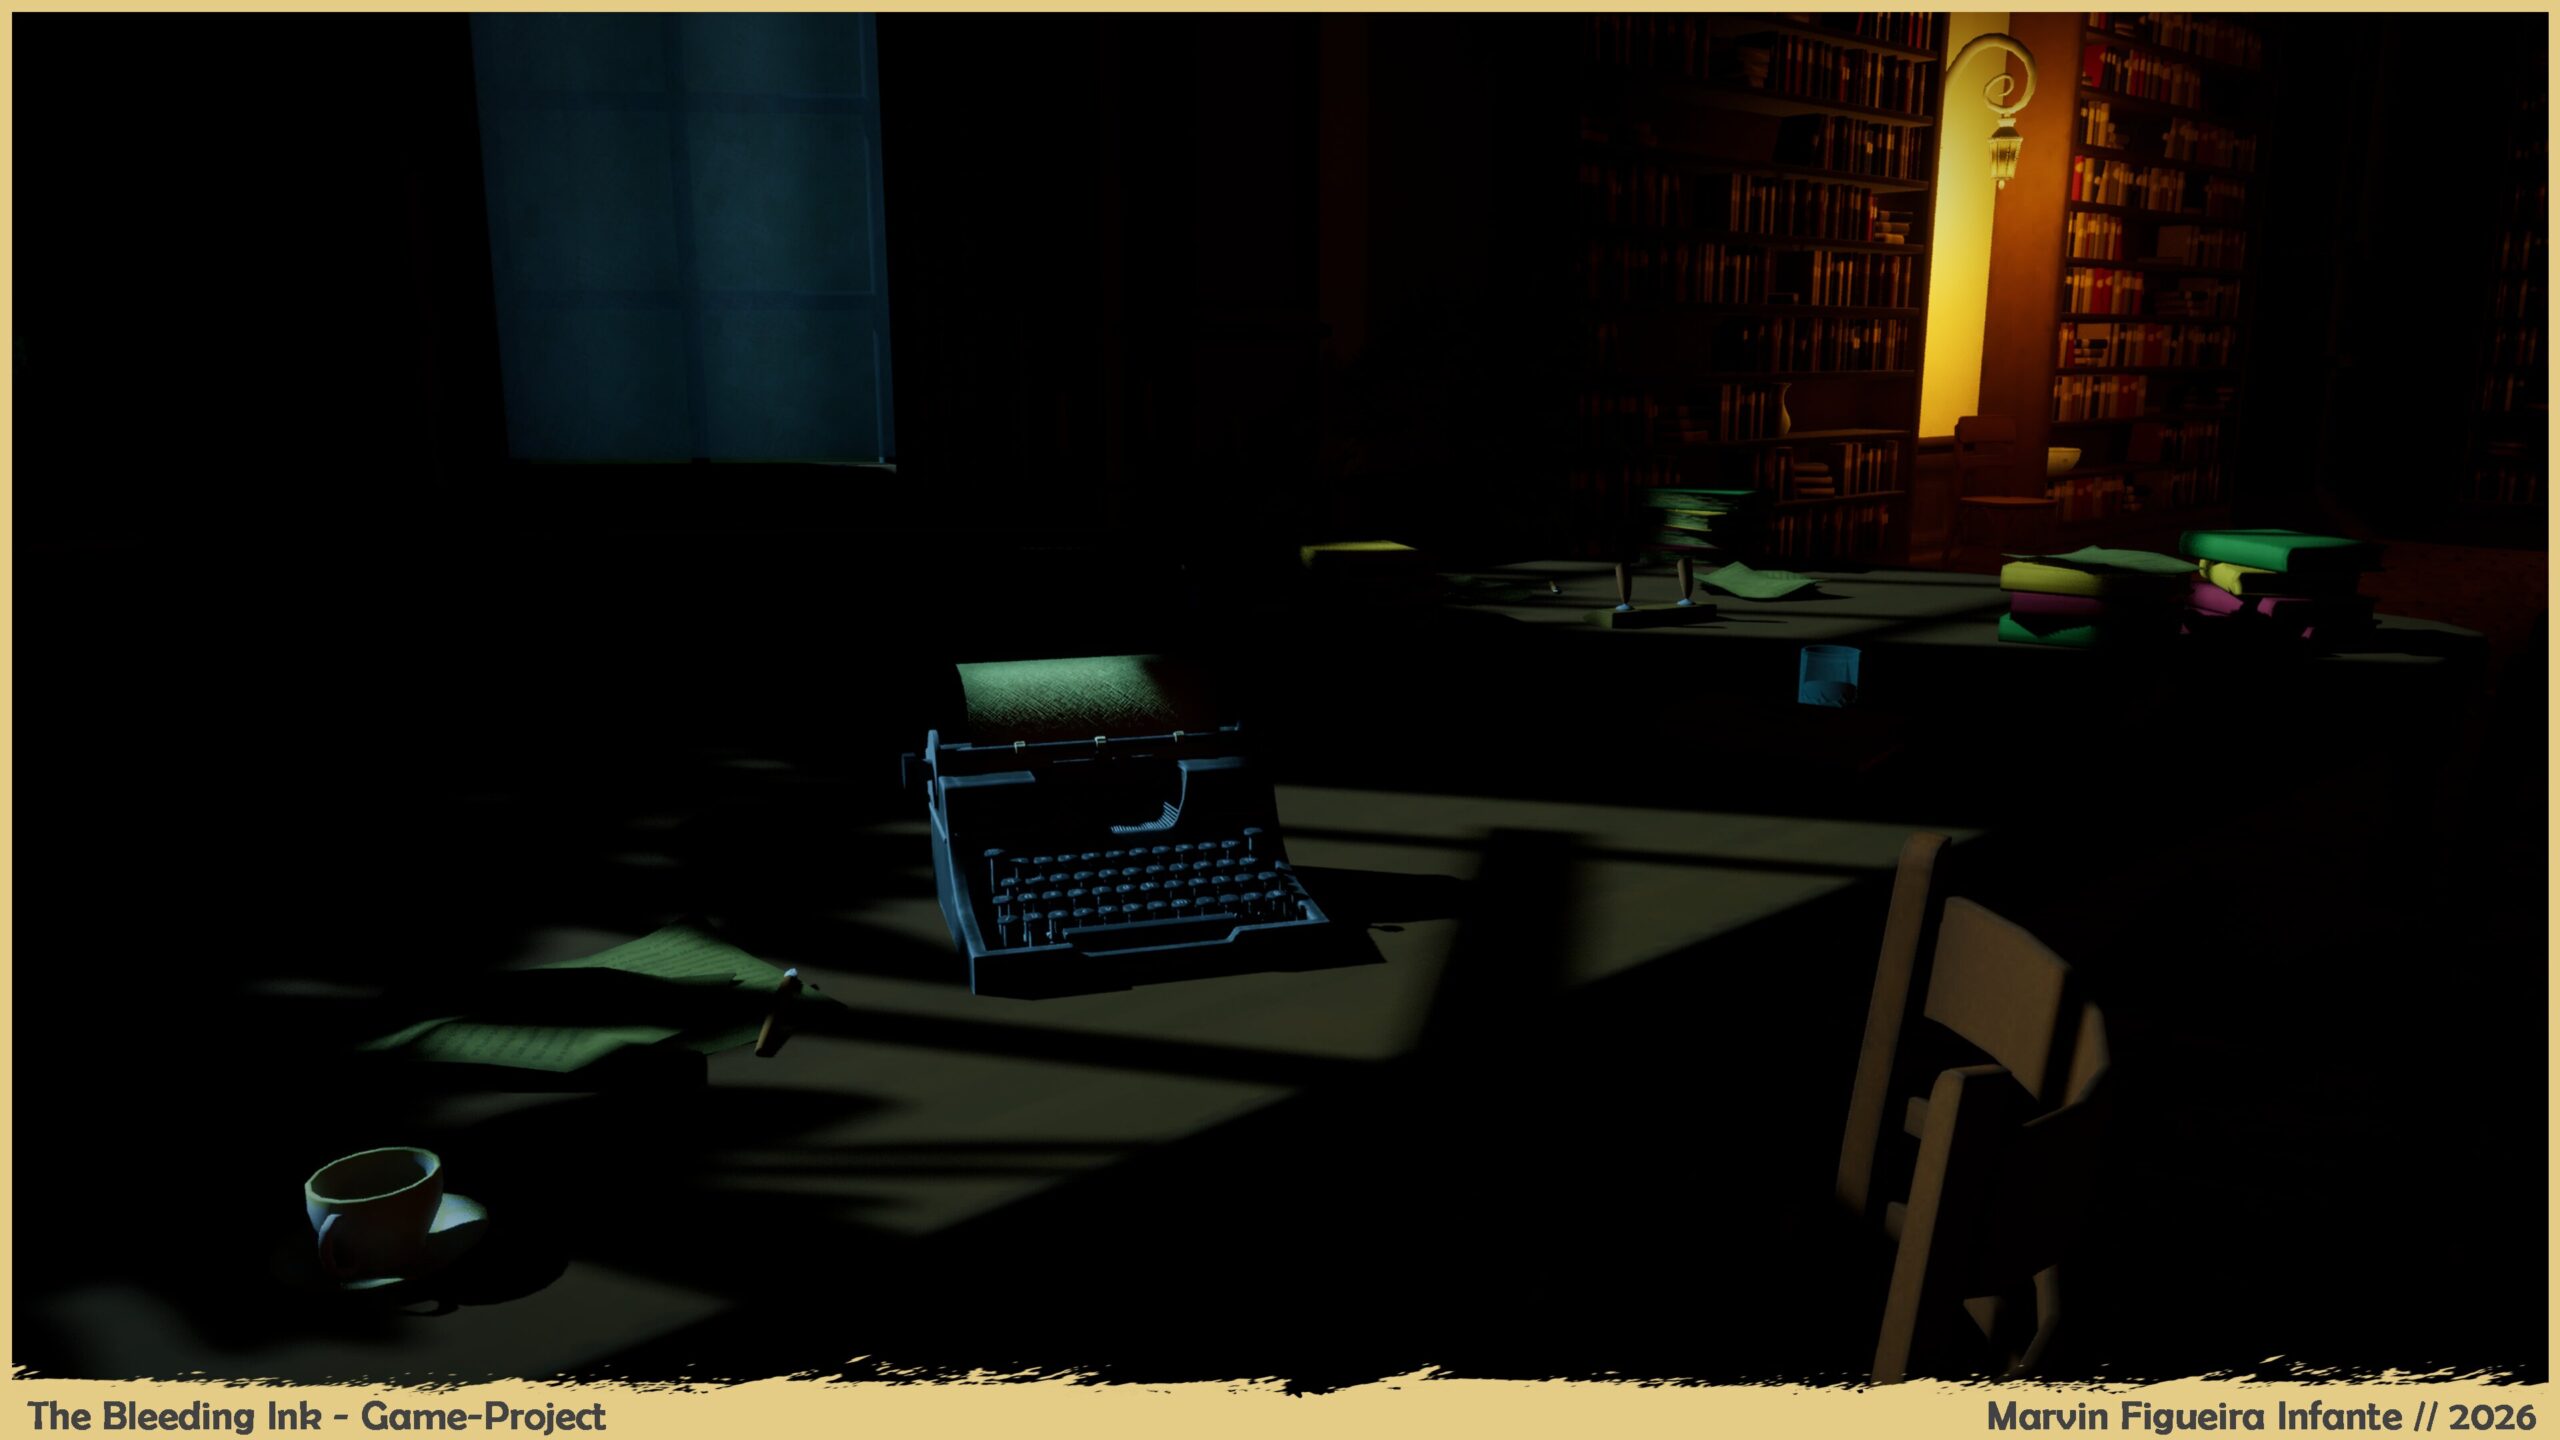
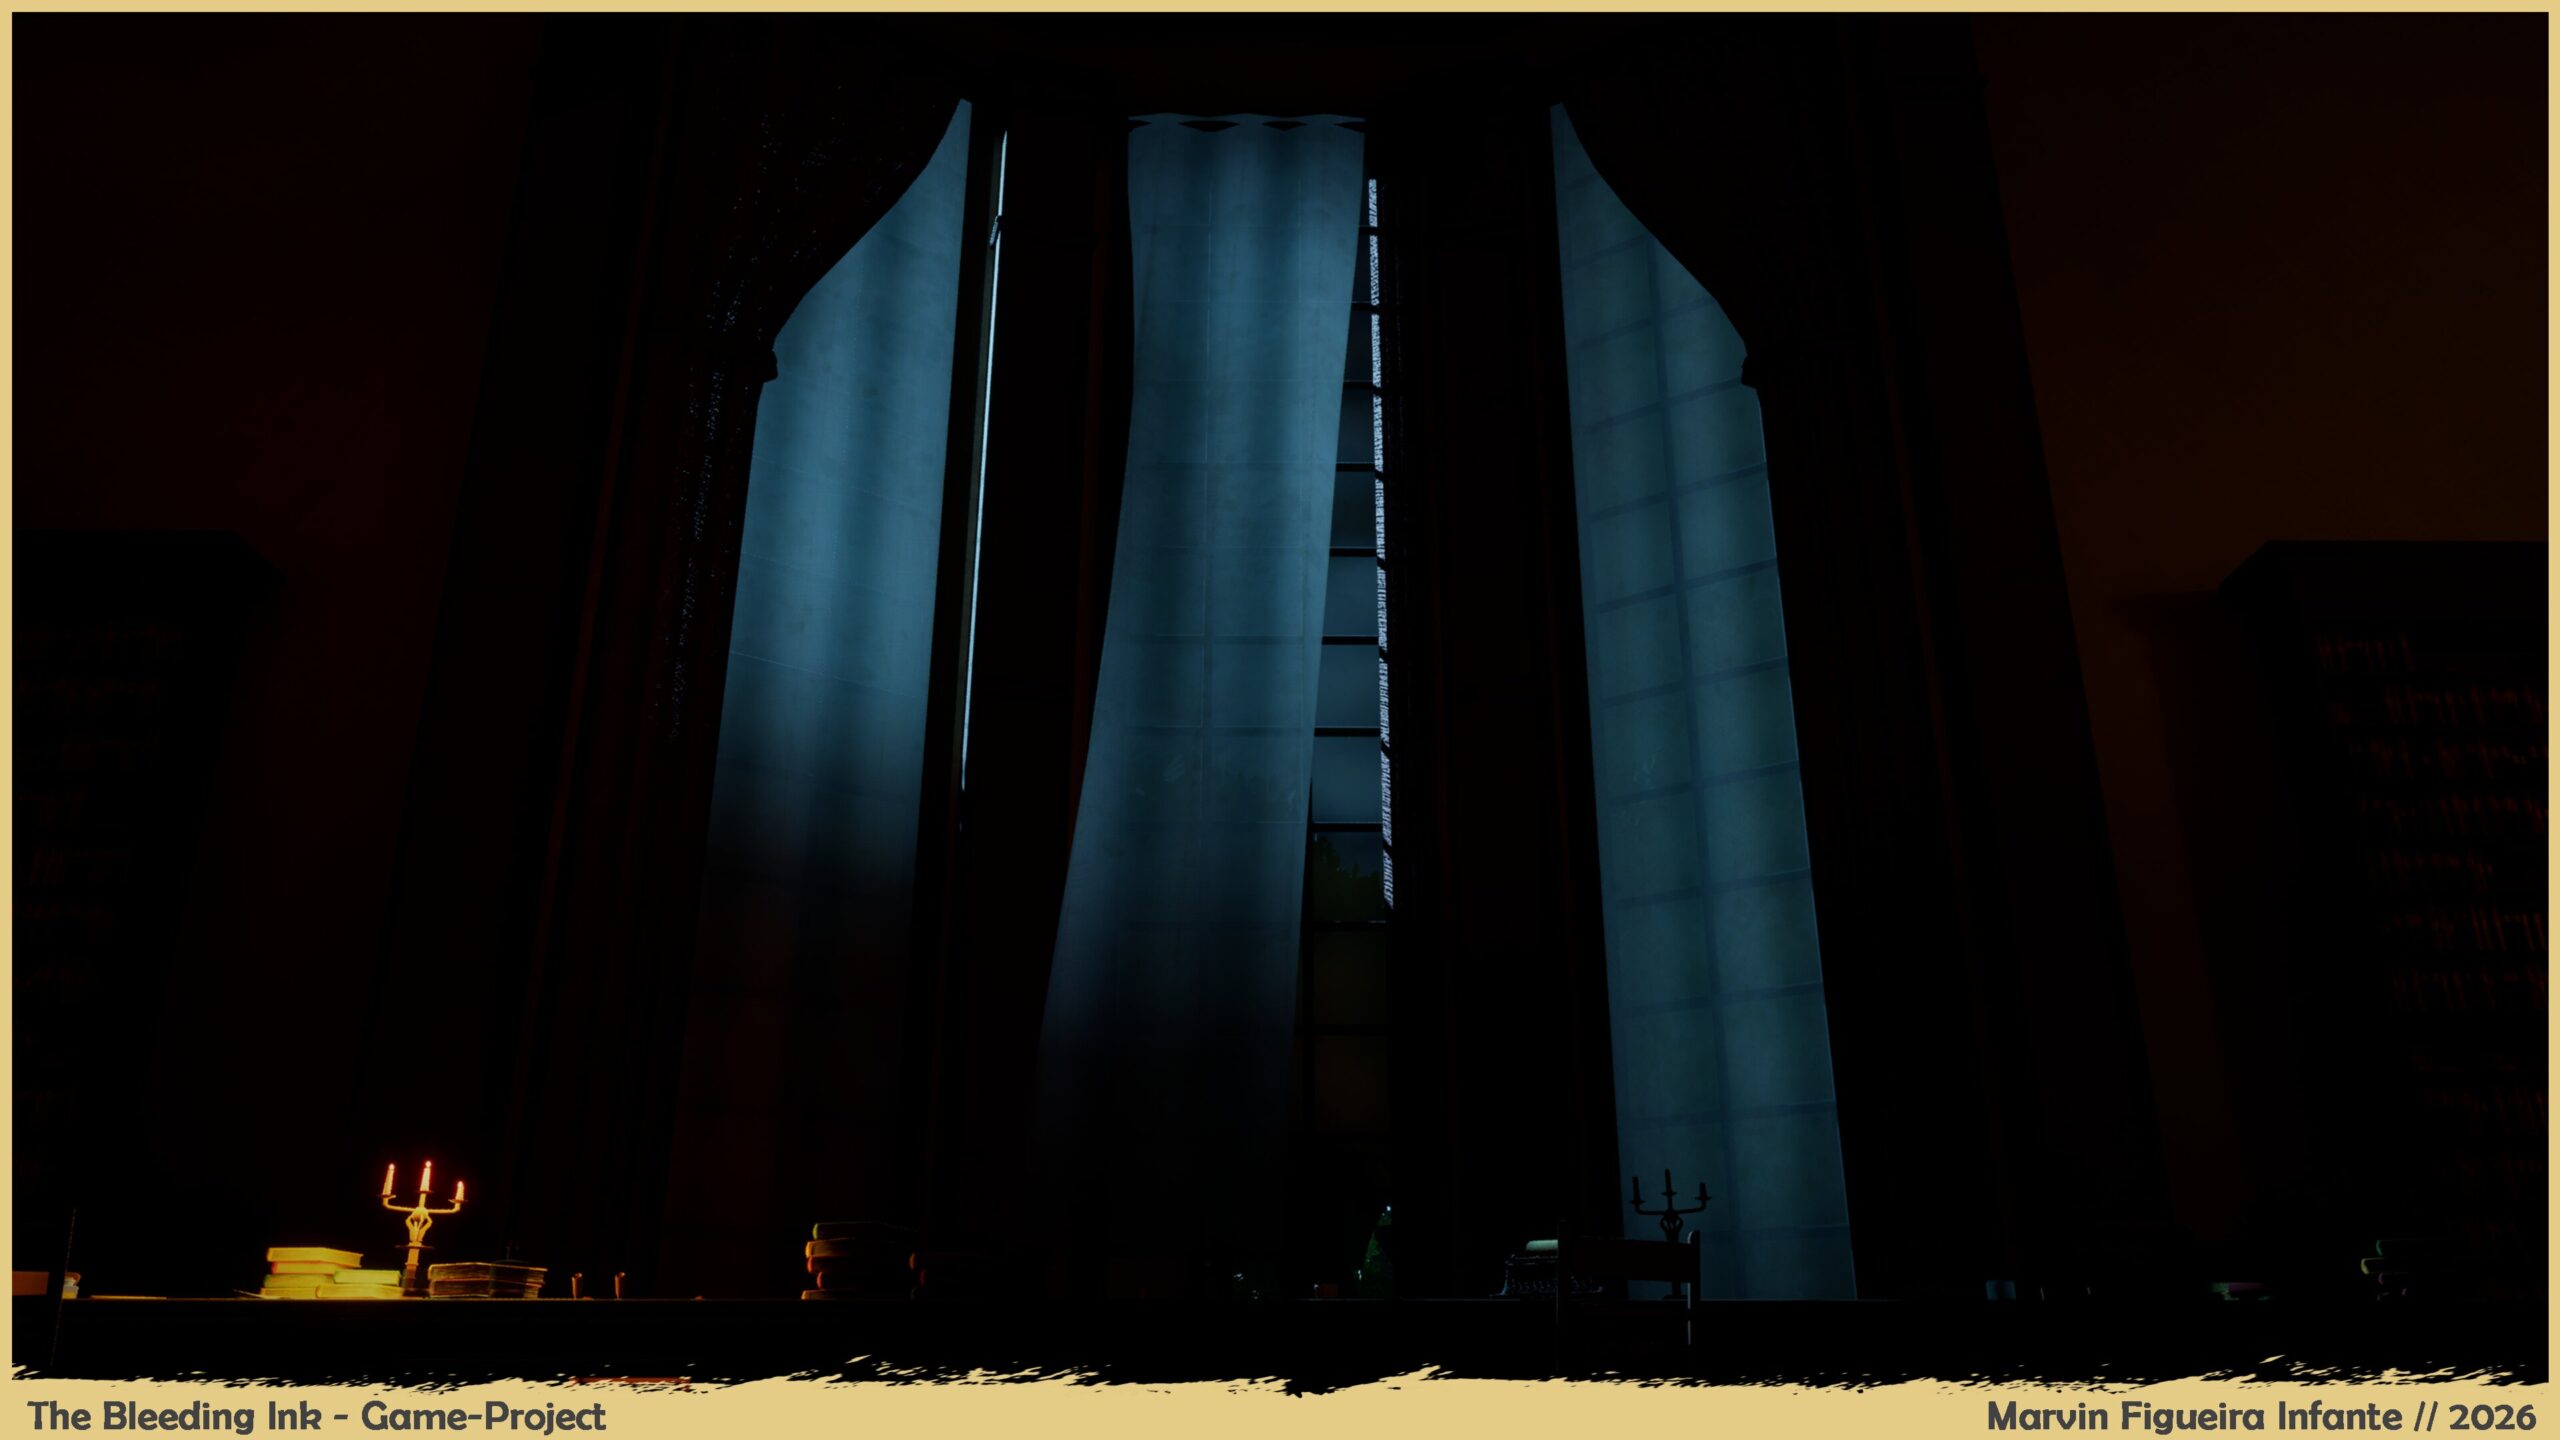
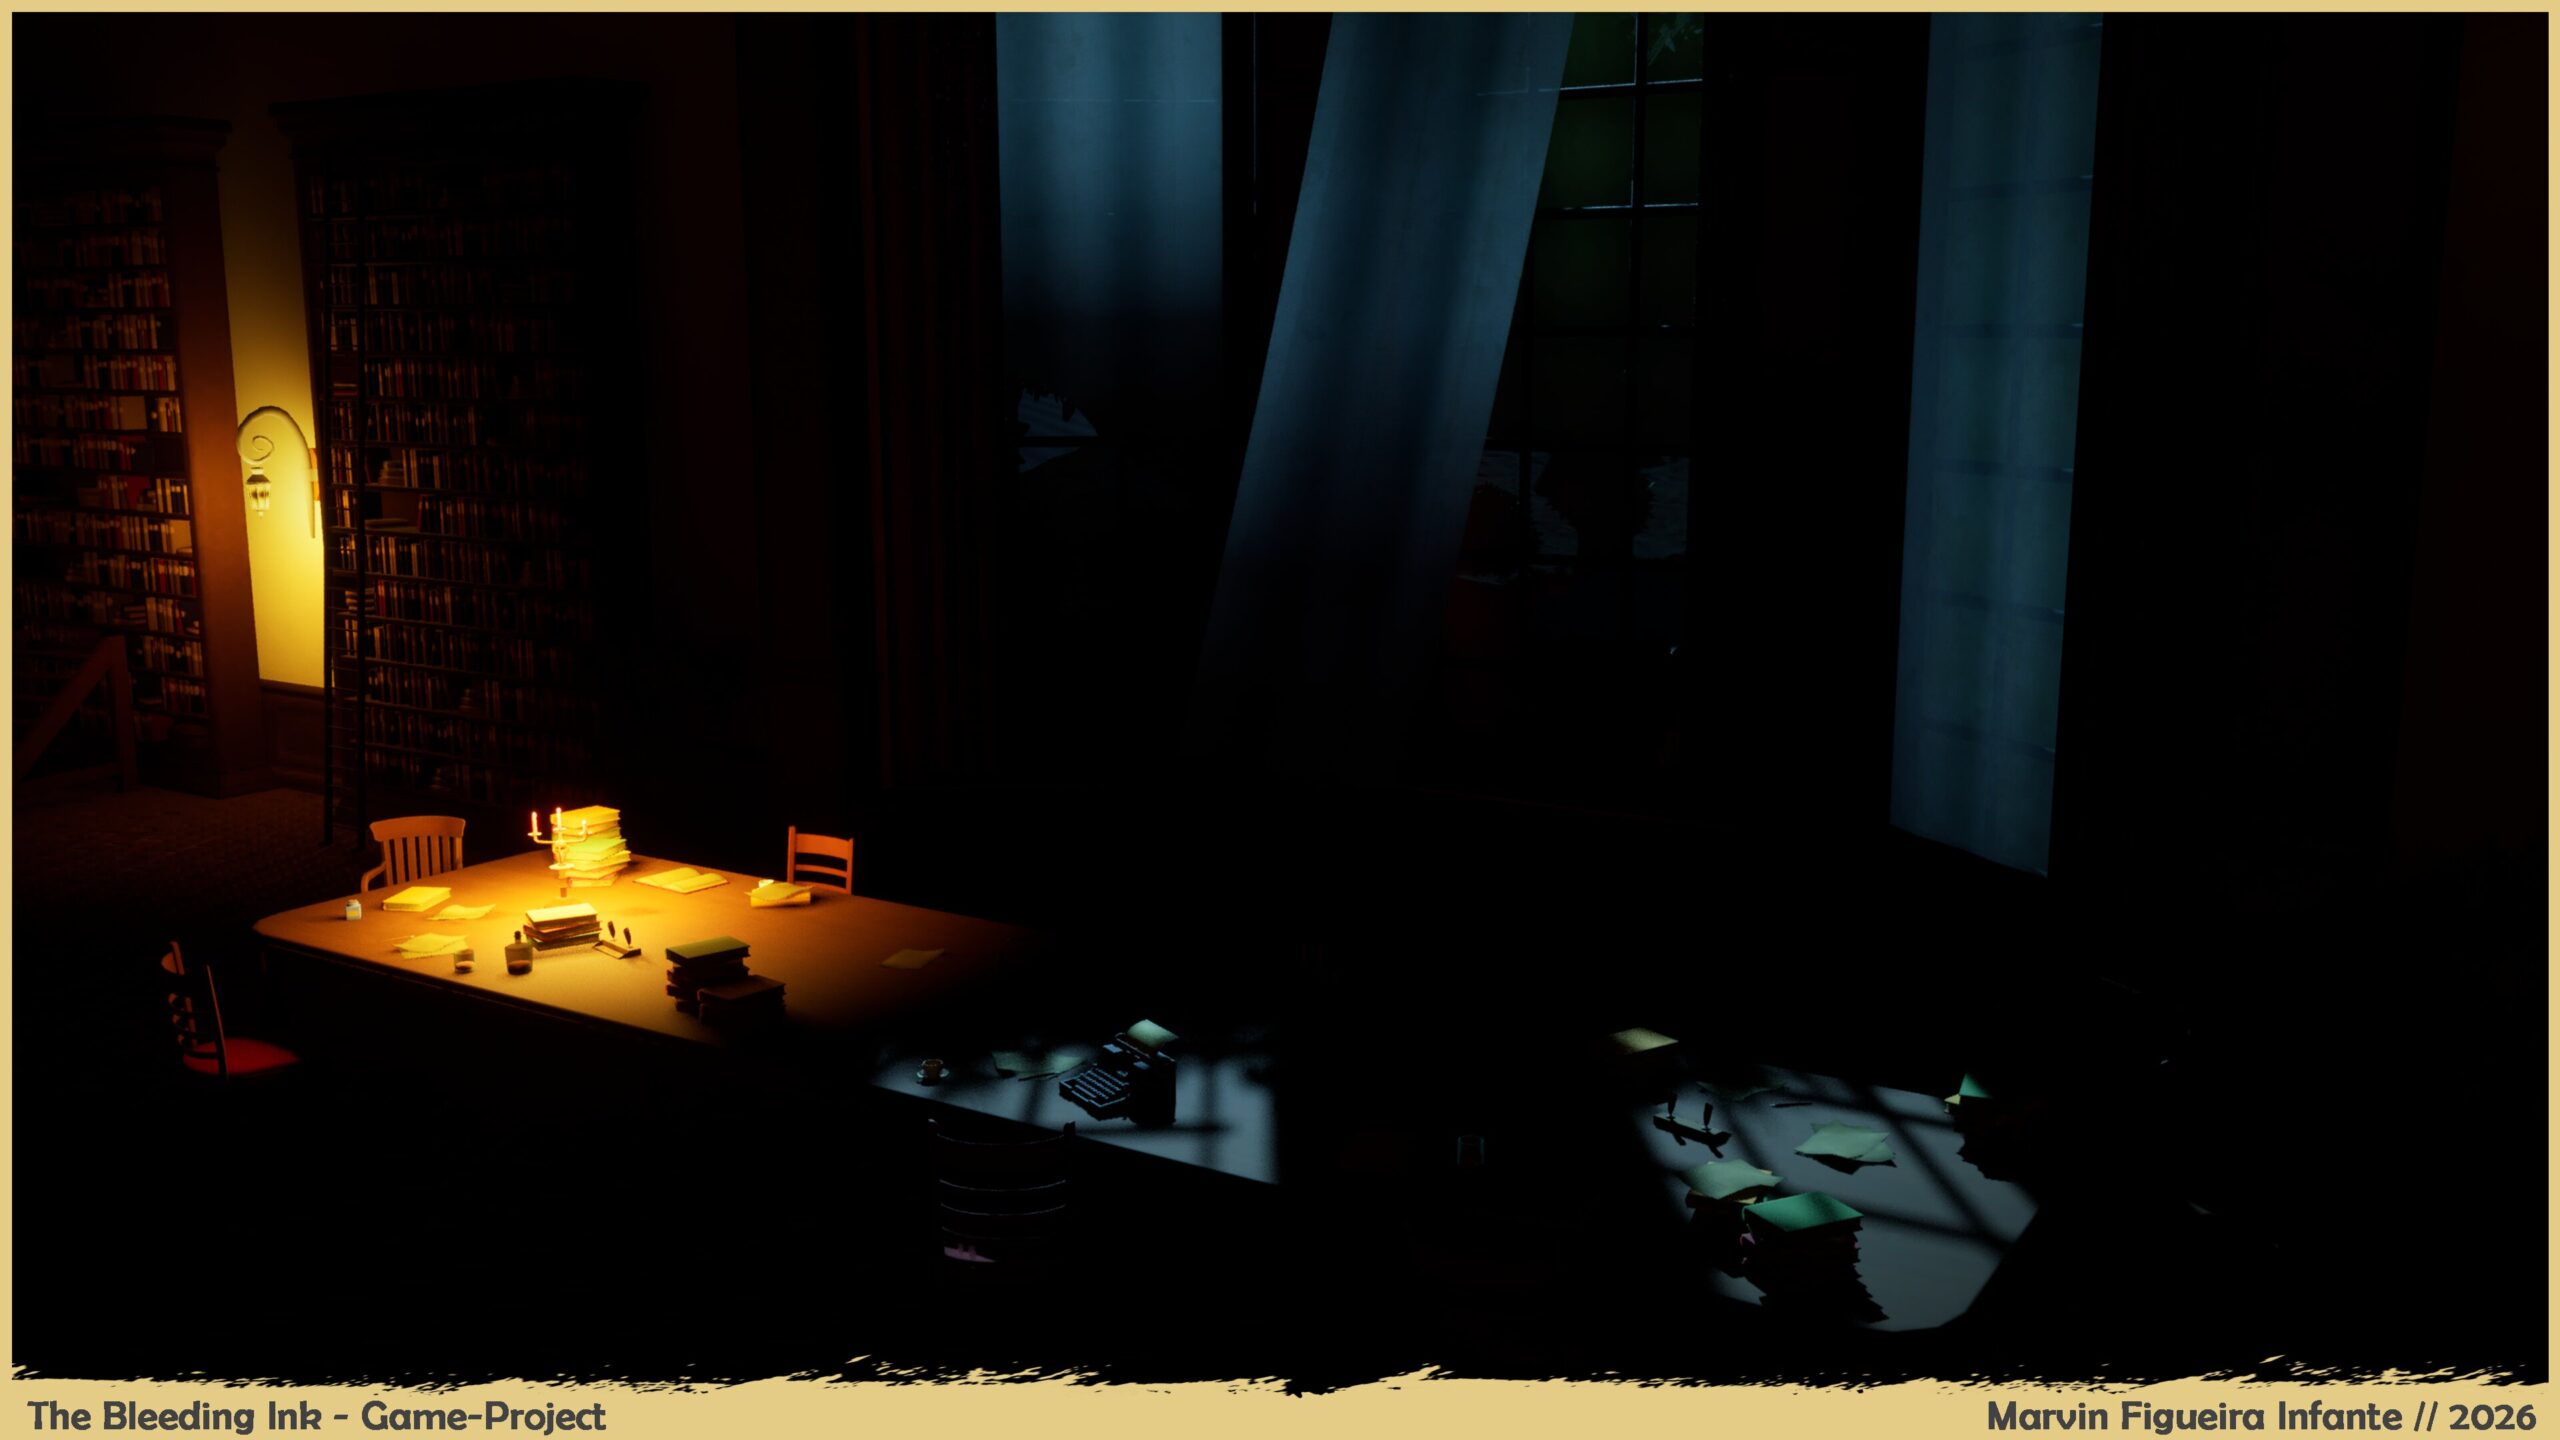
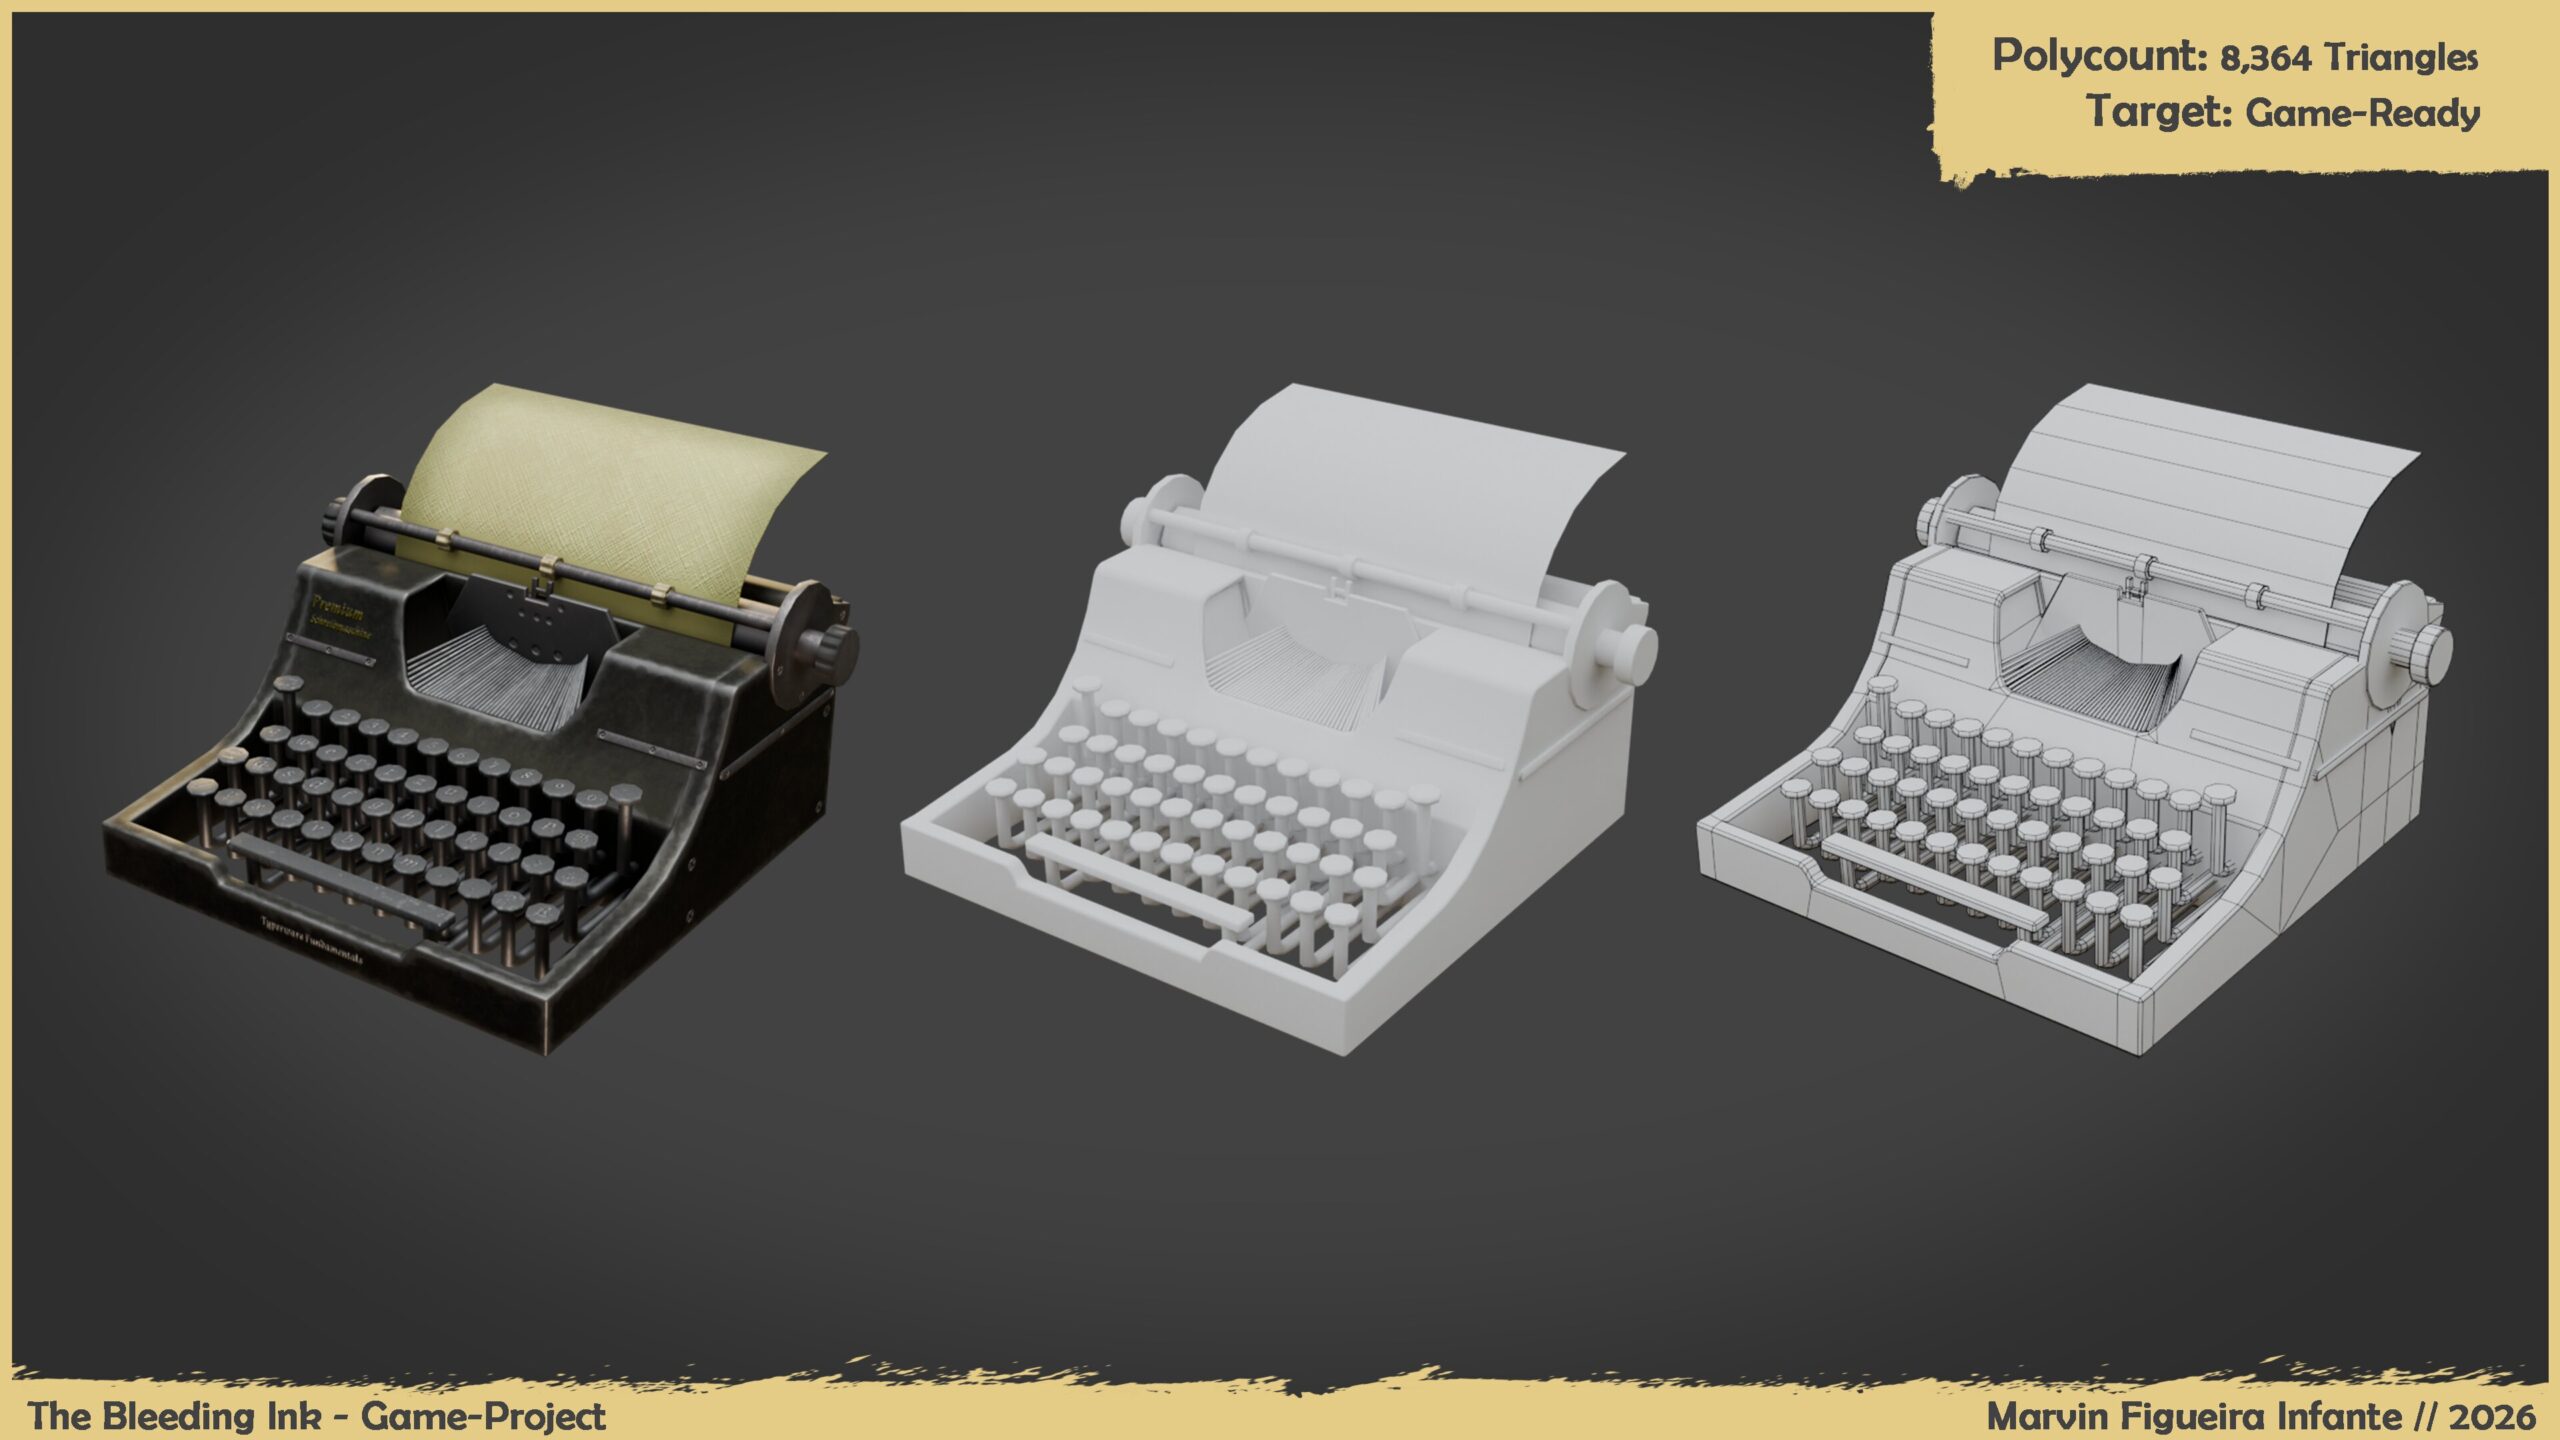
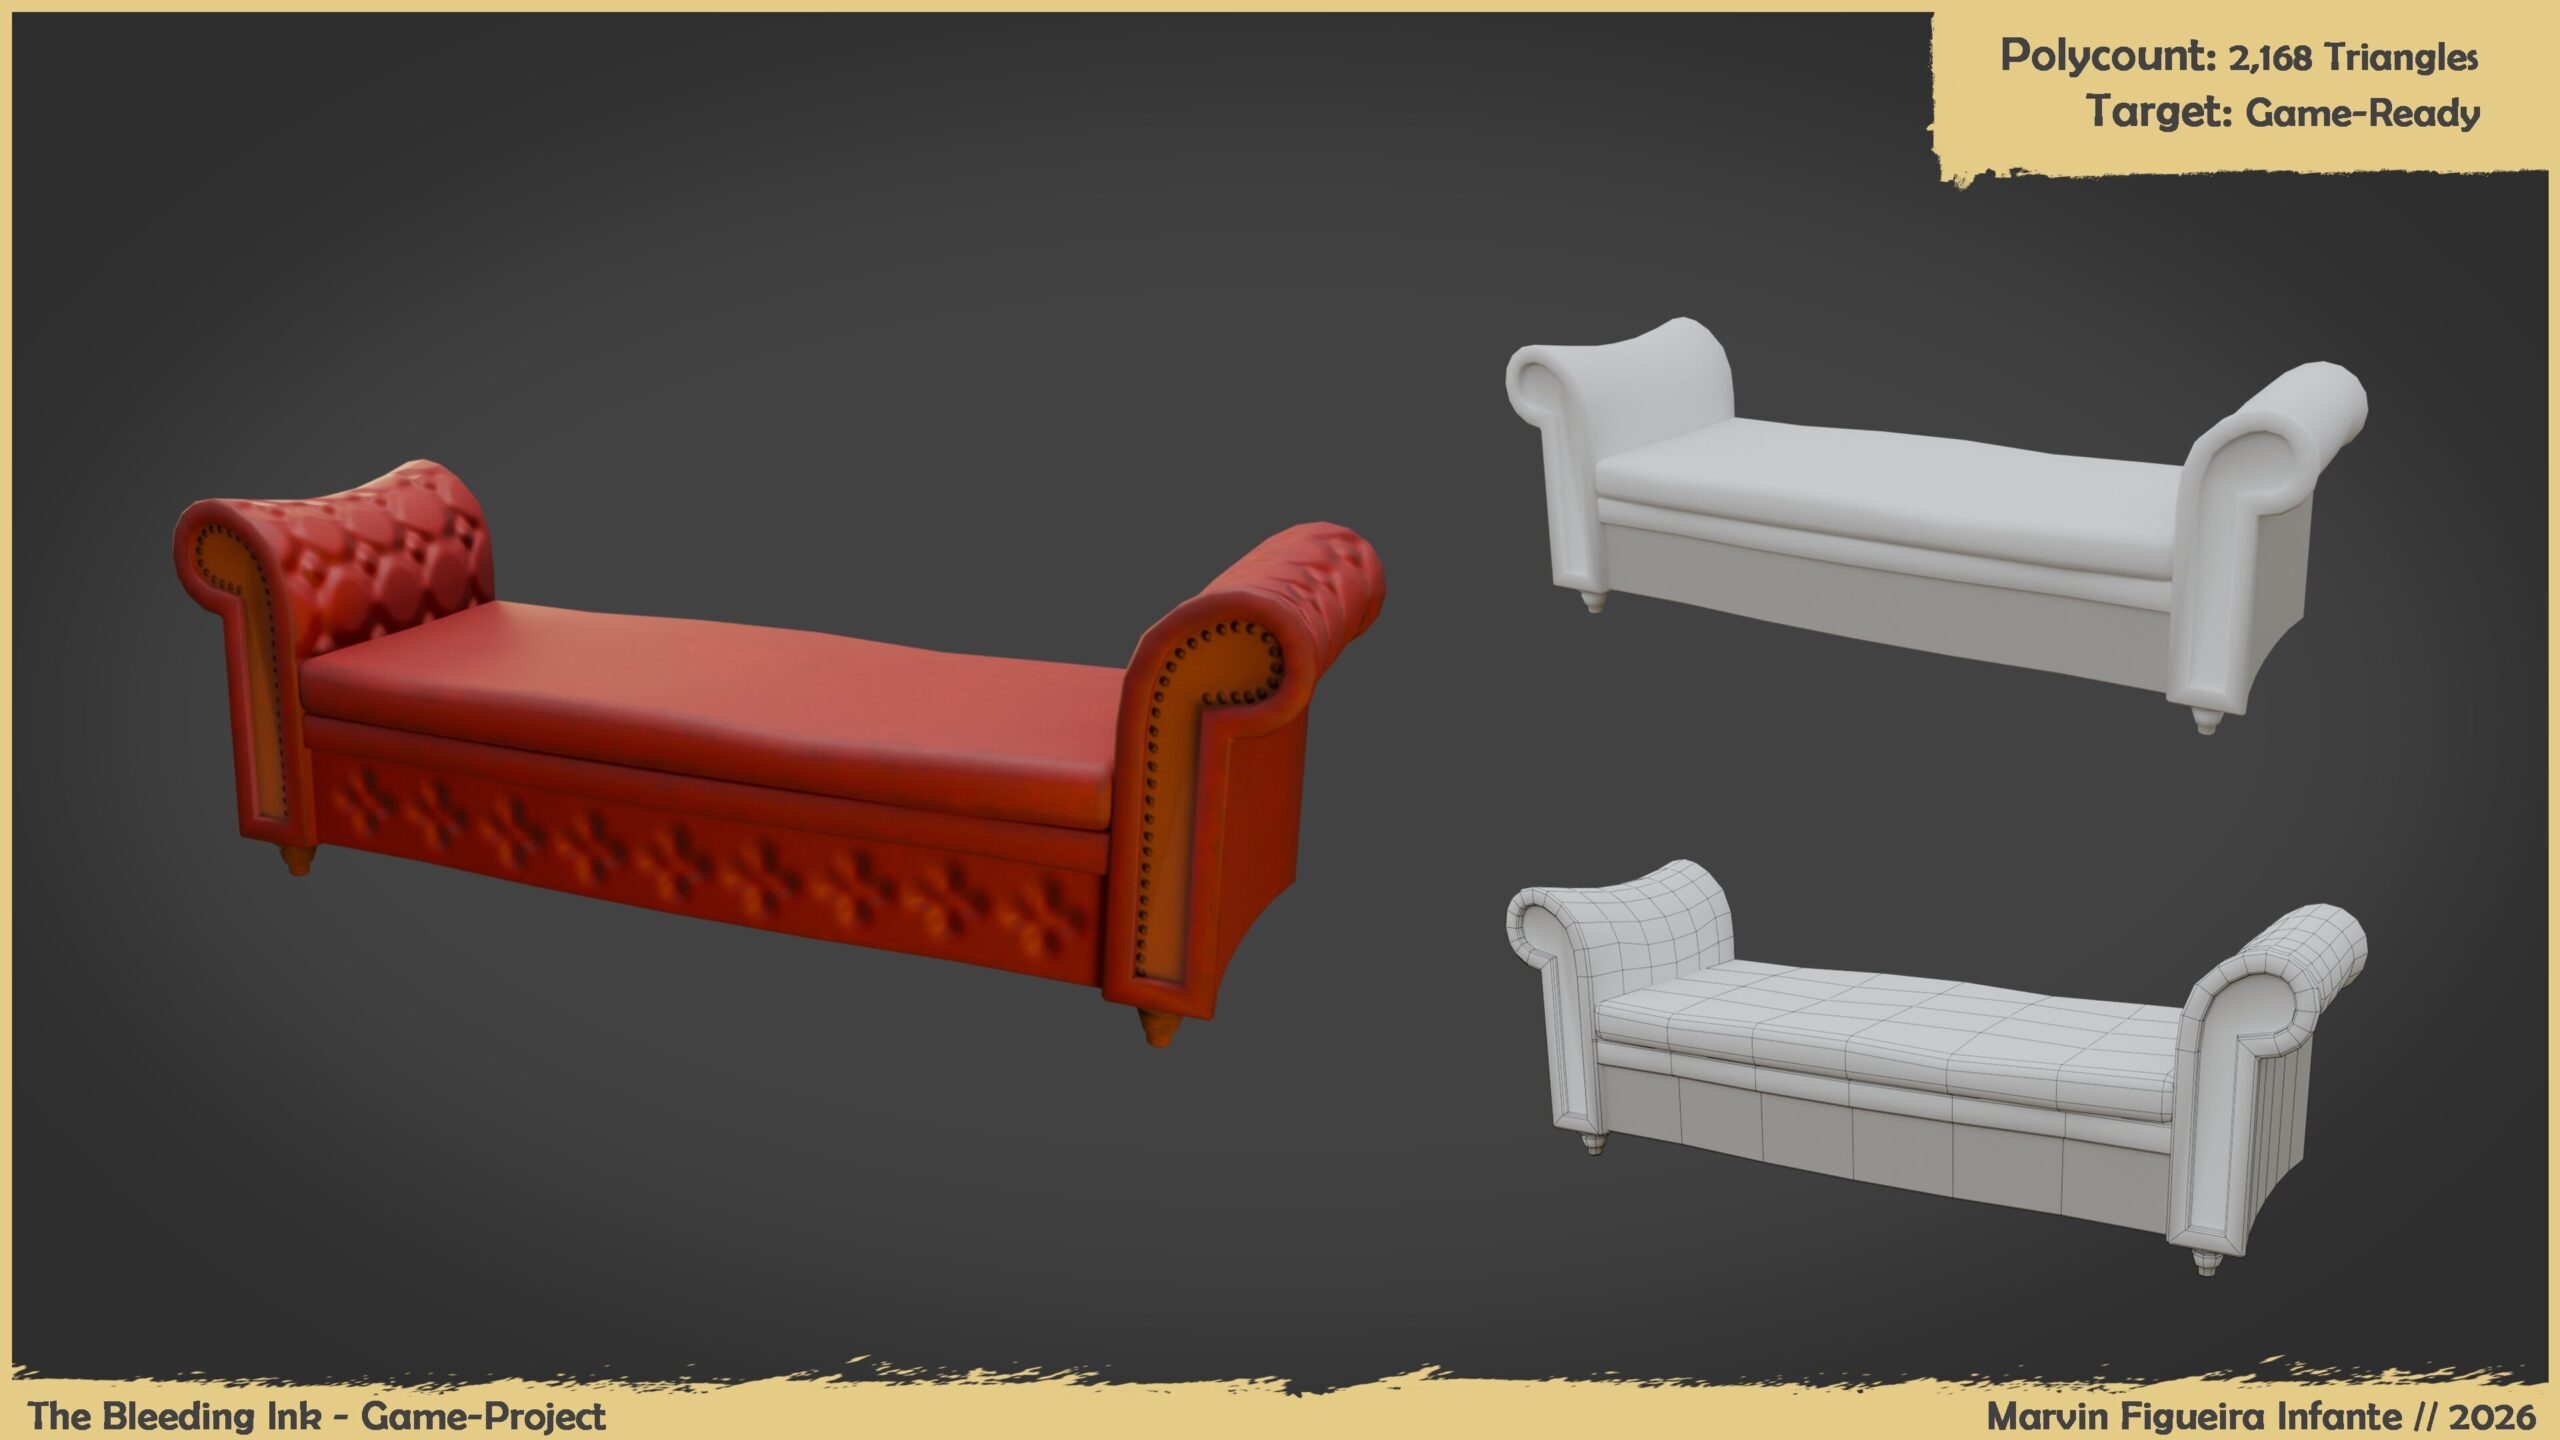
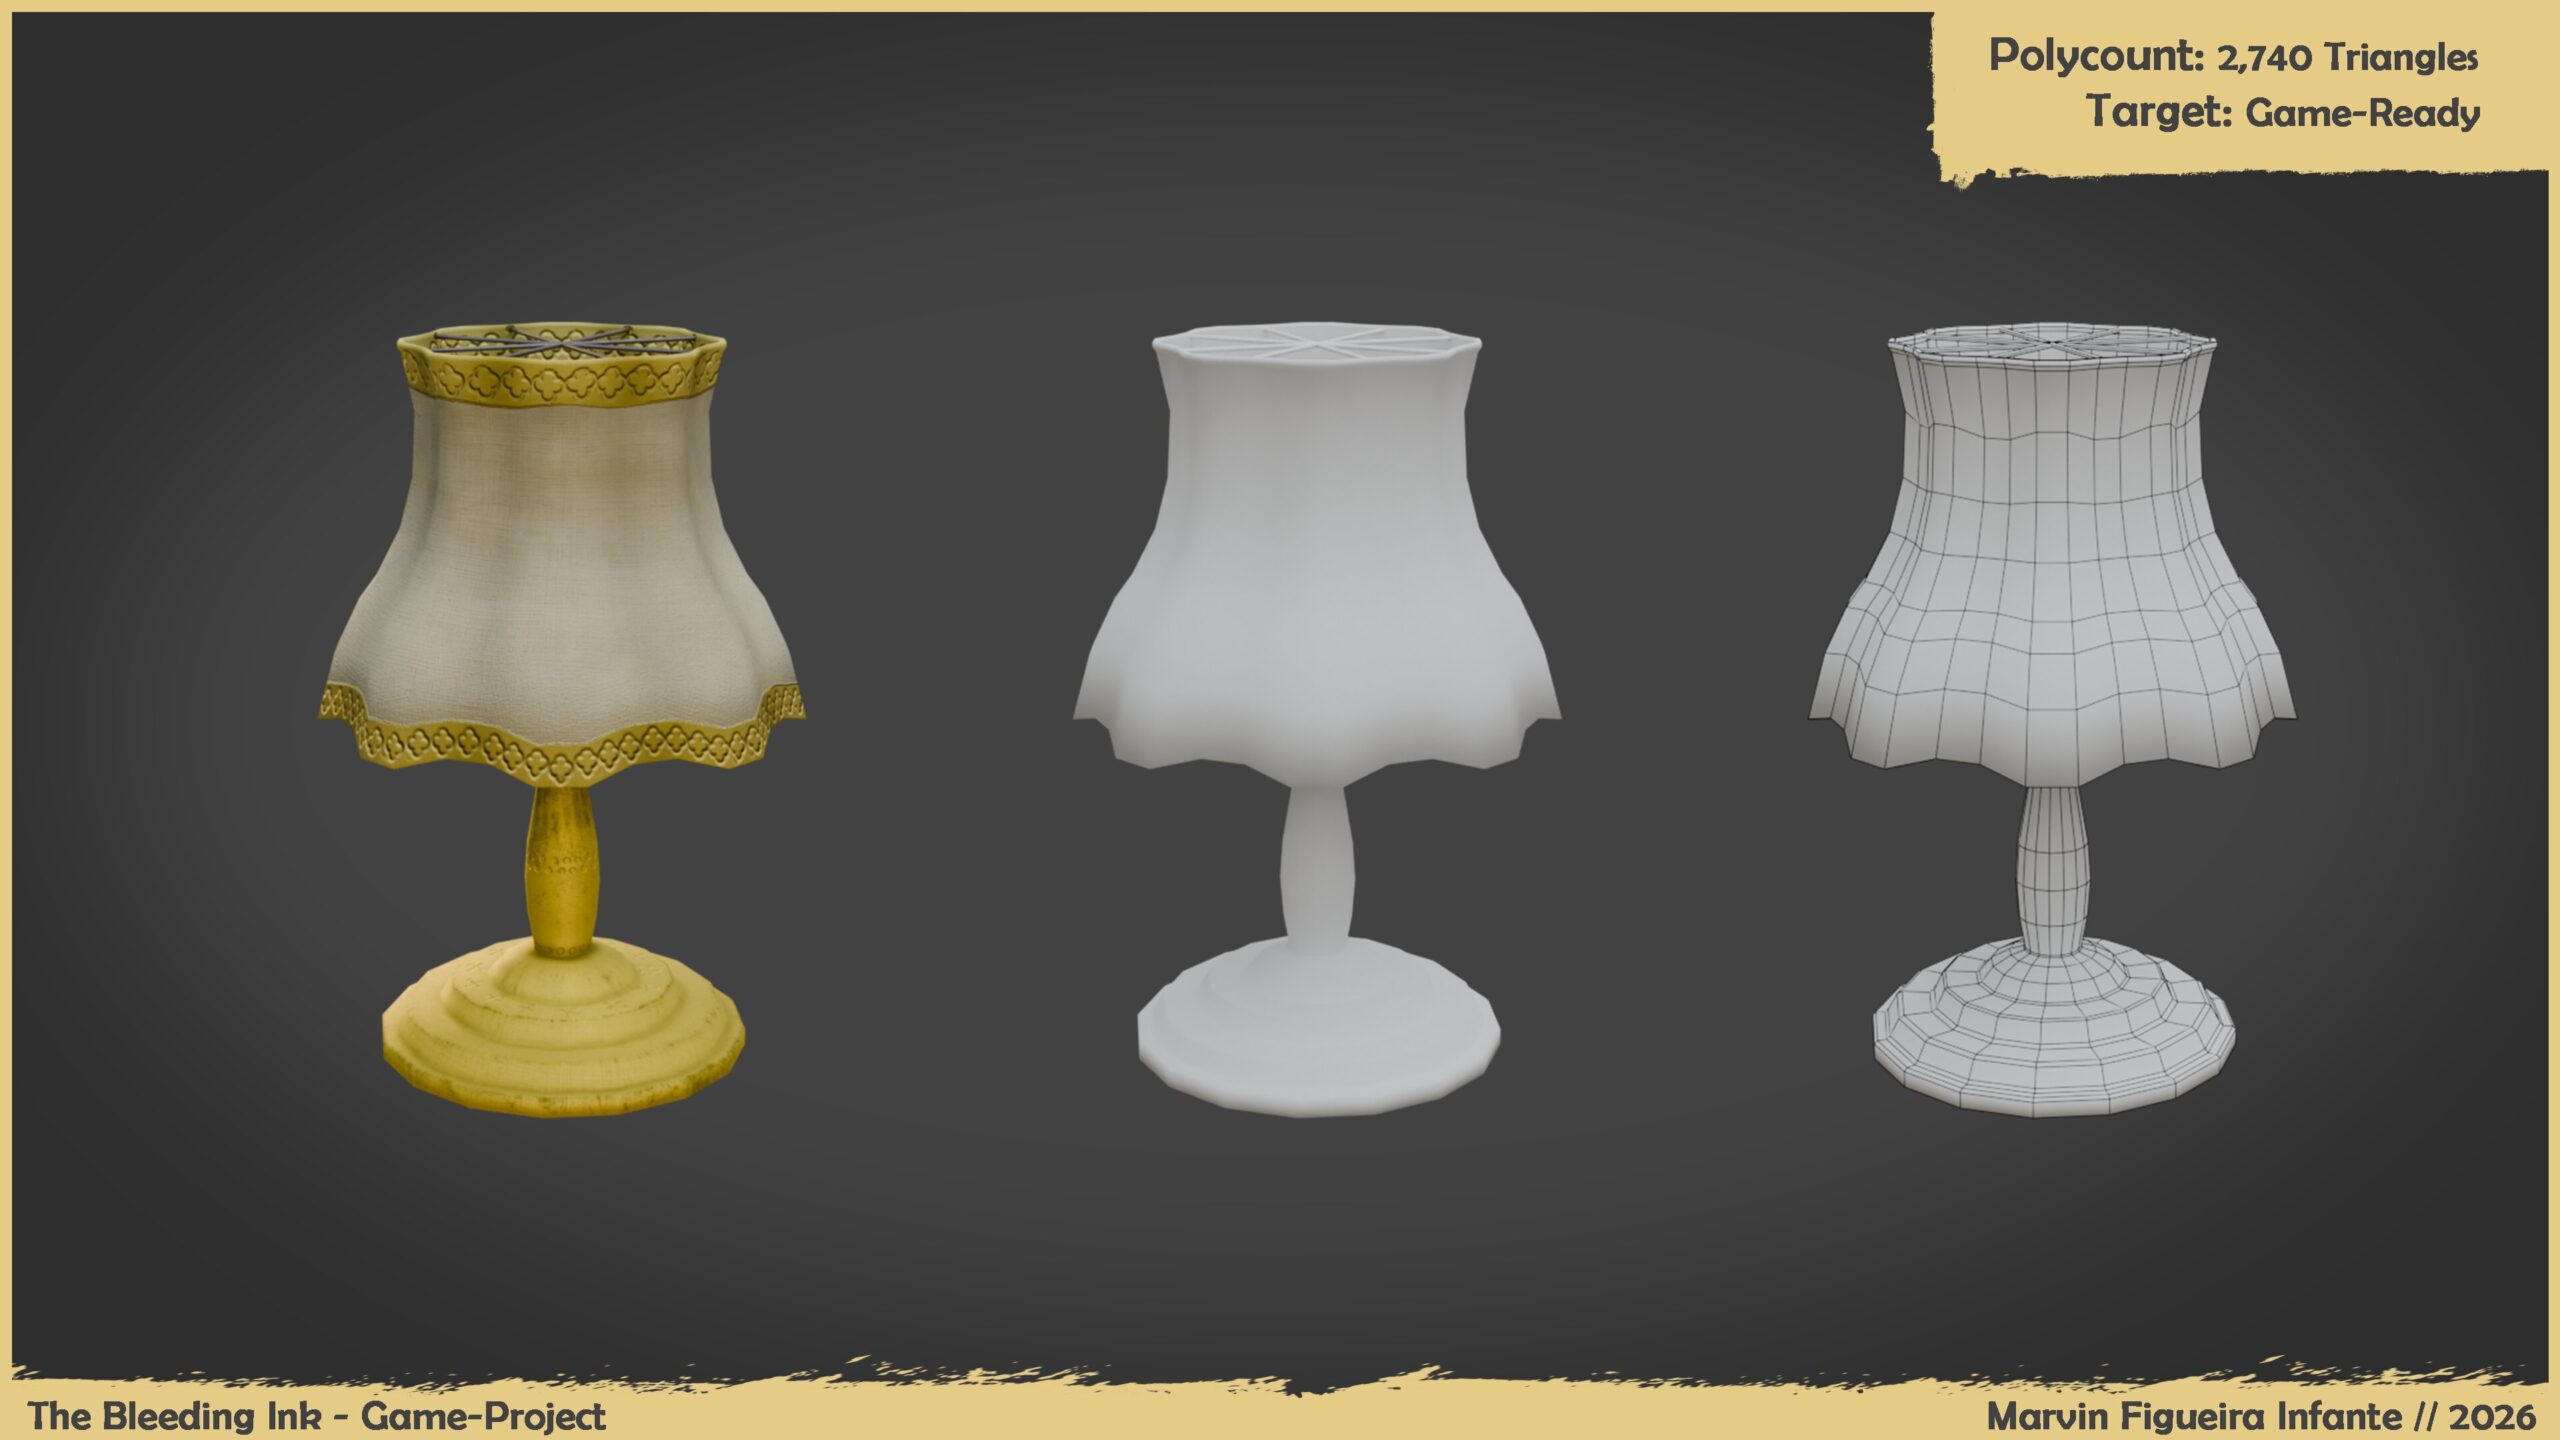
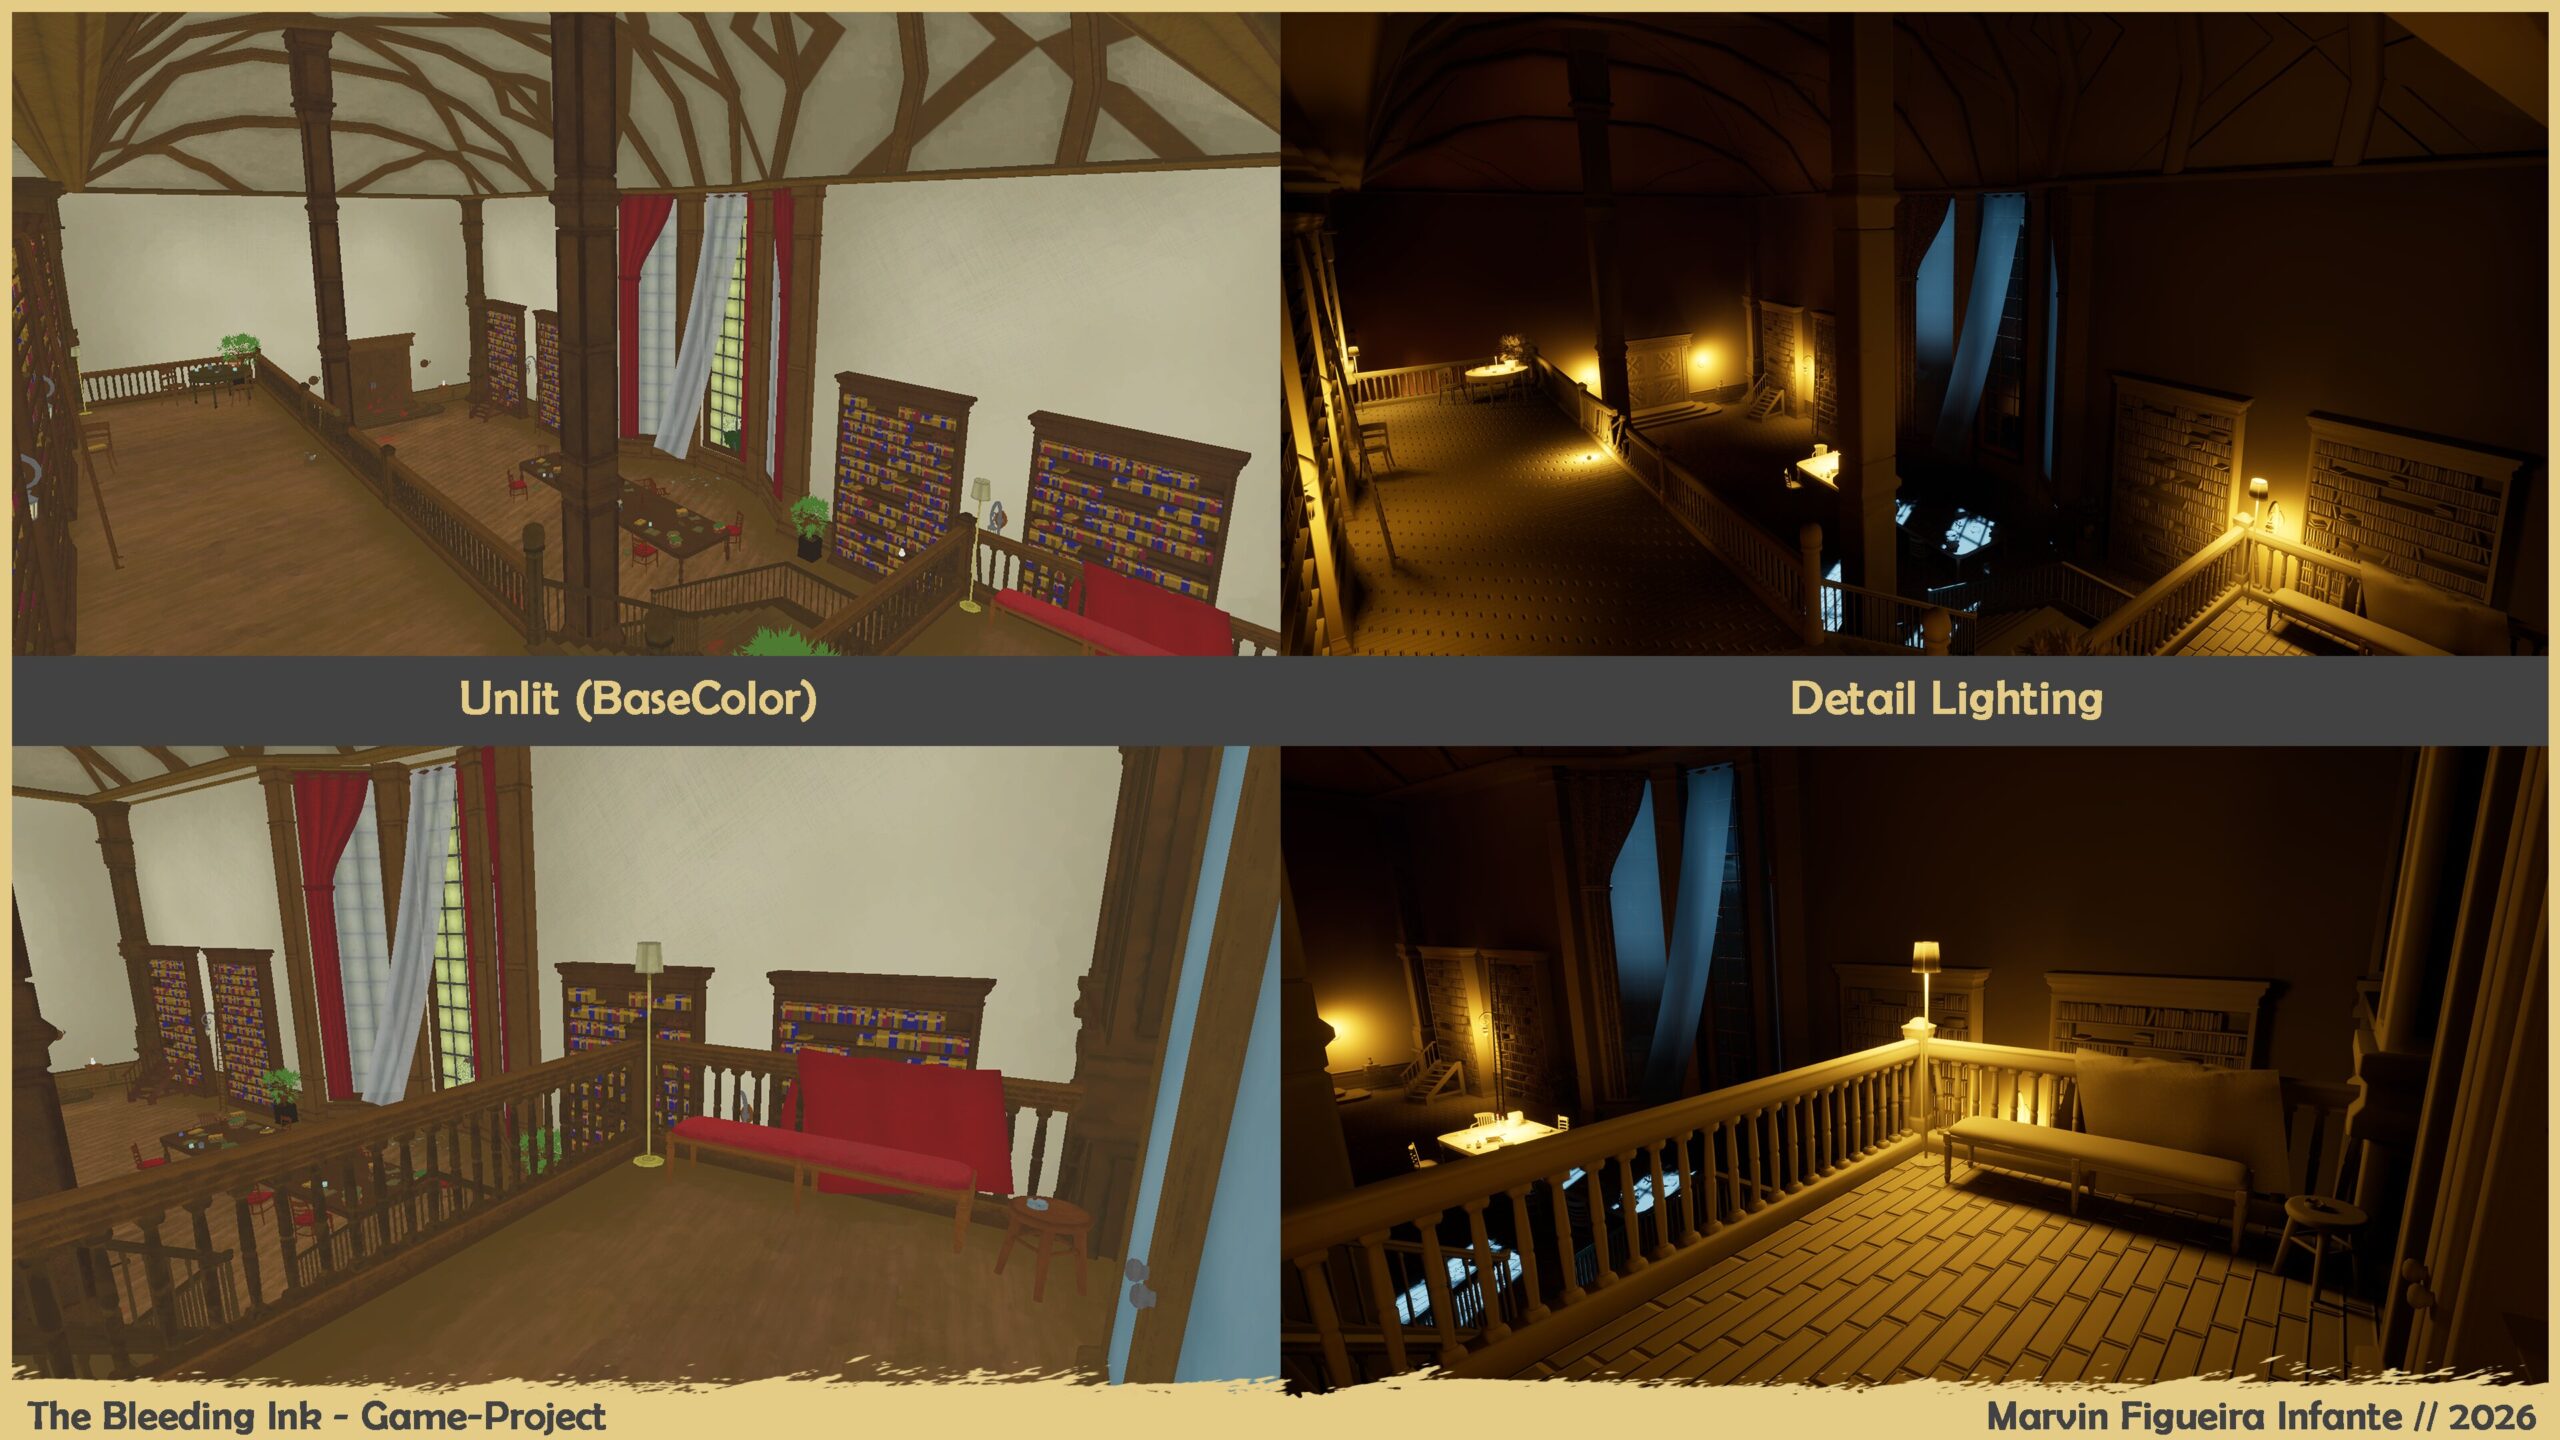
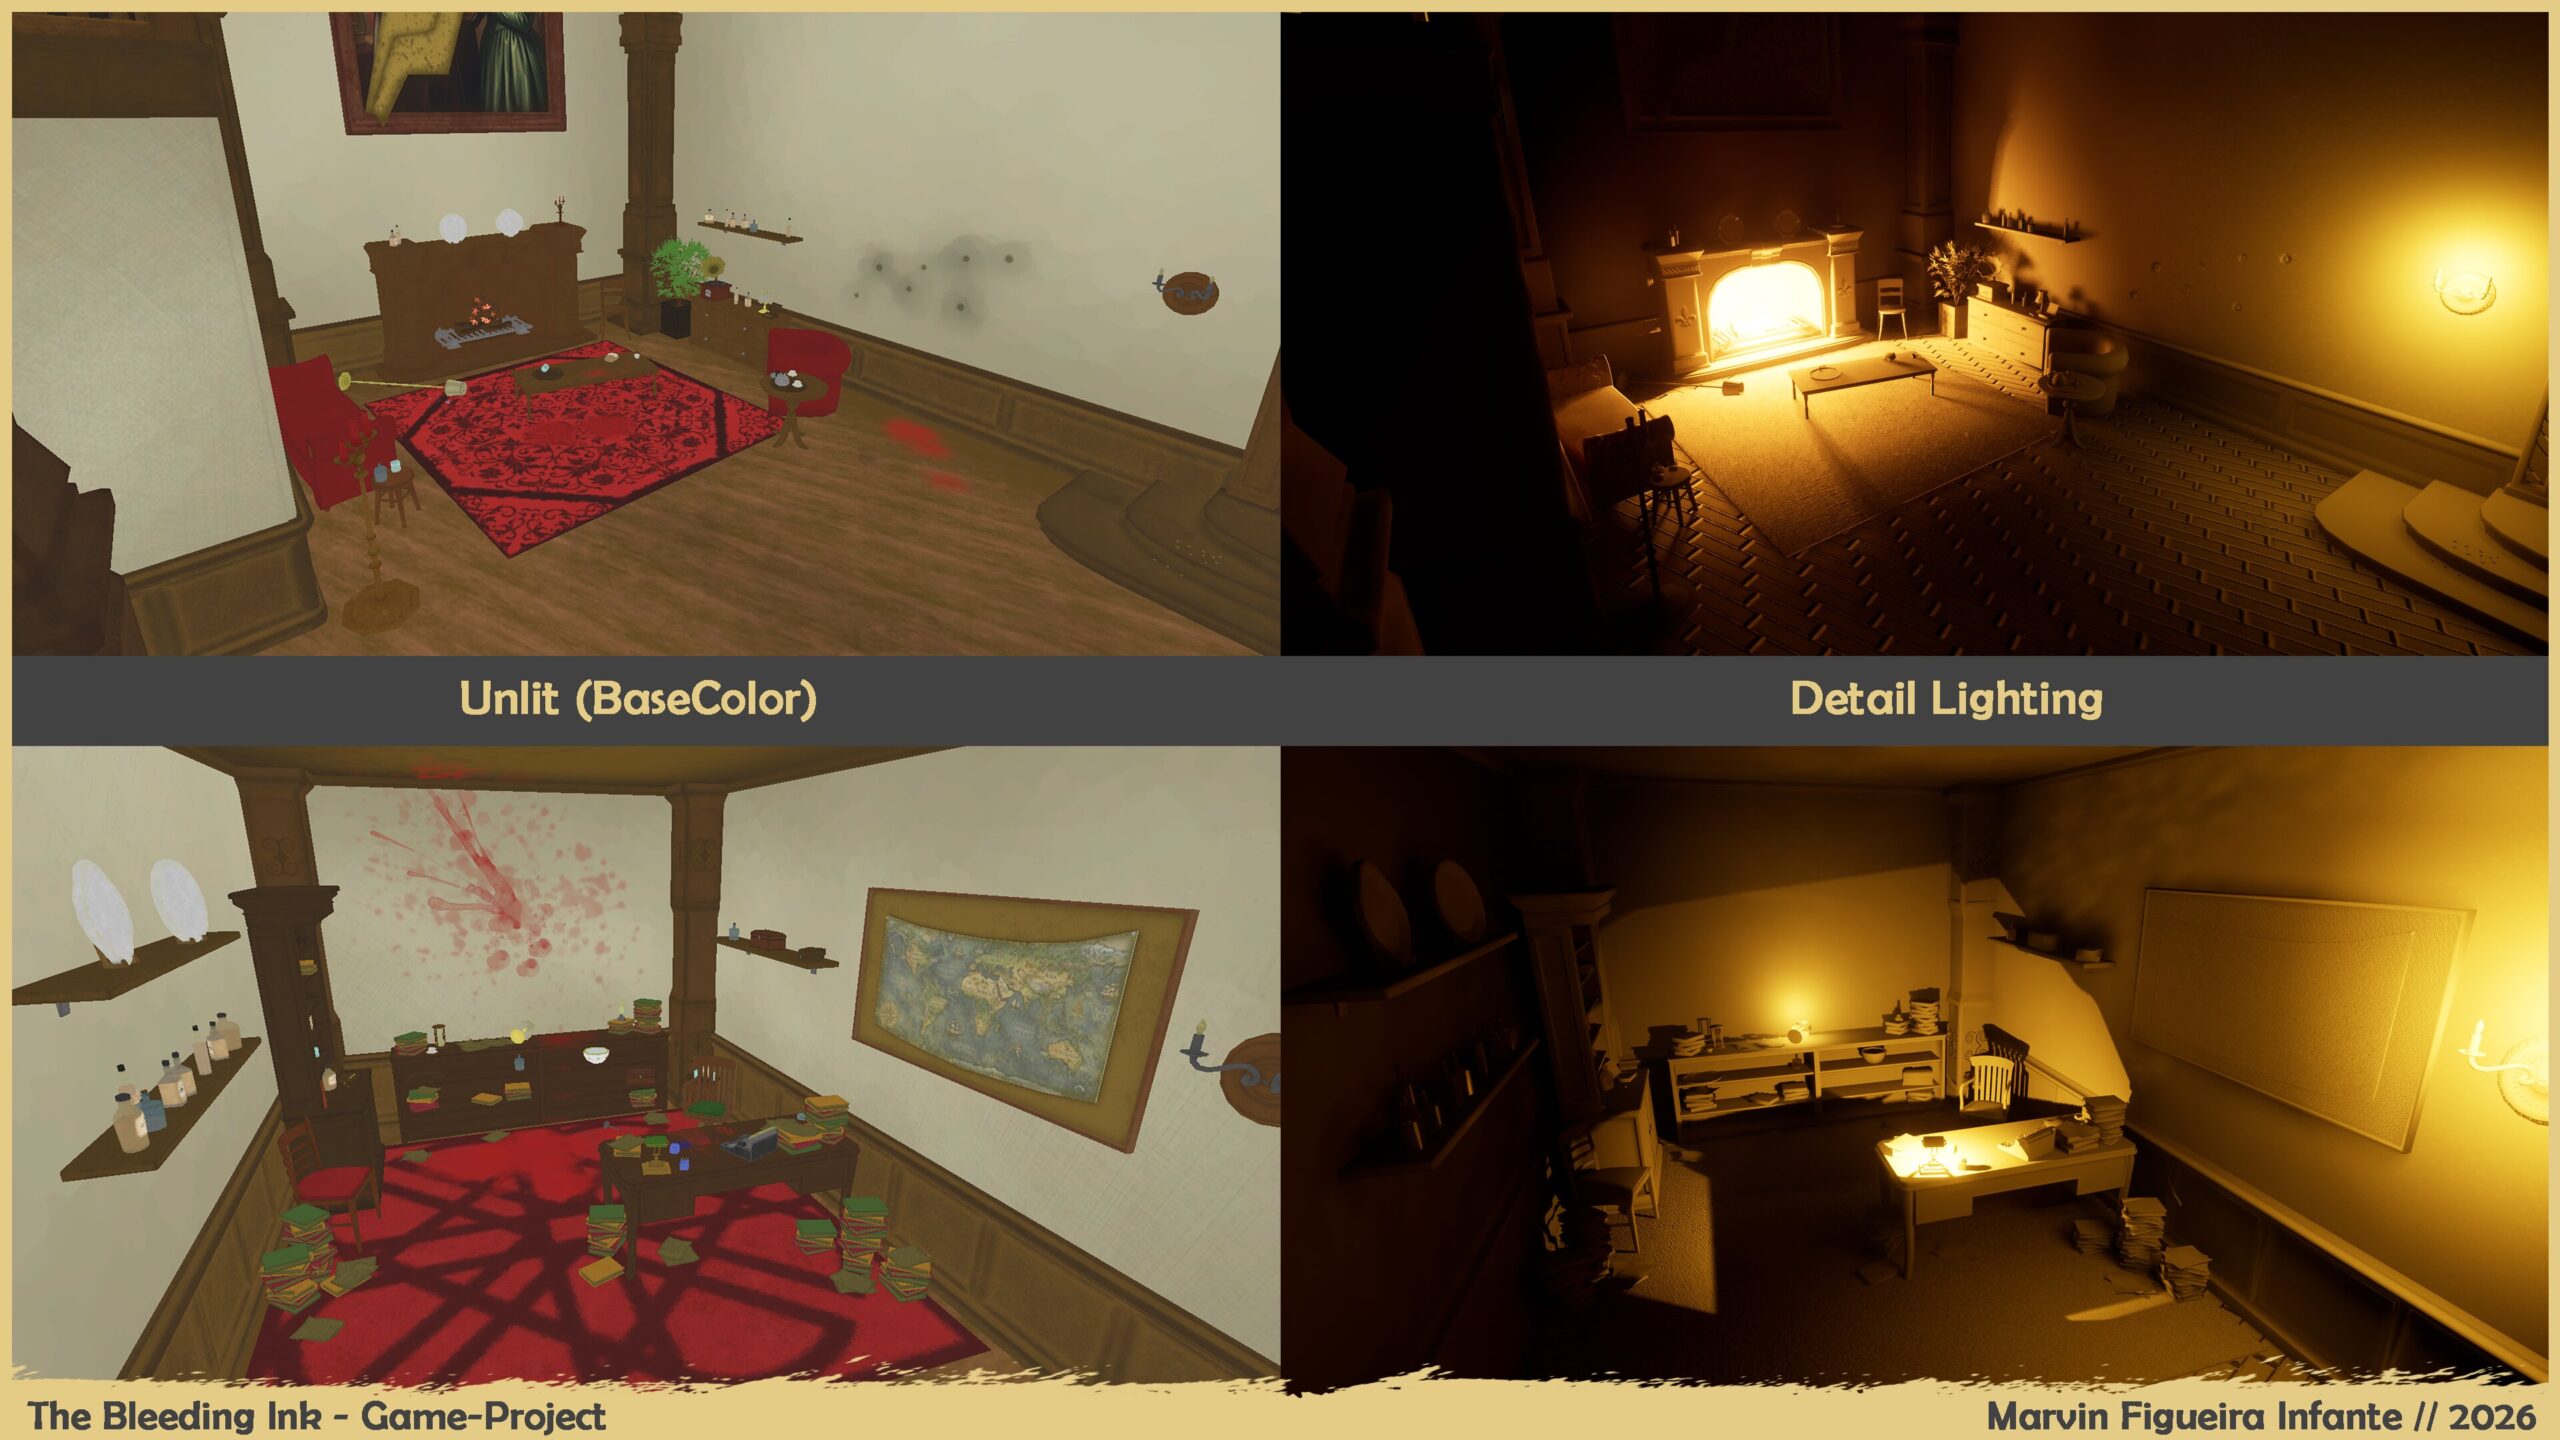
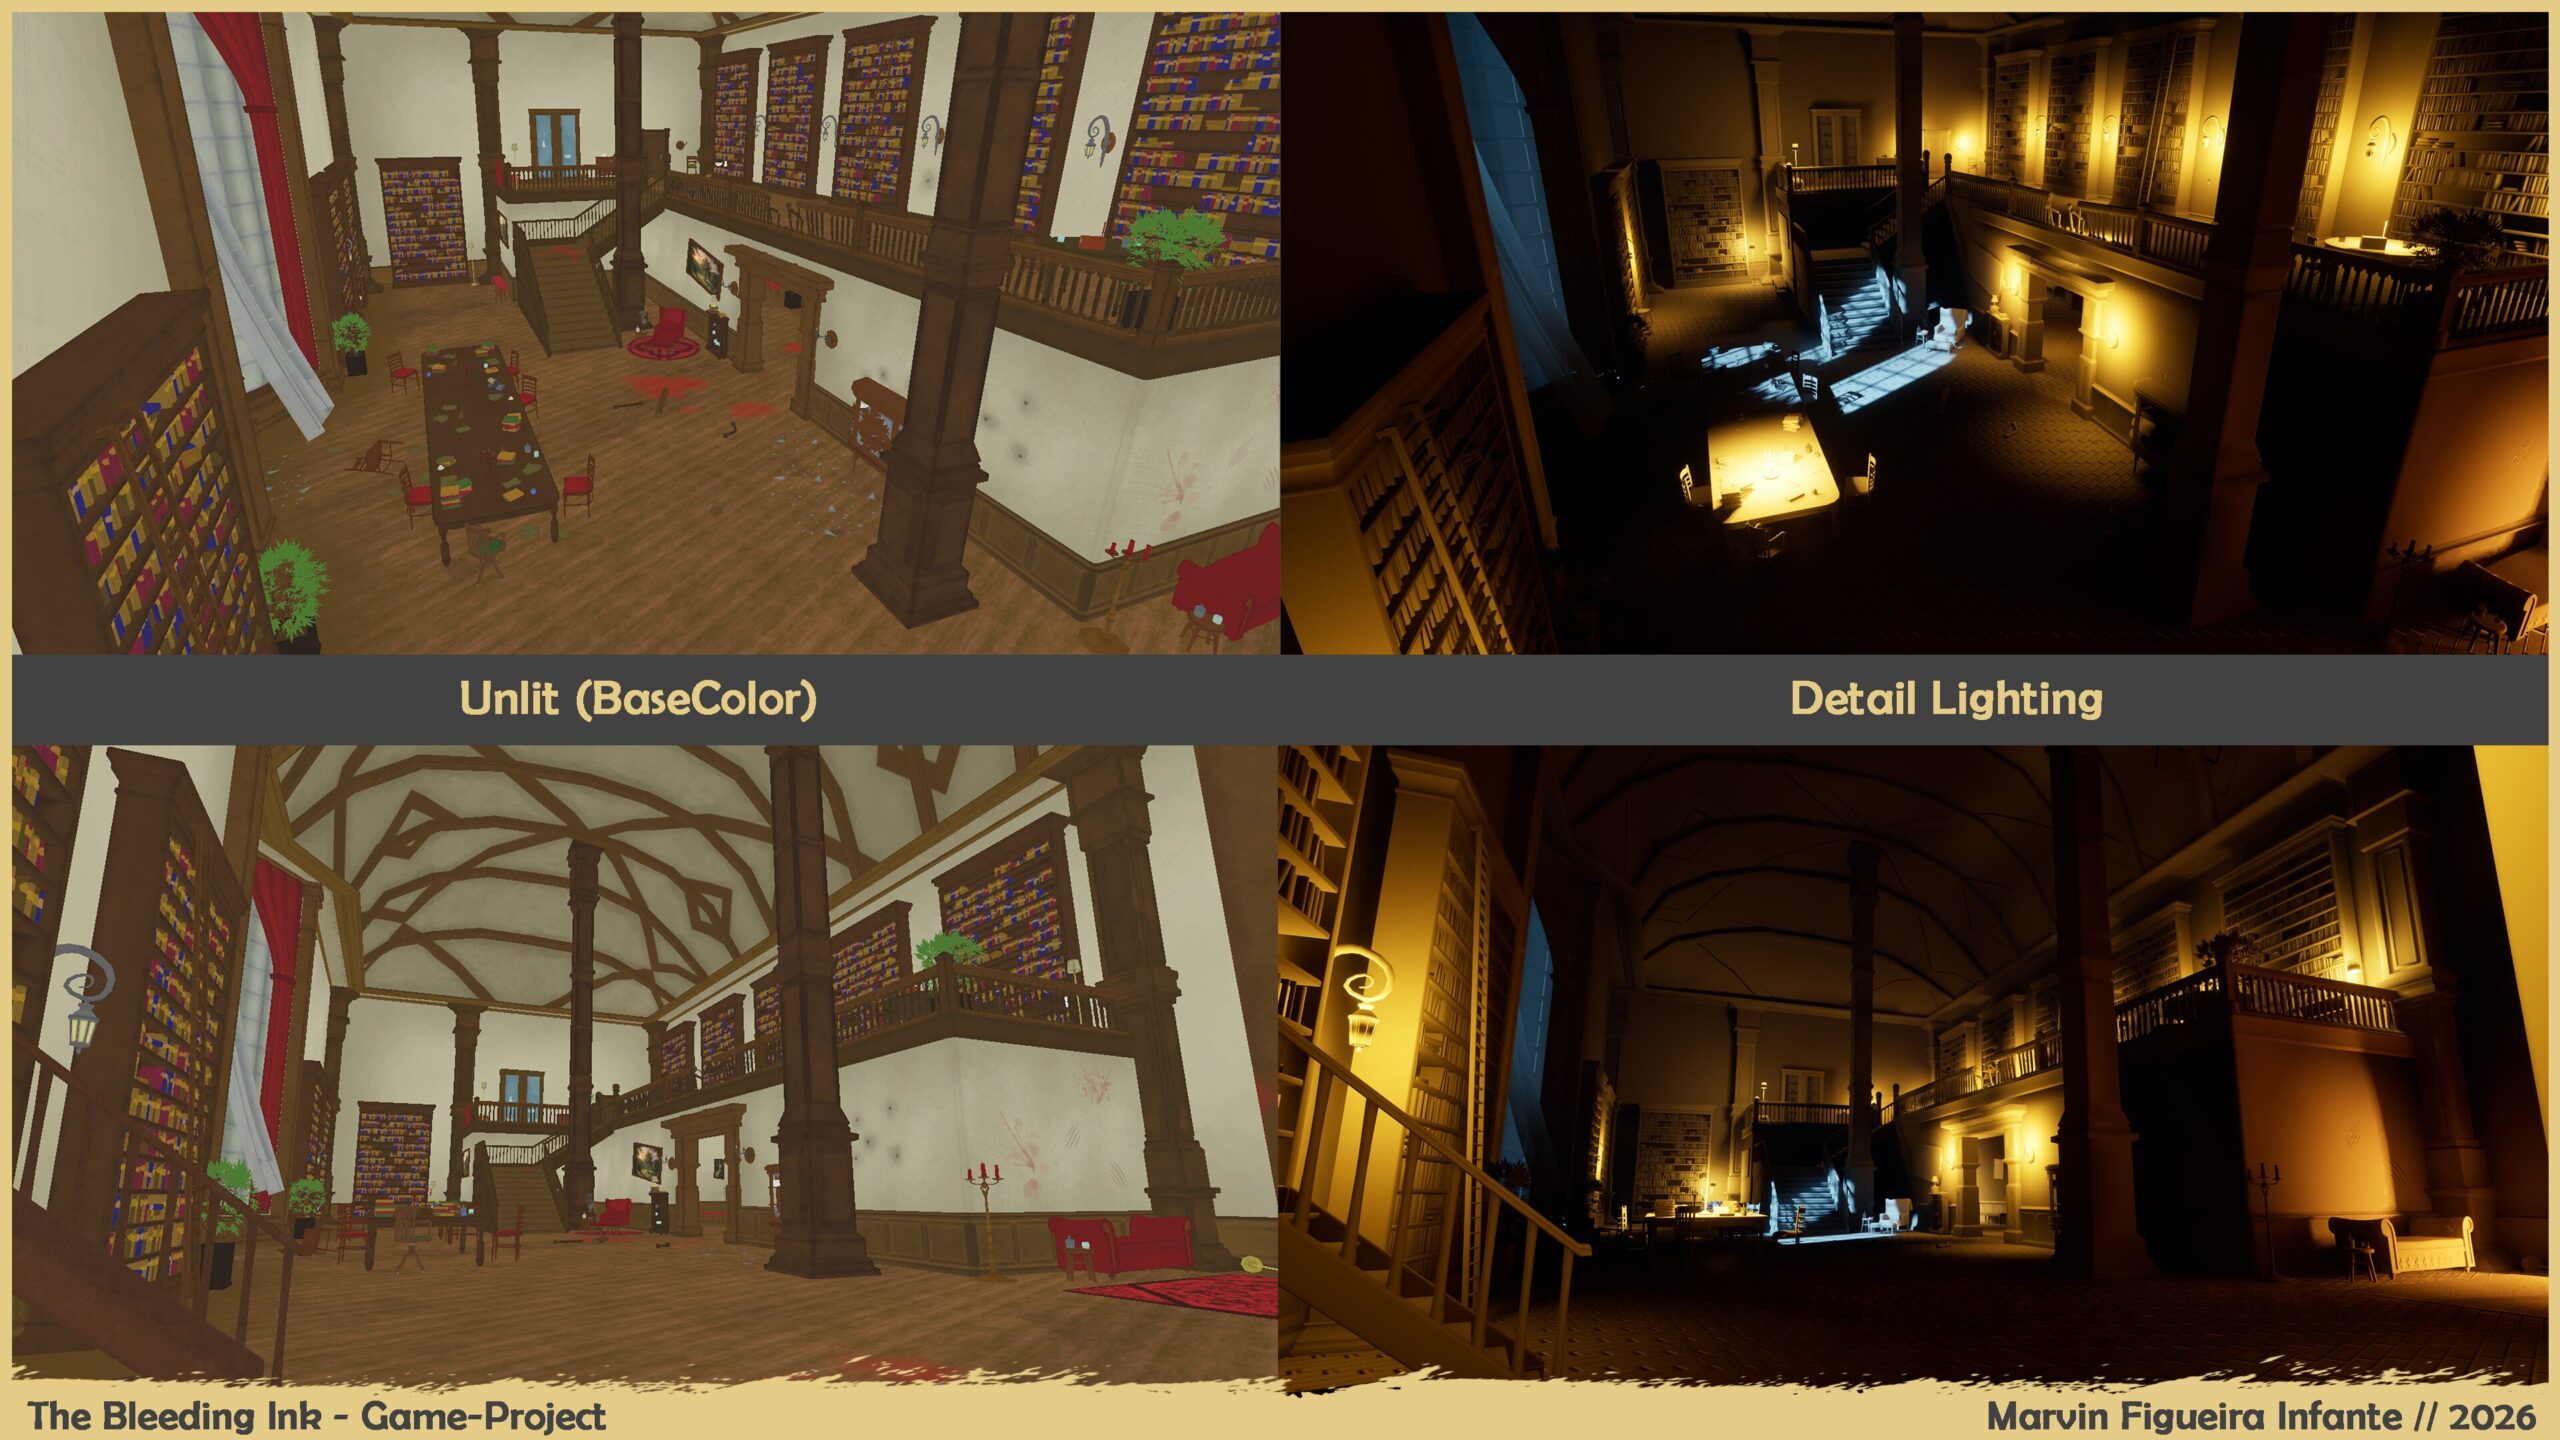
In this project, I created a narrative-driven „Noir“ environment from the ground up – including concept development, 3D modeling, texturing, and game implementation.
My focus was on improving my environmental storytelling skills by making conscious choices to create a space whose atmosphere reflects a dark and mysterious history. I started by developing a clear narrative idea and a detailed moodboard to define the visual direction. All assets were modeled in Blender, with a heavy emphasis on creating clean, game-ready topology.
While I had completed a previous project in Unreal Engine using primarily external textures, I wanted this project to be a deliberate step forward in my technical independence. Therefore, I challenged myself to create every single texture from scratch using Substance Painter. This allowed me to significantly expand my texturing abilities. By handling the entire texturing process myself, I gained a much deeper understanding of PBR workflows and efficient UV mapping.
At the same time, I designed custom UI icons in Illustrator and integrated a cinematic voiceover generated via ElevenLabs. Everything was then assembled in Unreal Engine, where I handled the lighting and programmed the interaction logic to turn the static environment into a fully playable experience. This process was a valuable milestone in managing a complete production pipeline.
Tools used:
Blender
Unreal Engine
Substance Painter
Portfolio Nr. 038
Portfolio Nr. 038
Portfolio Nr. 038
Portfolio Nr. 038
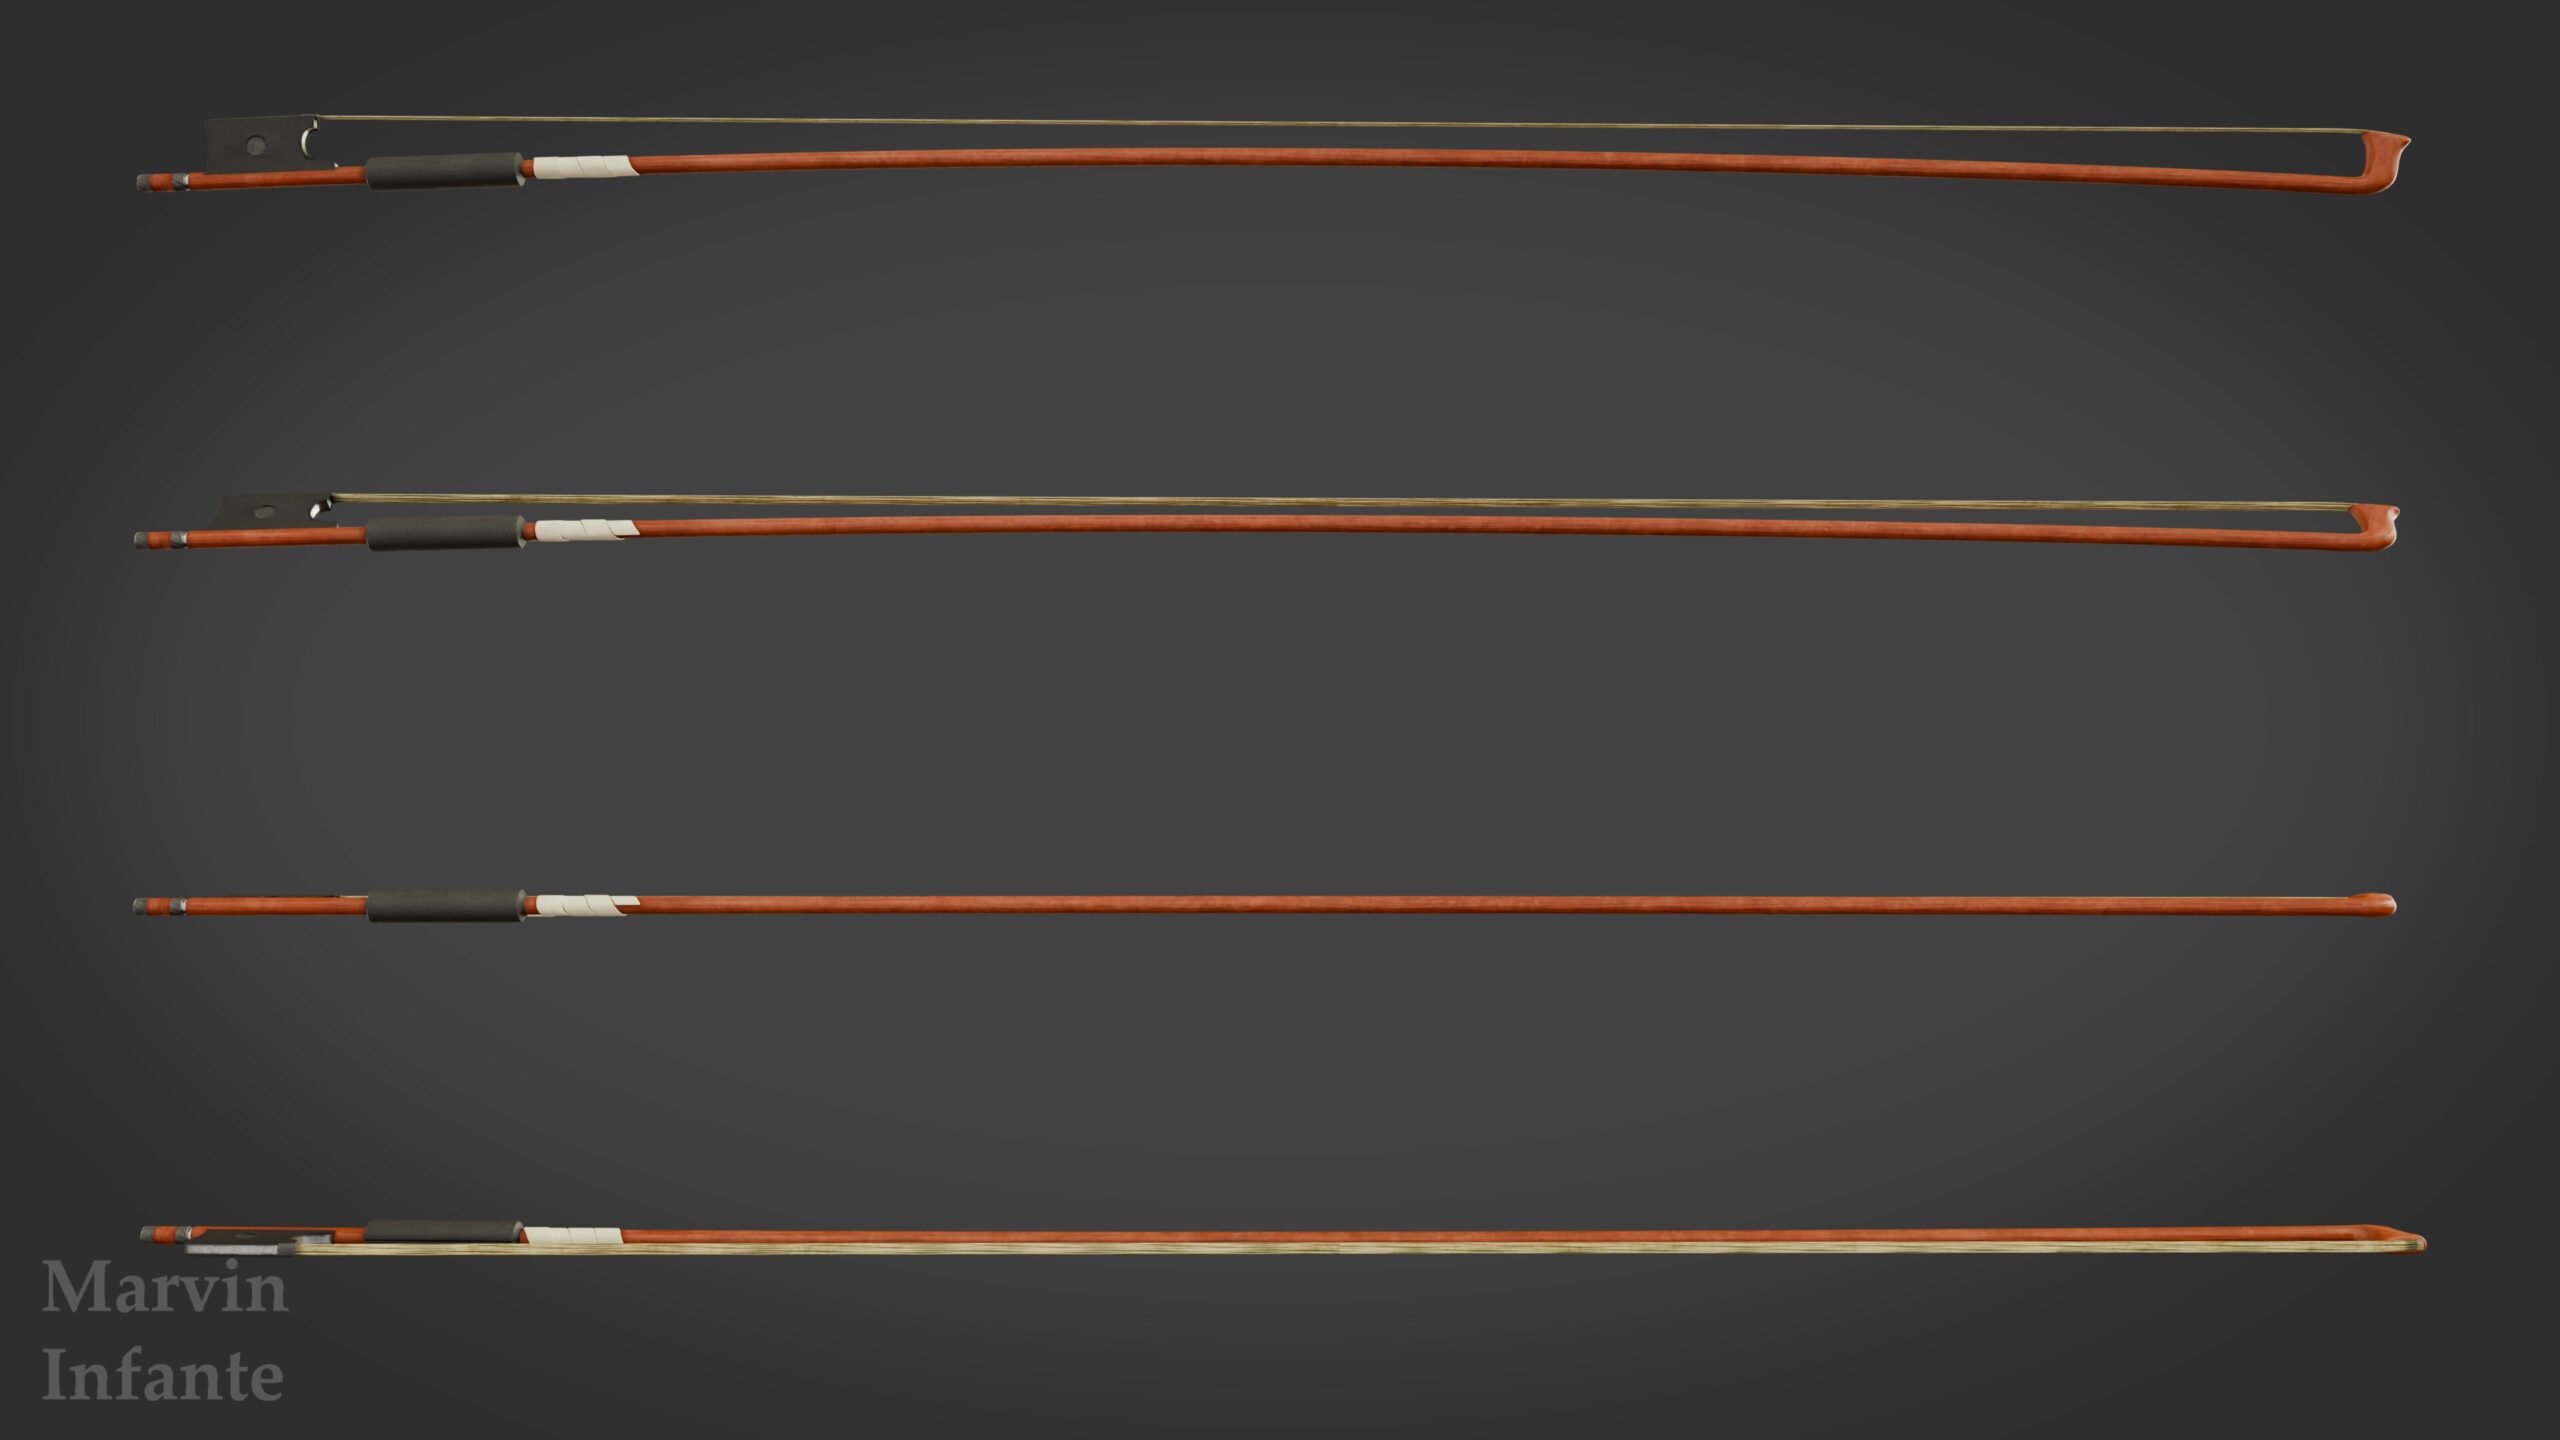
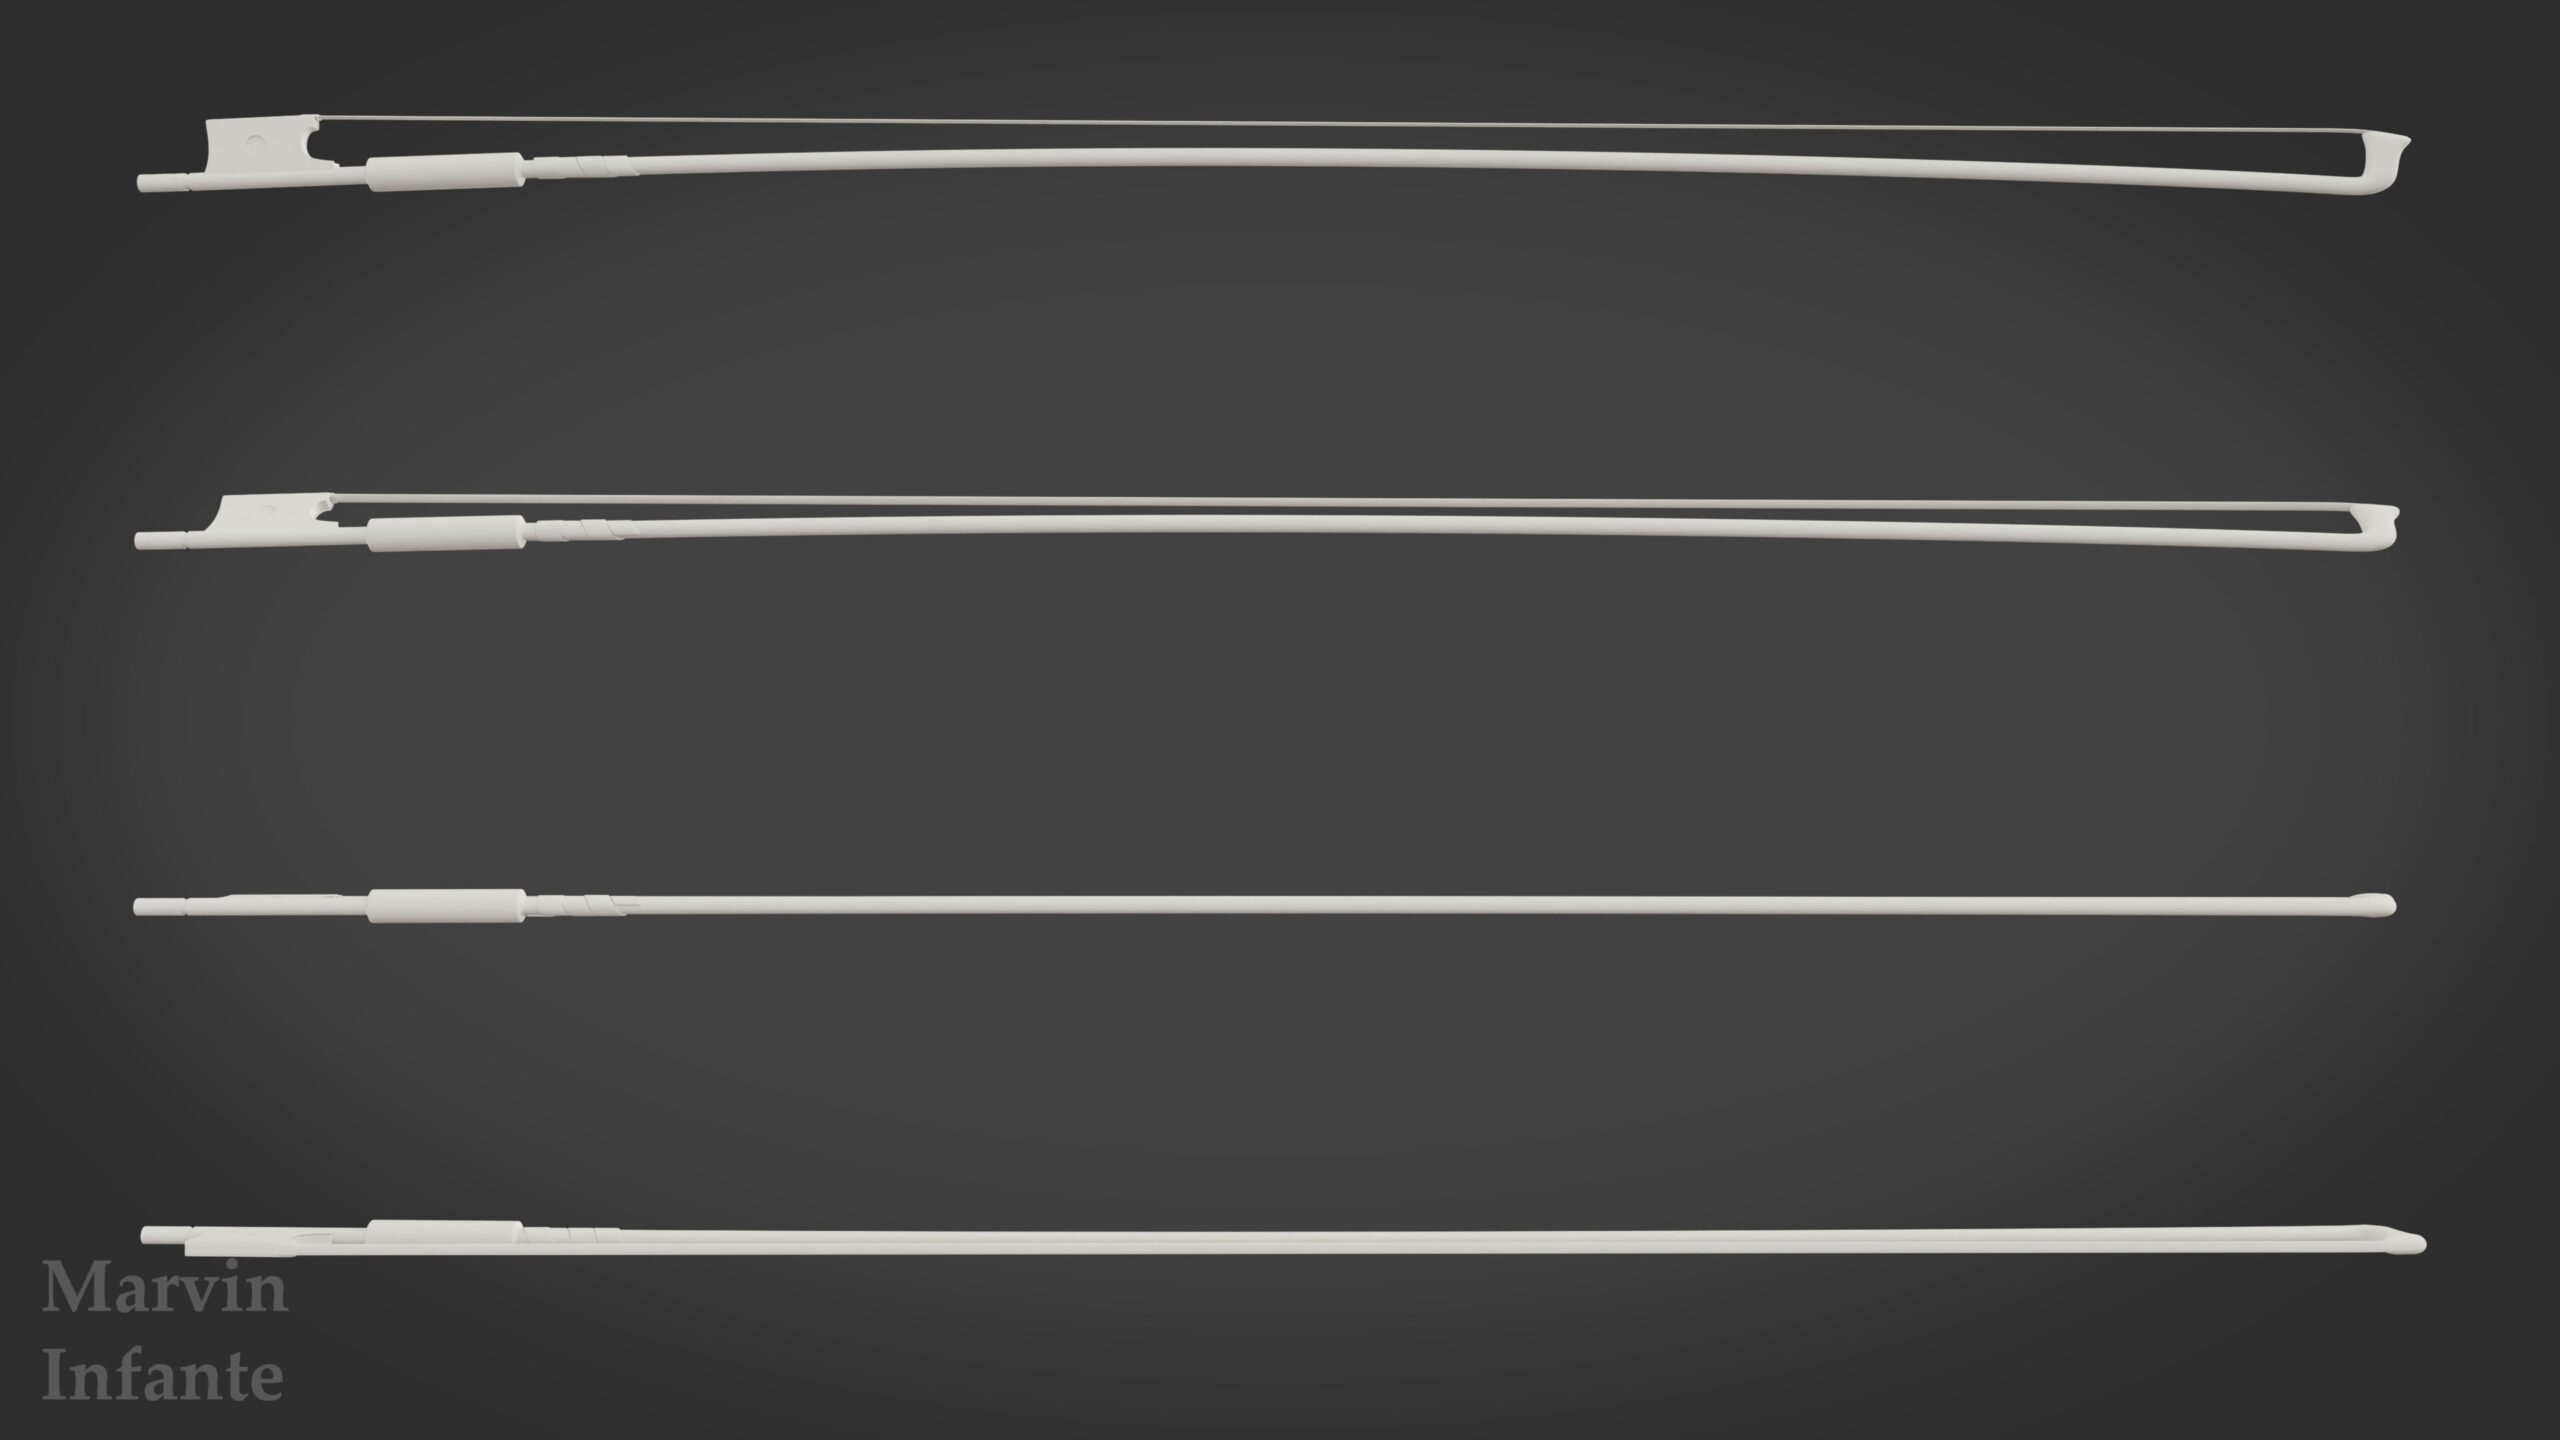
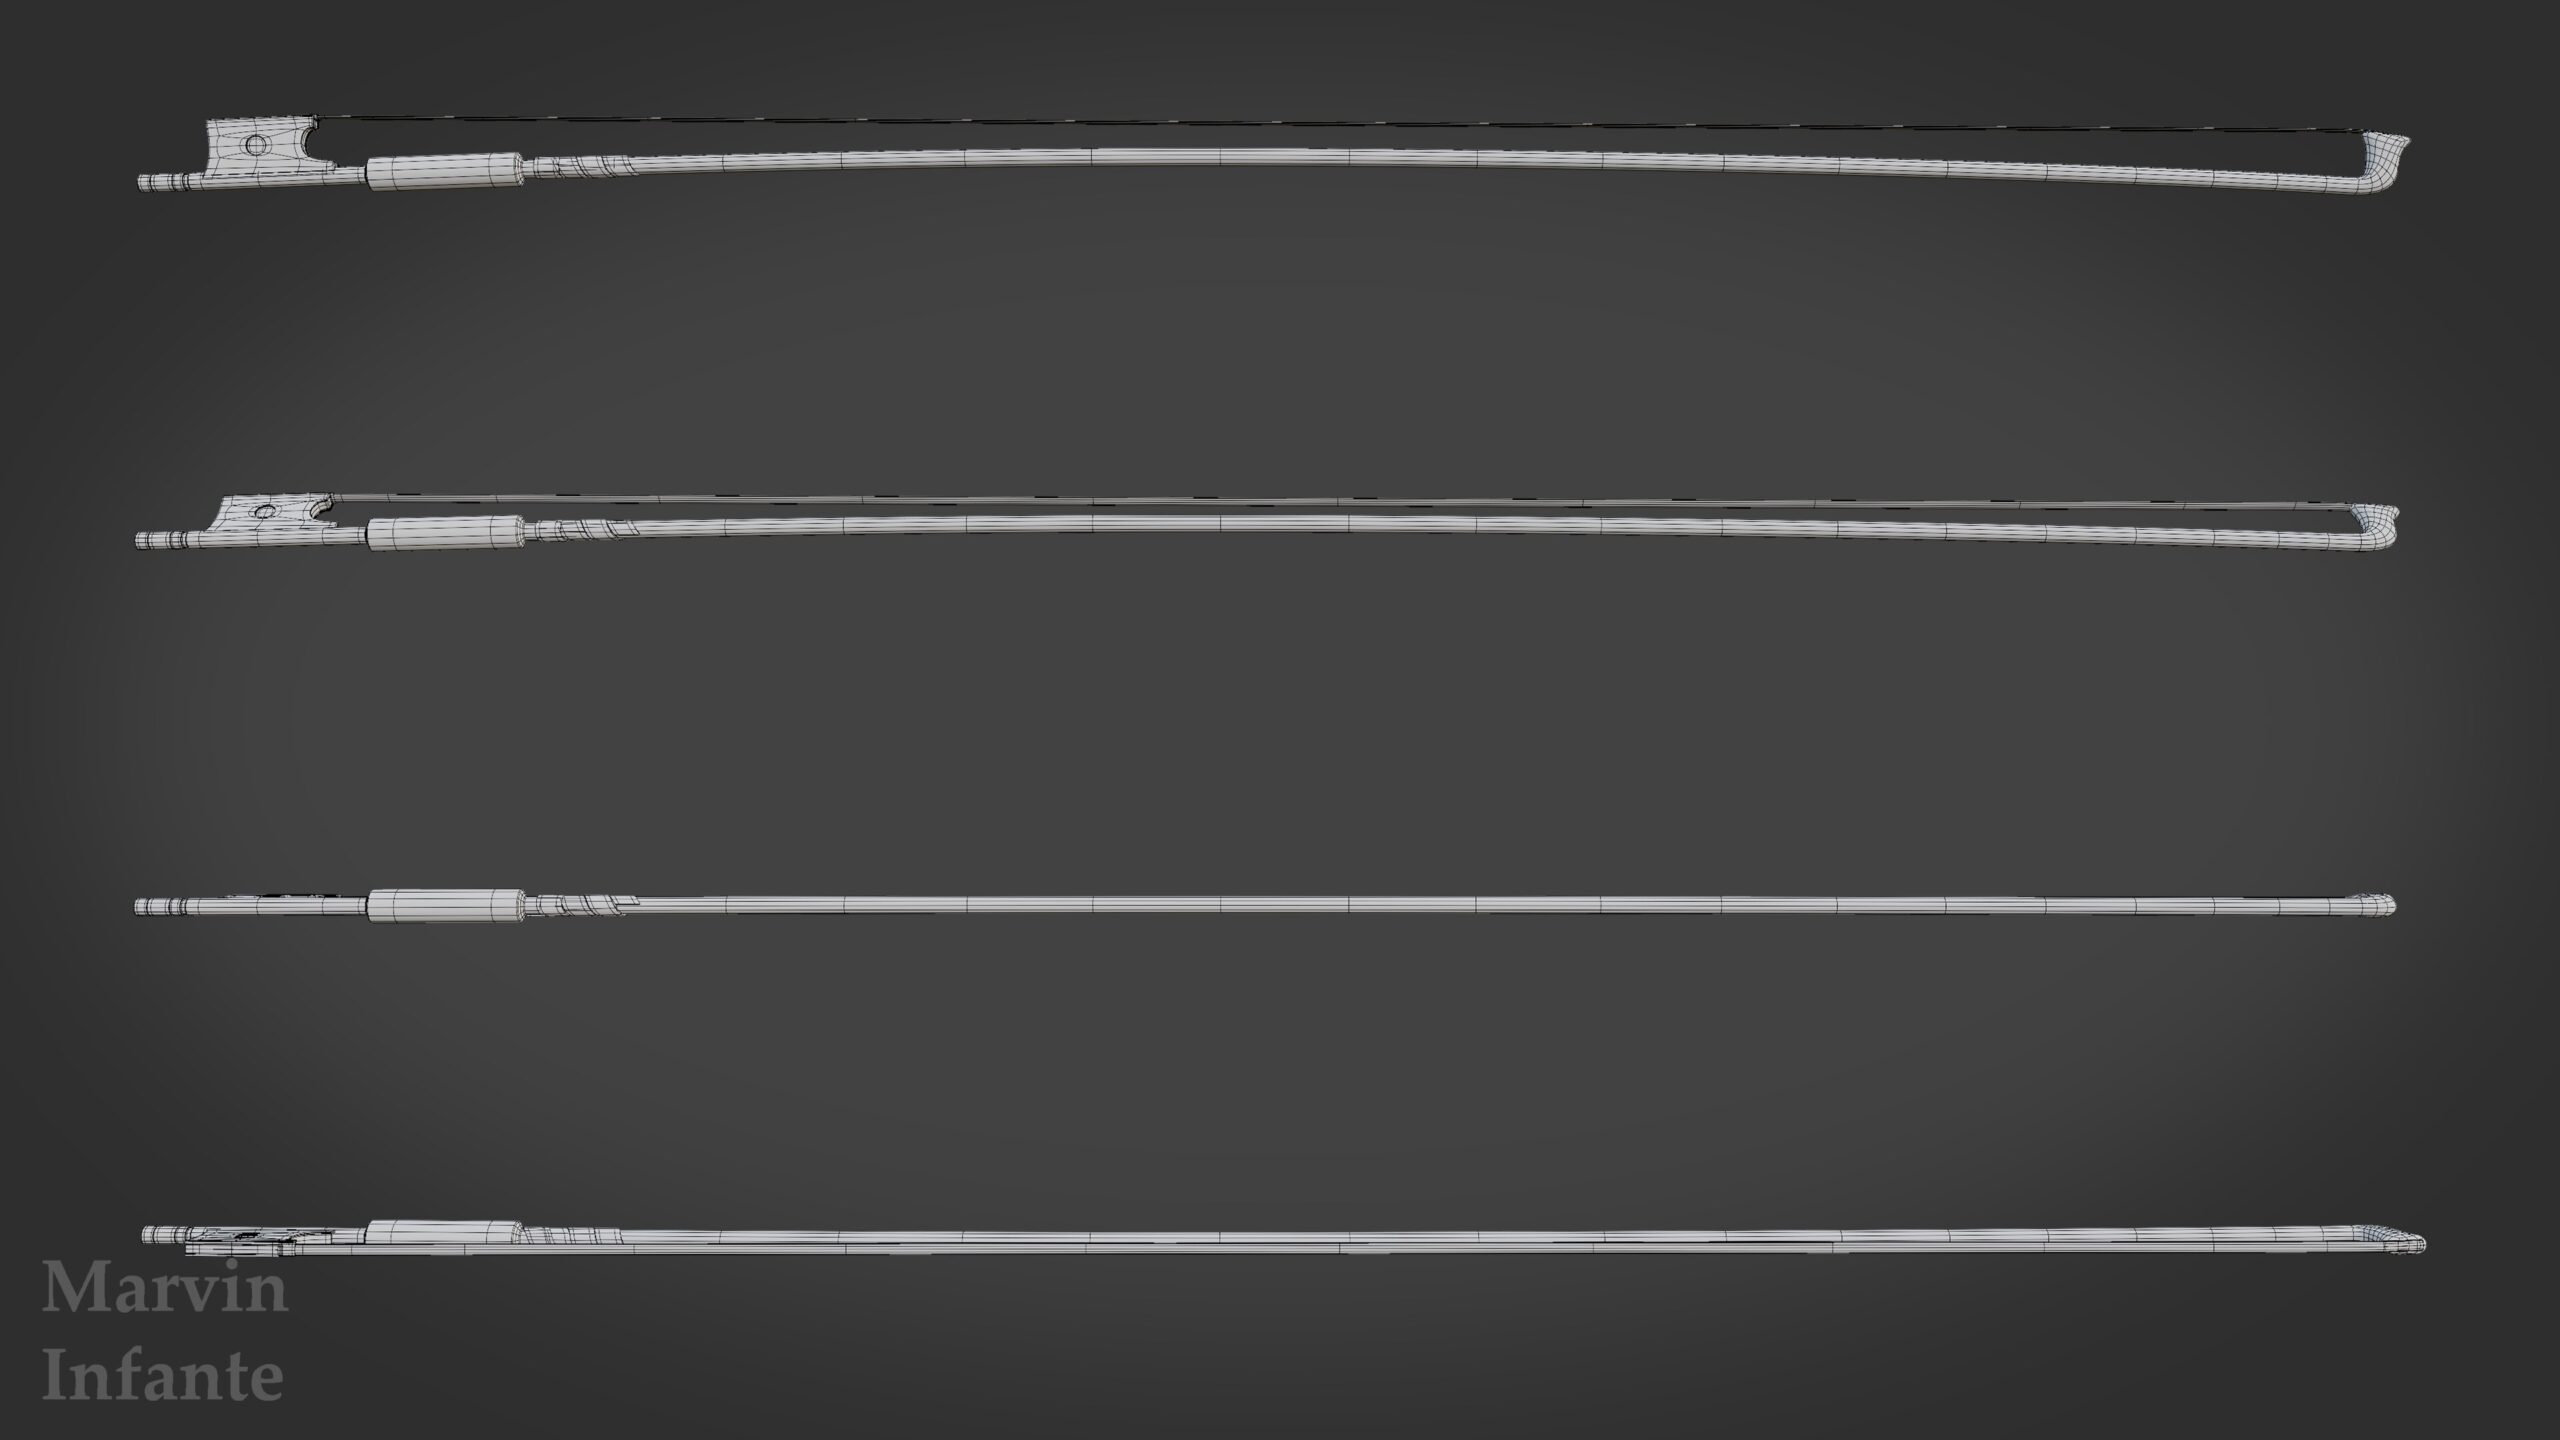
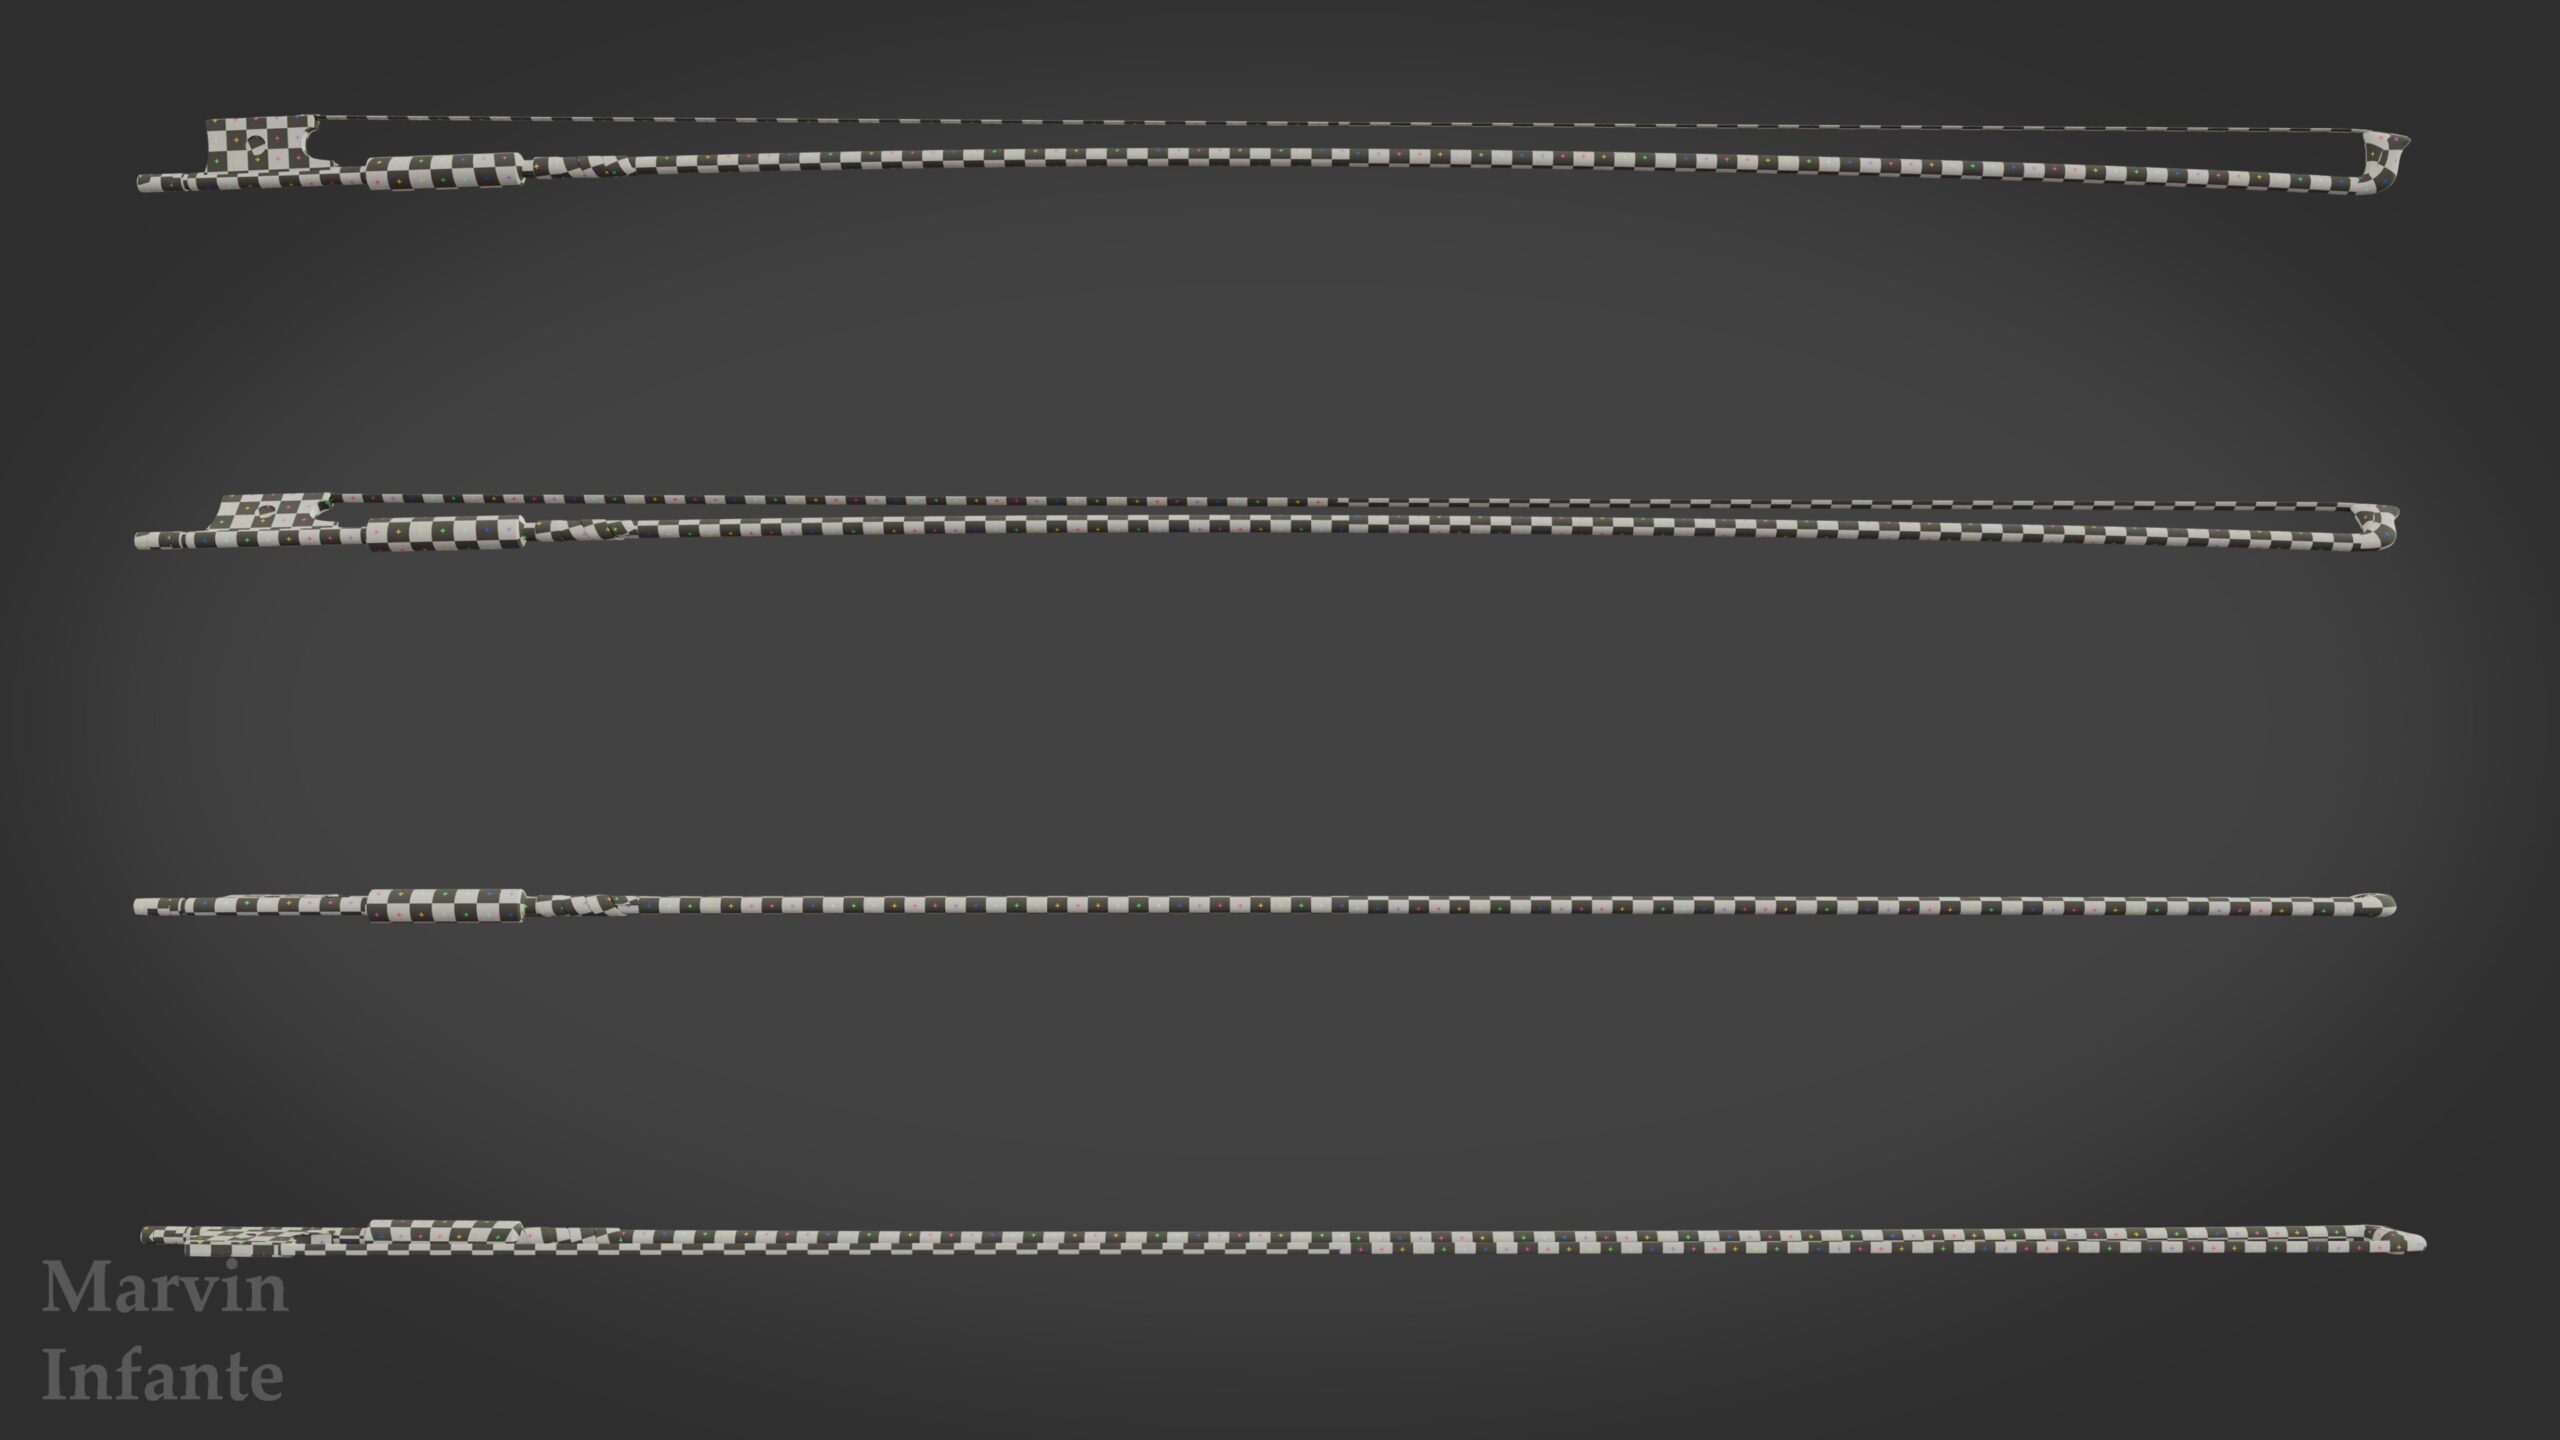
039 Violin
Portfolio Nr. 39
Portfolio Nr. 39
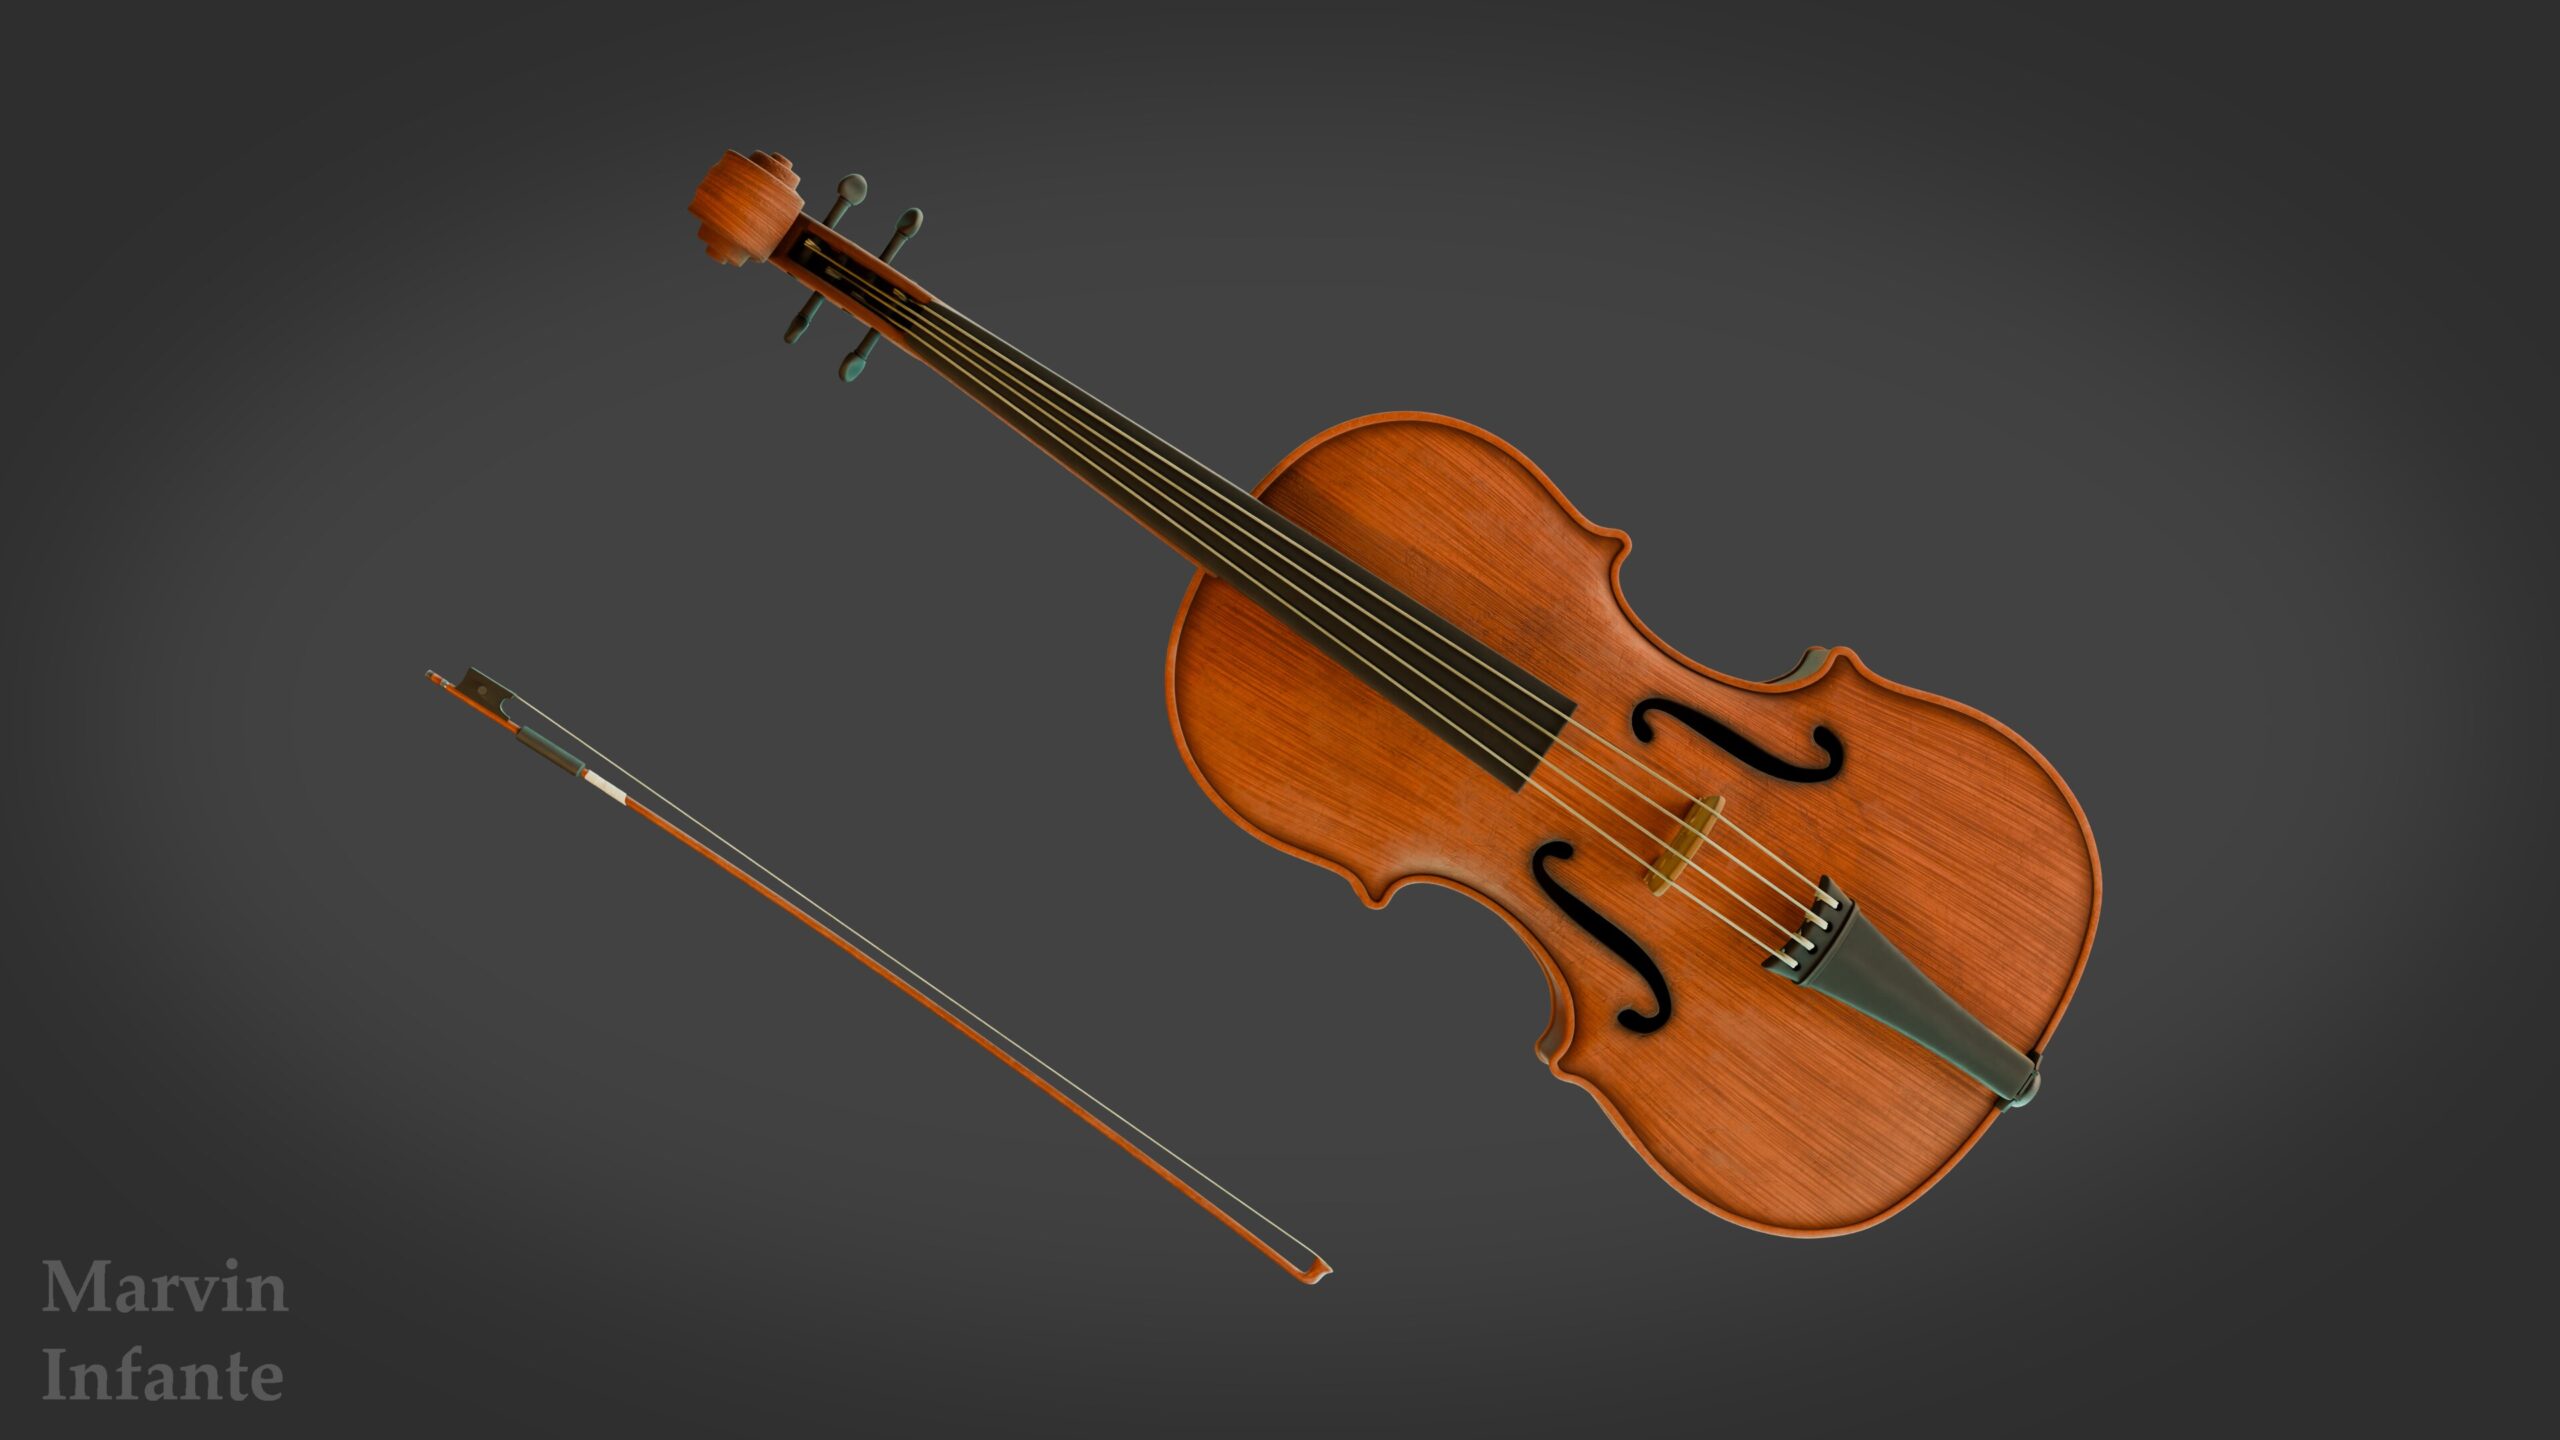
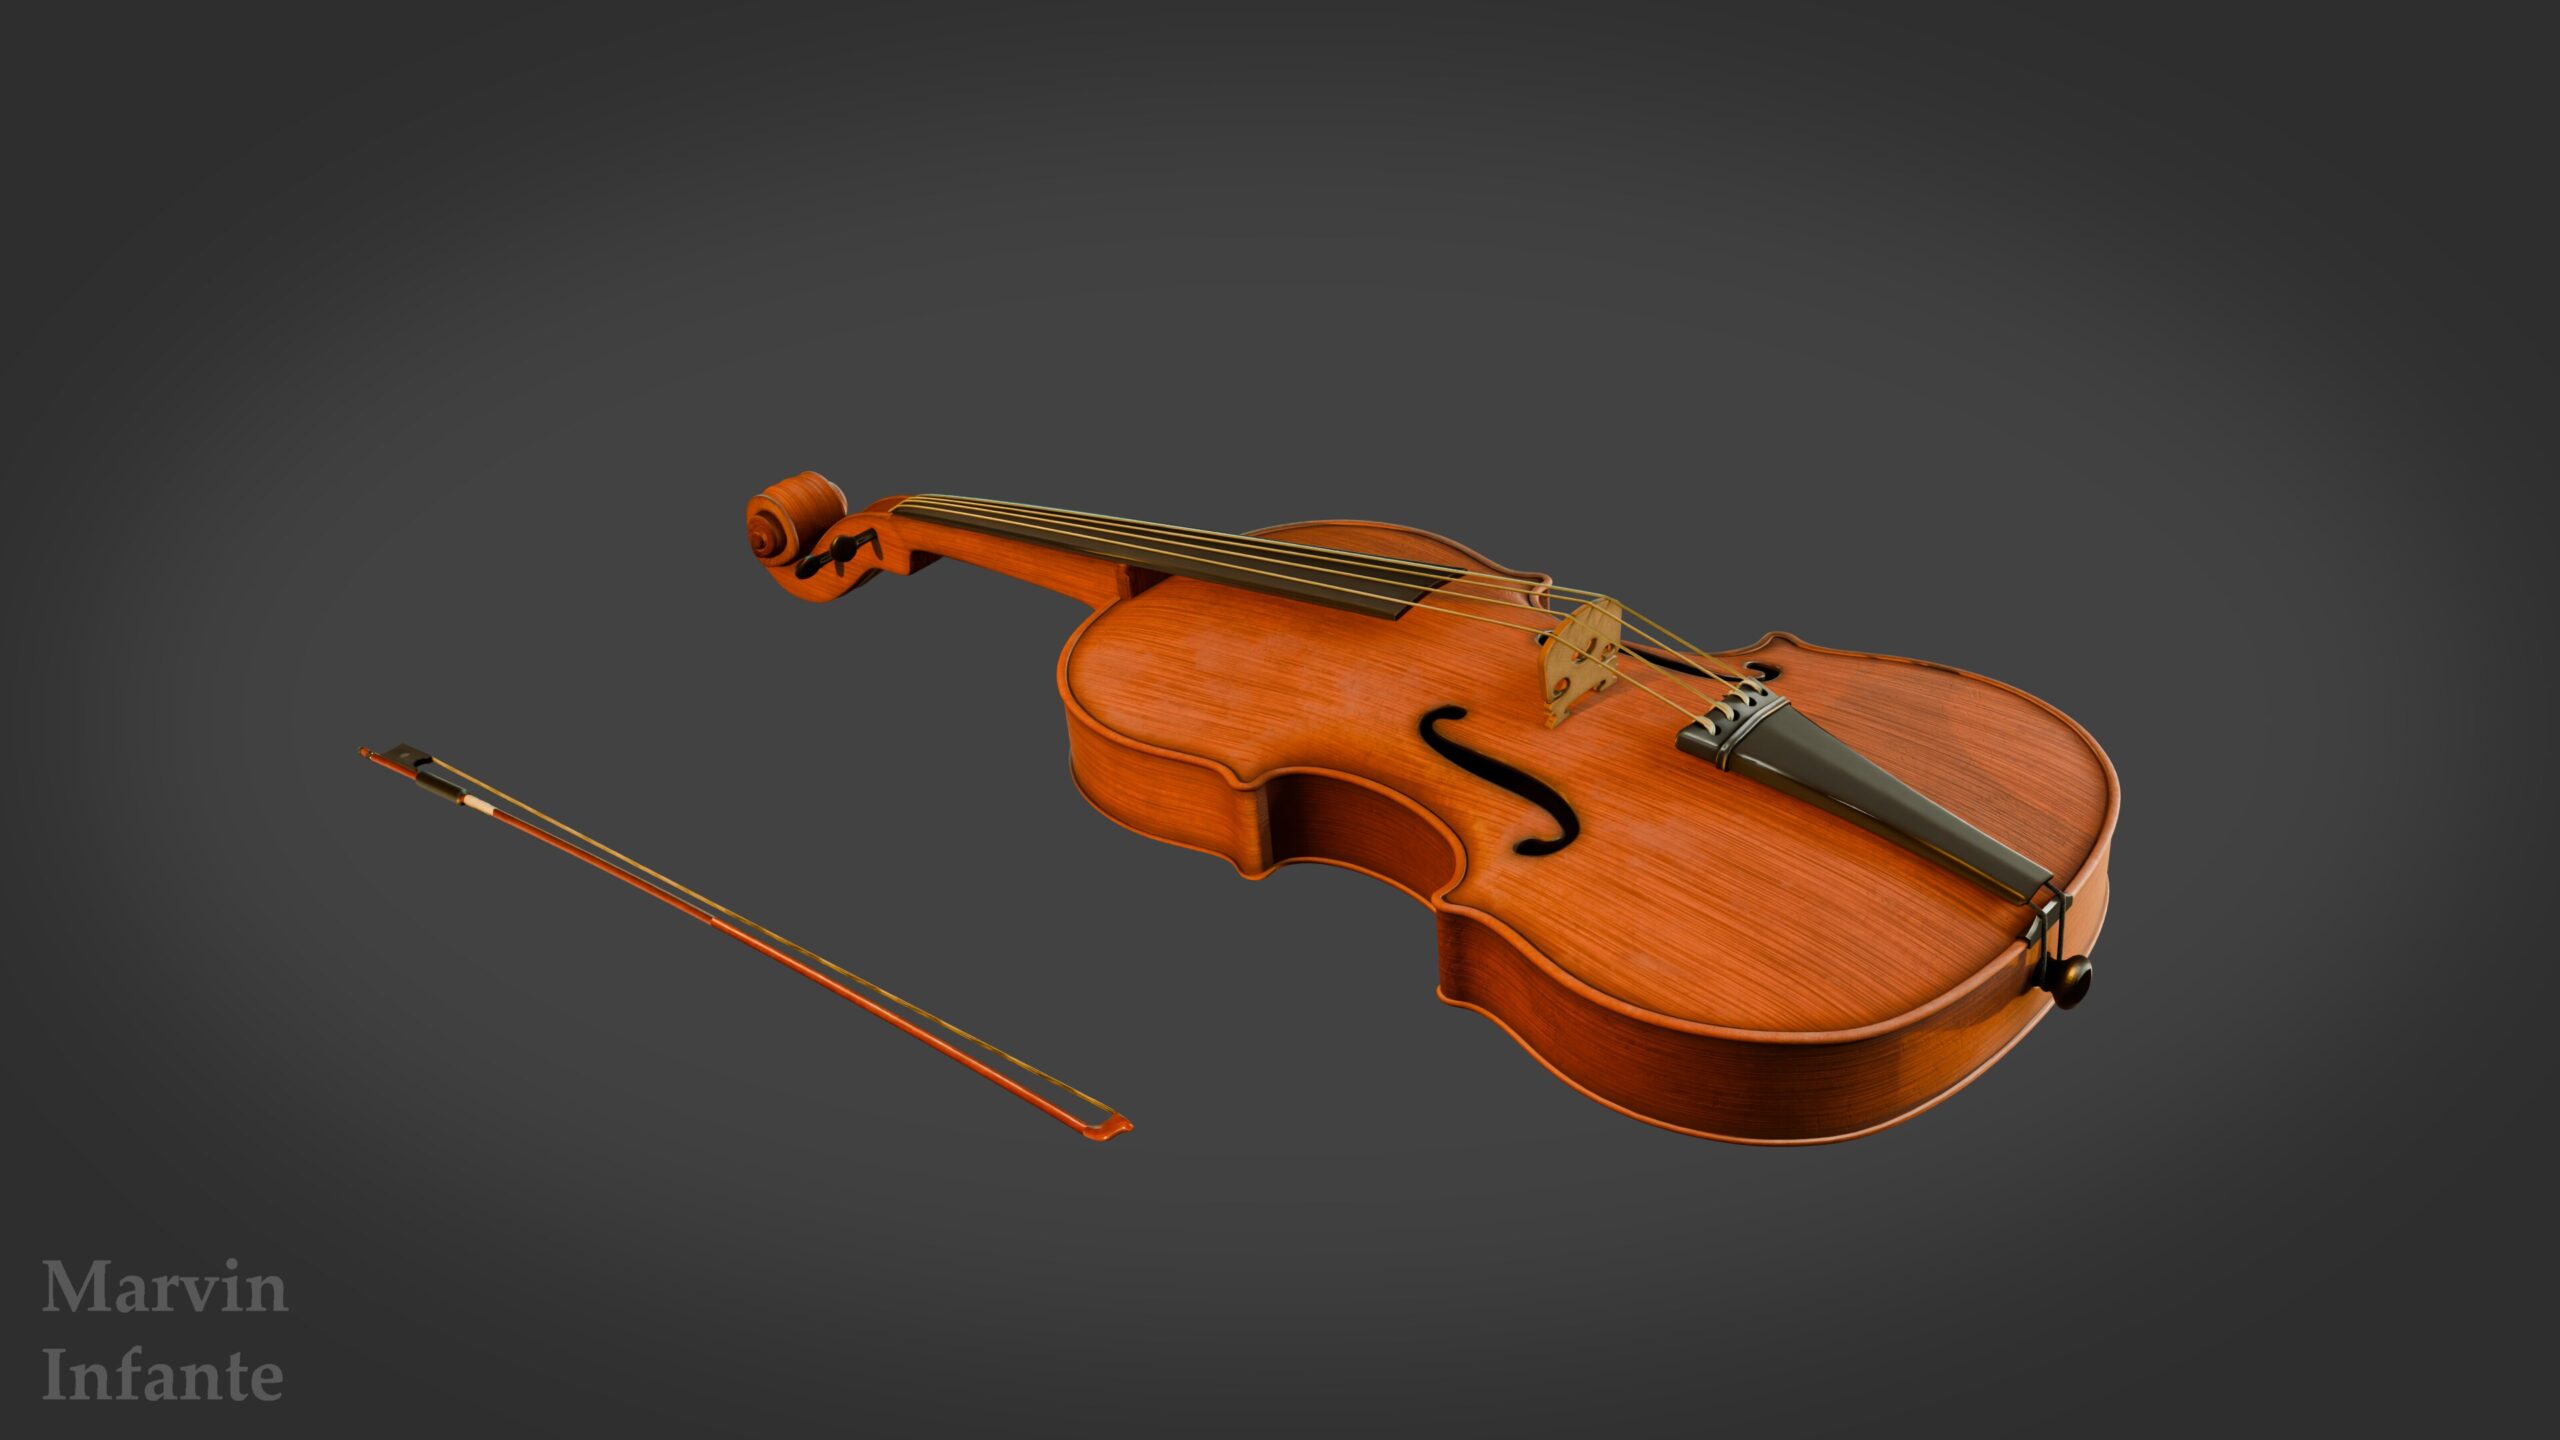
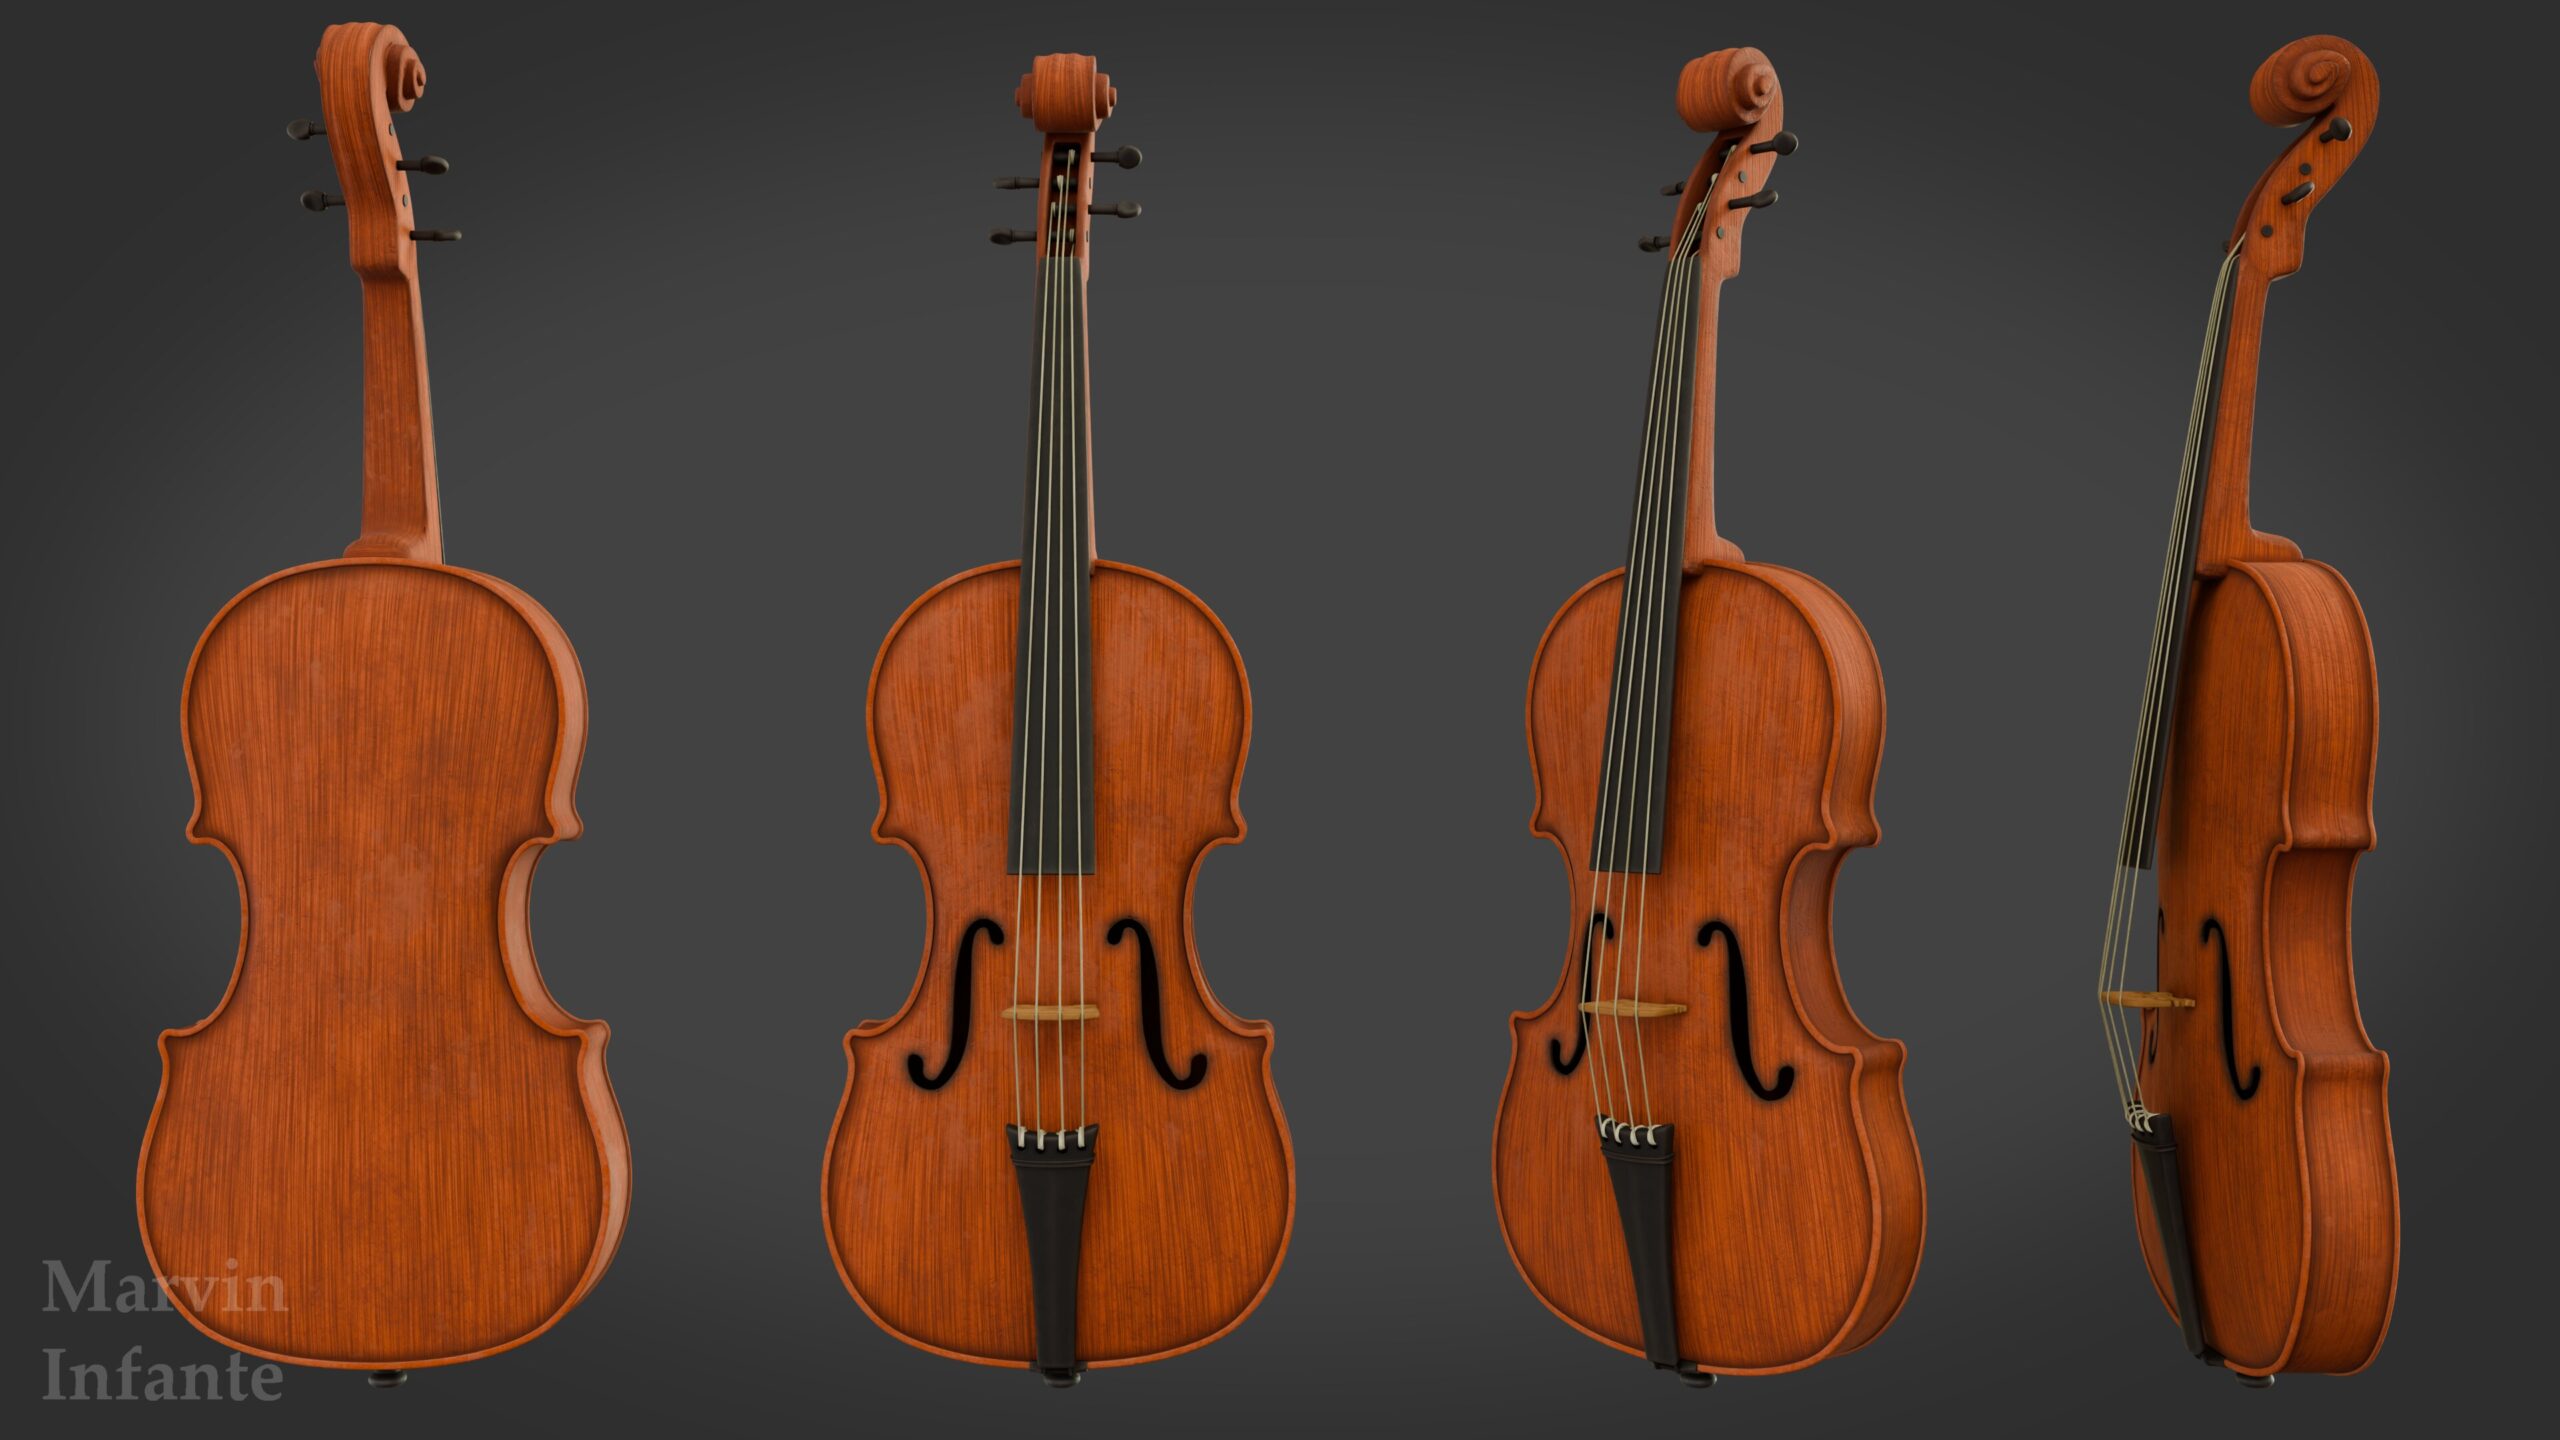
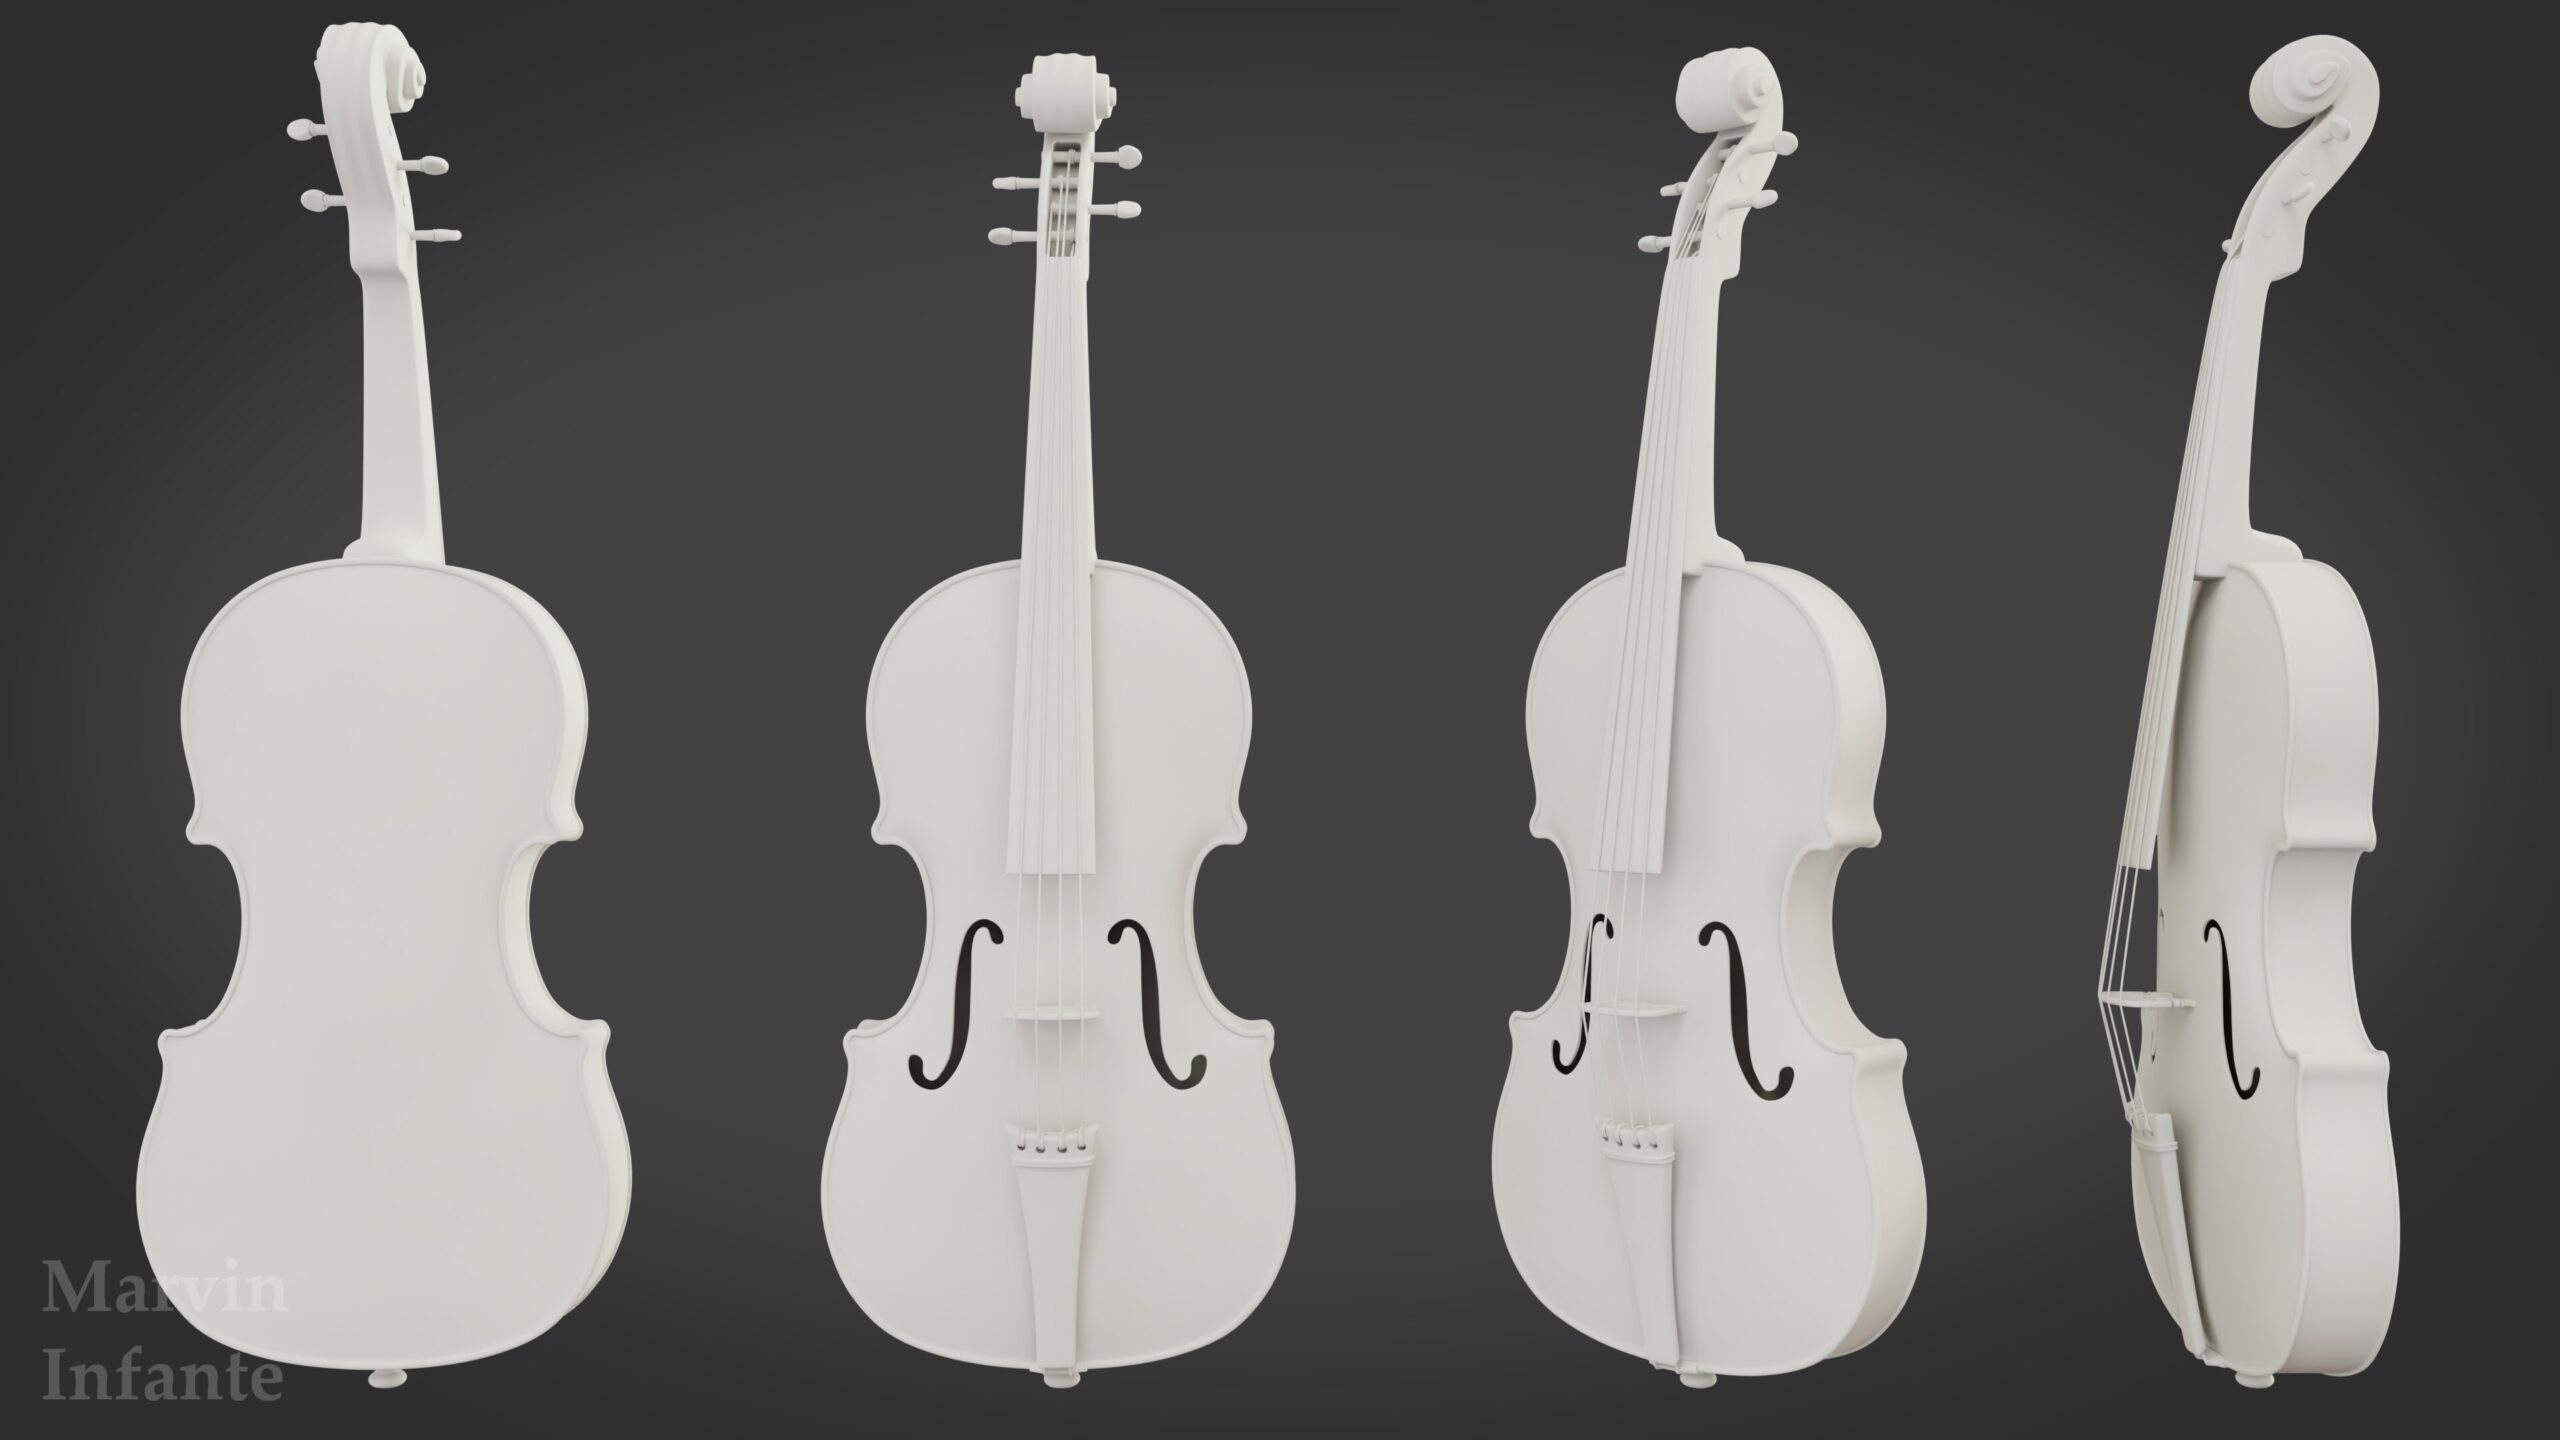
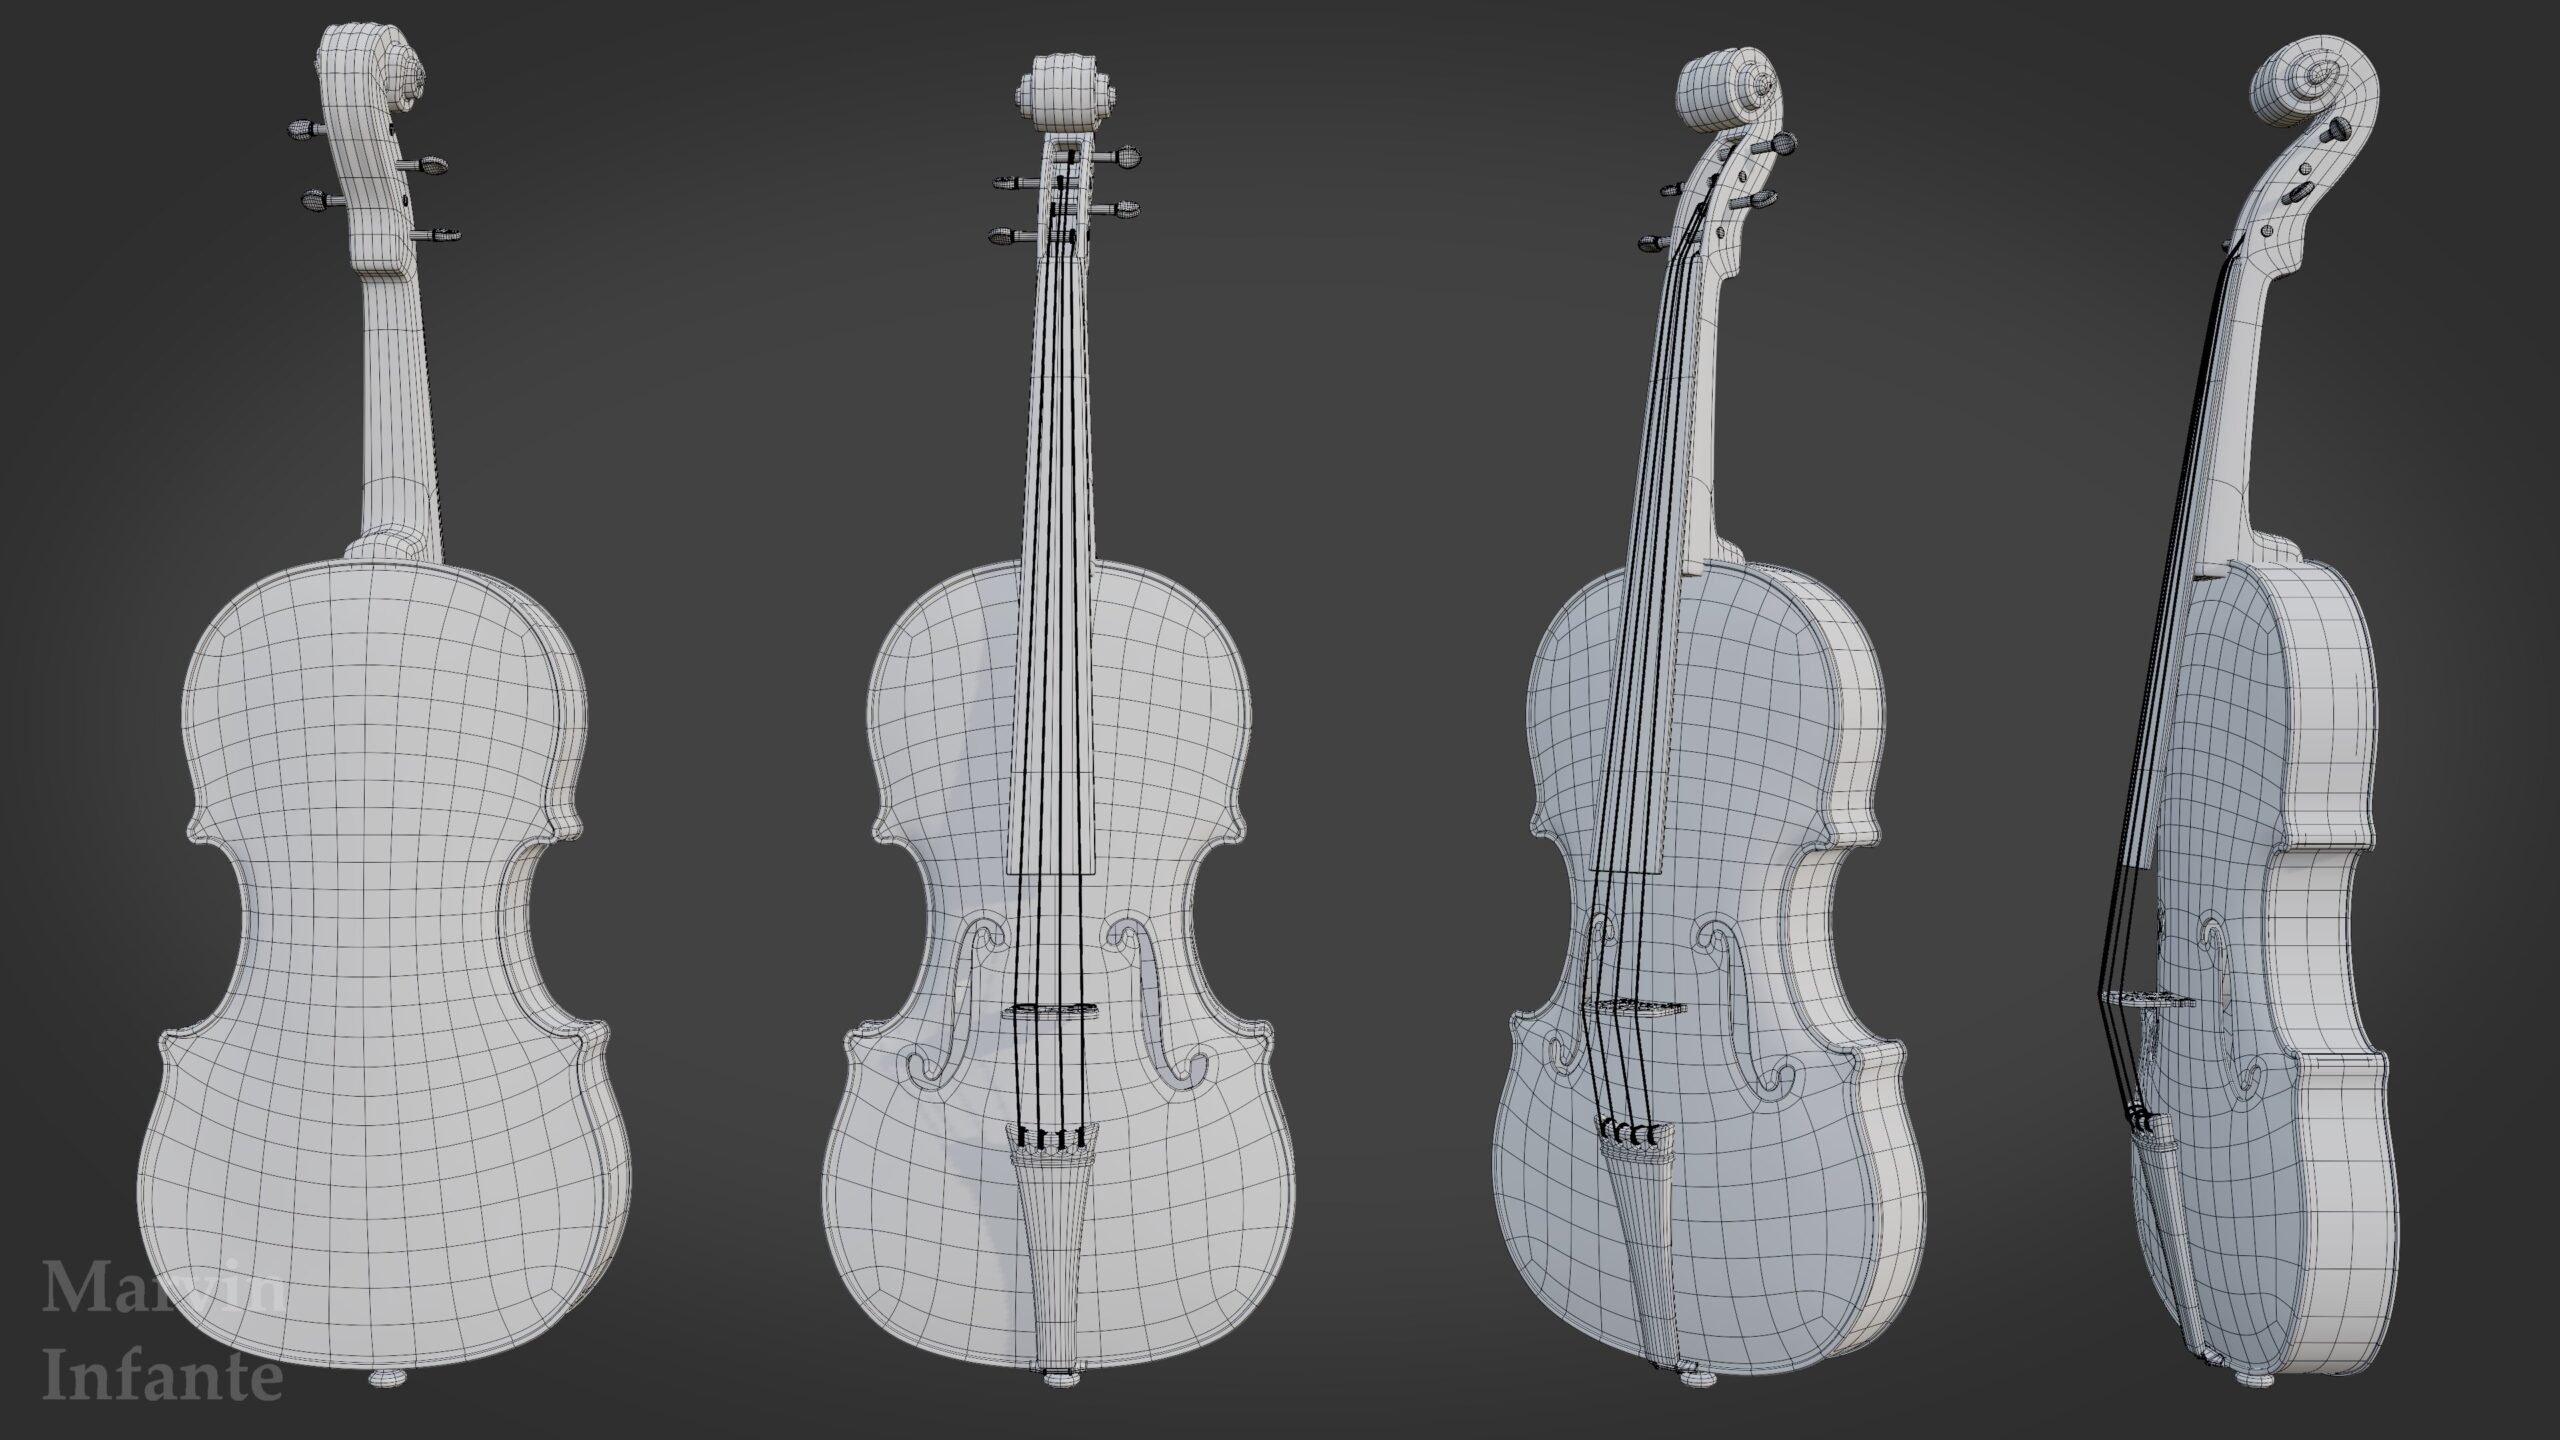
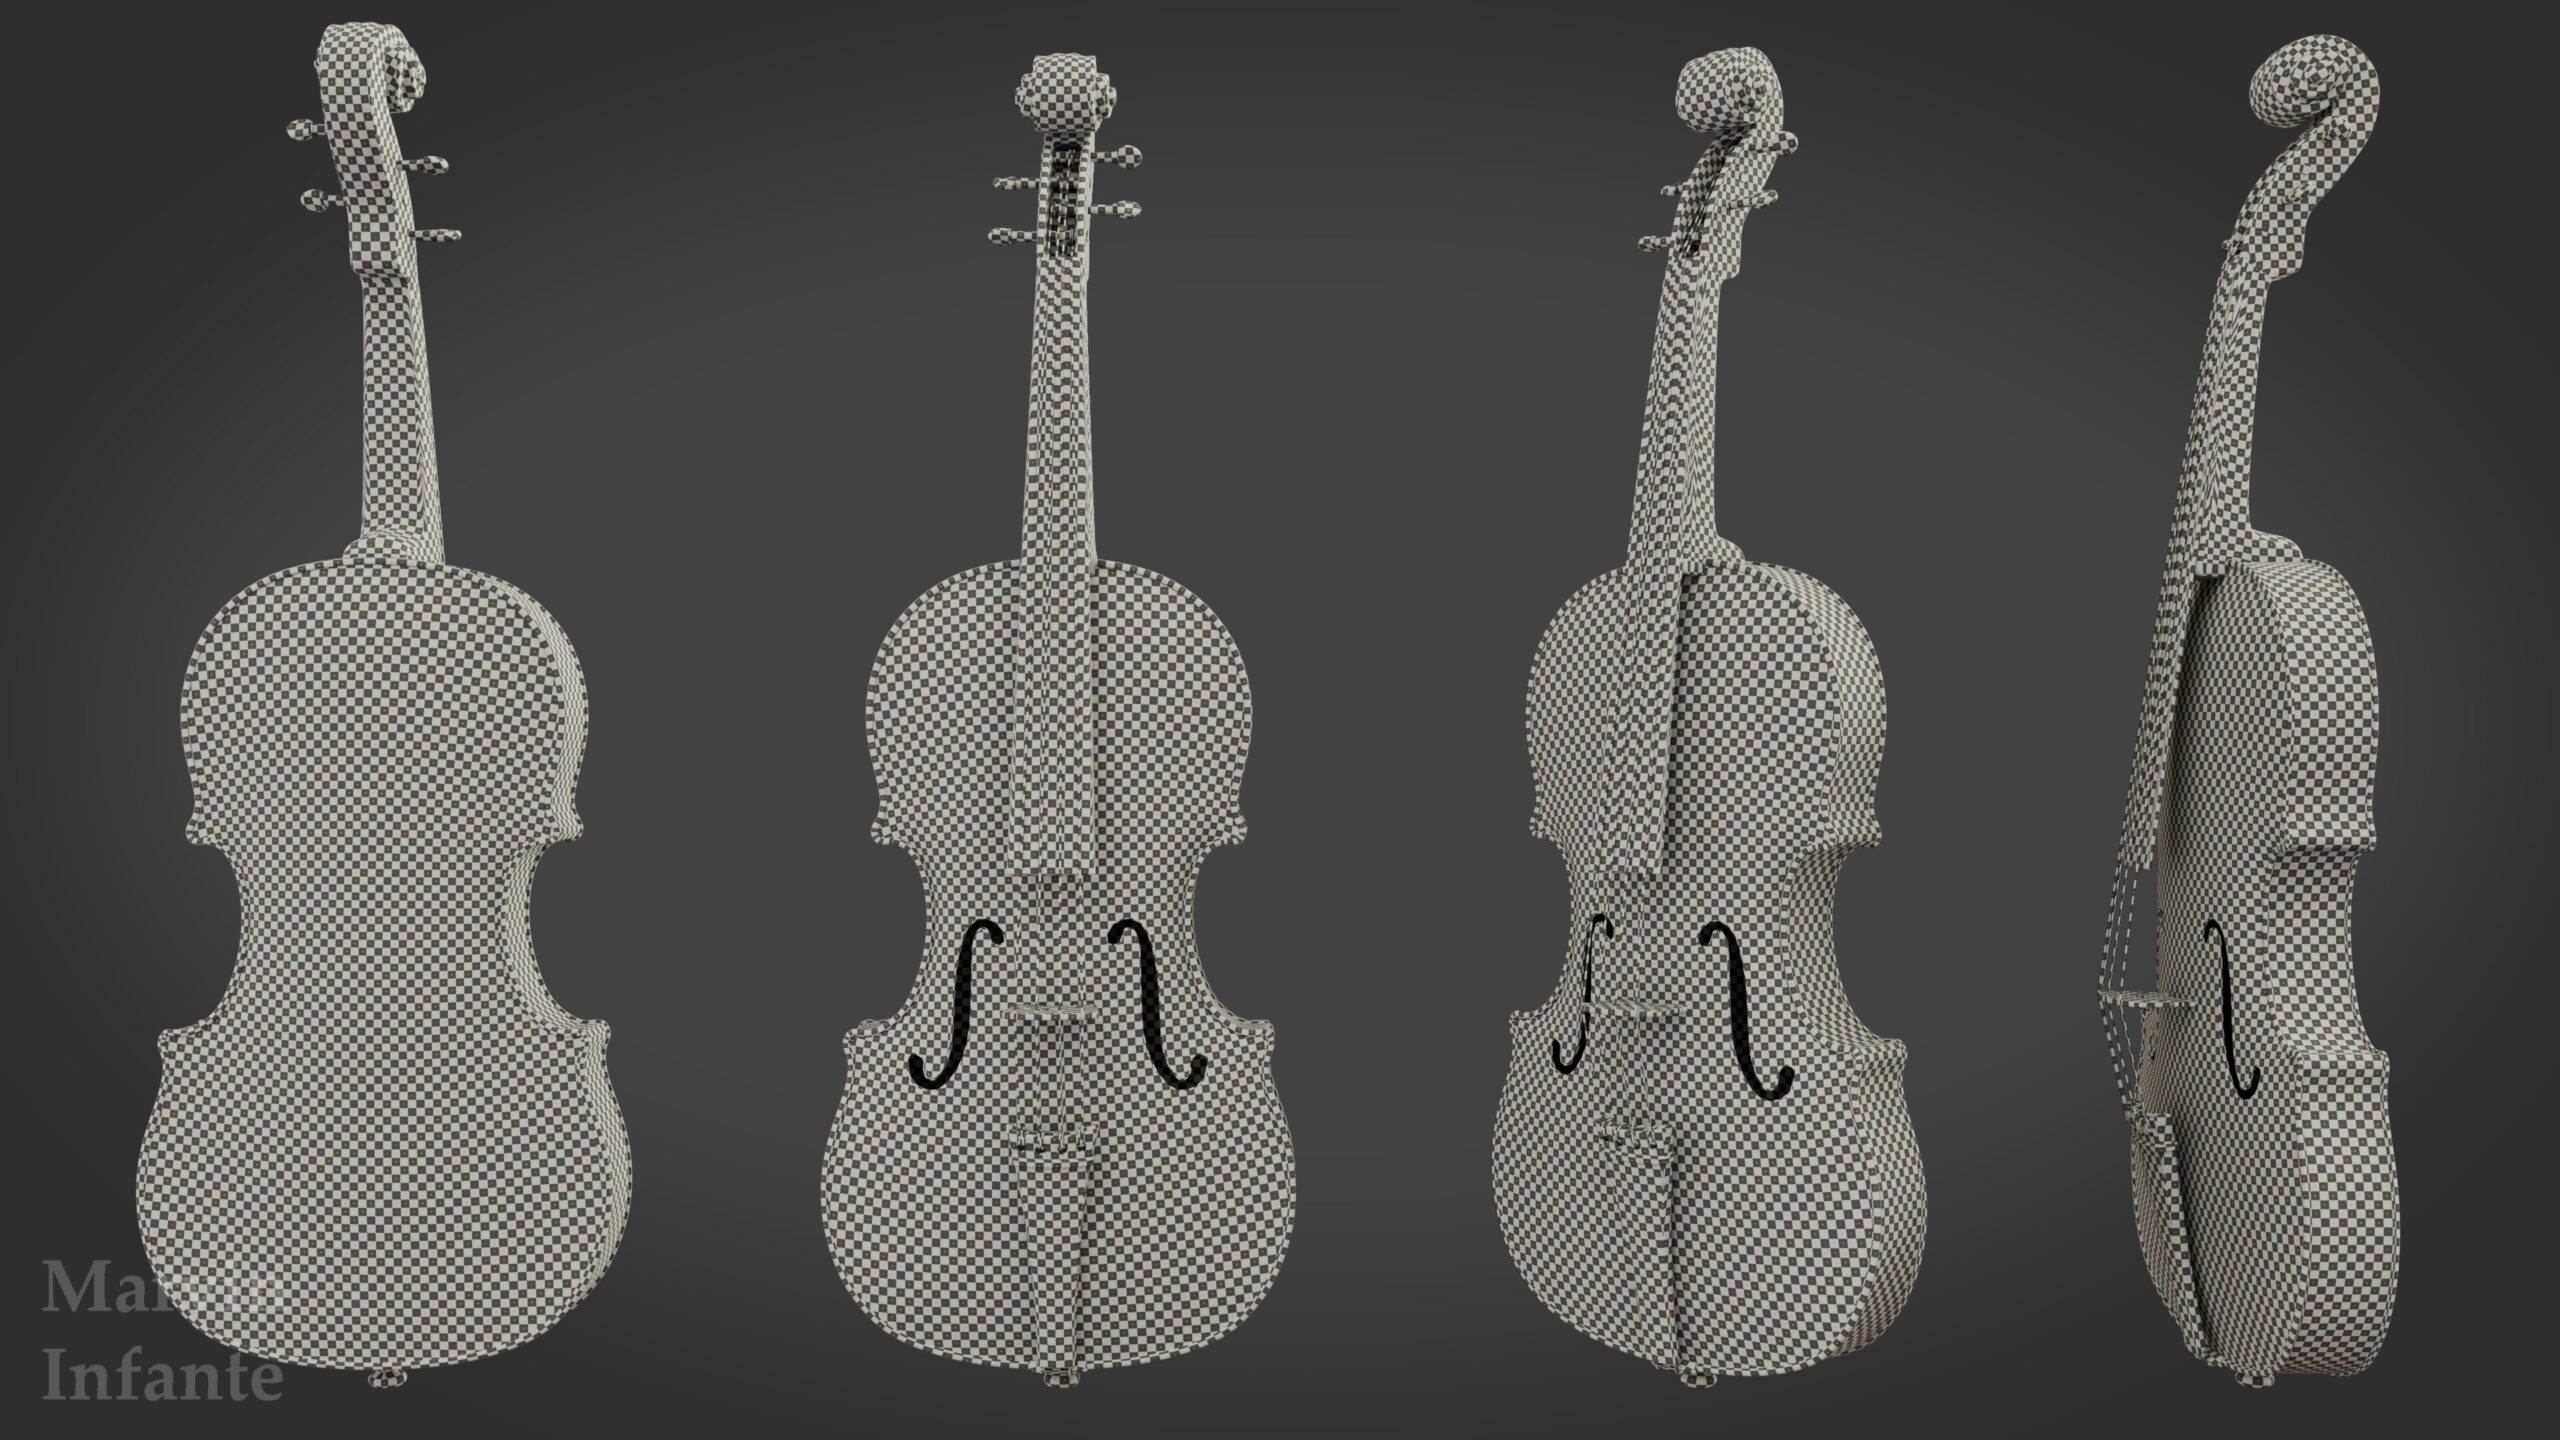
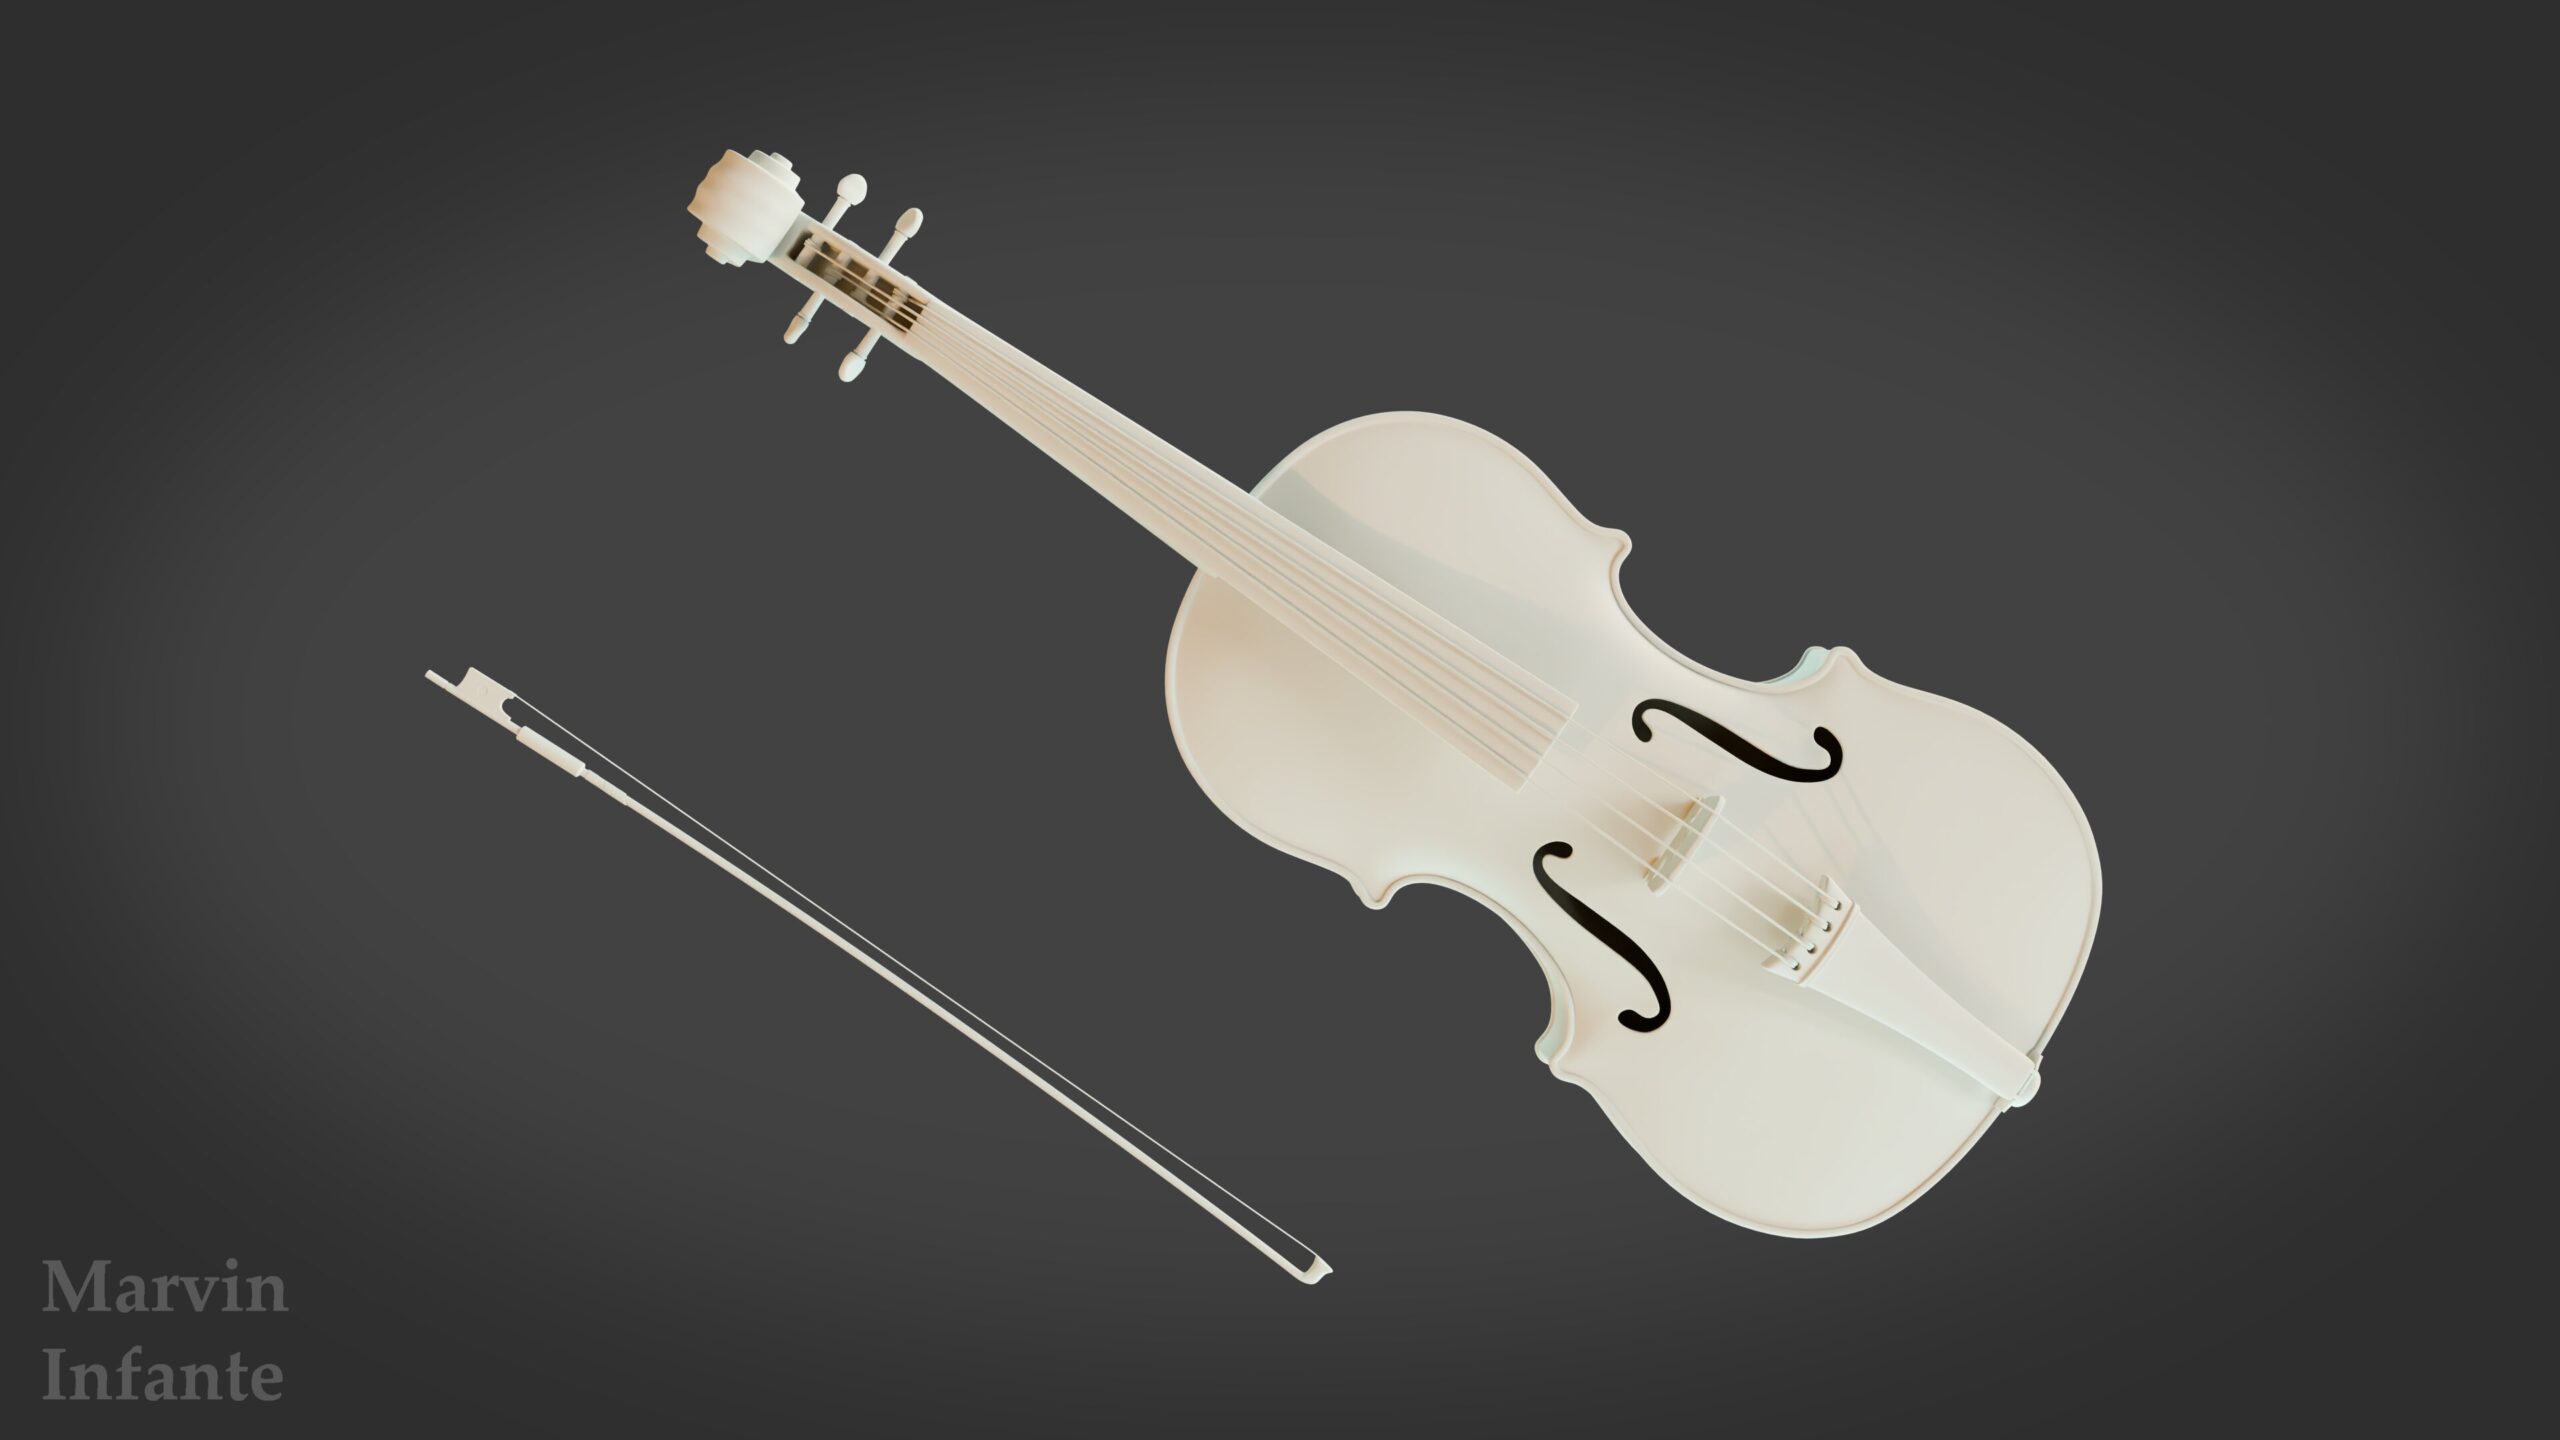
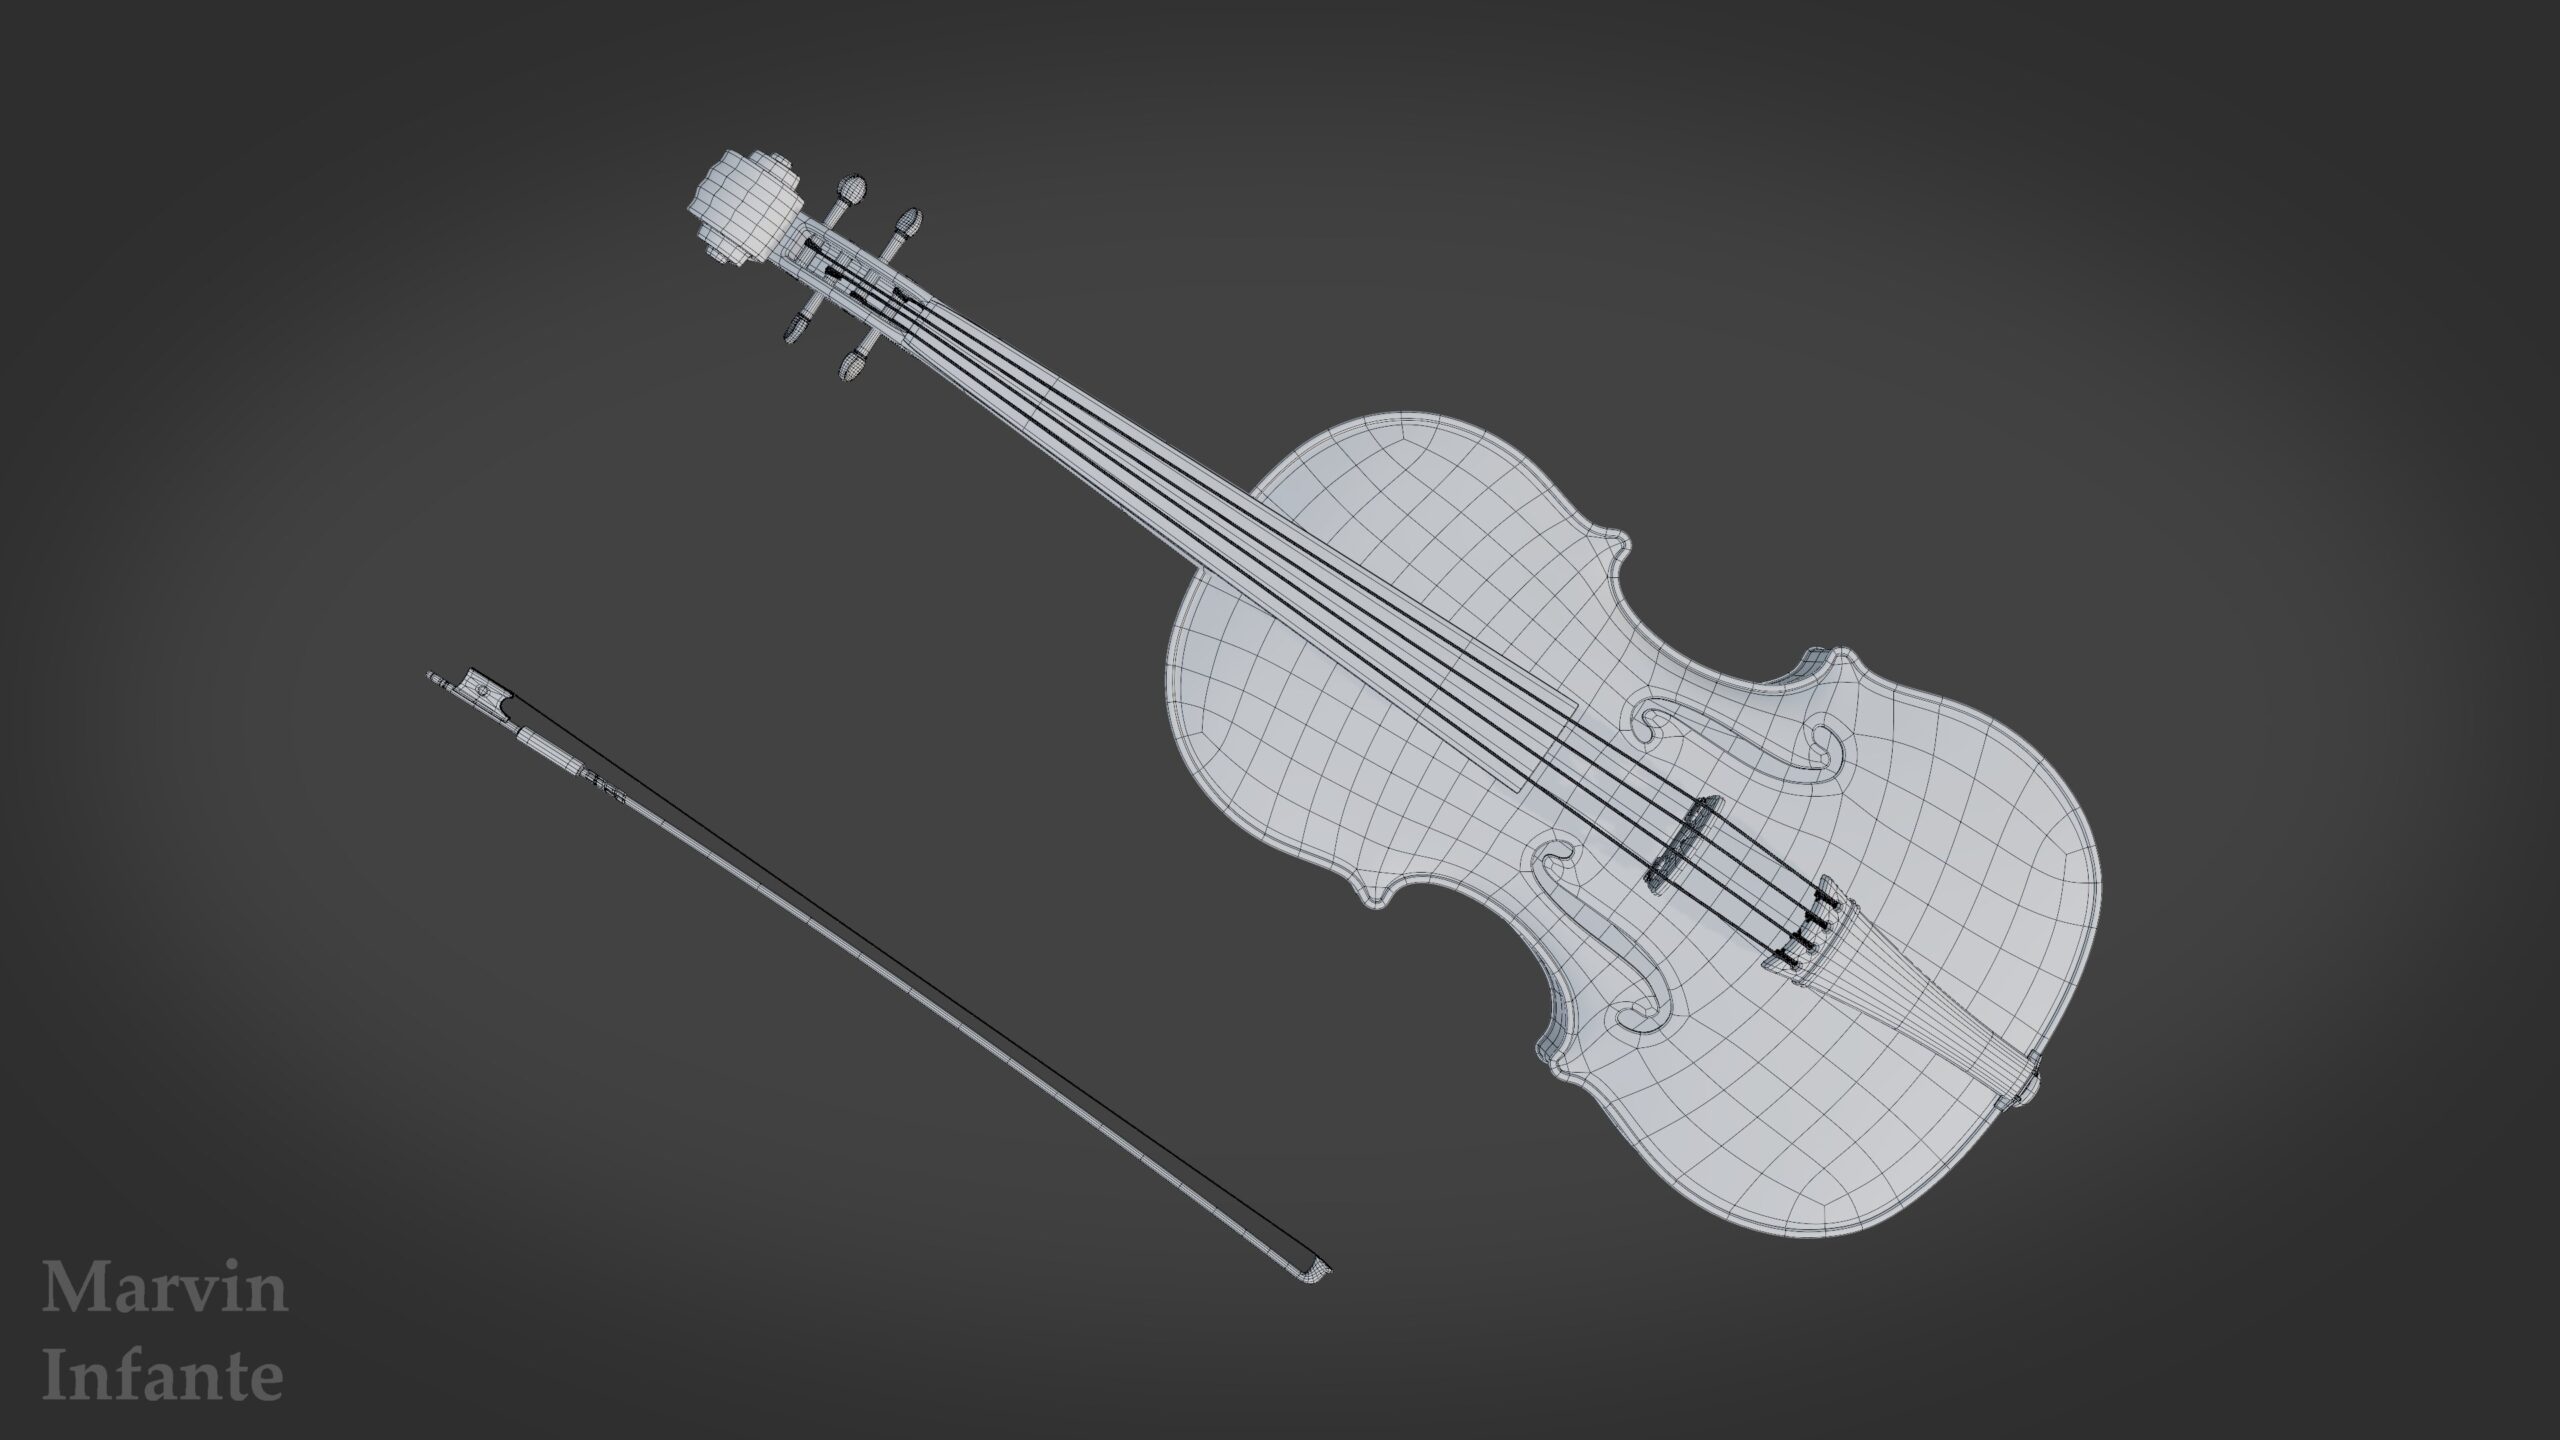
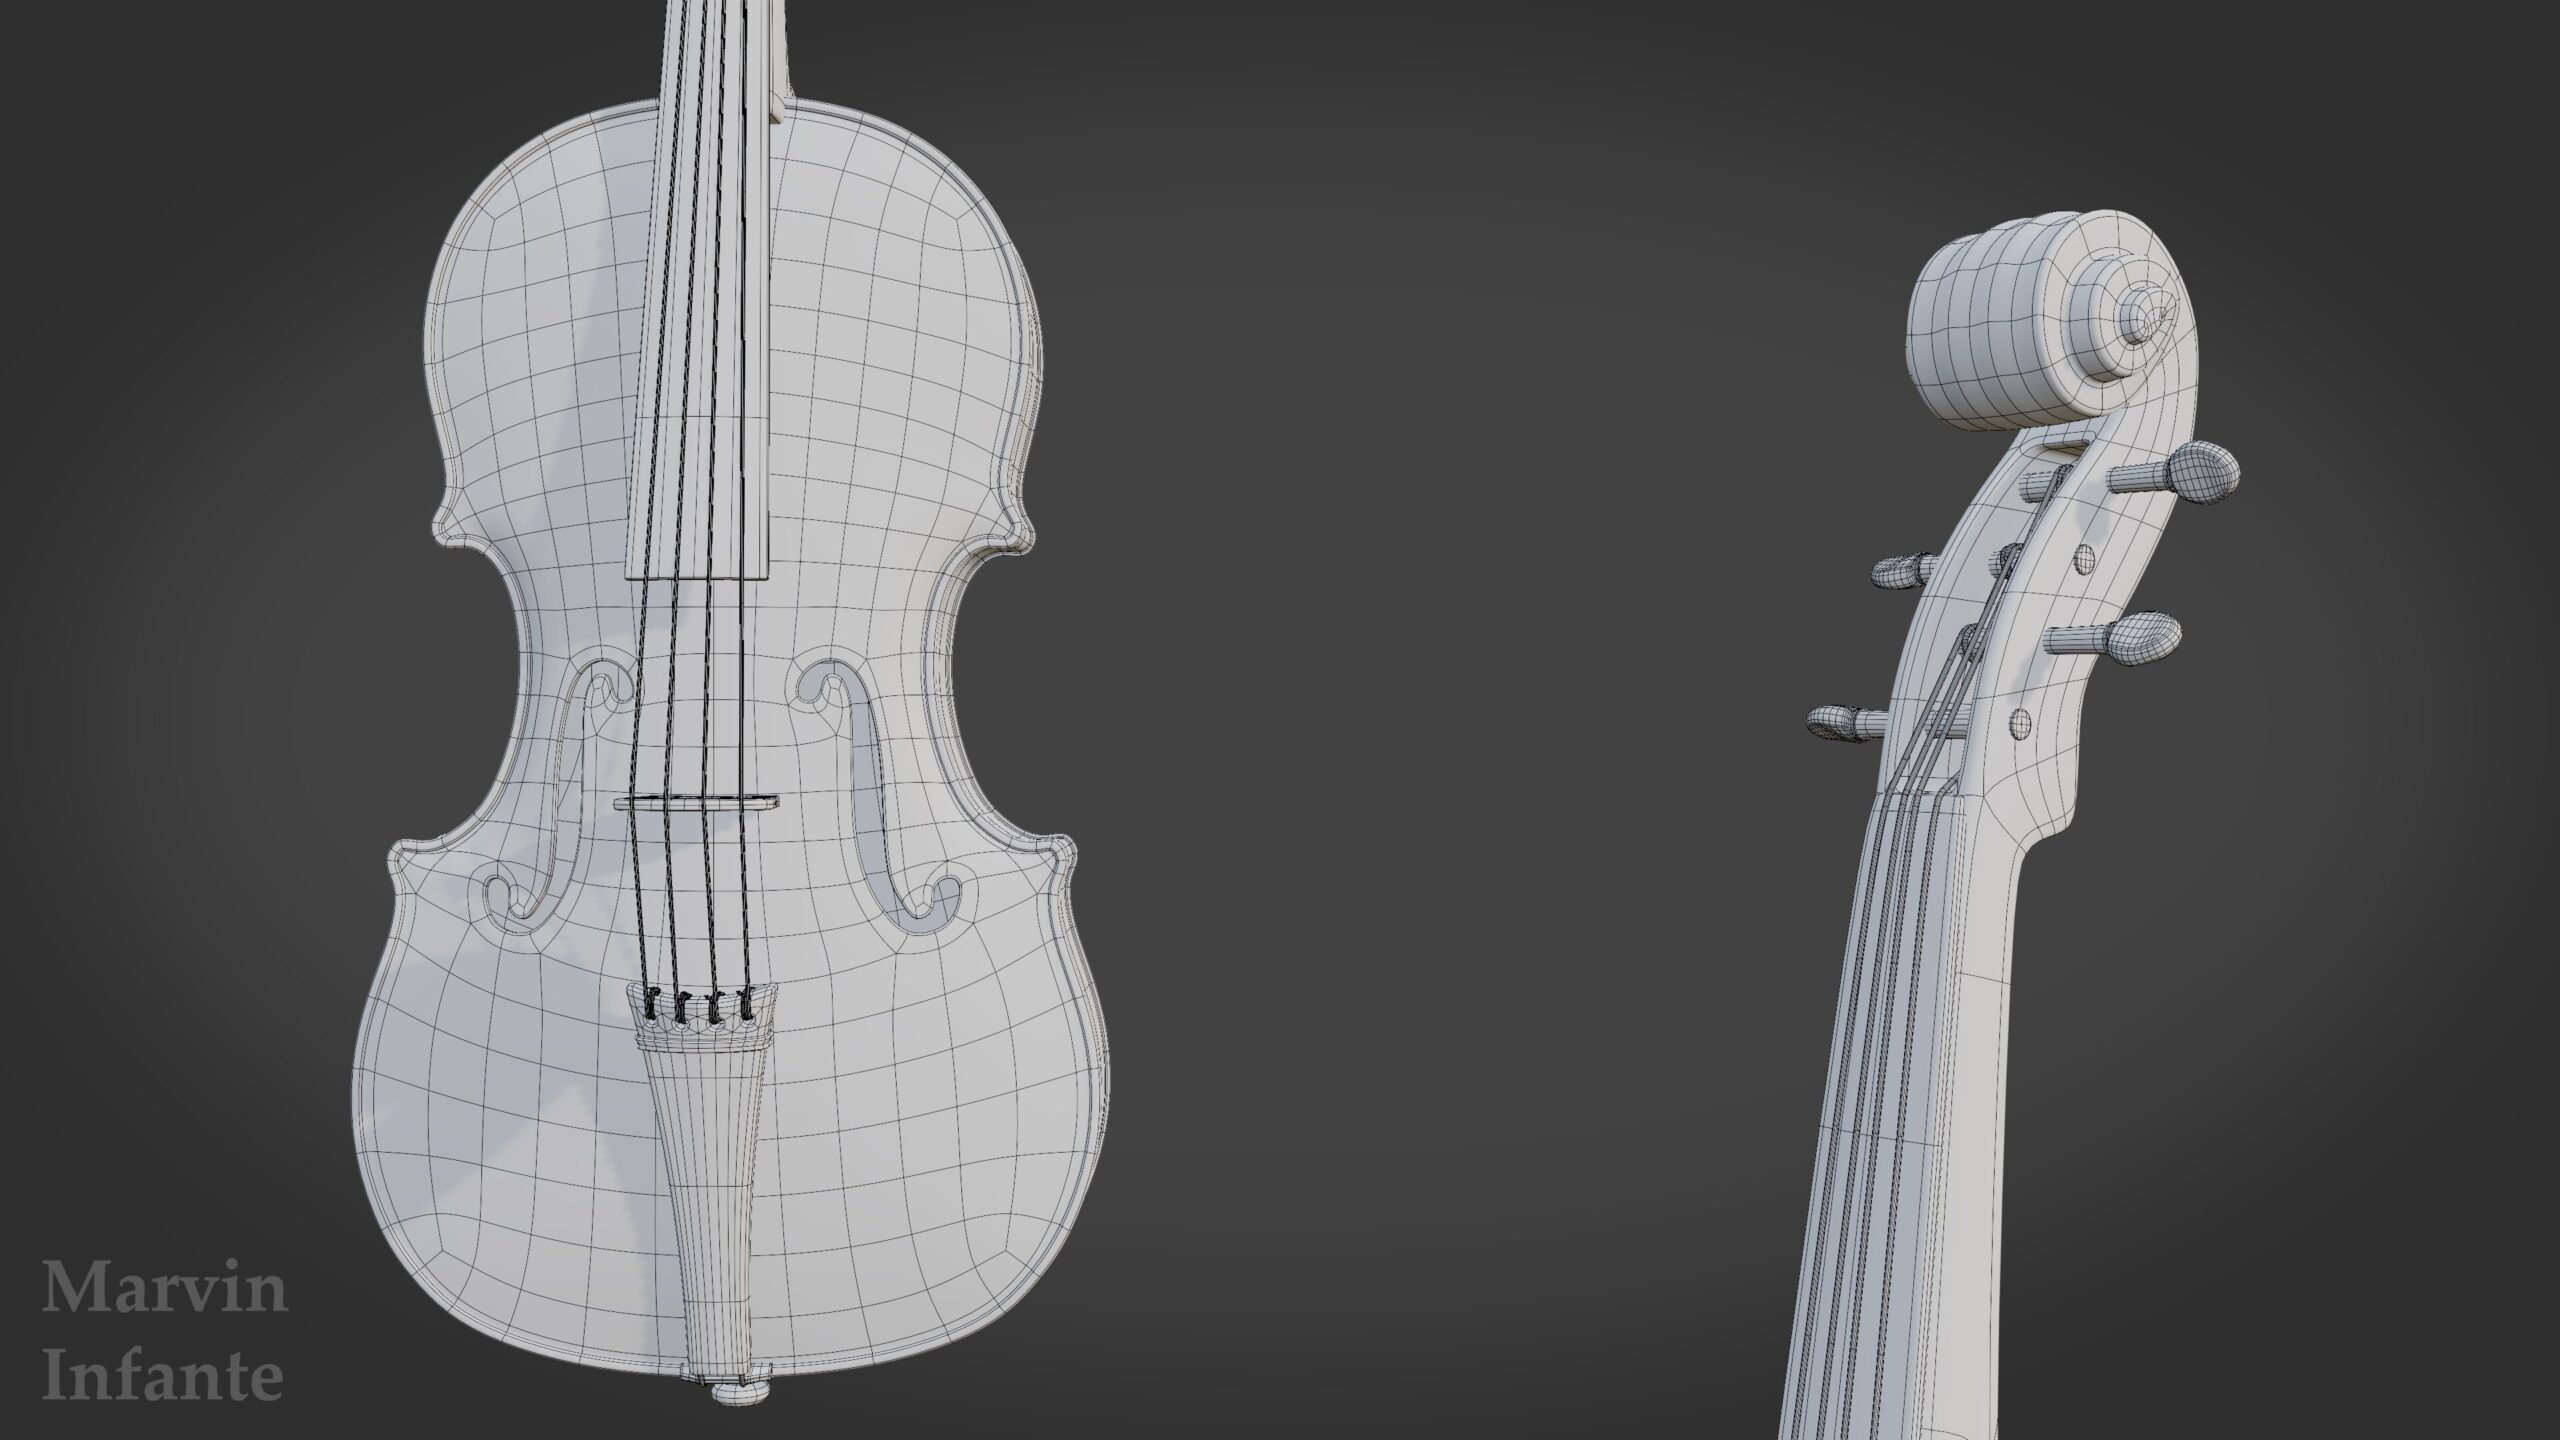
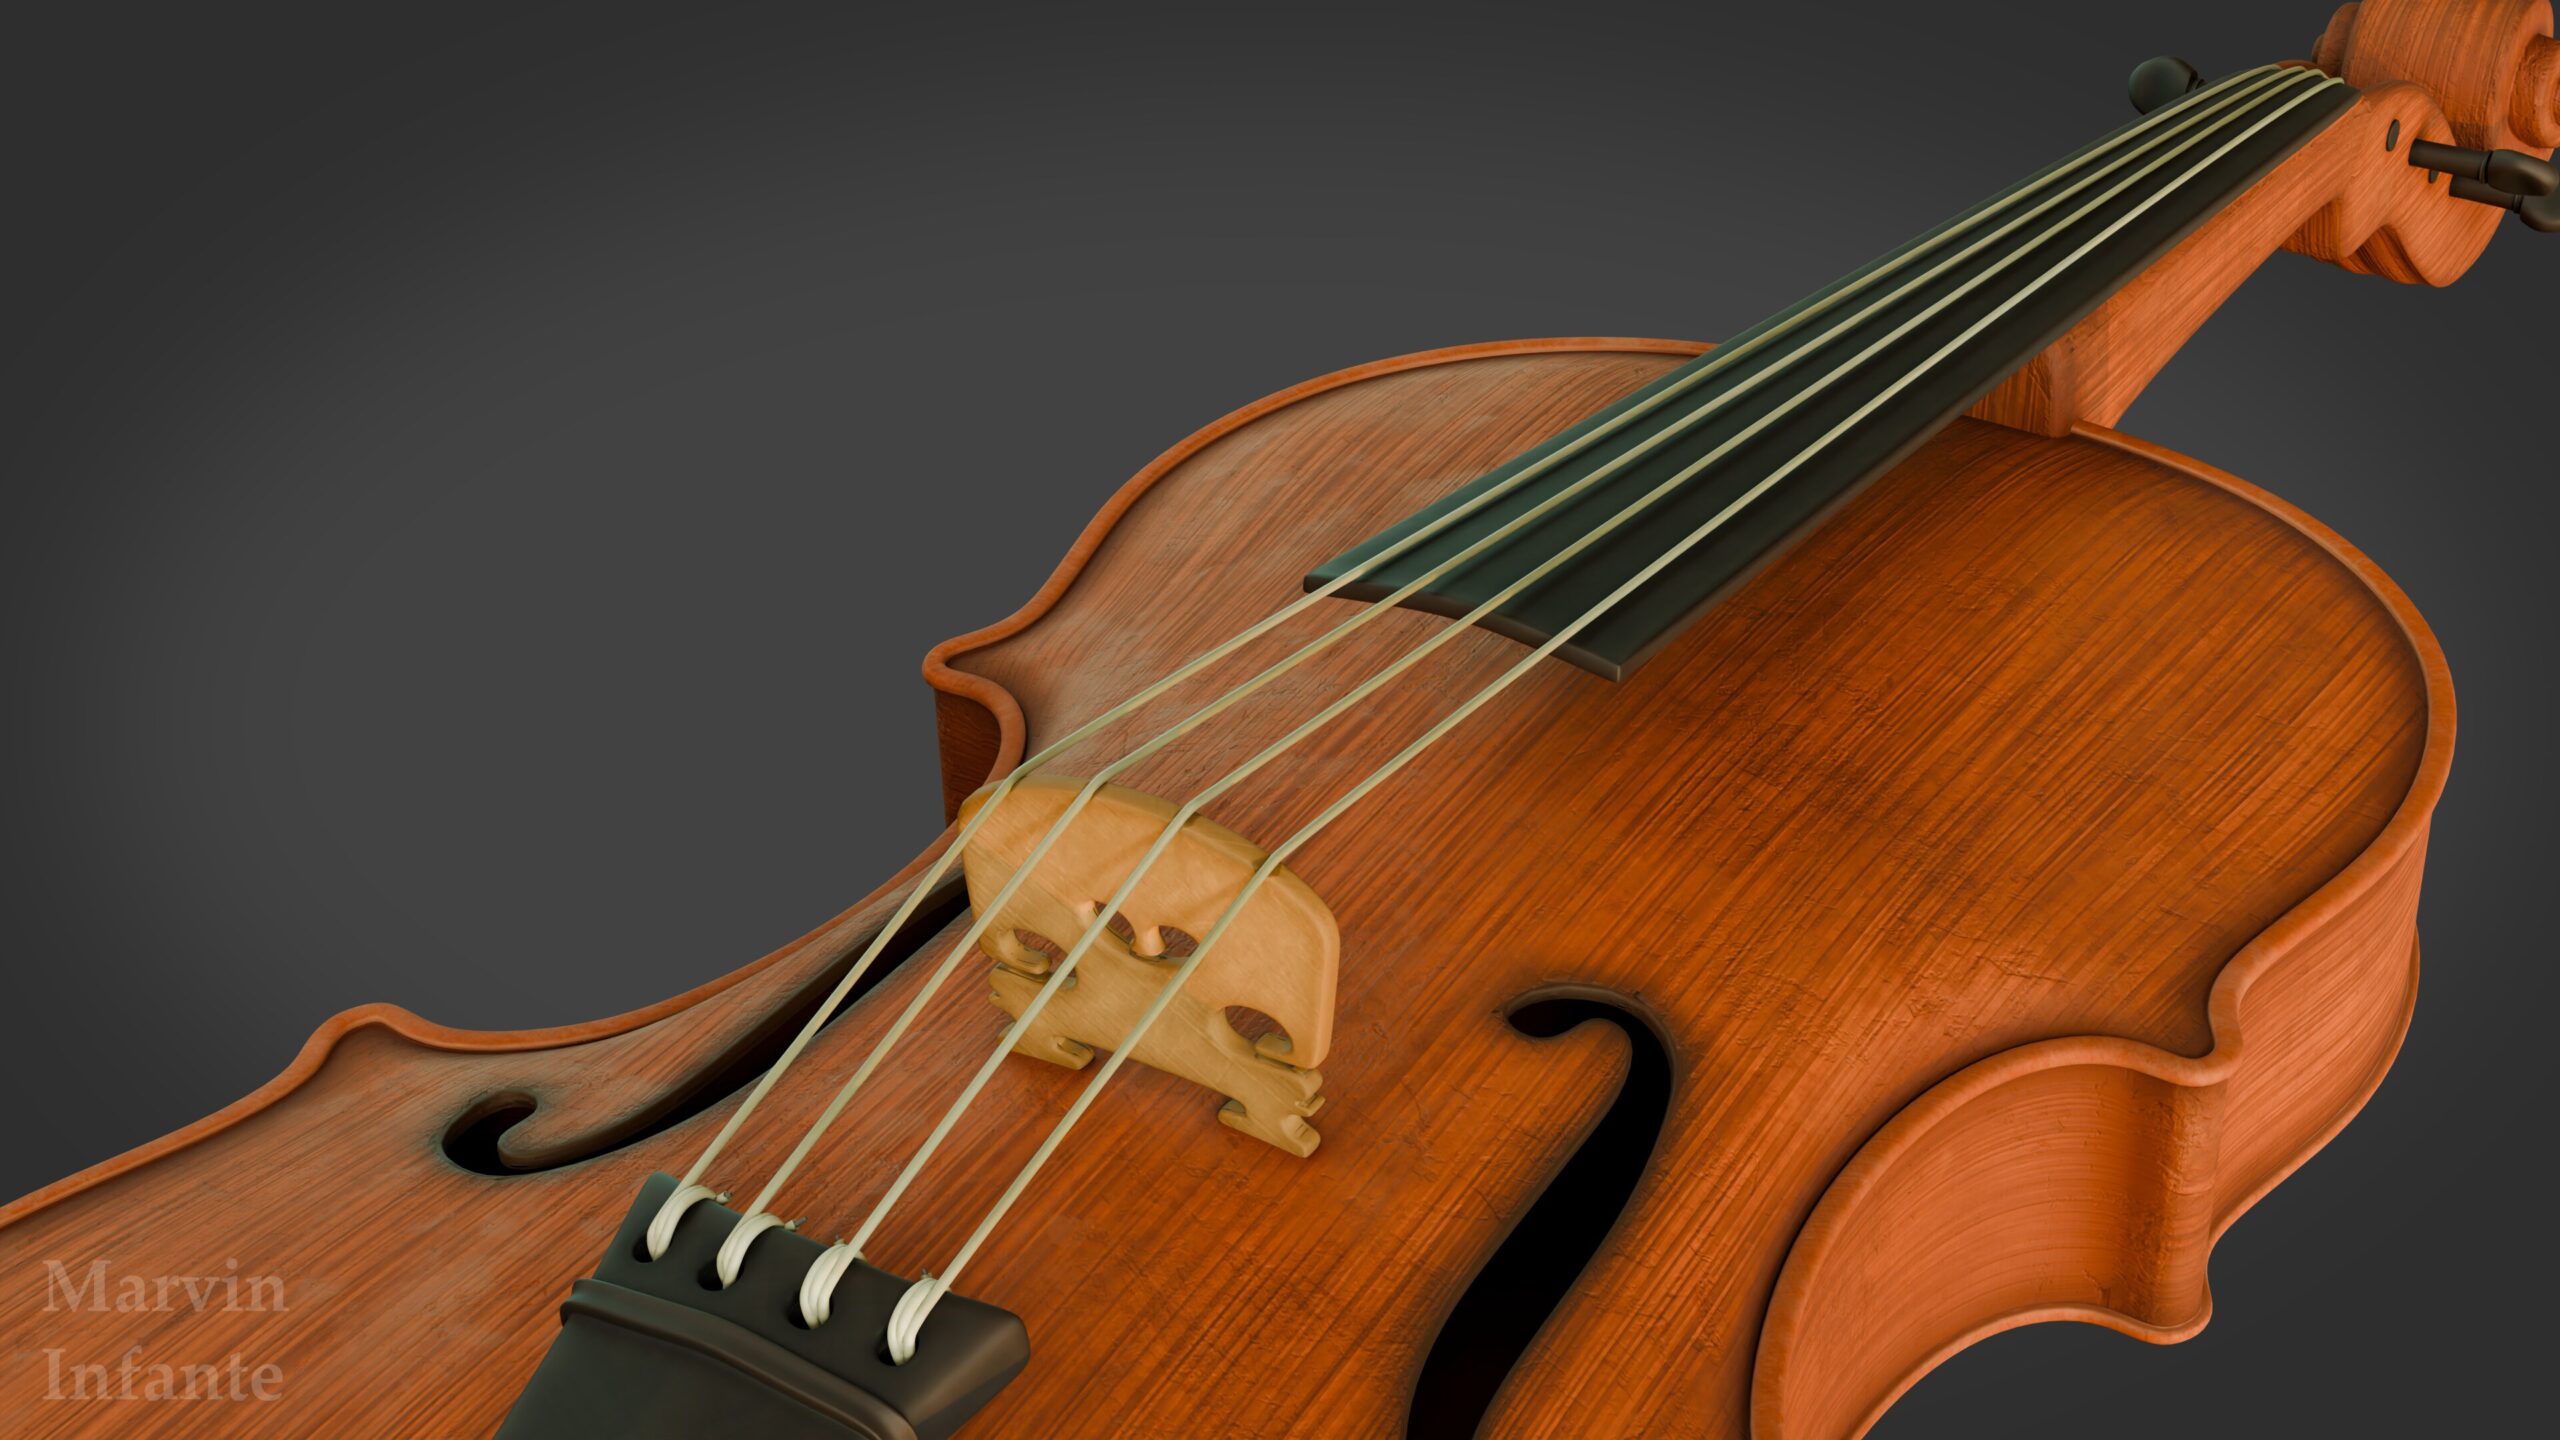
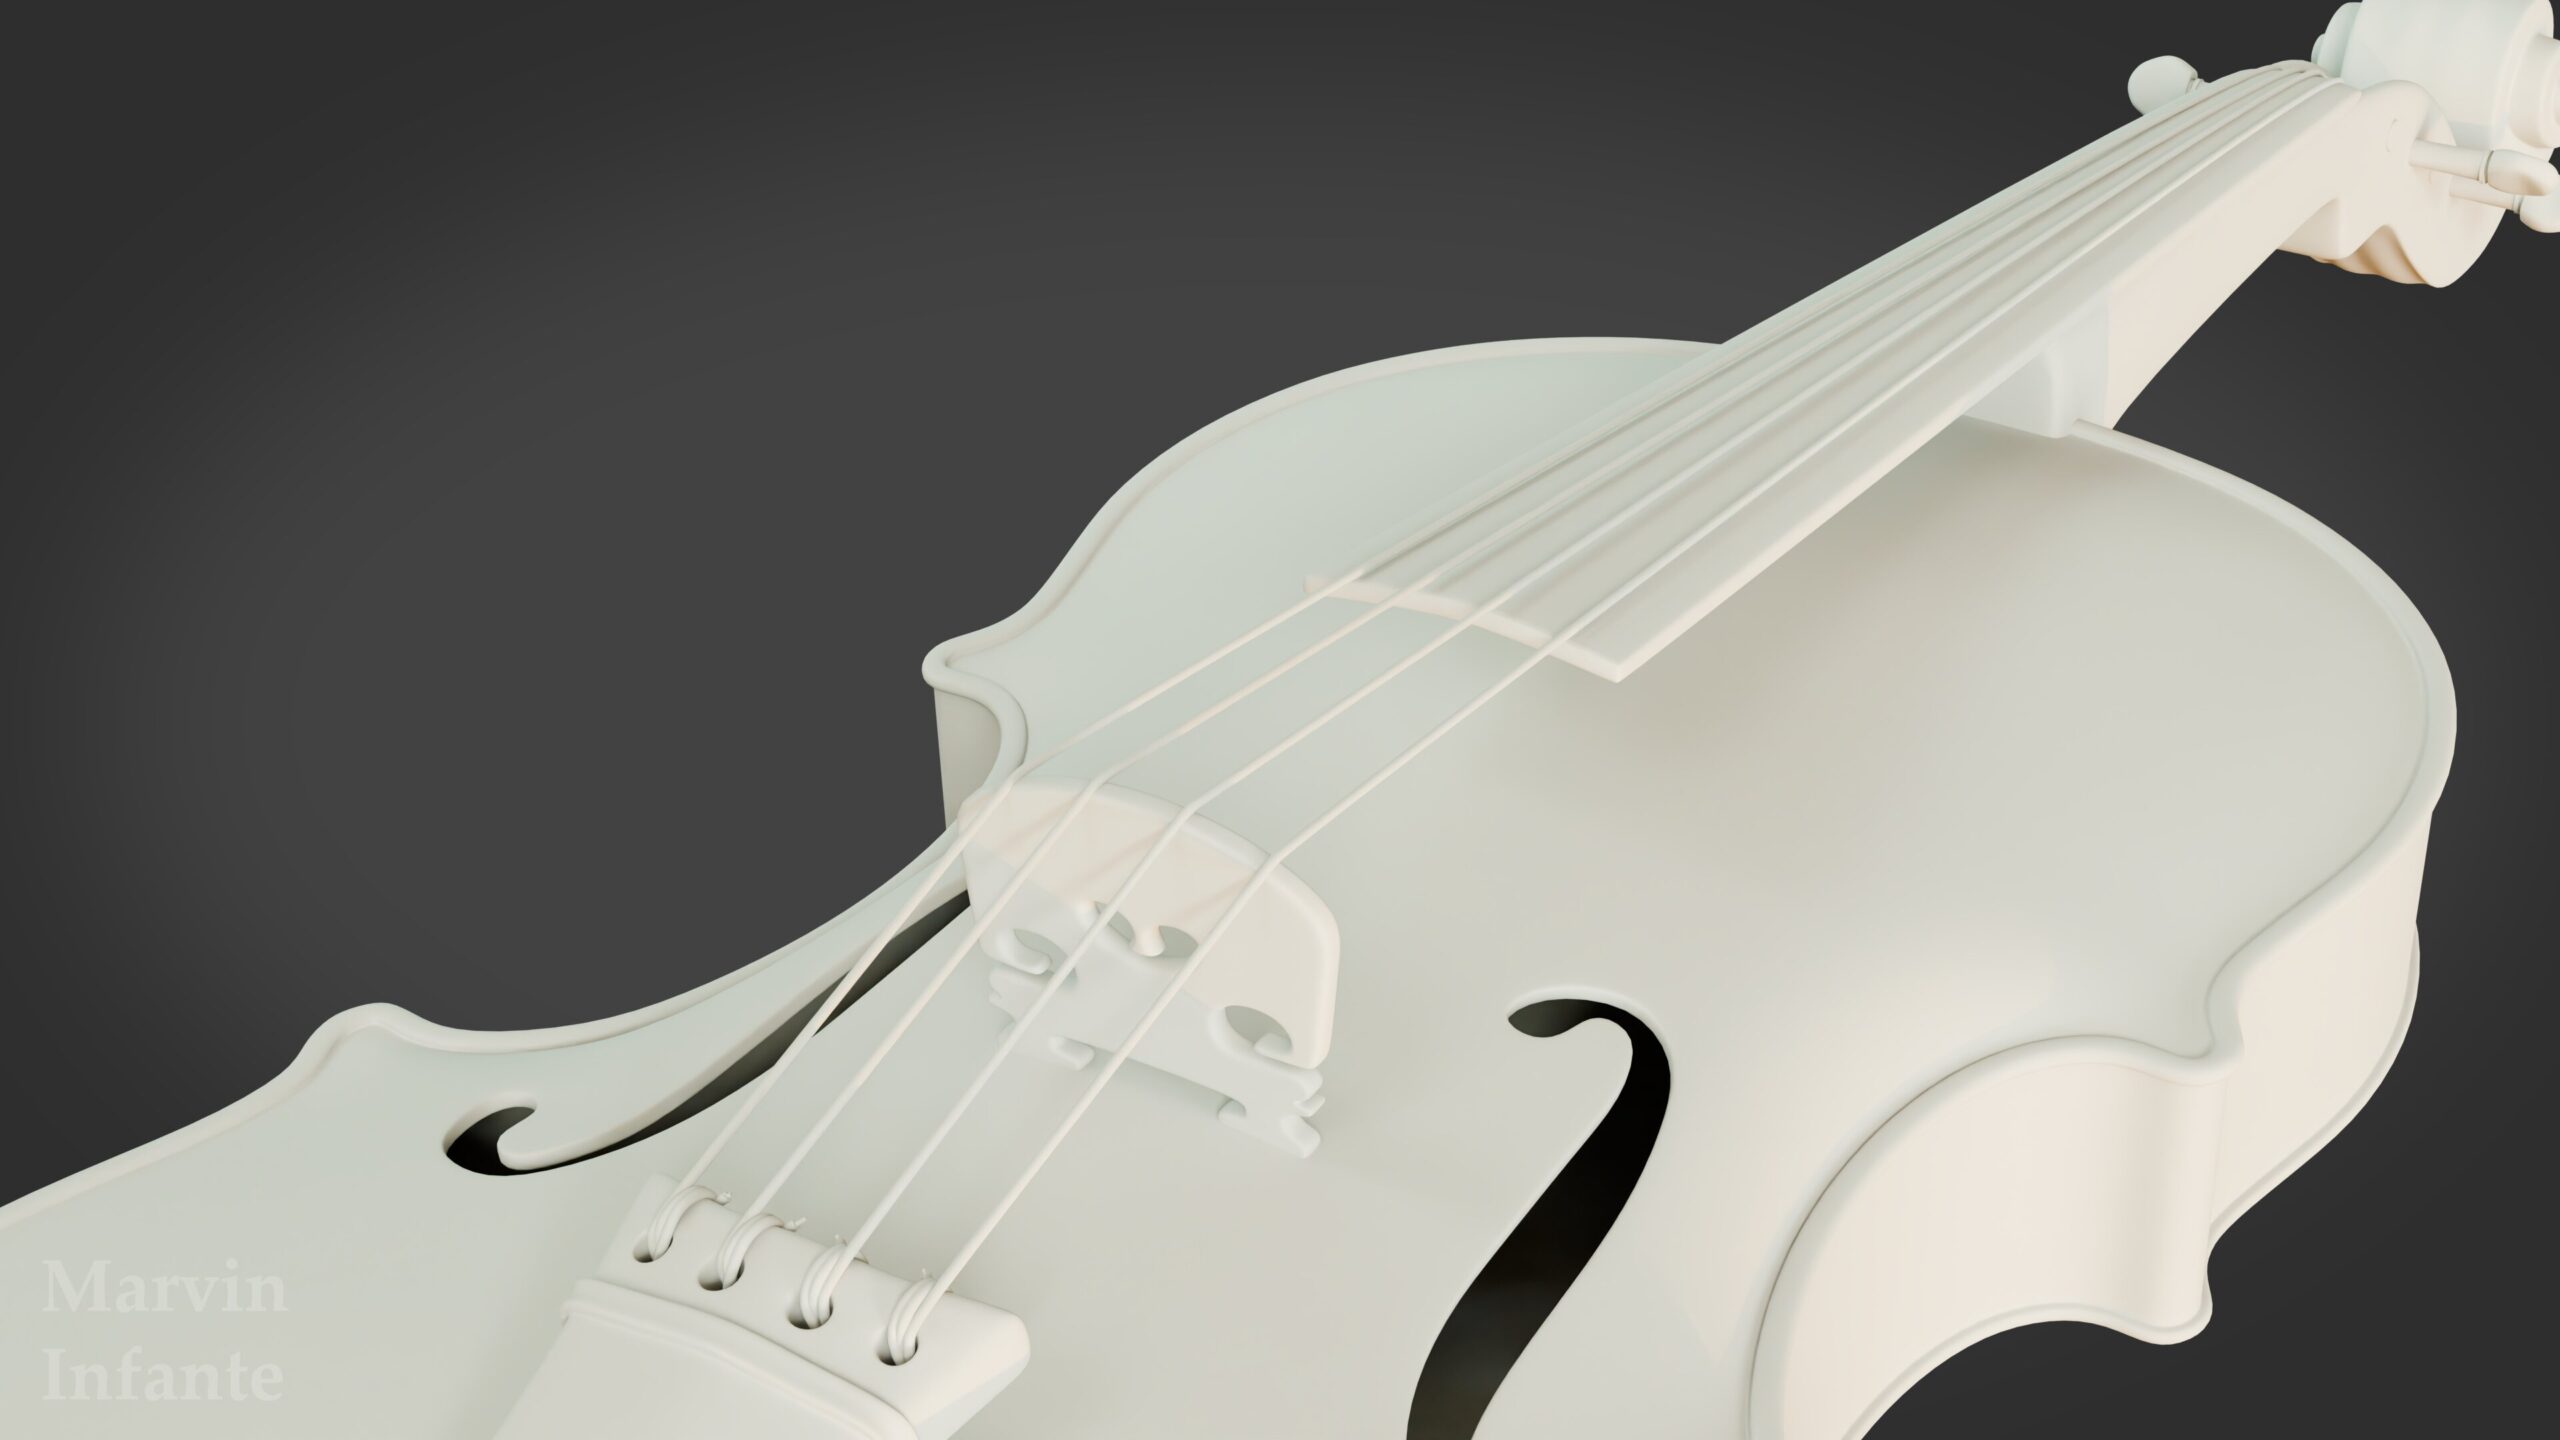
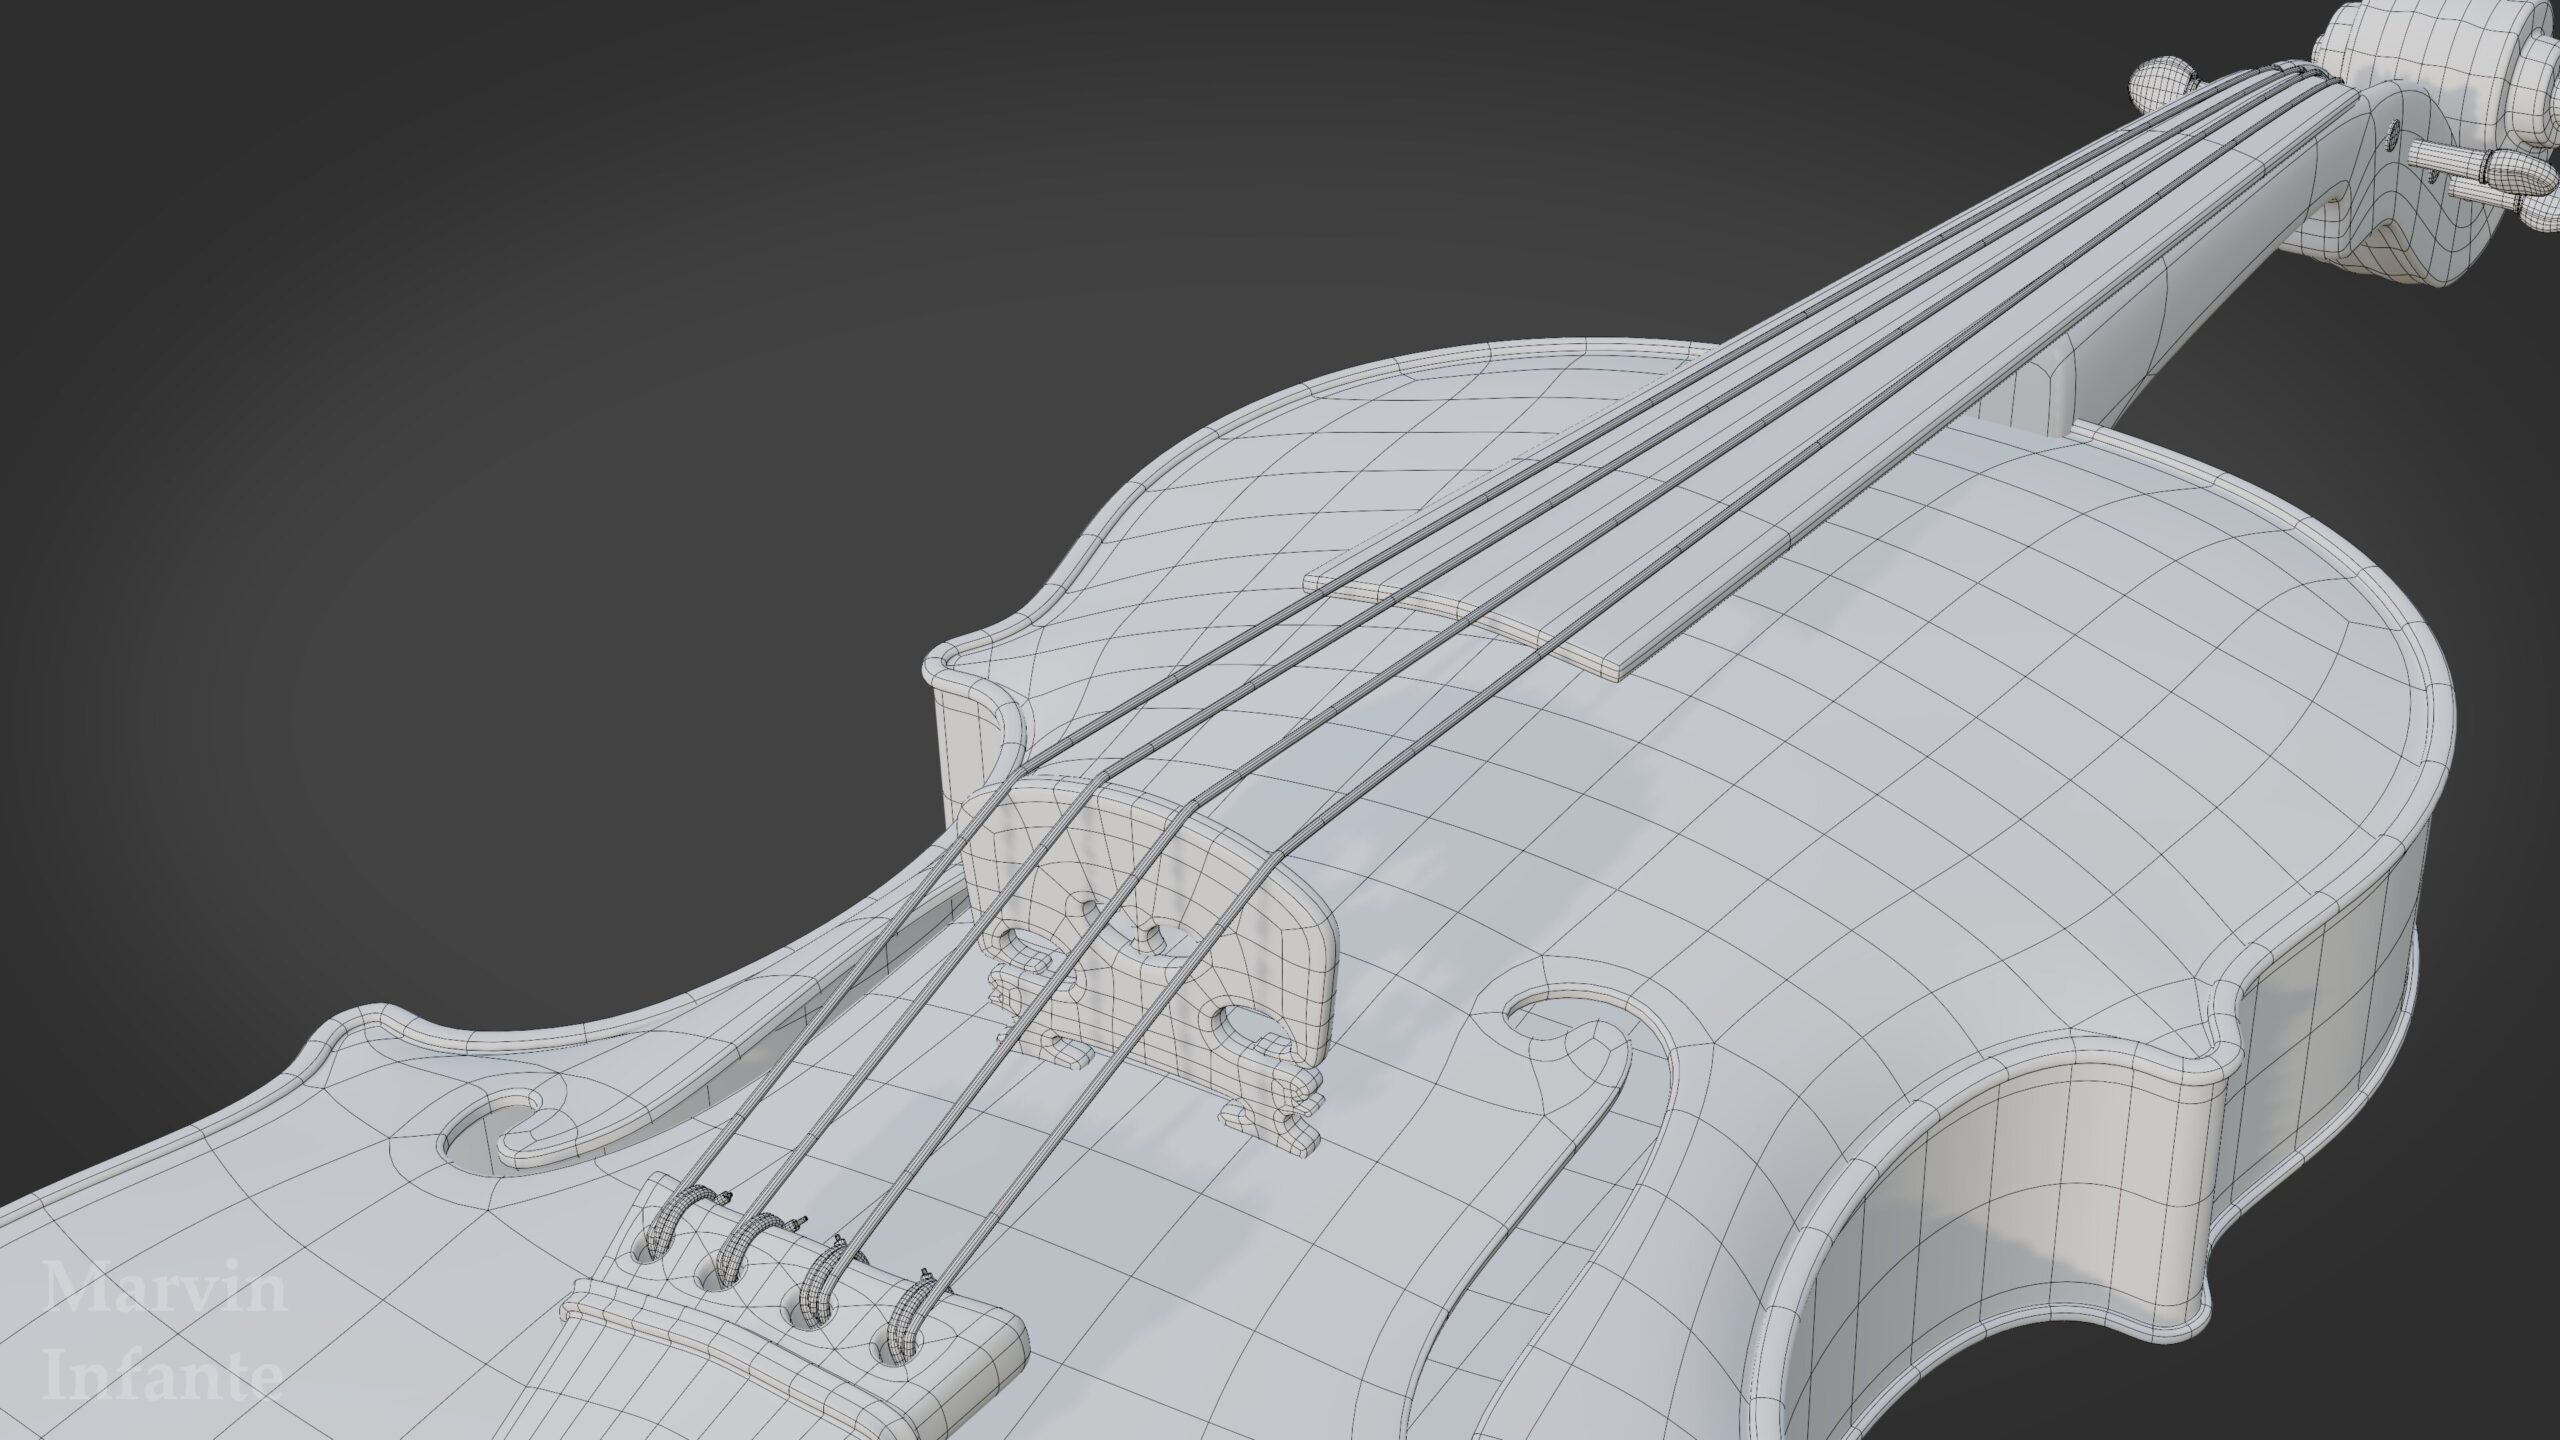
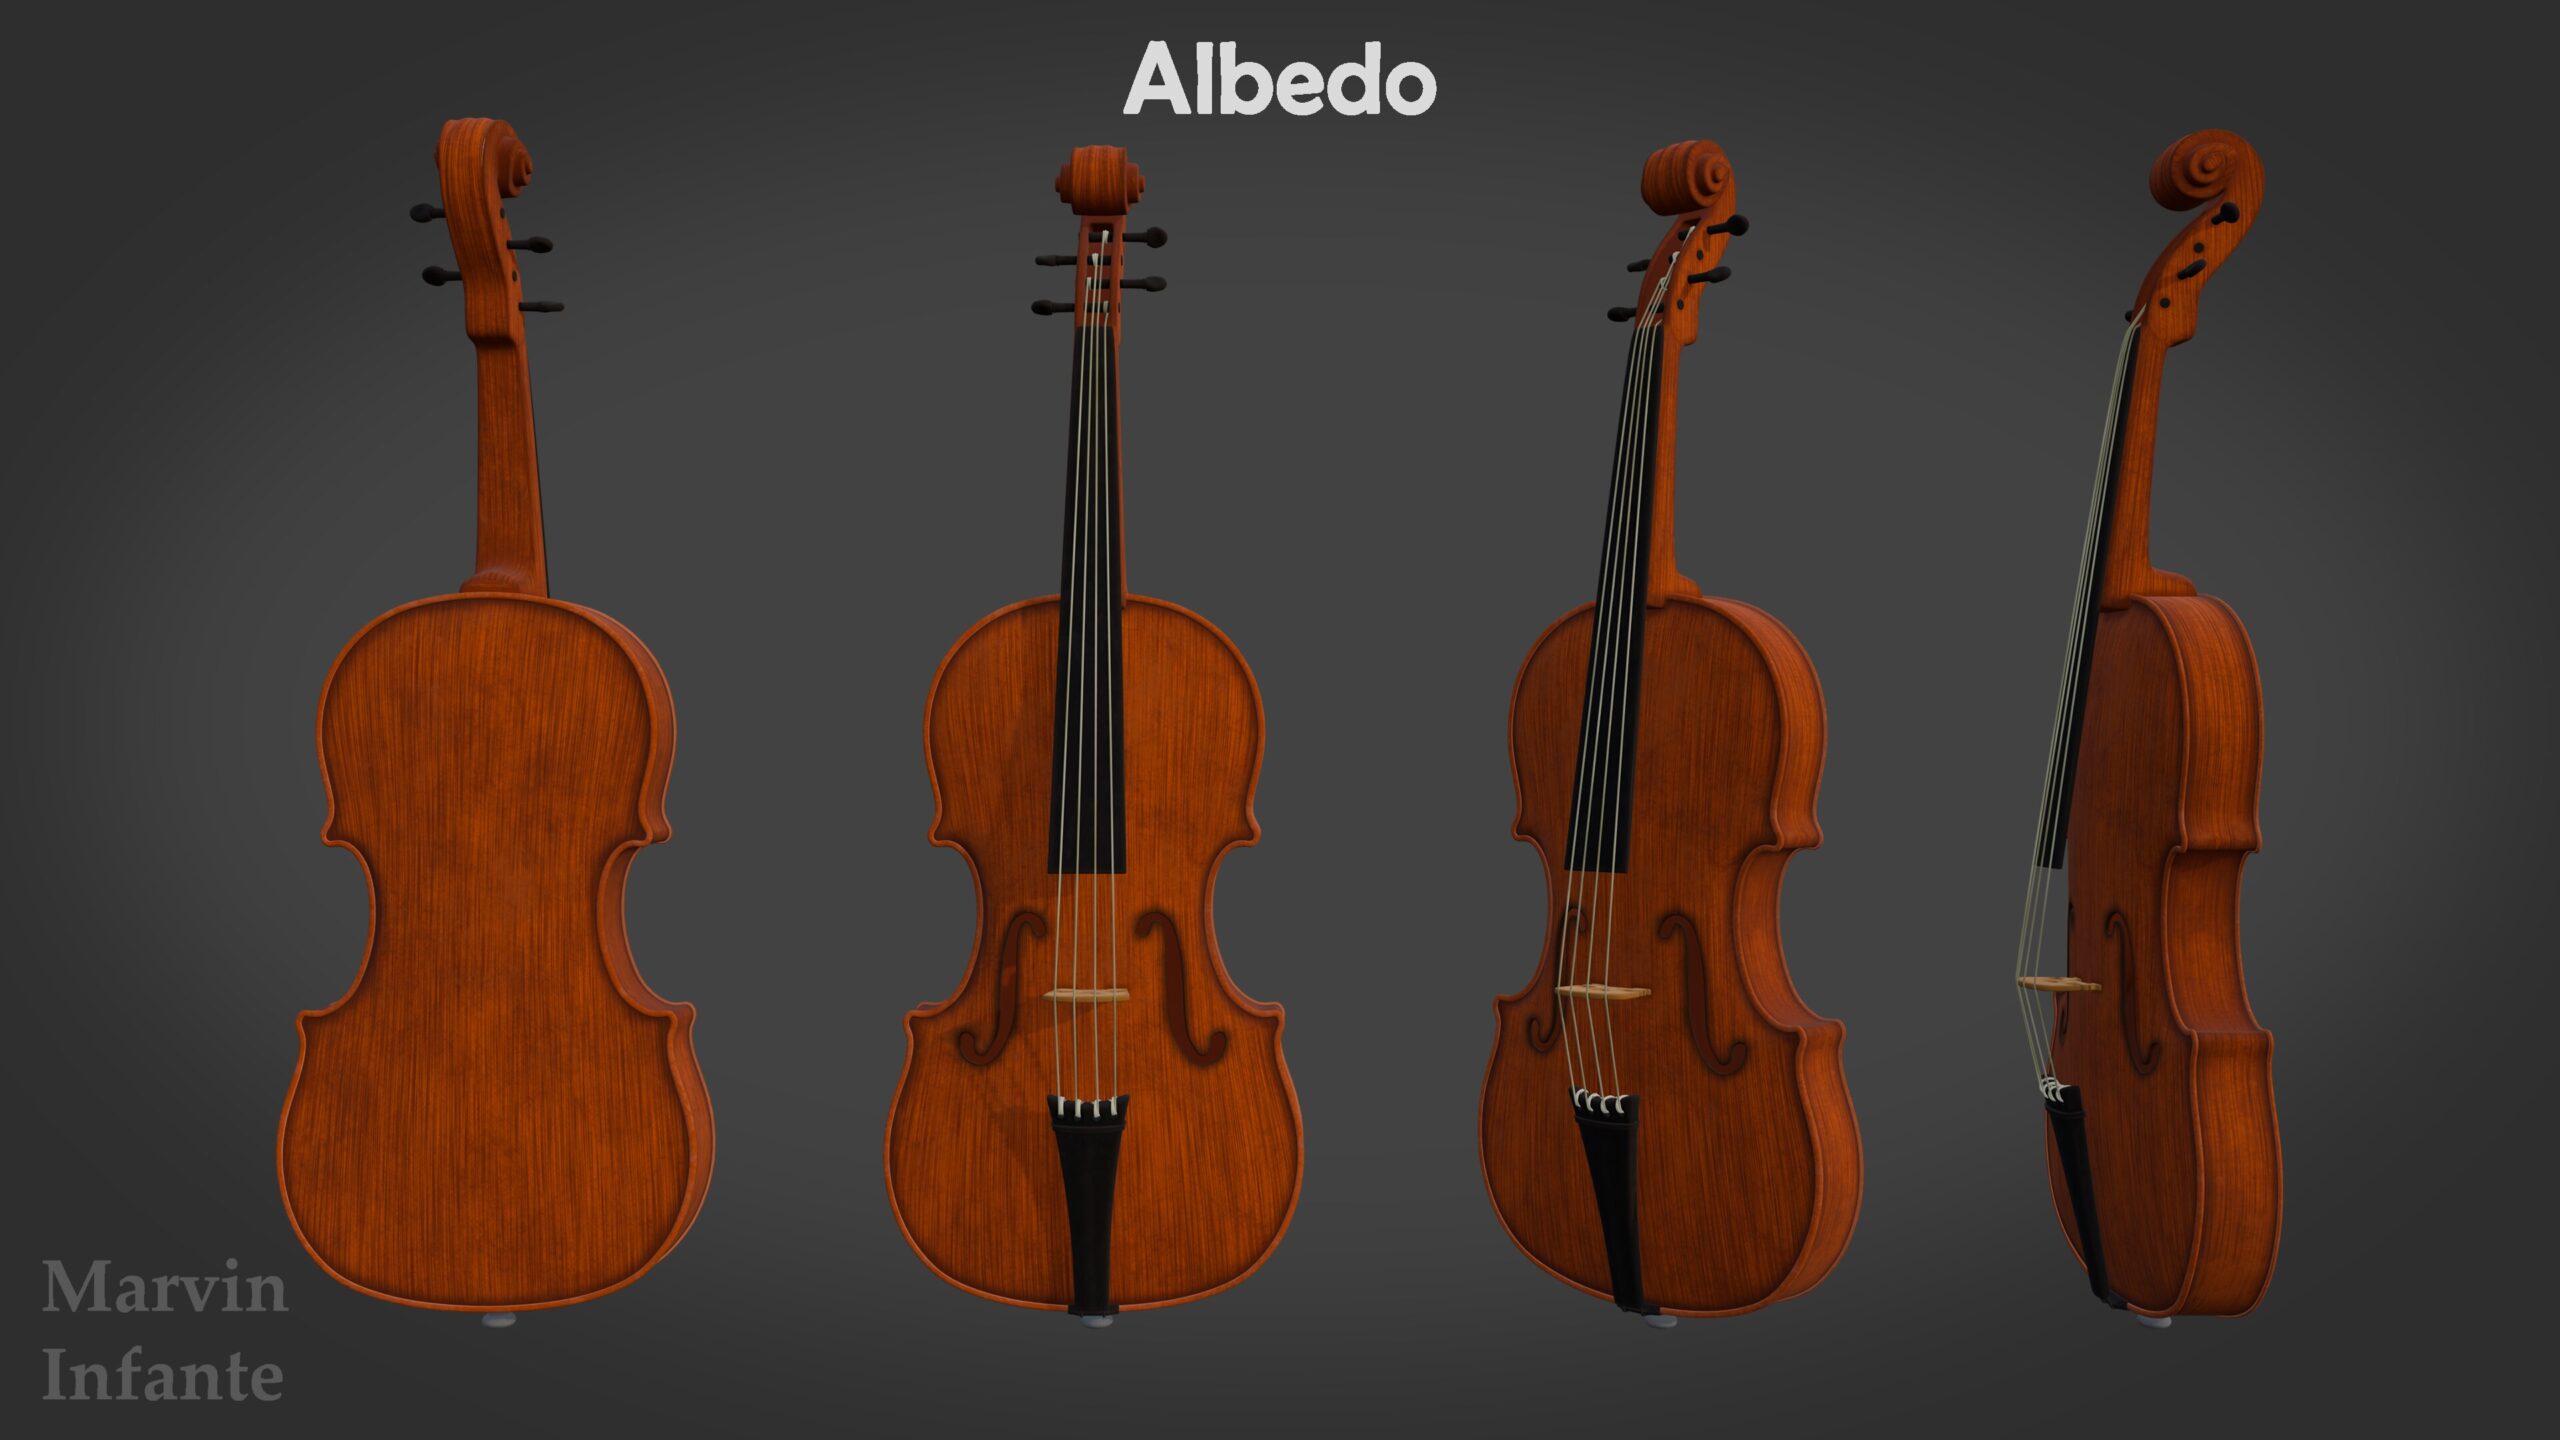
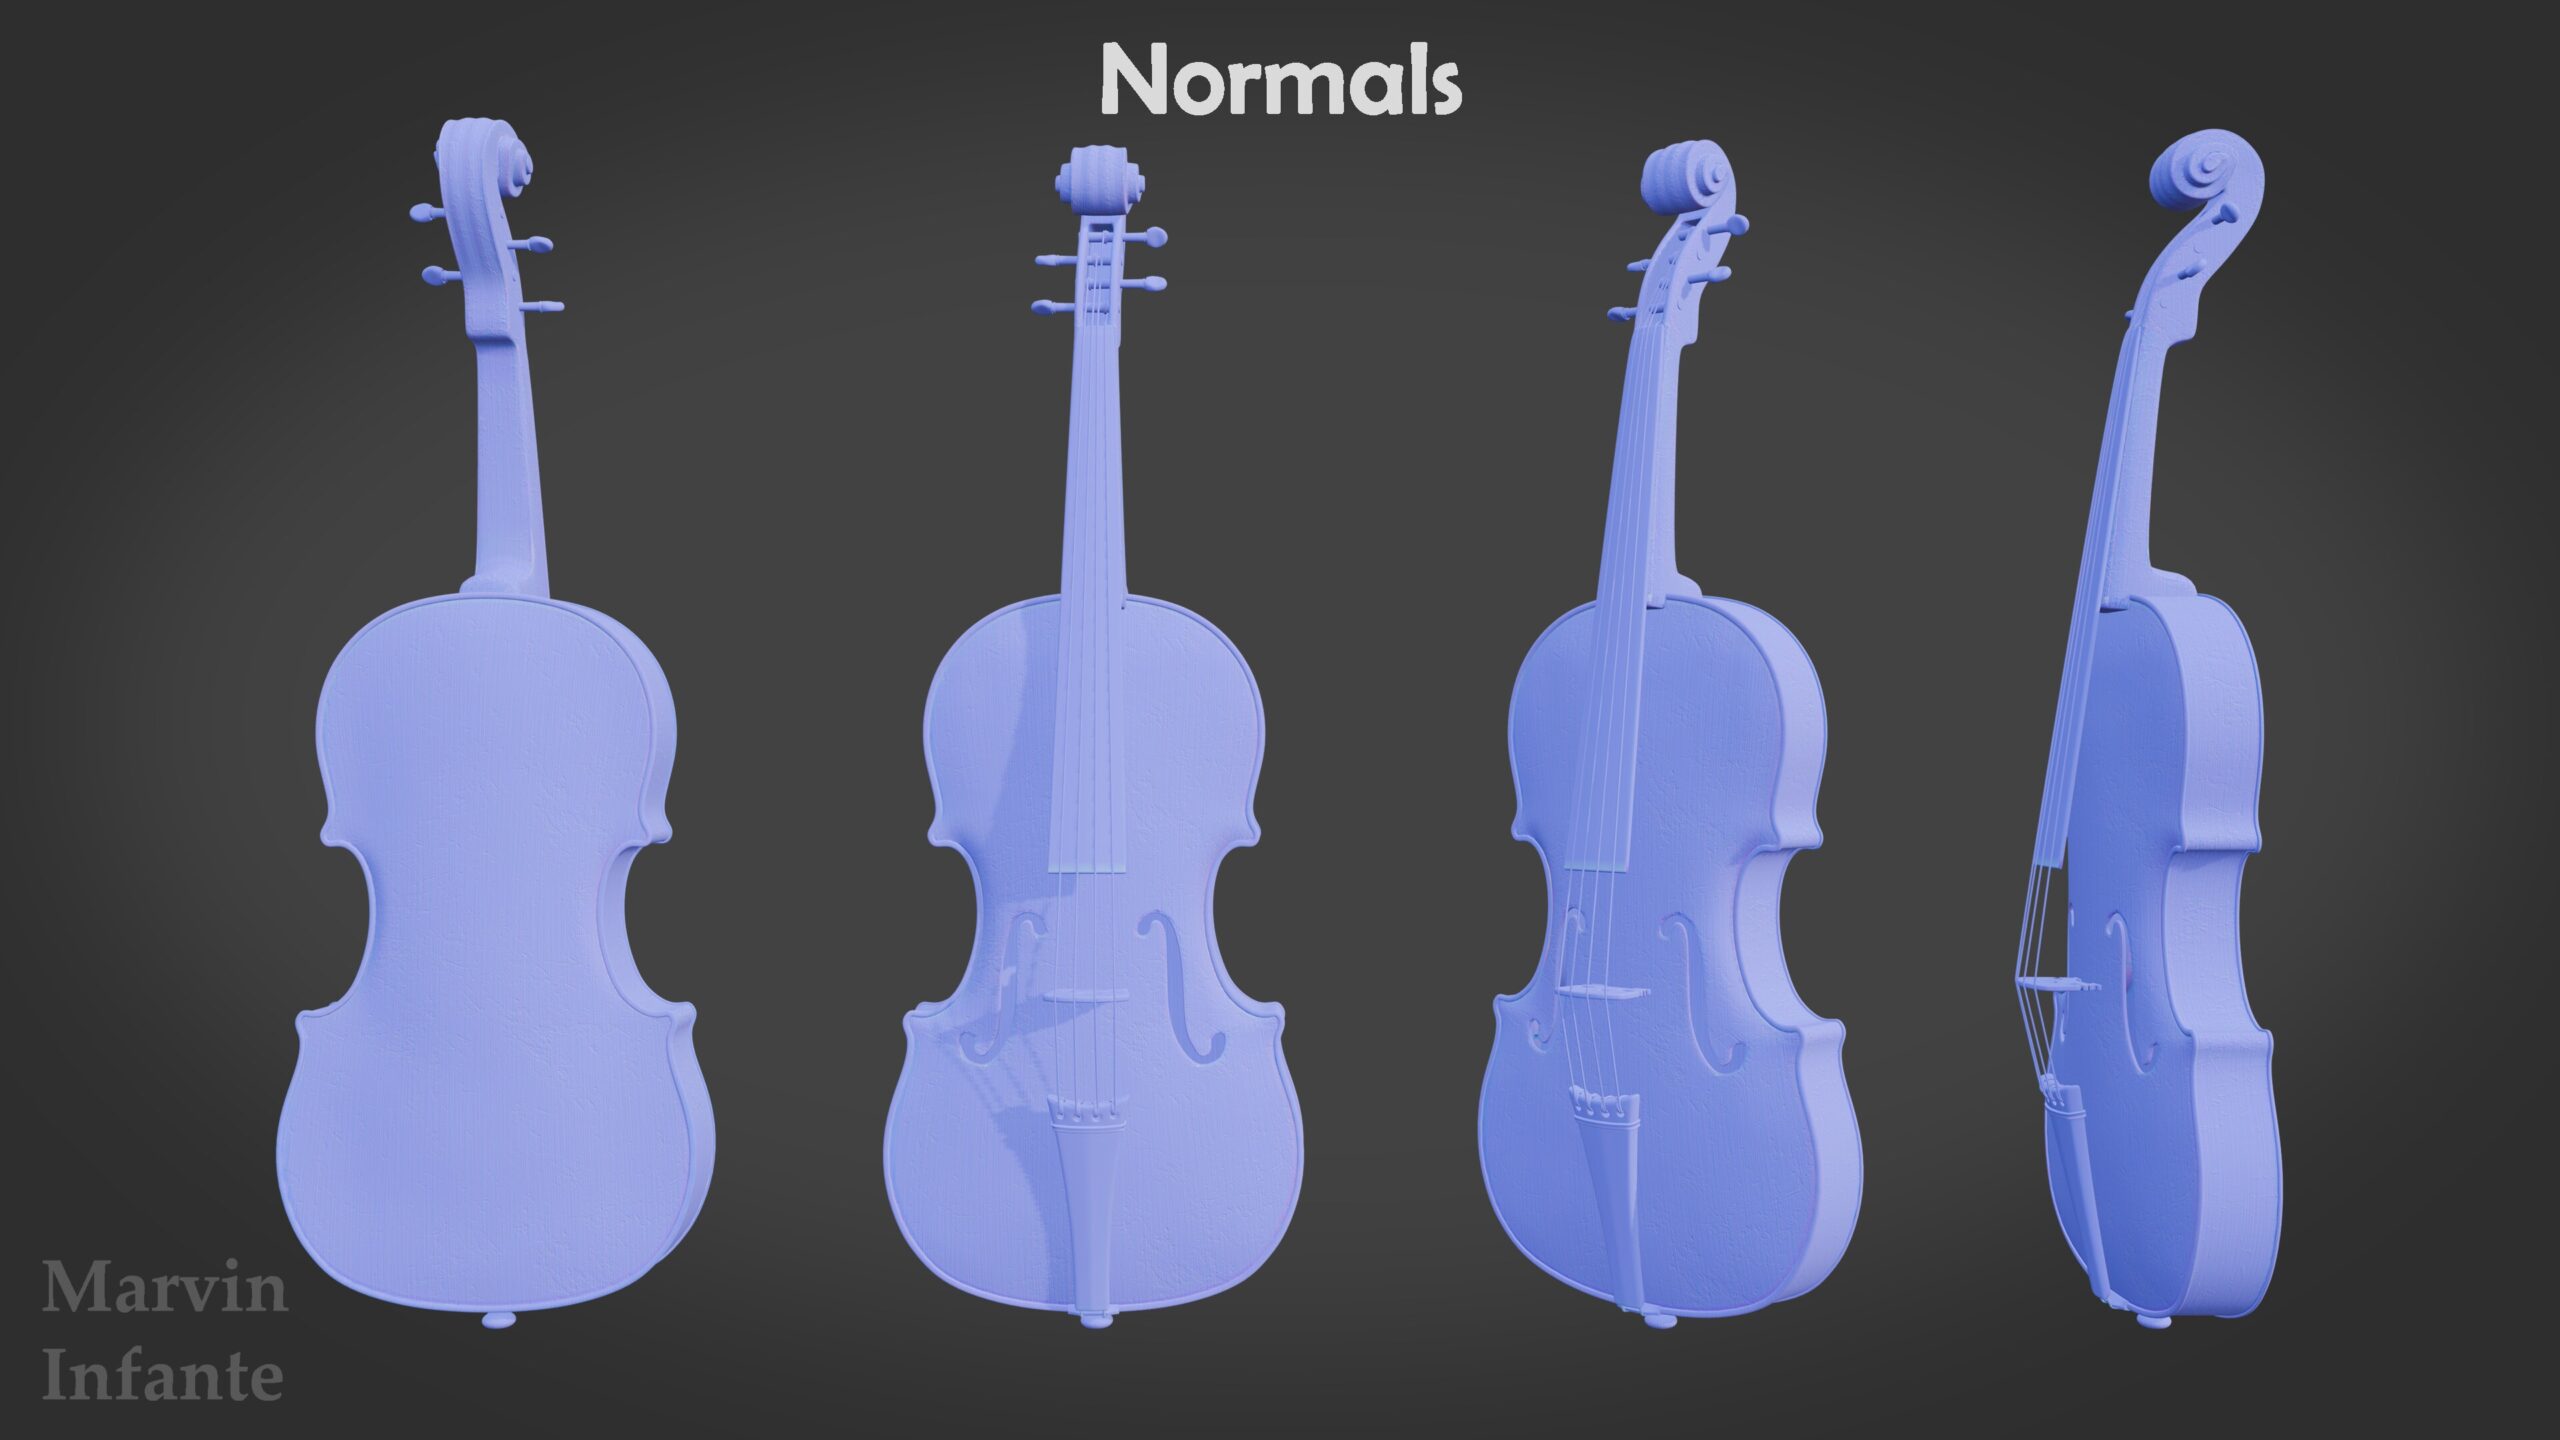
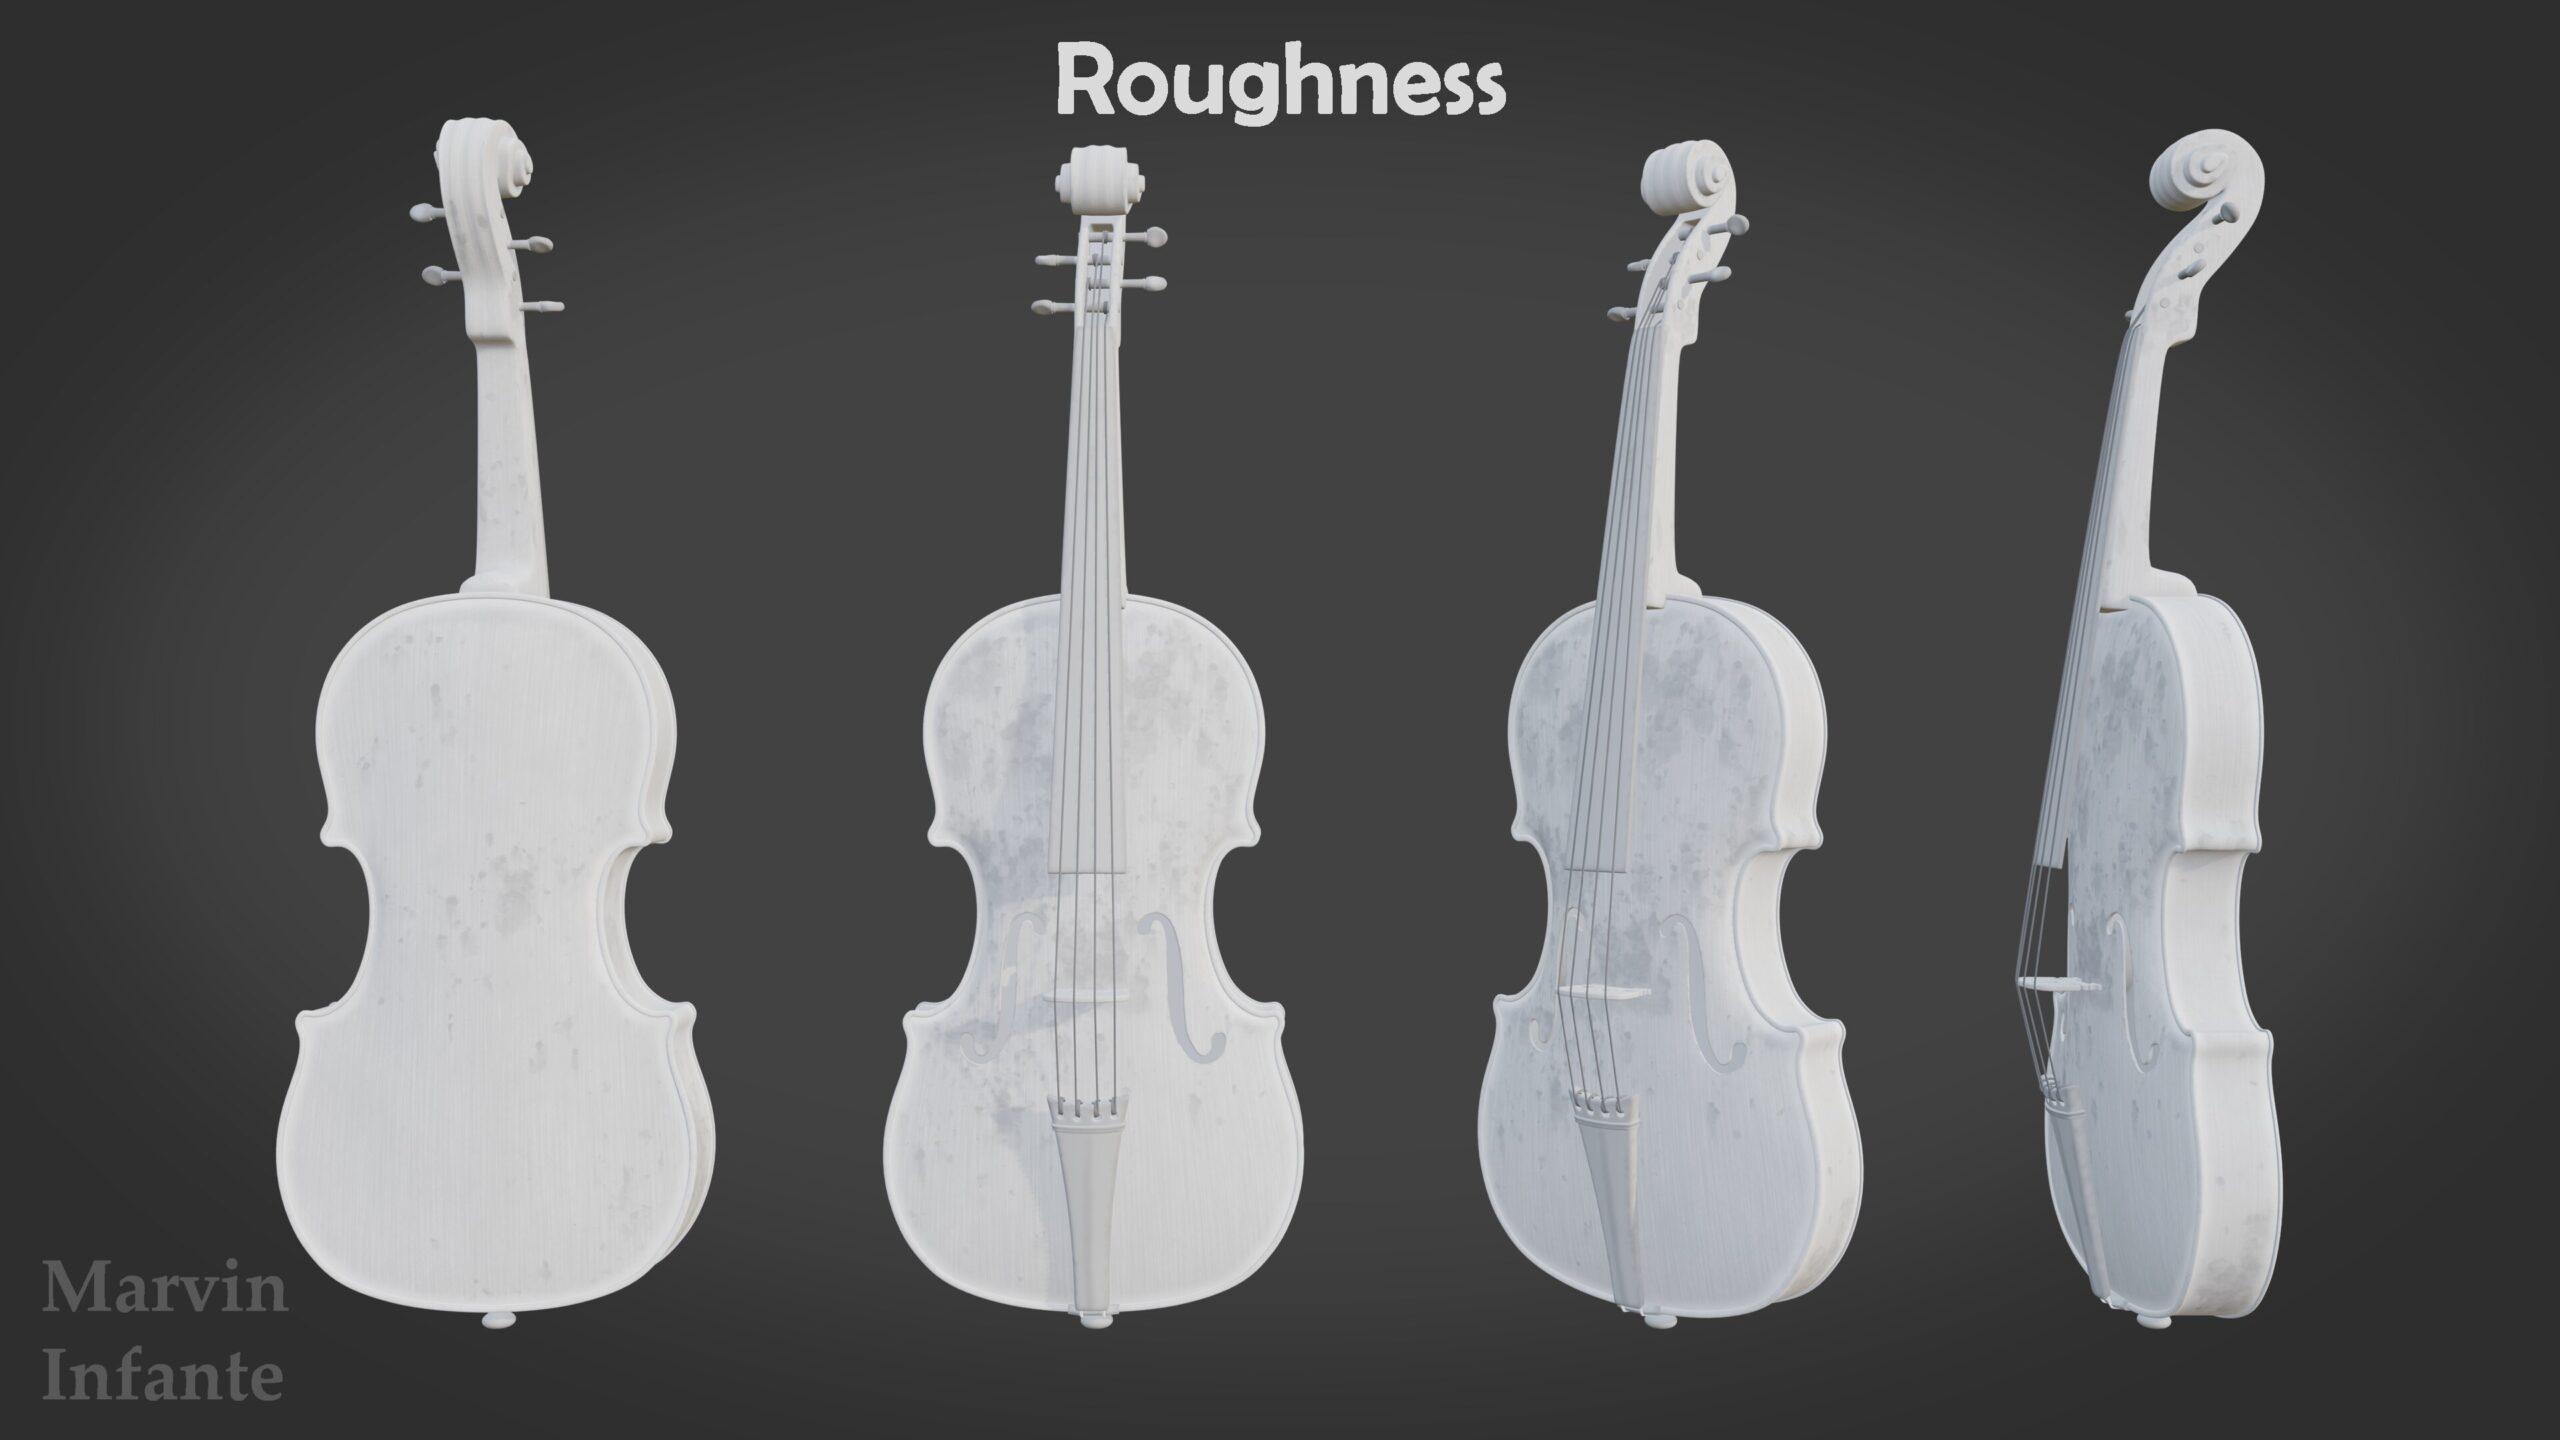
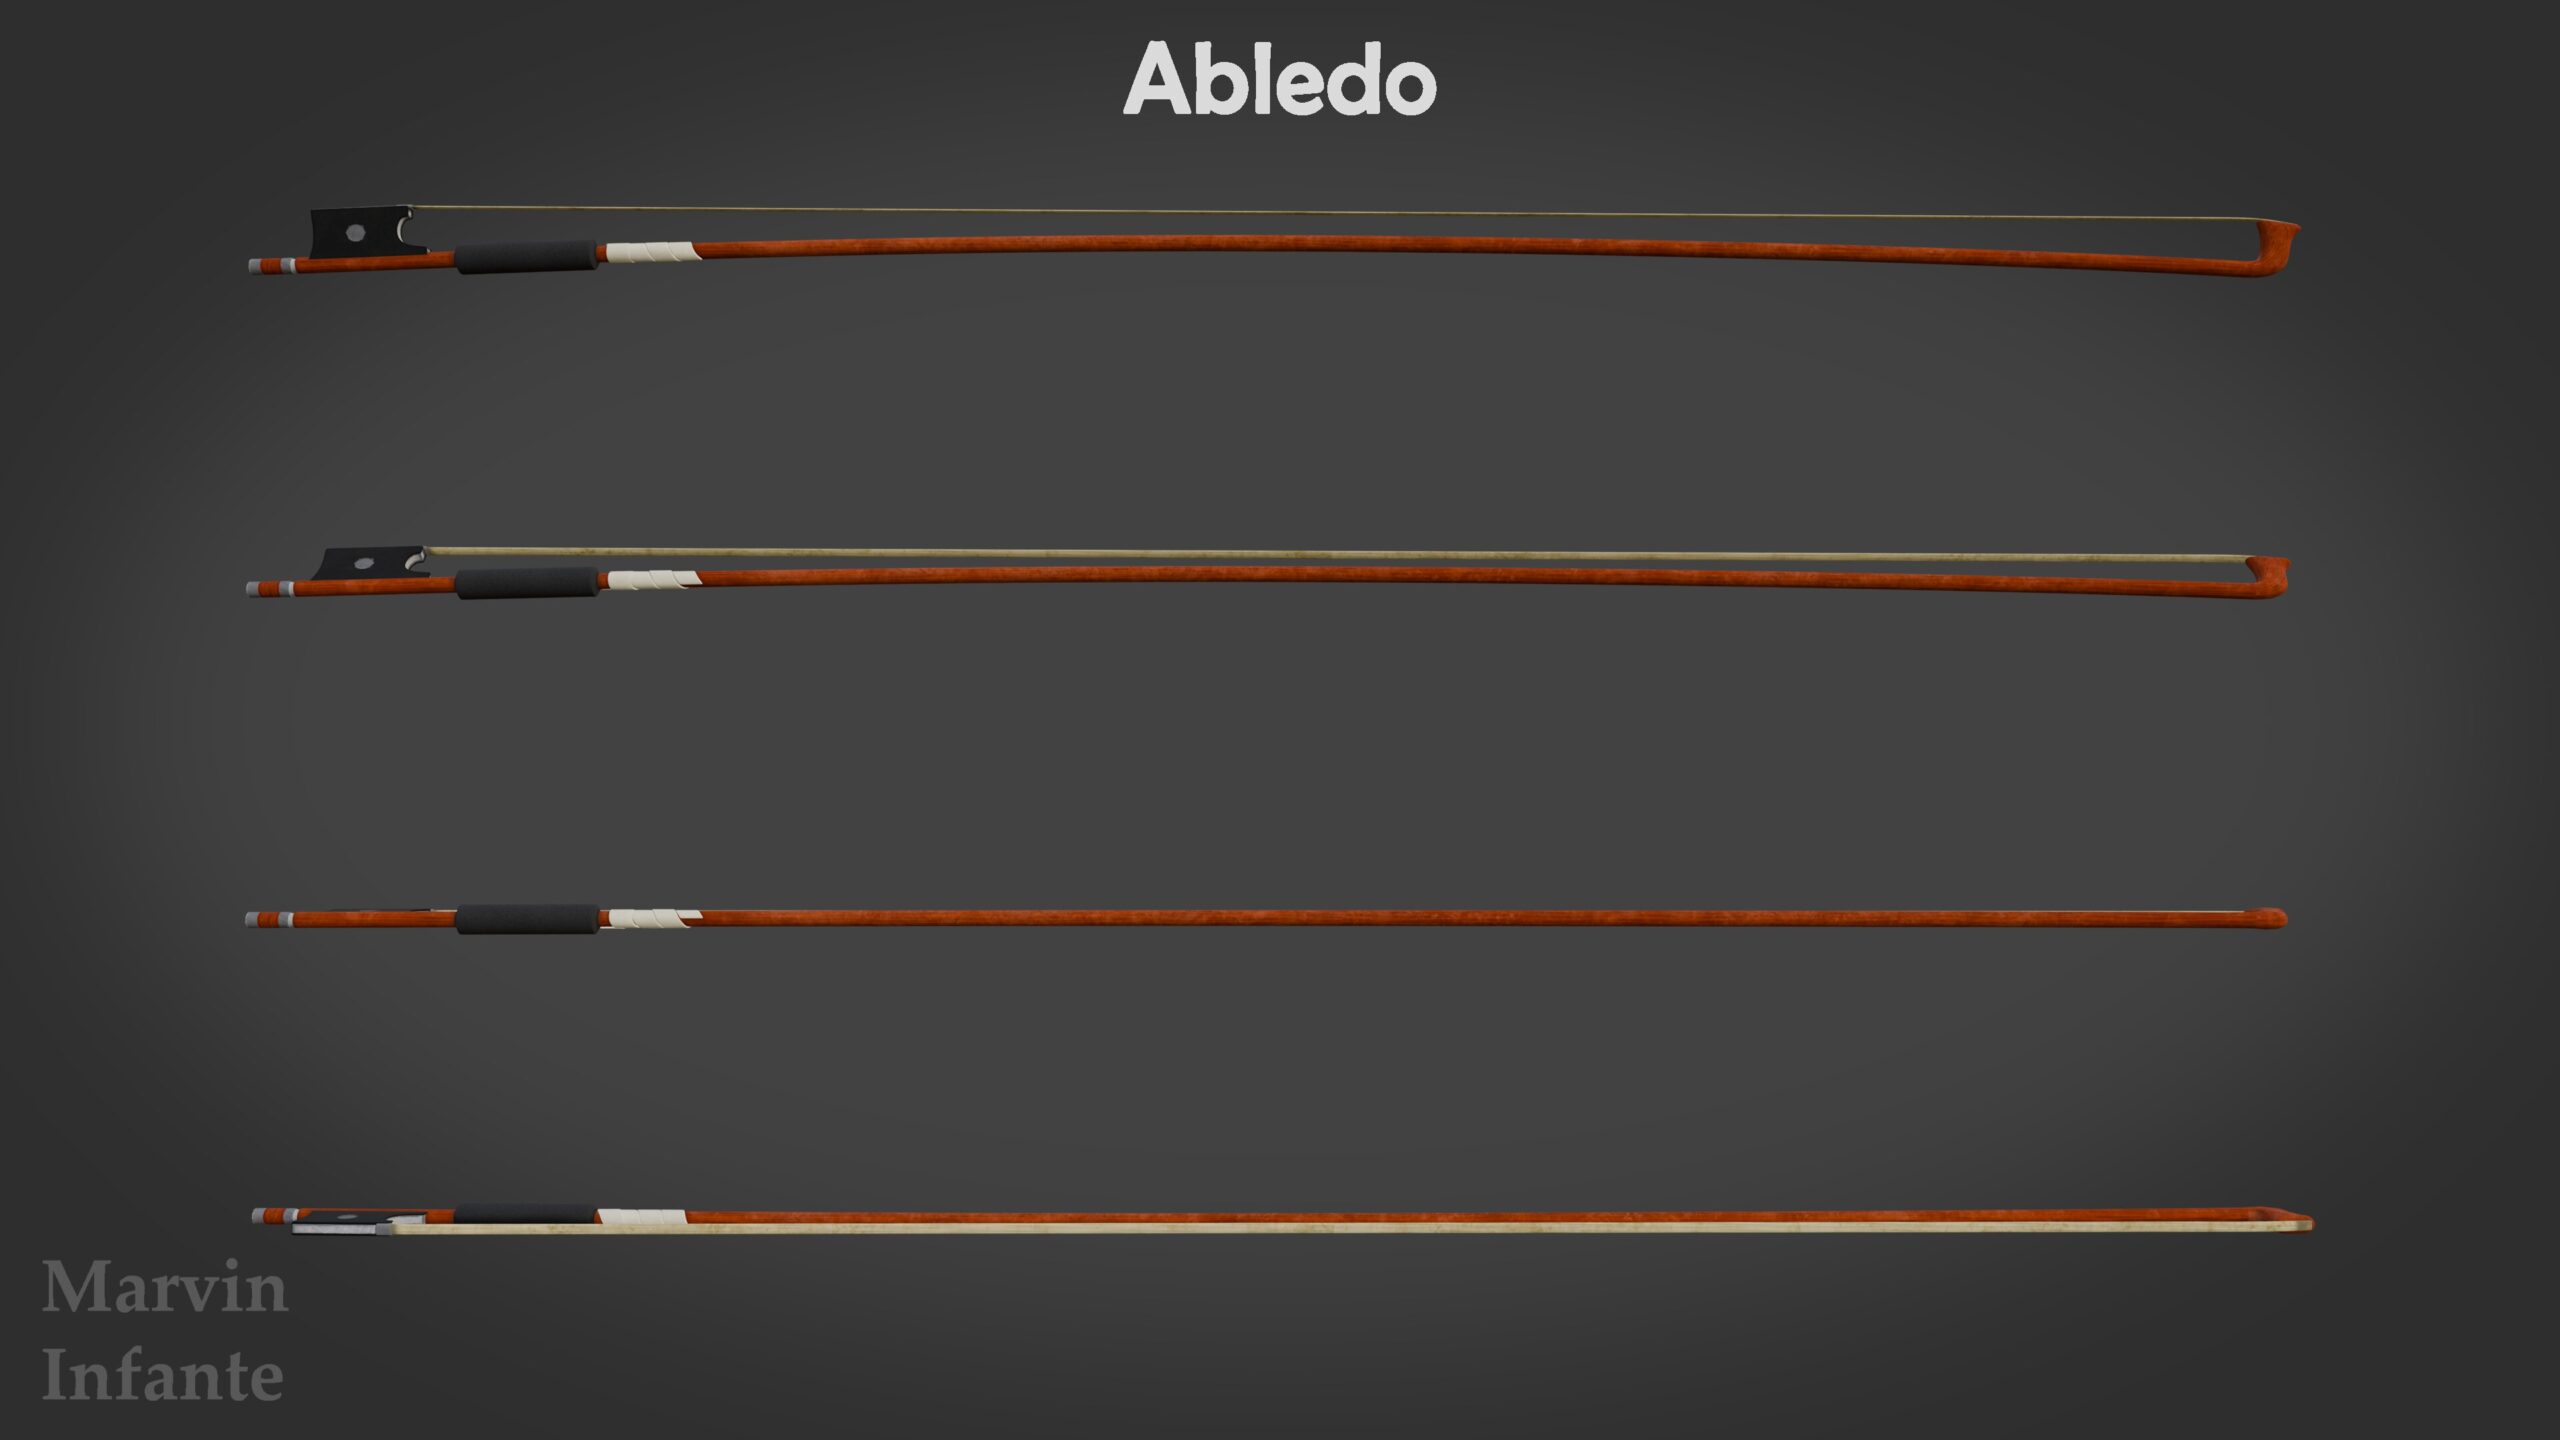
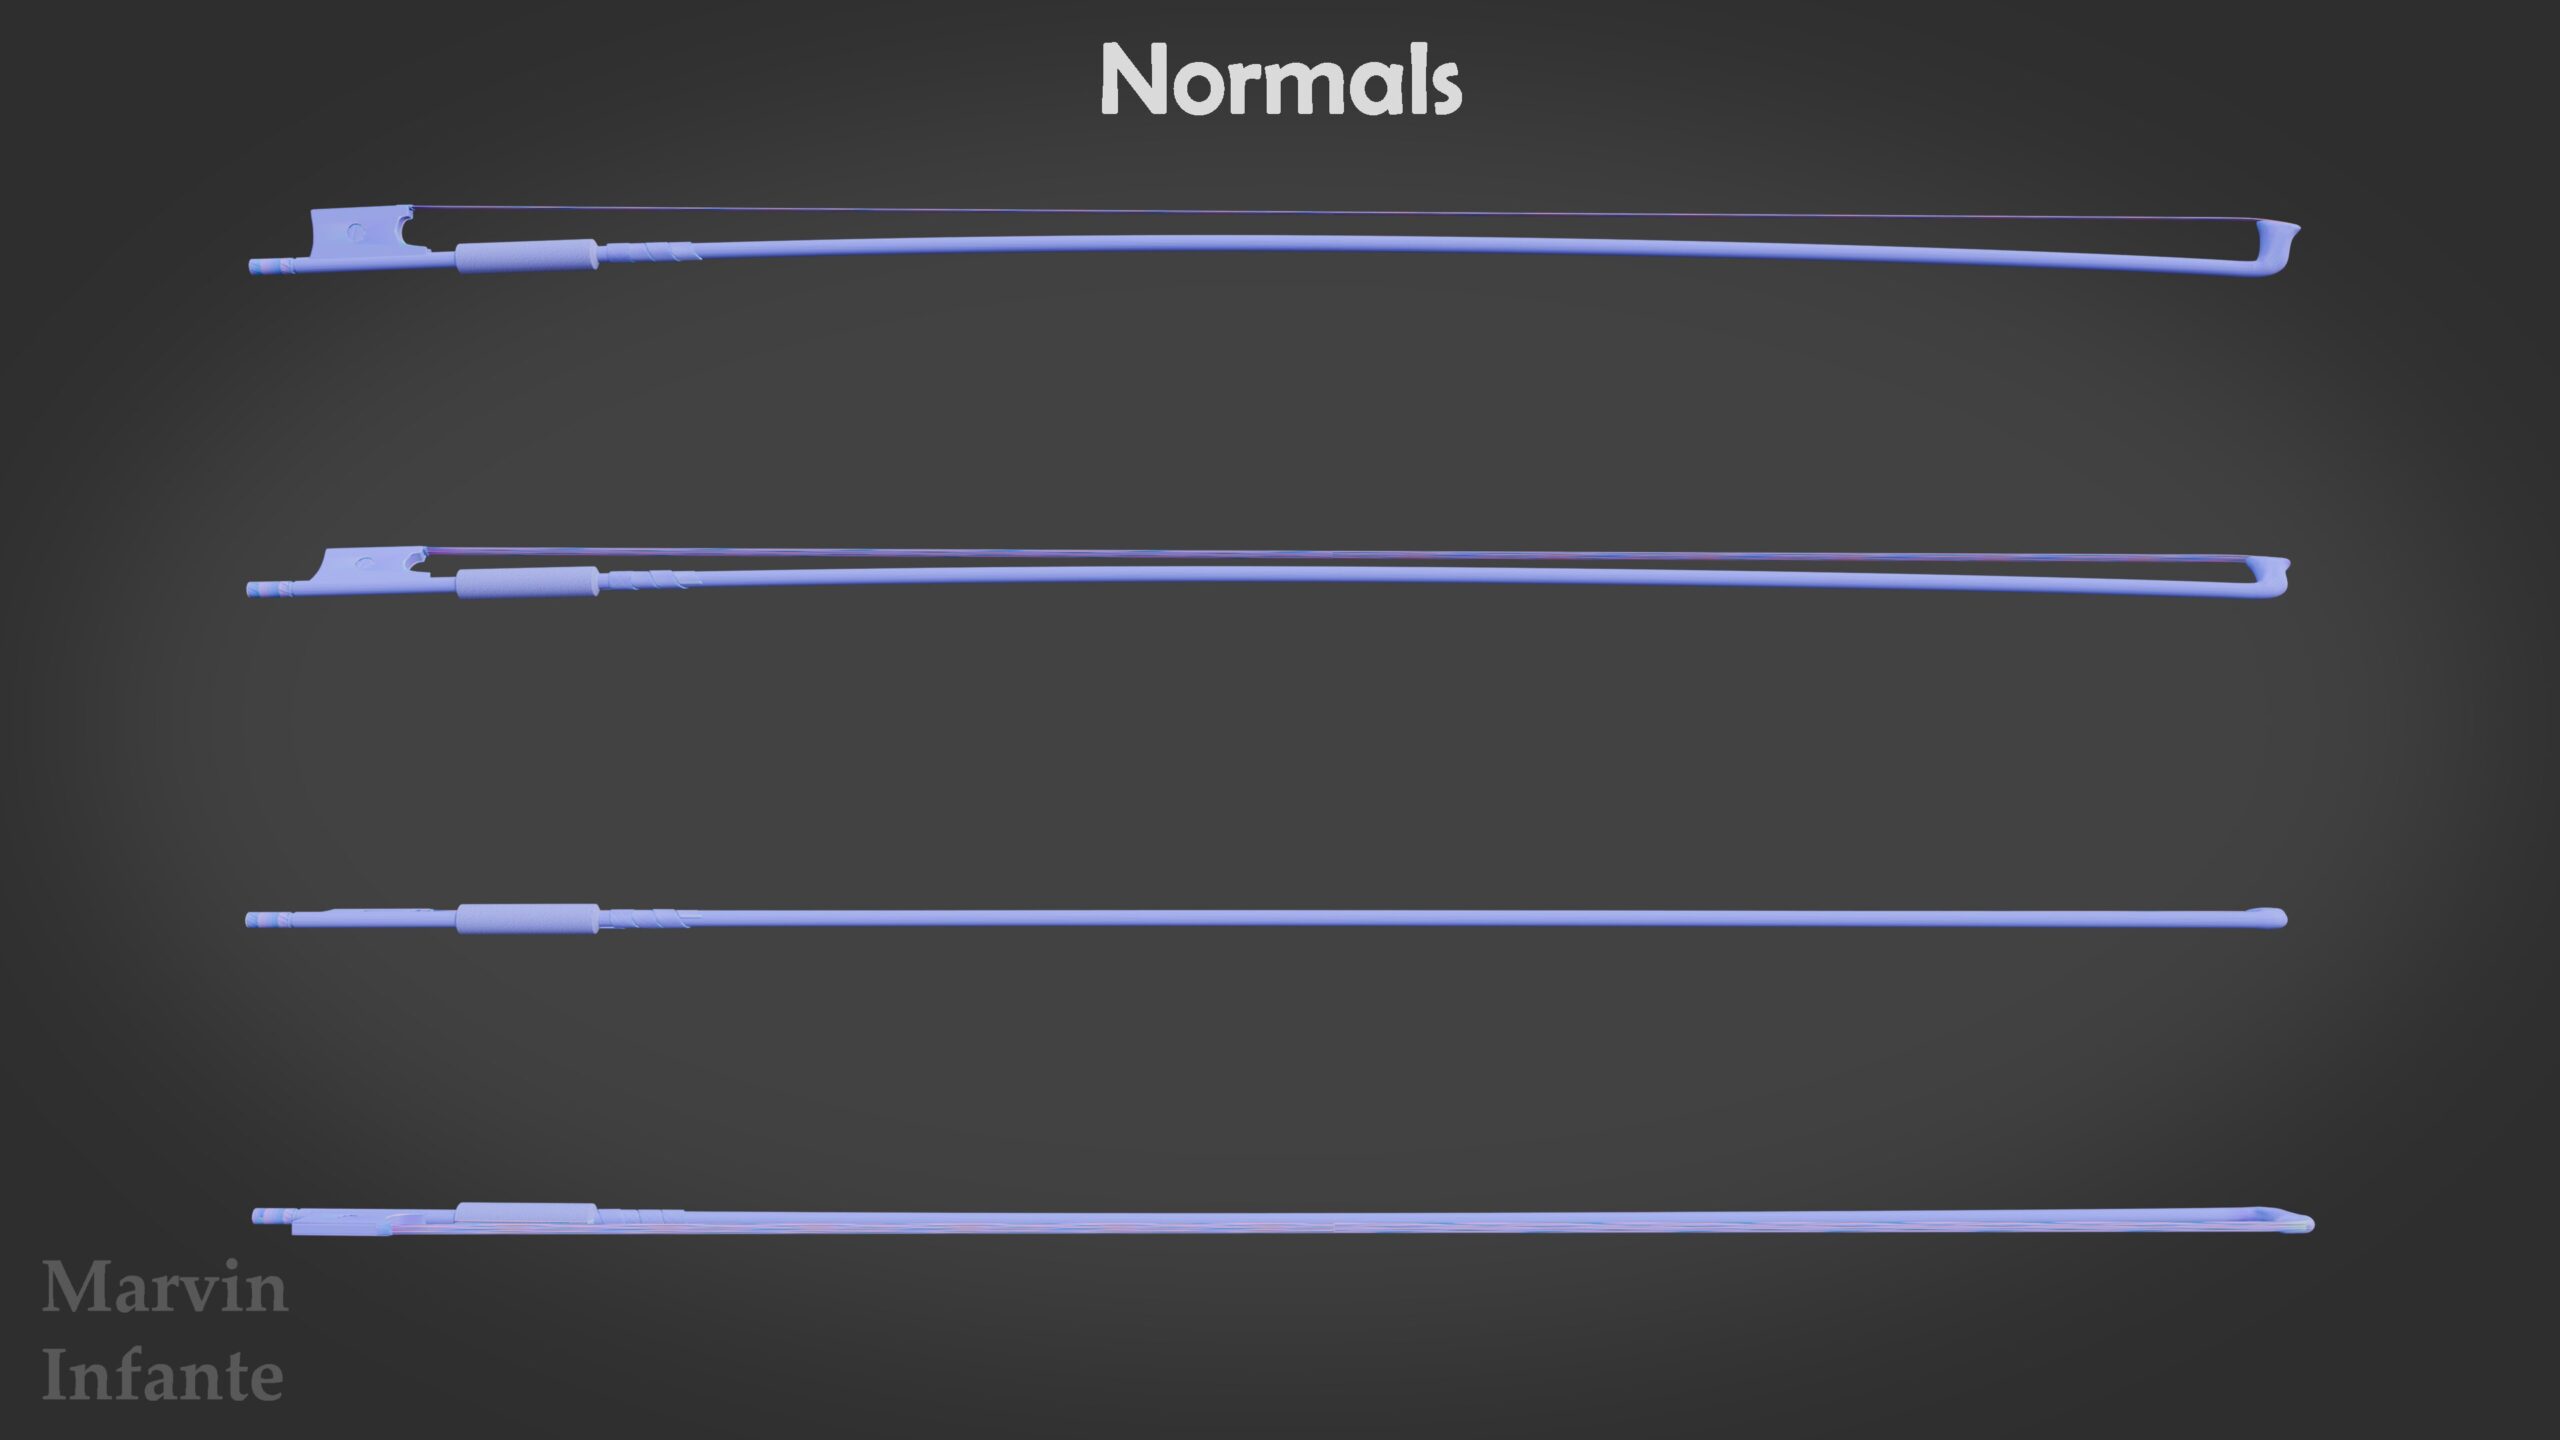
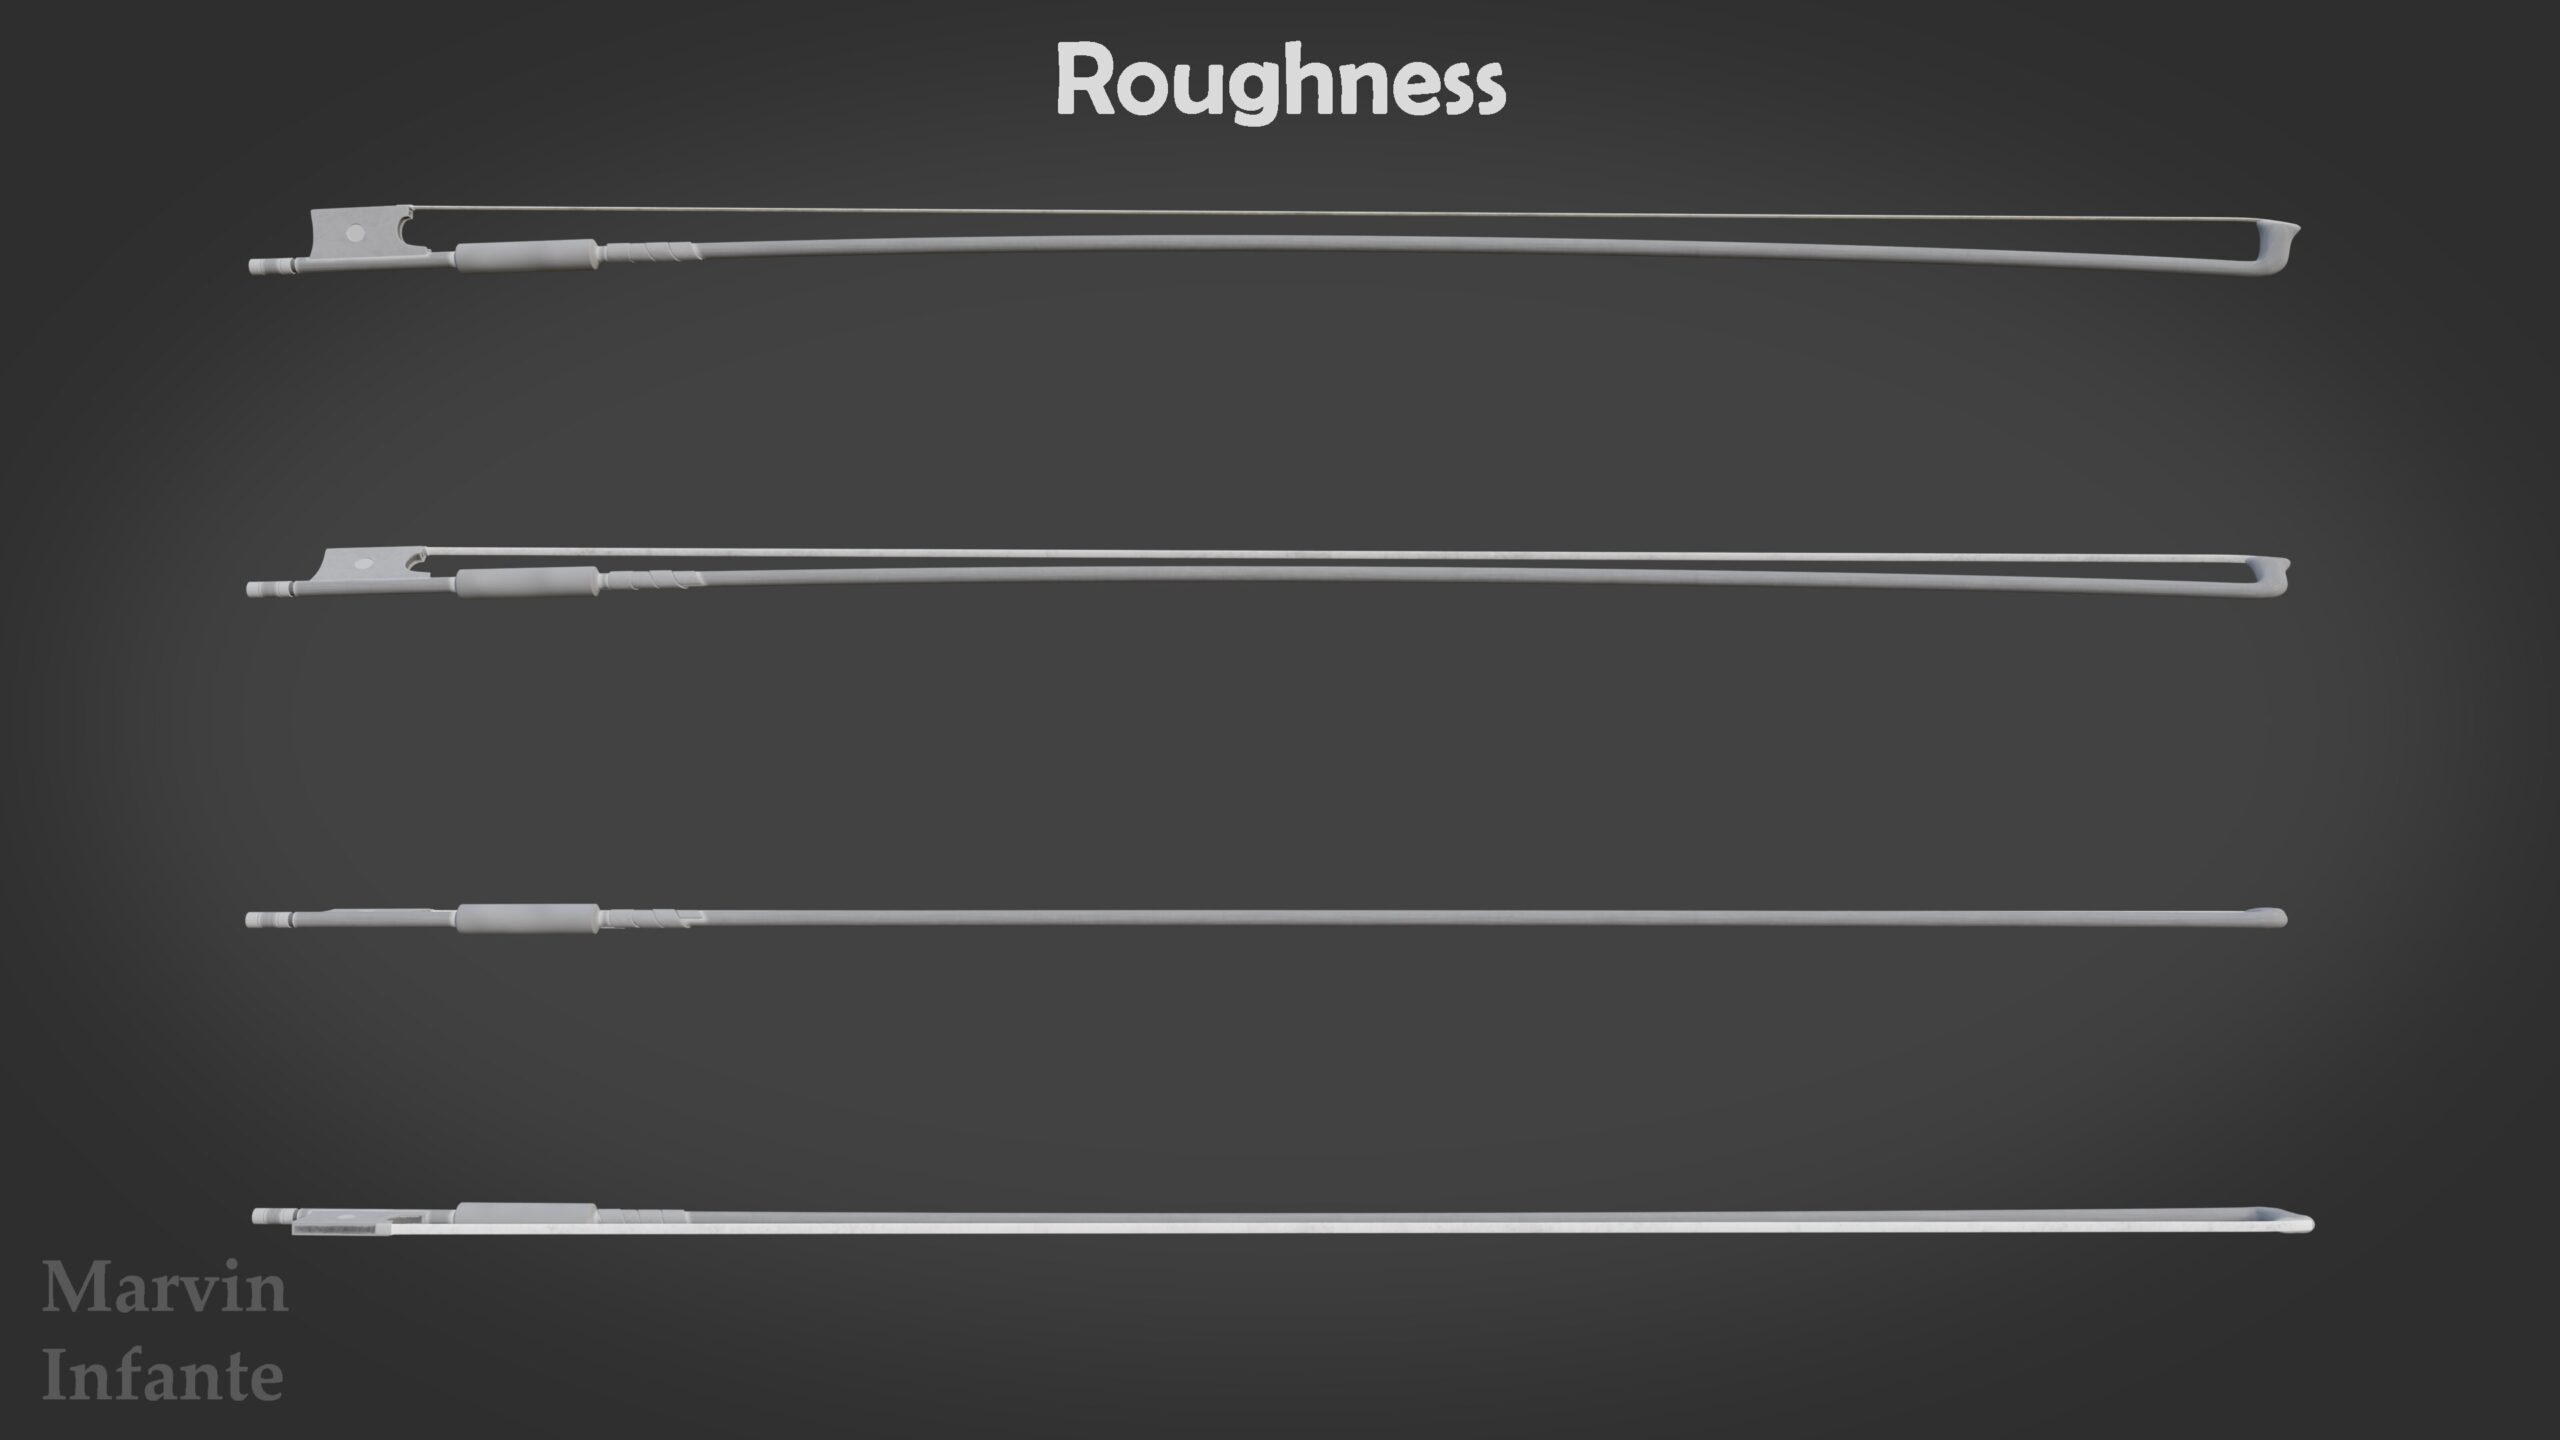
For this piece, I used Blender for the complete modeling process and UV unwrapping, while the texturing and material creation were done entirely in Substance 3D Painter.
My focus was on consolidating my foundational 3D modeling skills by capturing the curves and anatomy of a real instrument.
I wanted this project to be a deliberate step forward in my texturing abilities. While I’m happy with the overall result, I know there is still room to grow, especially regarding realistic surface wear and the precise anatomy of the instrument.
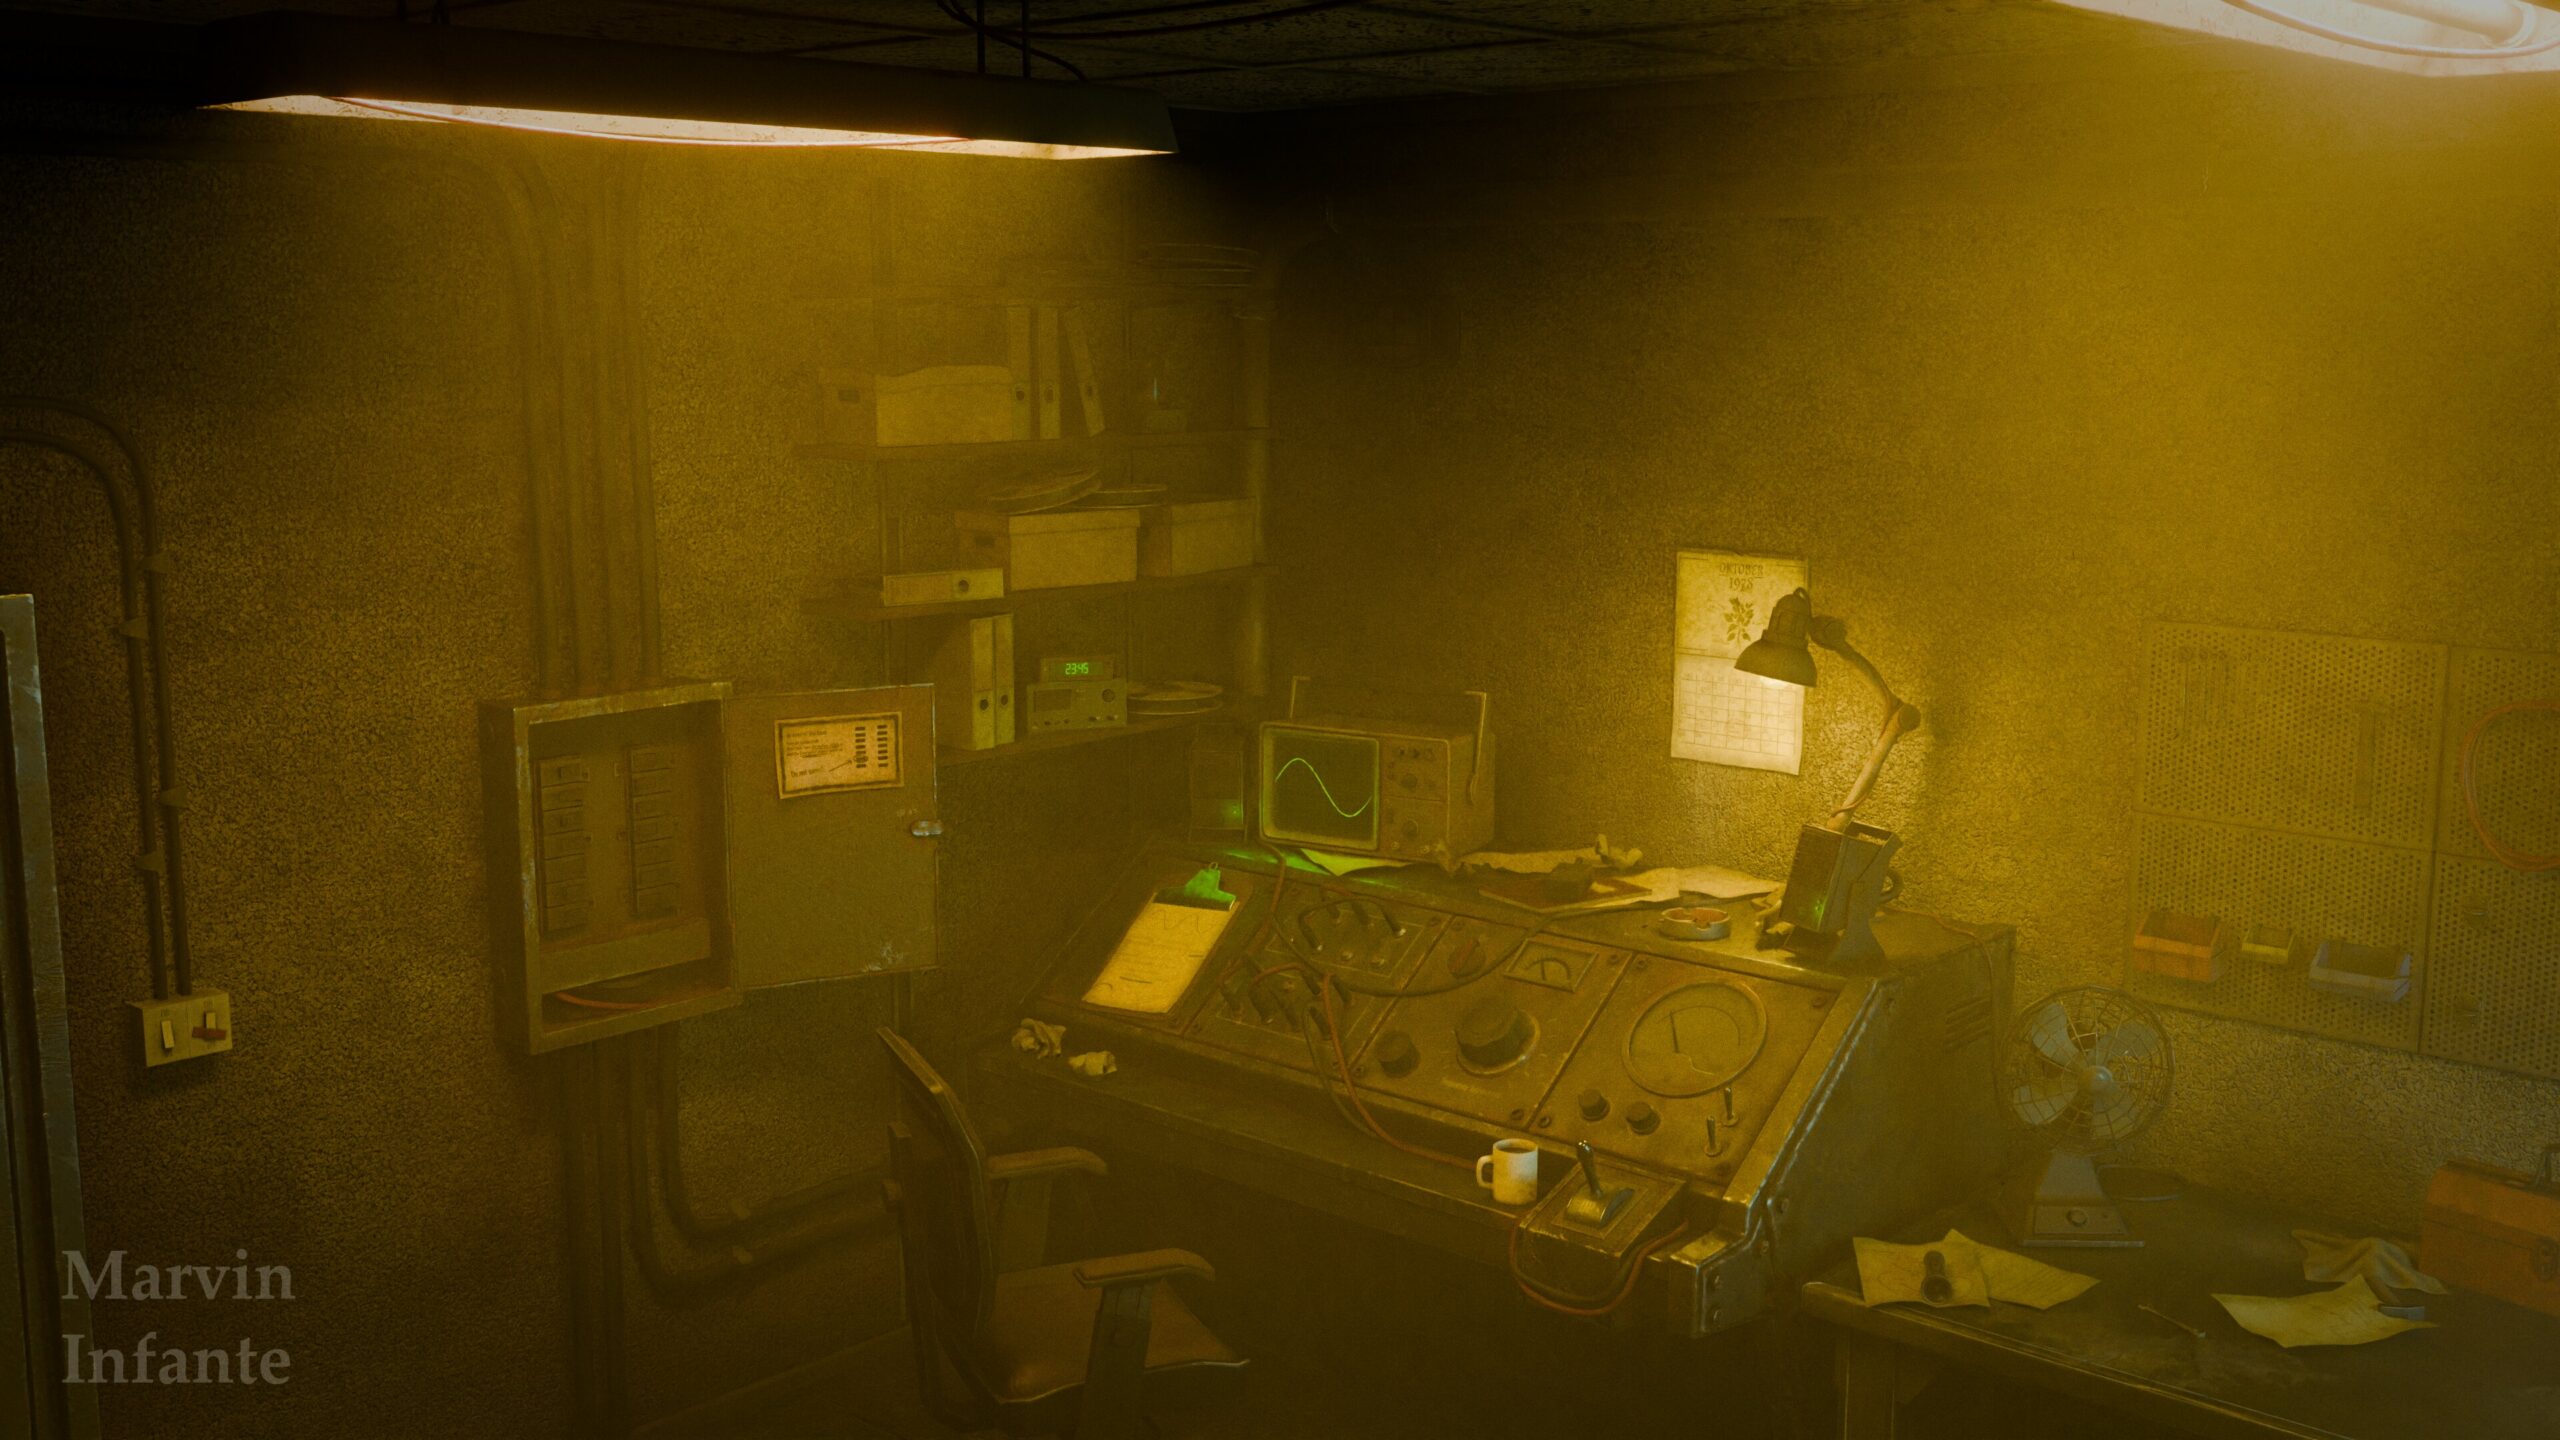
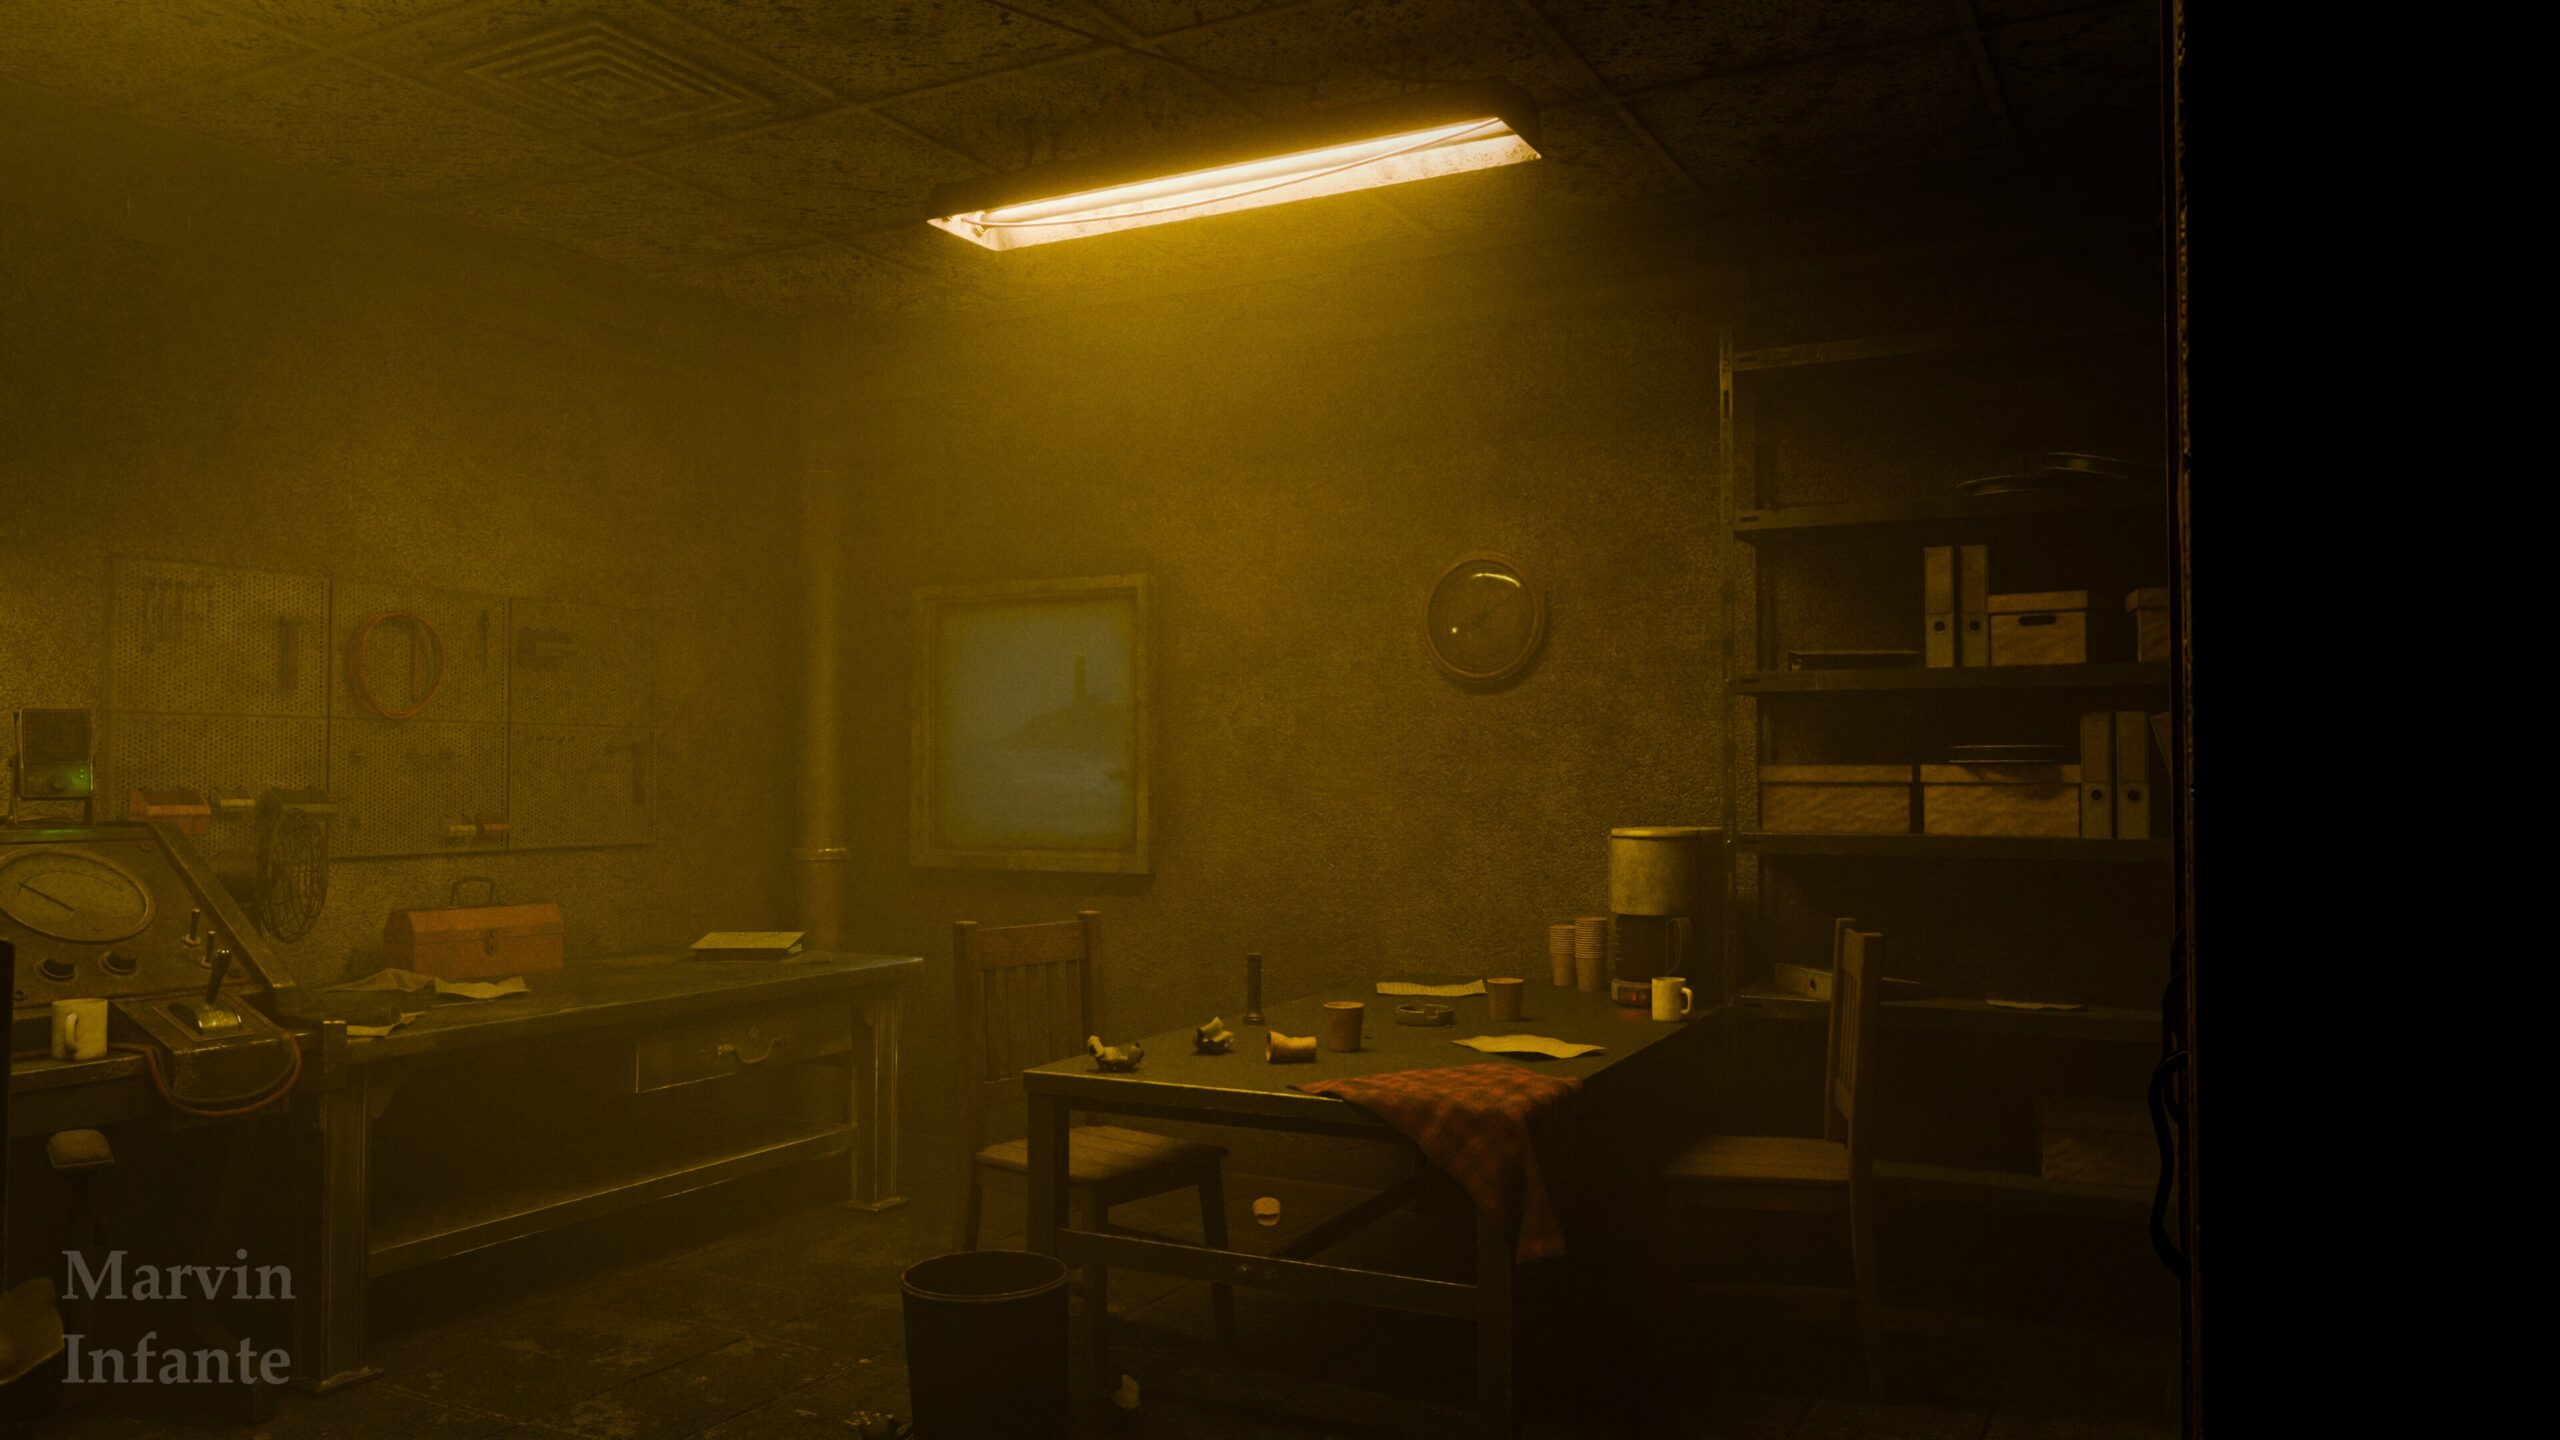
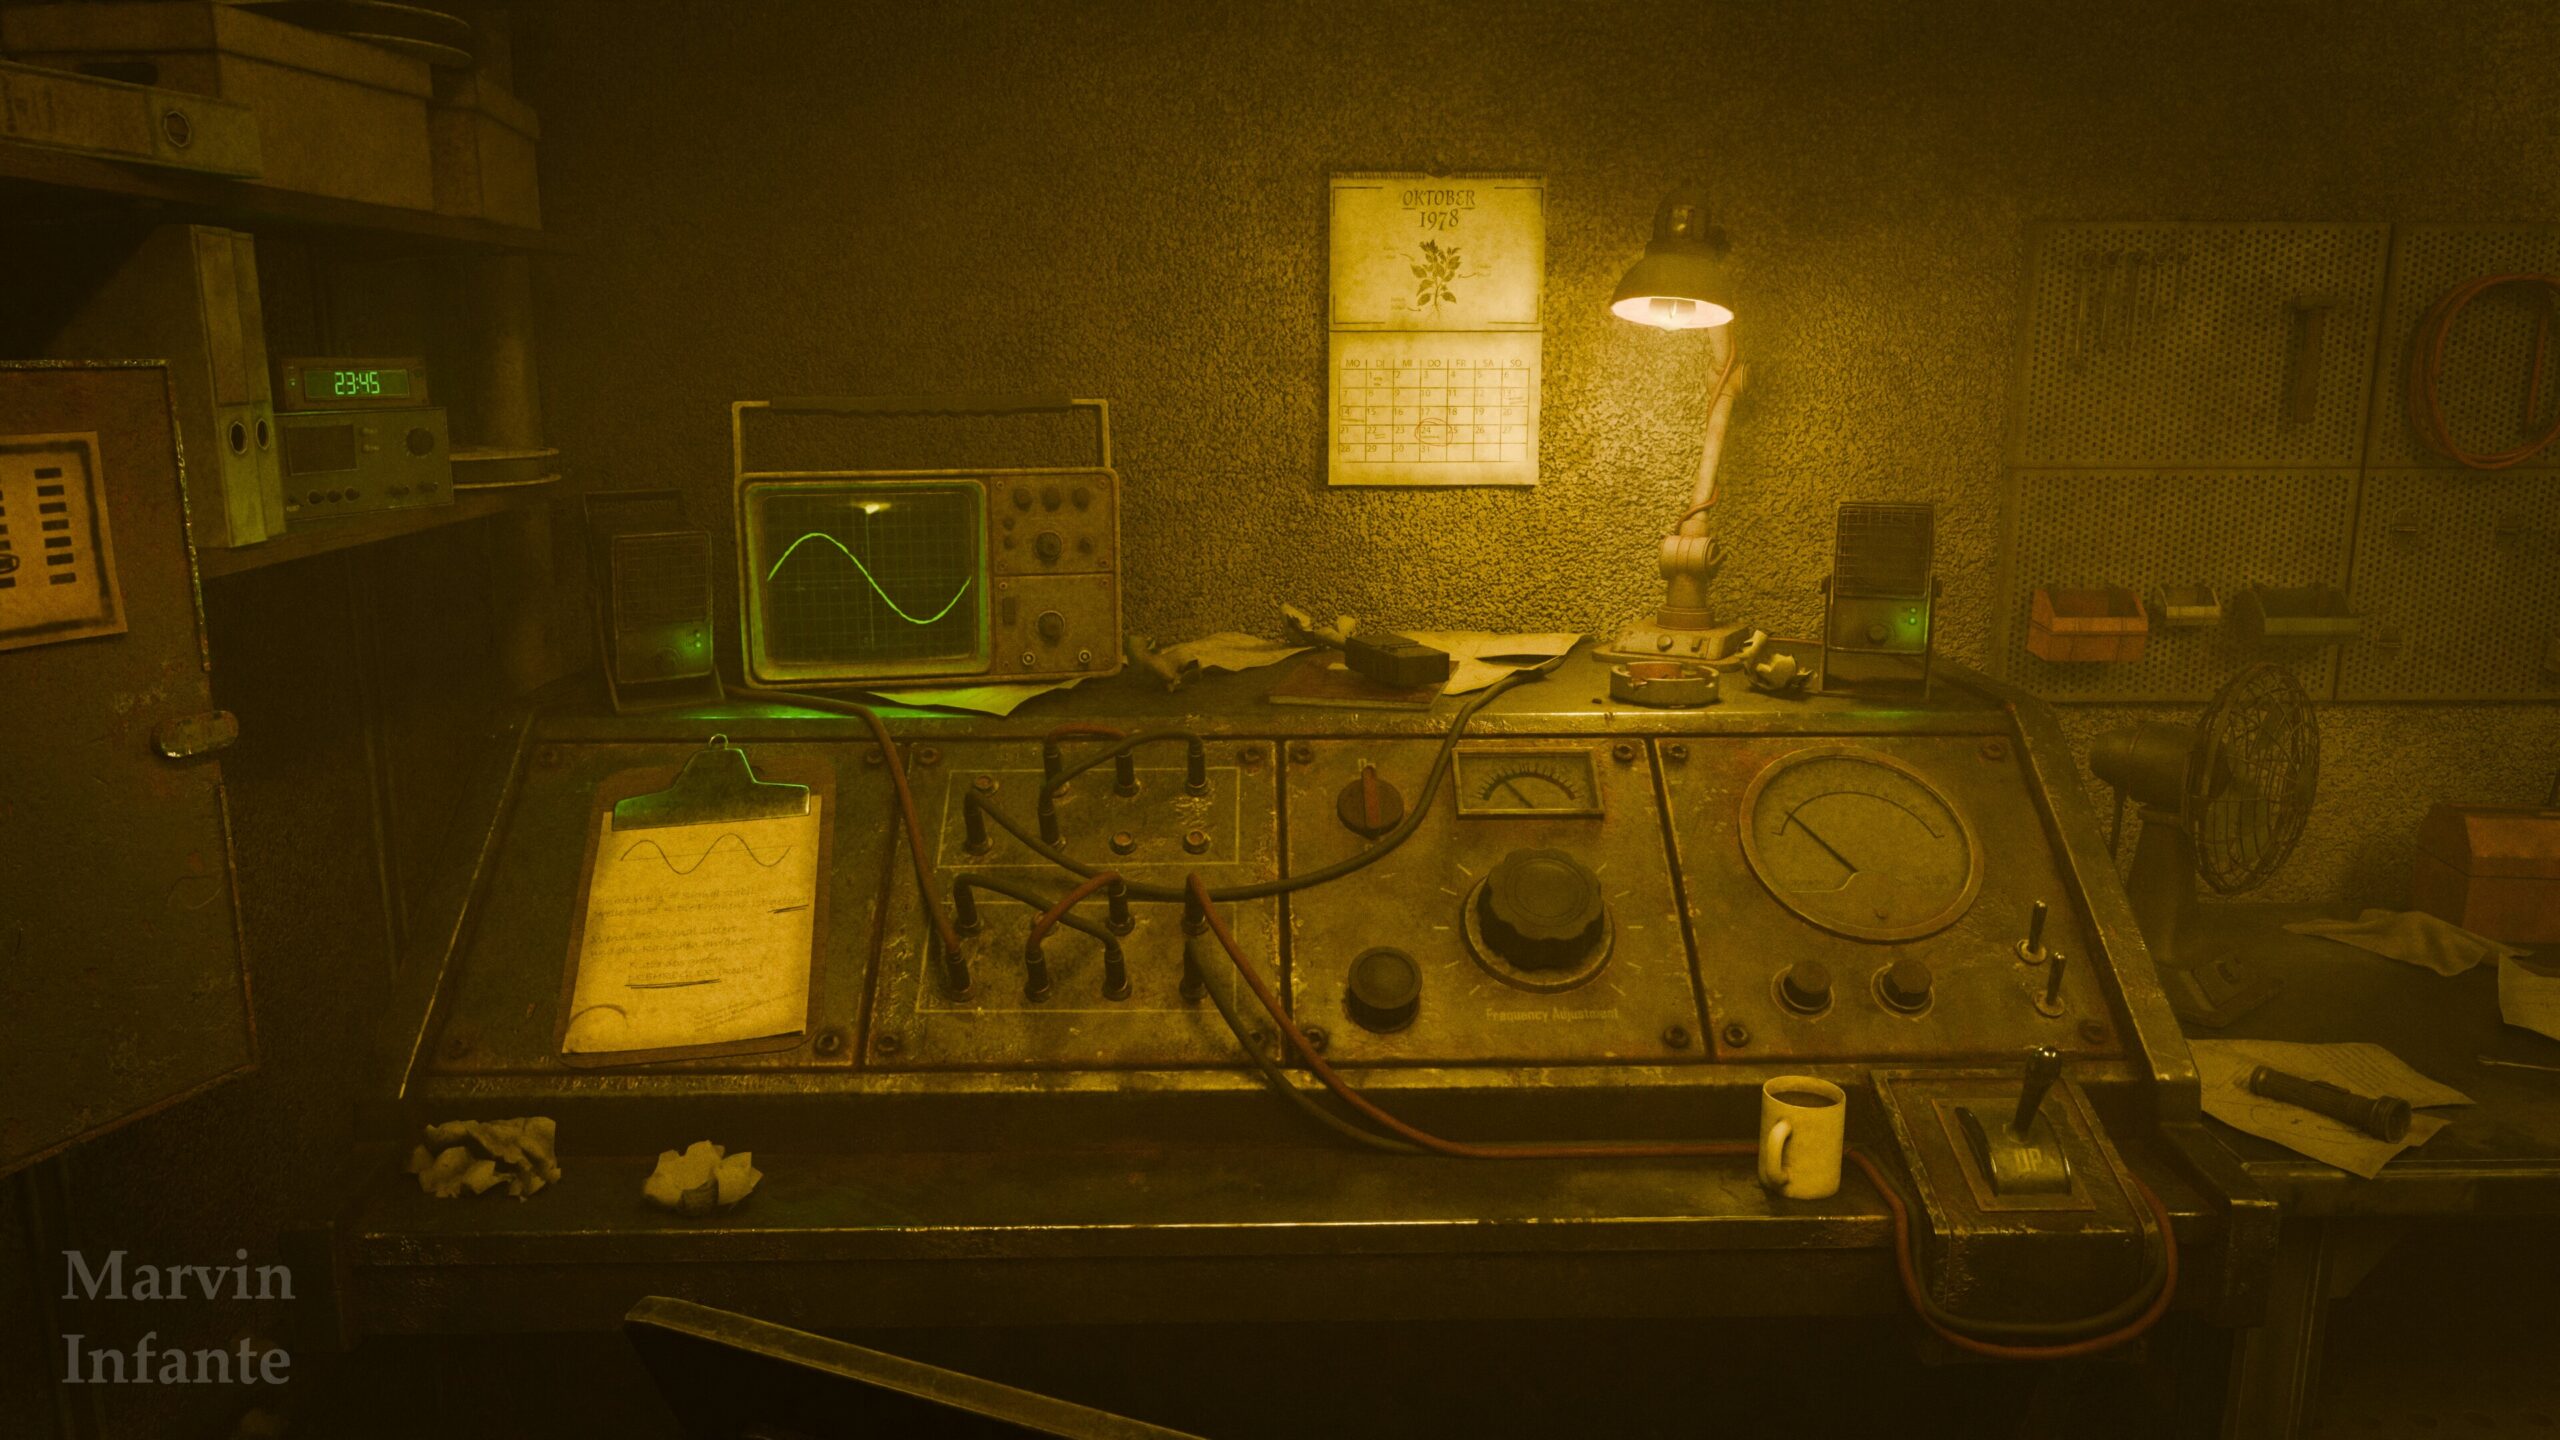
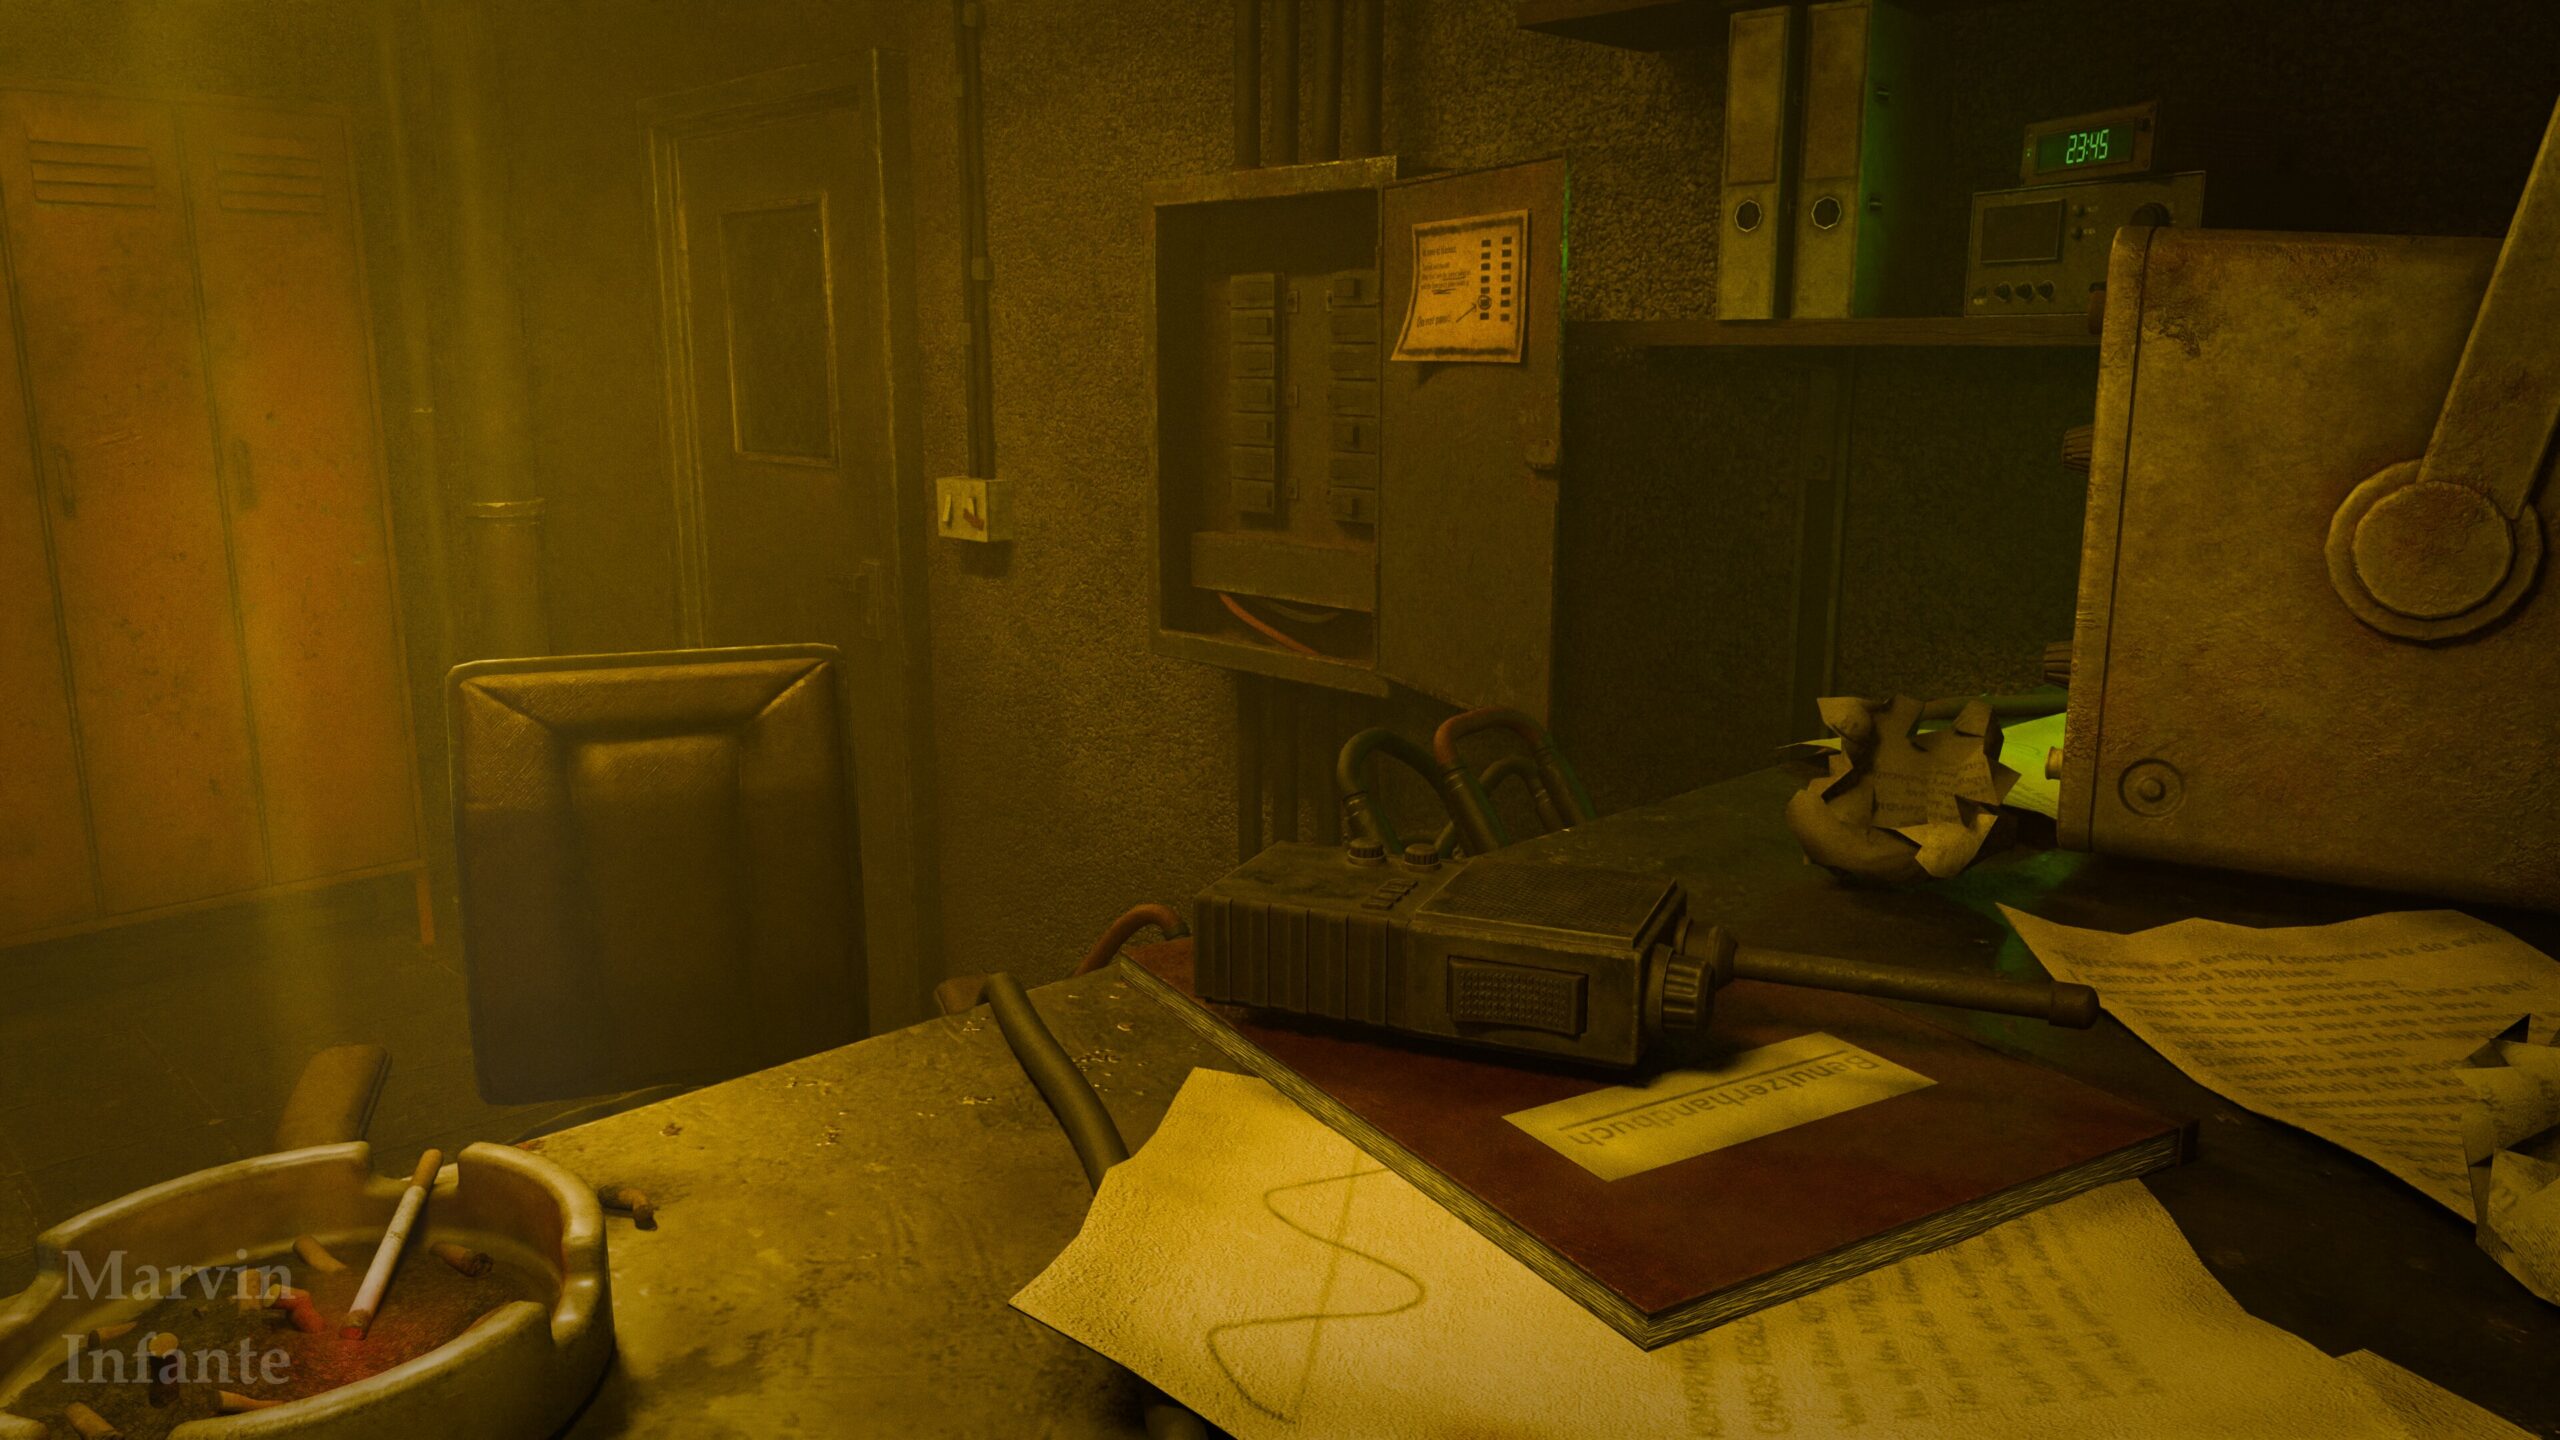
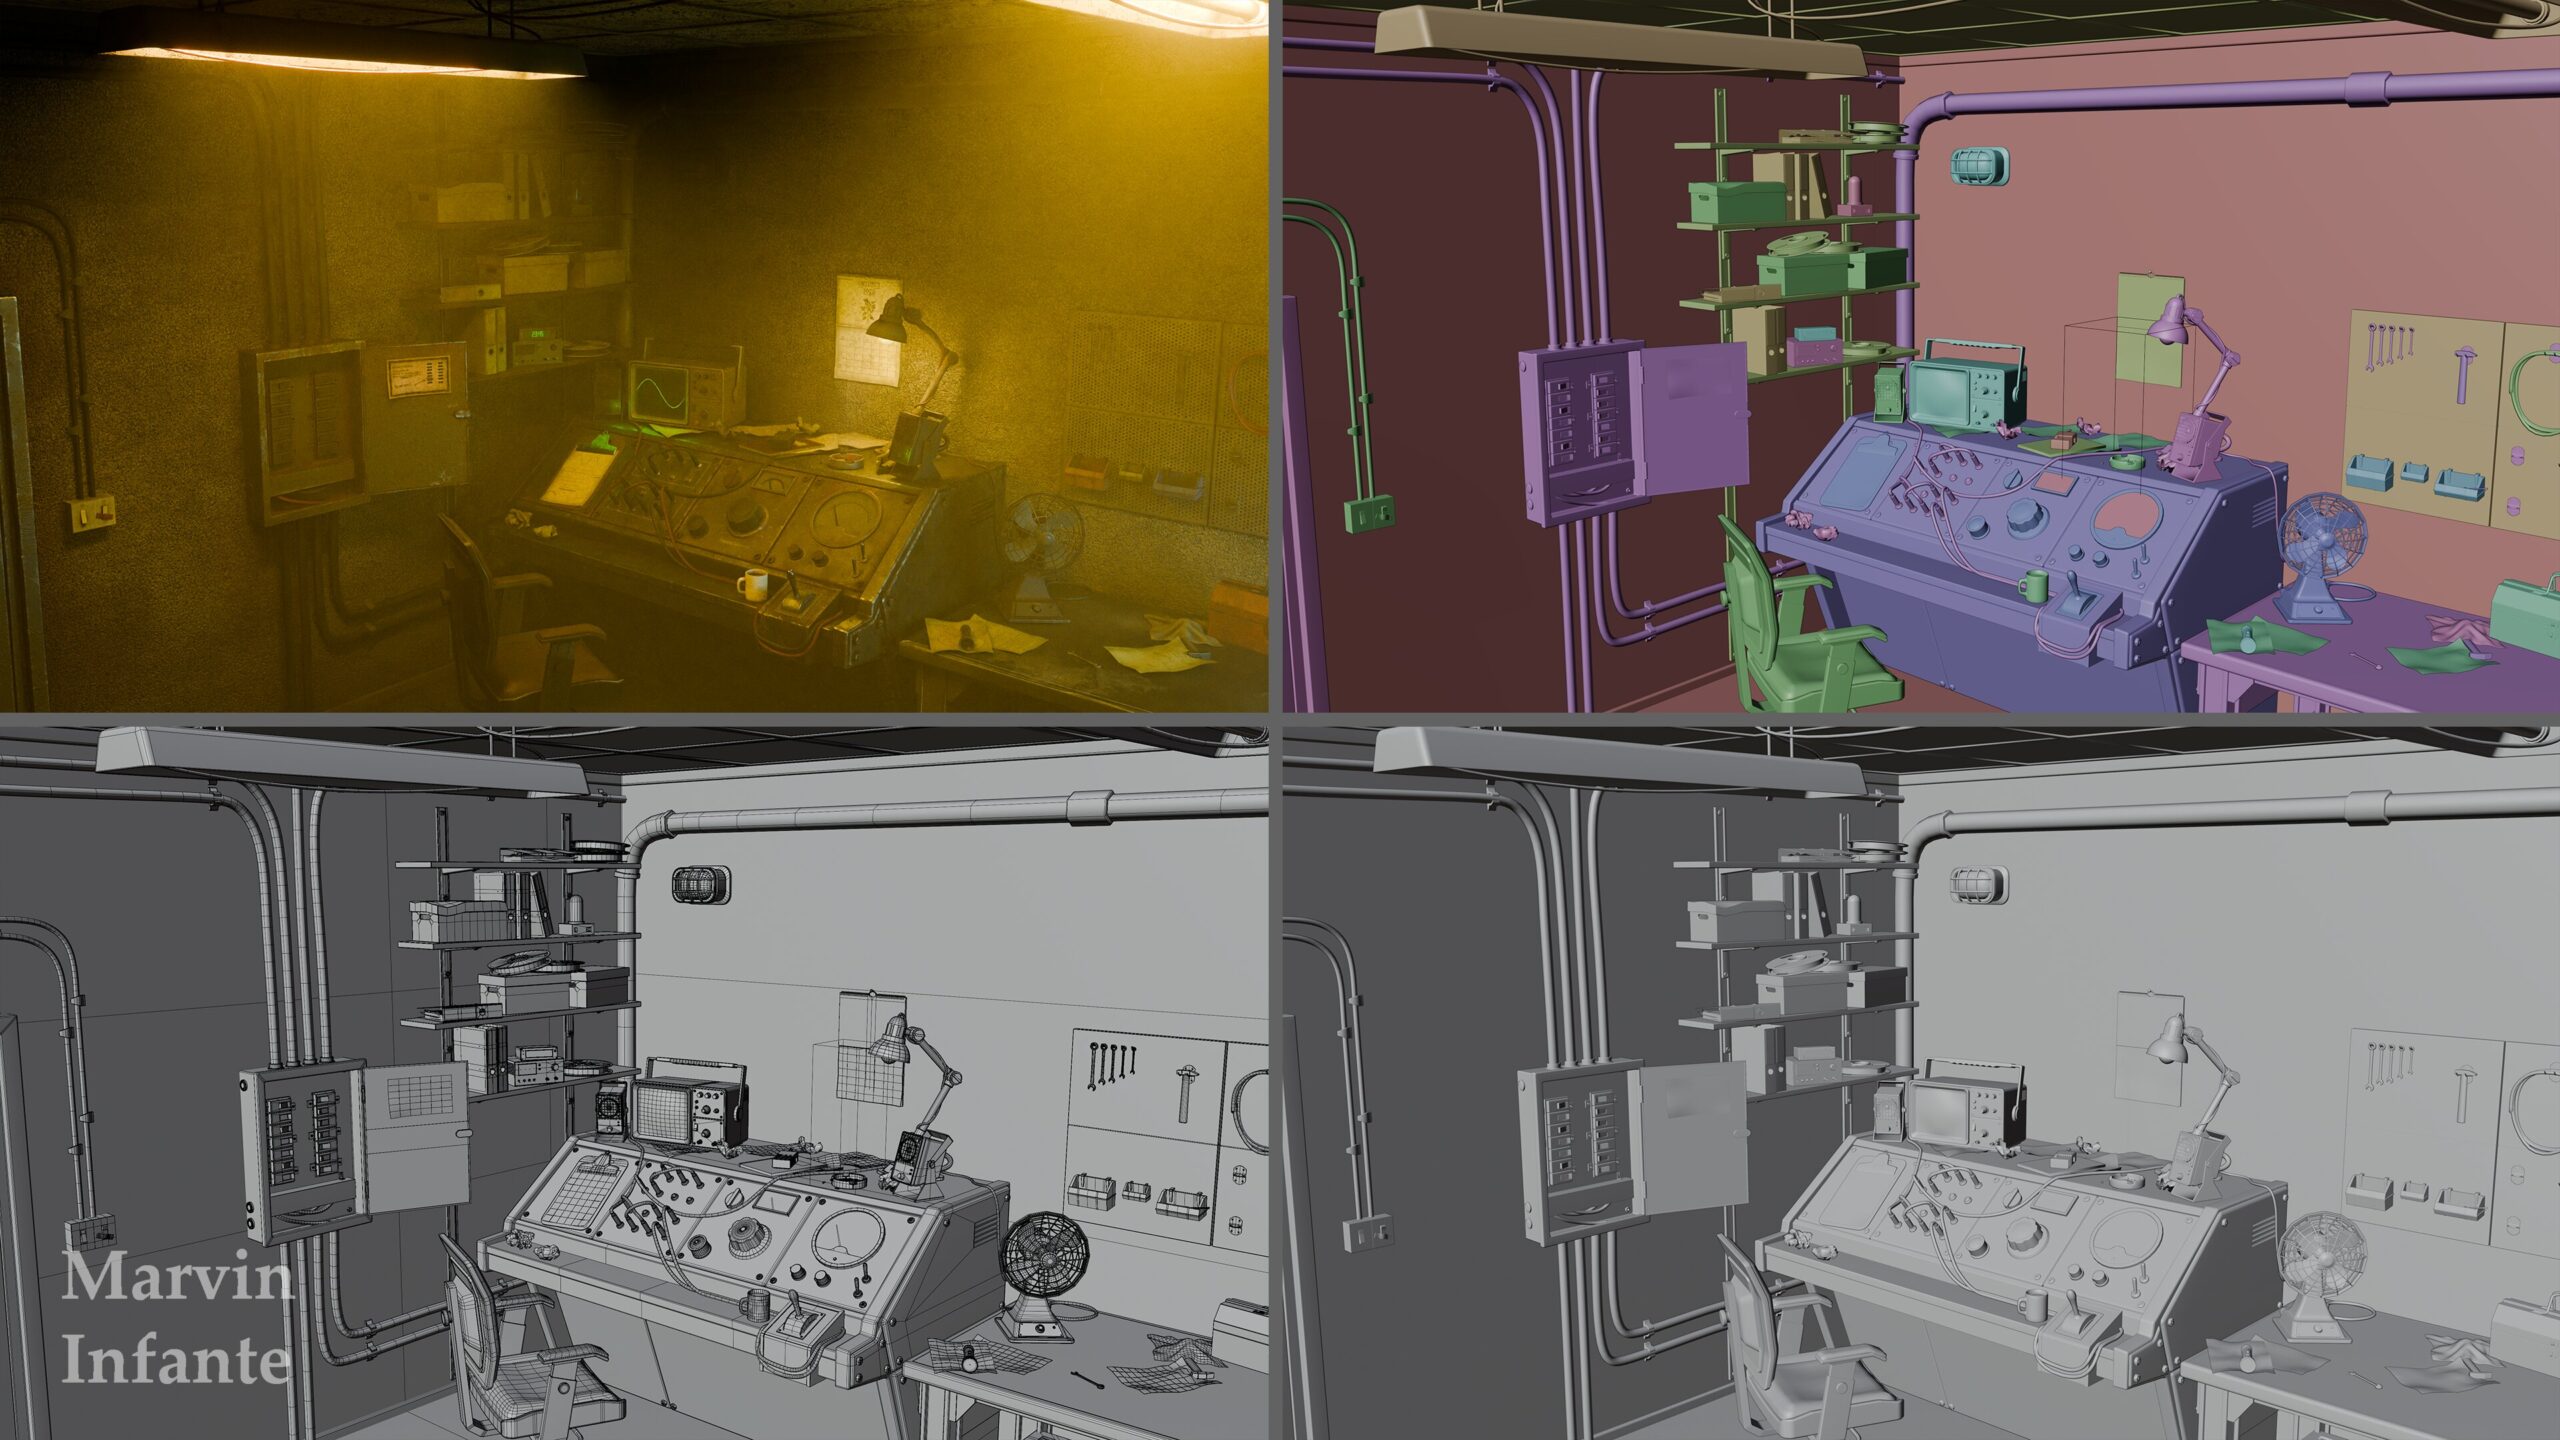
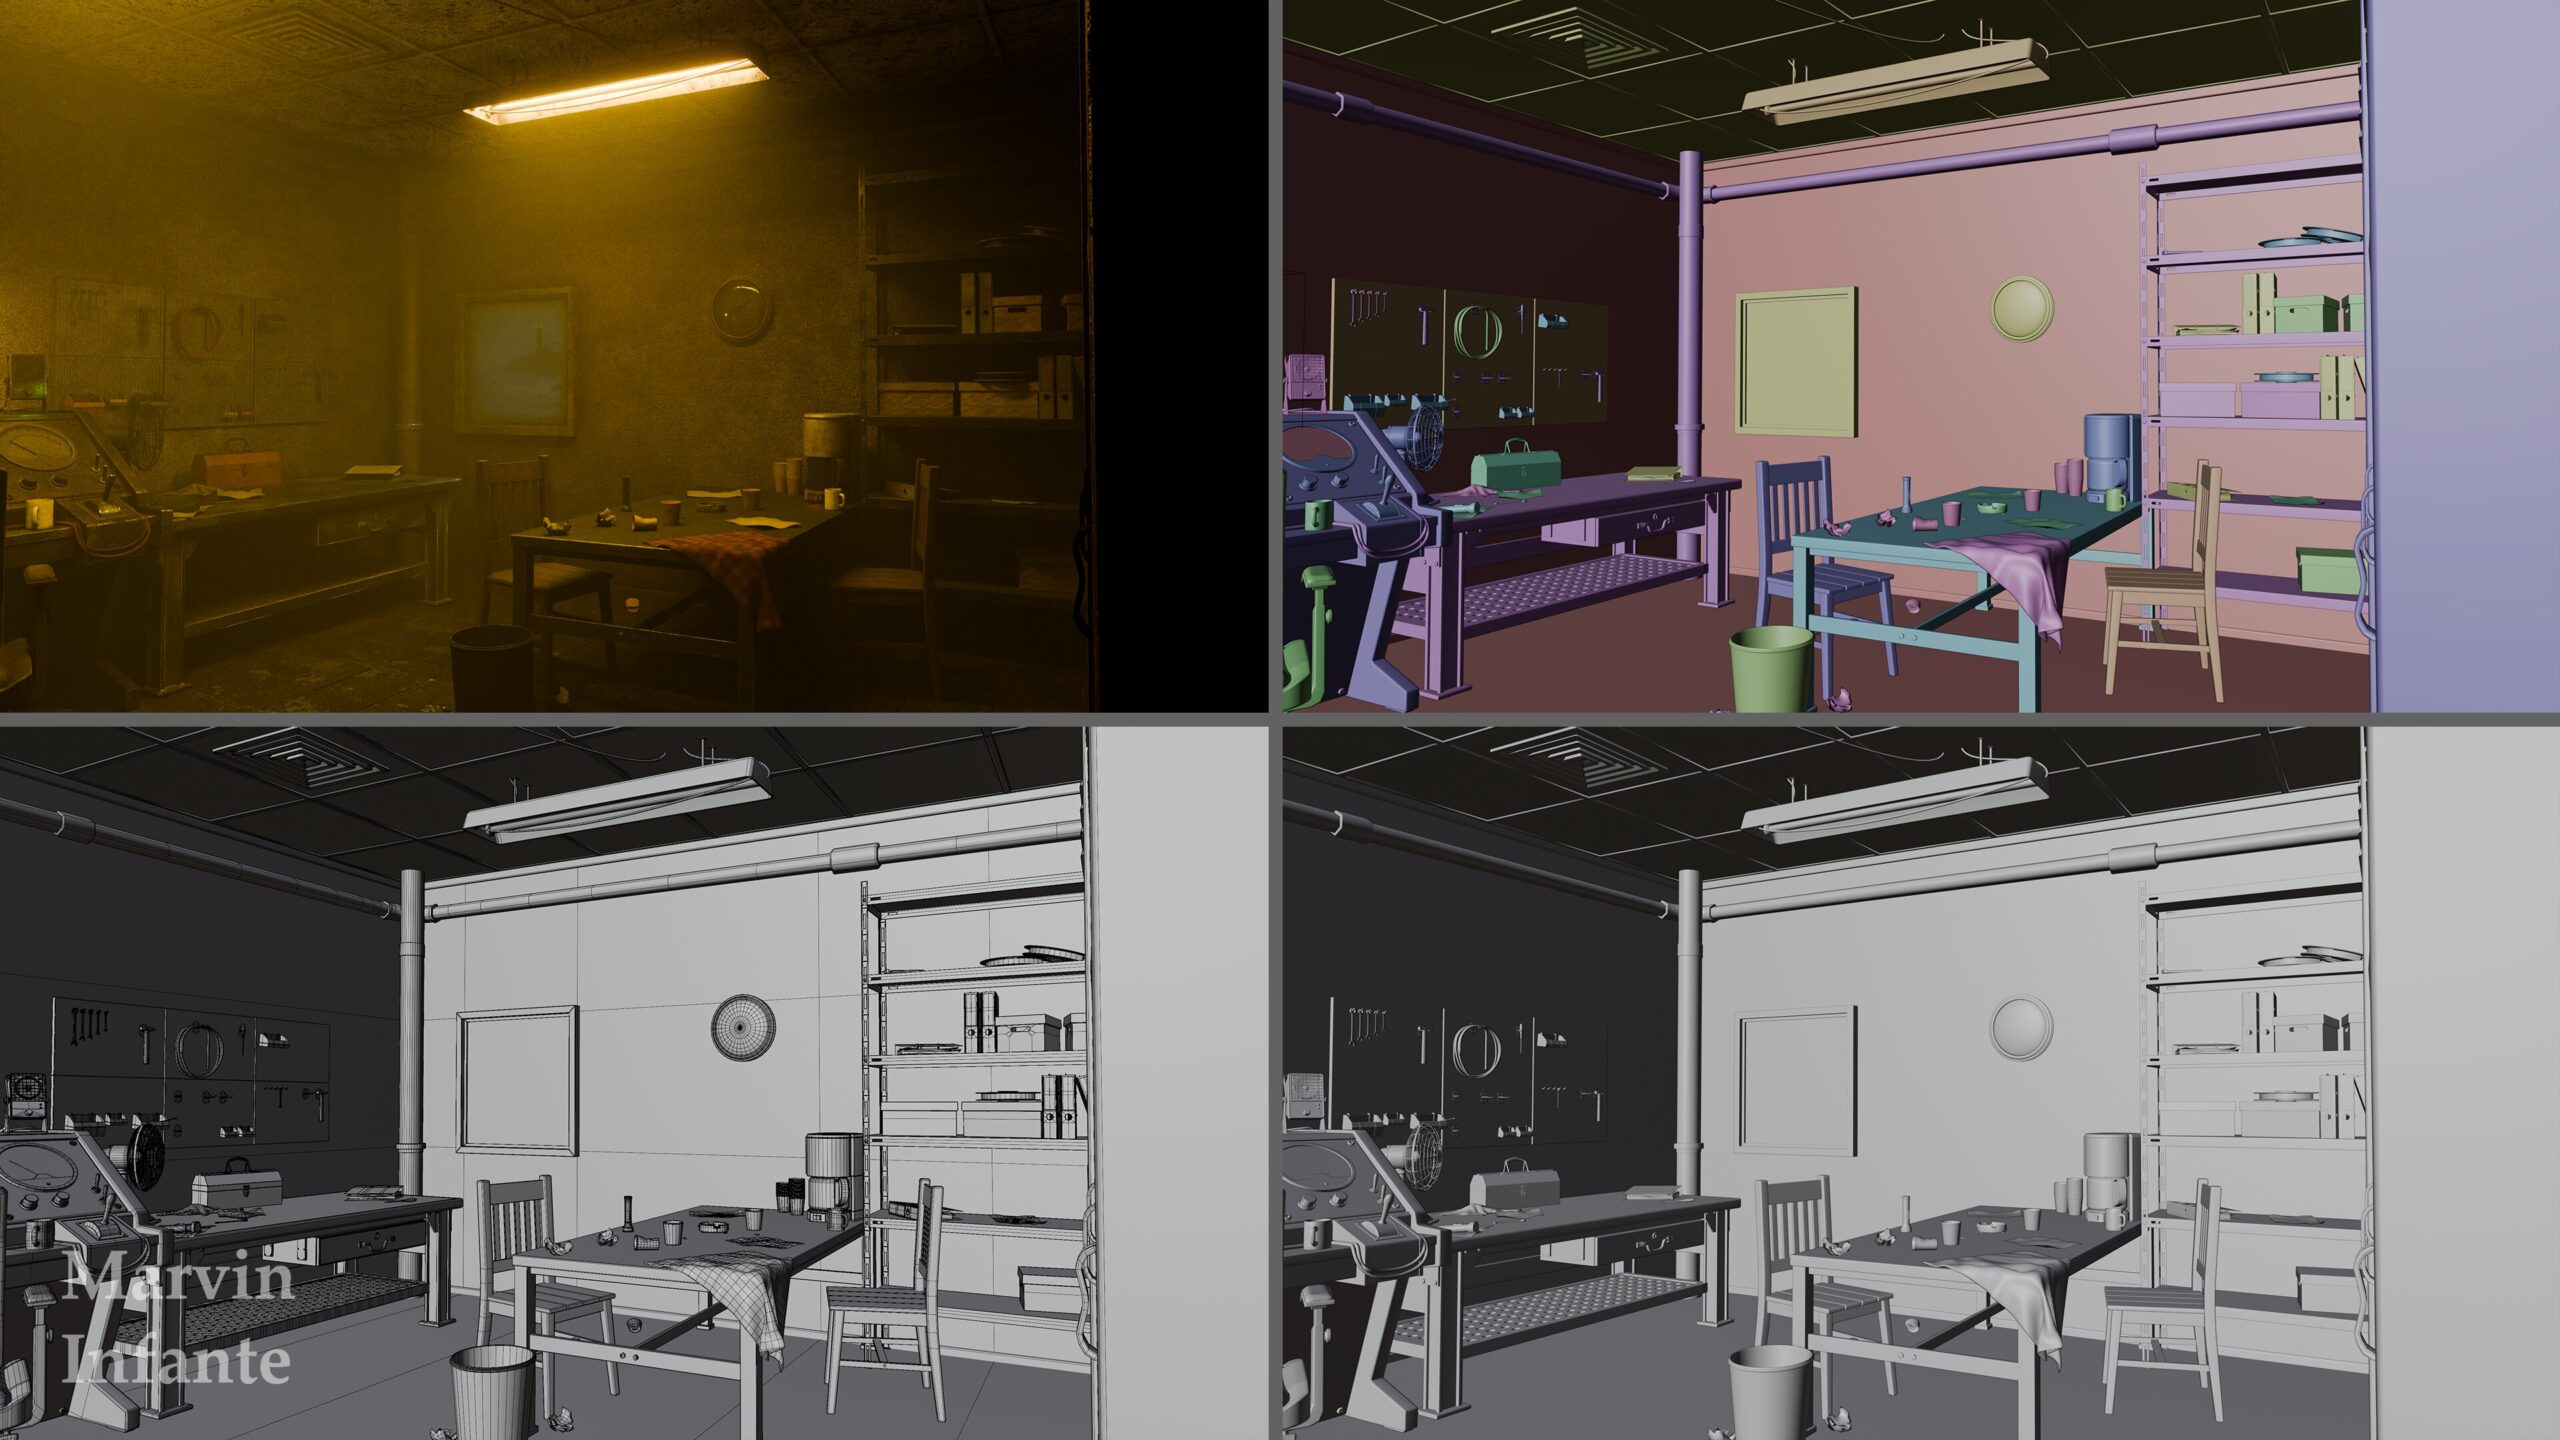
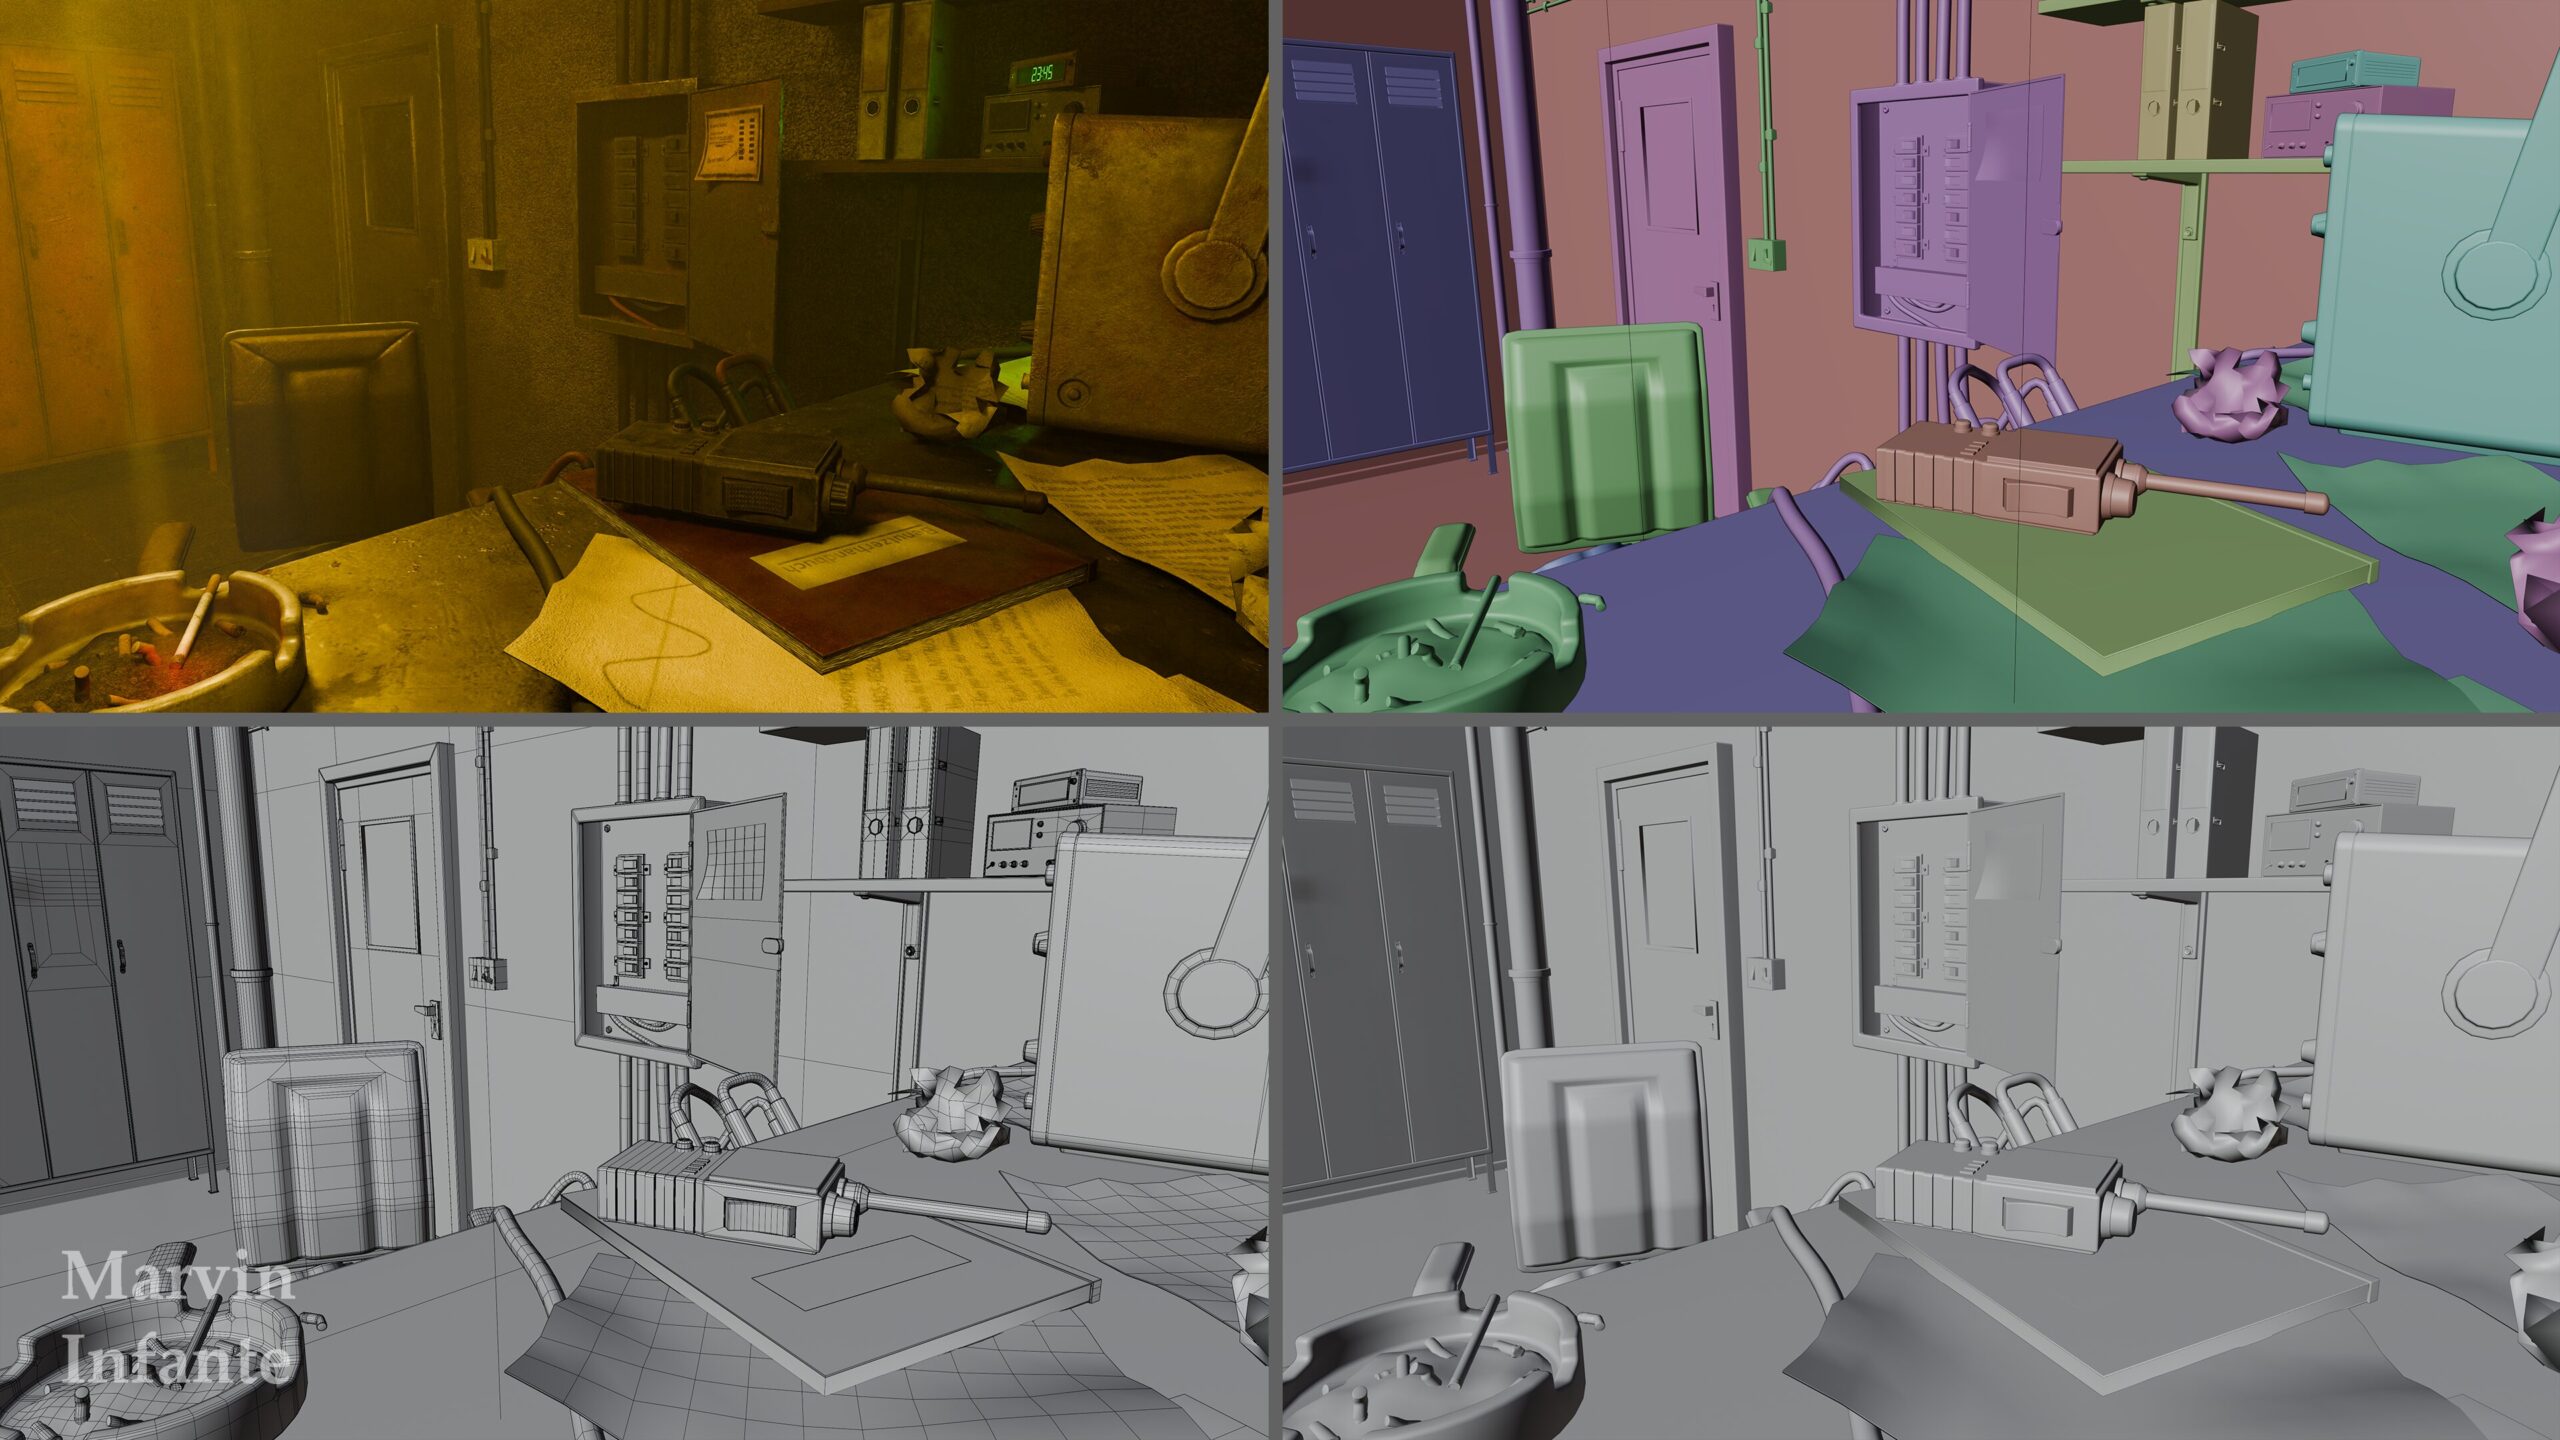
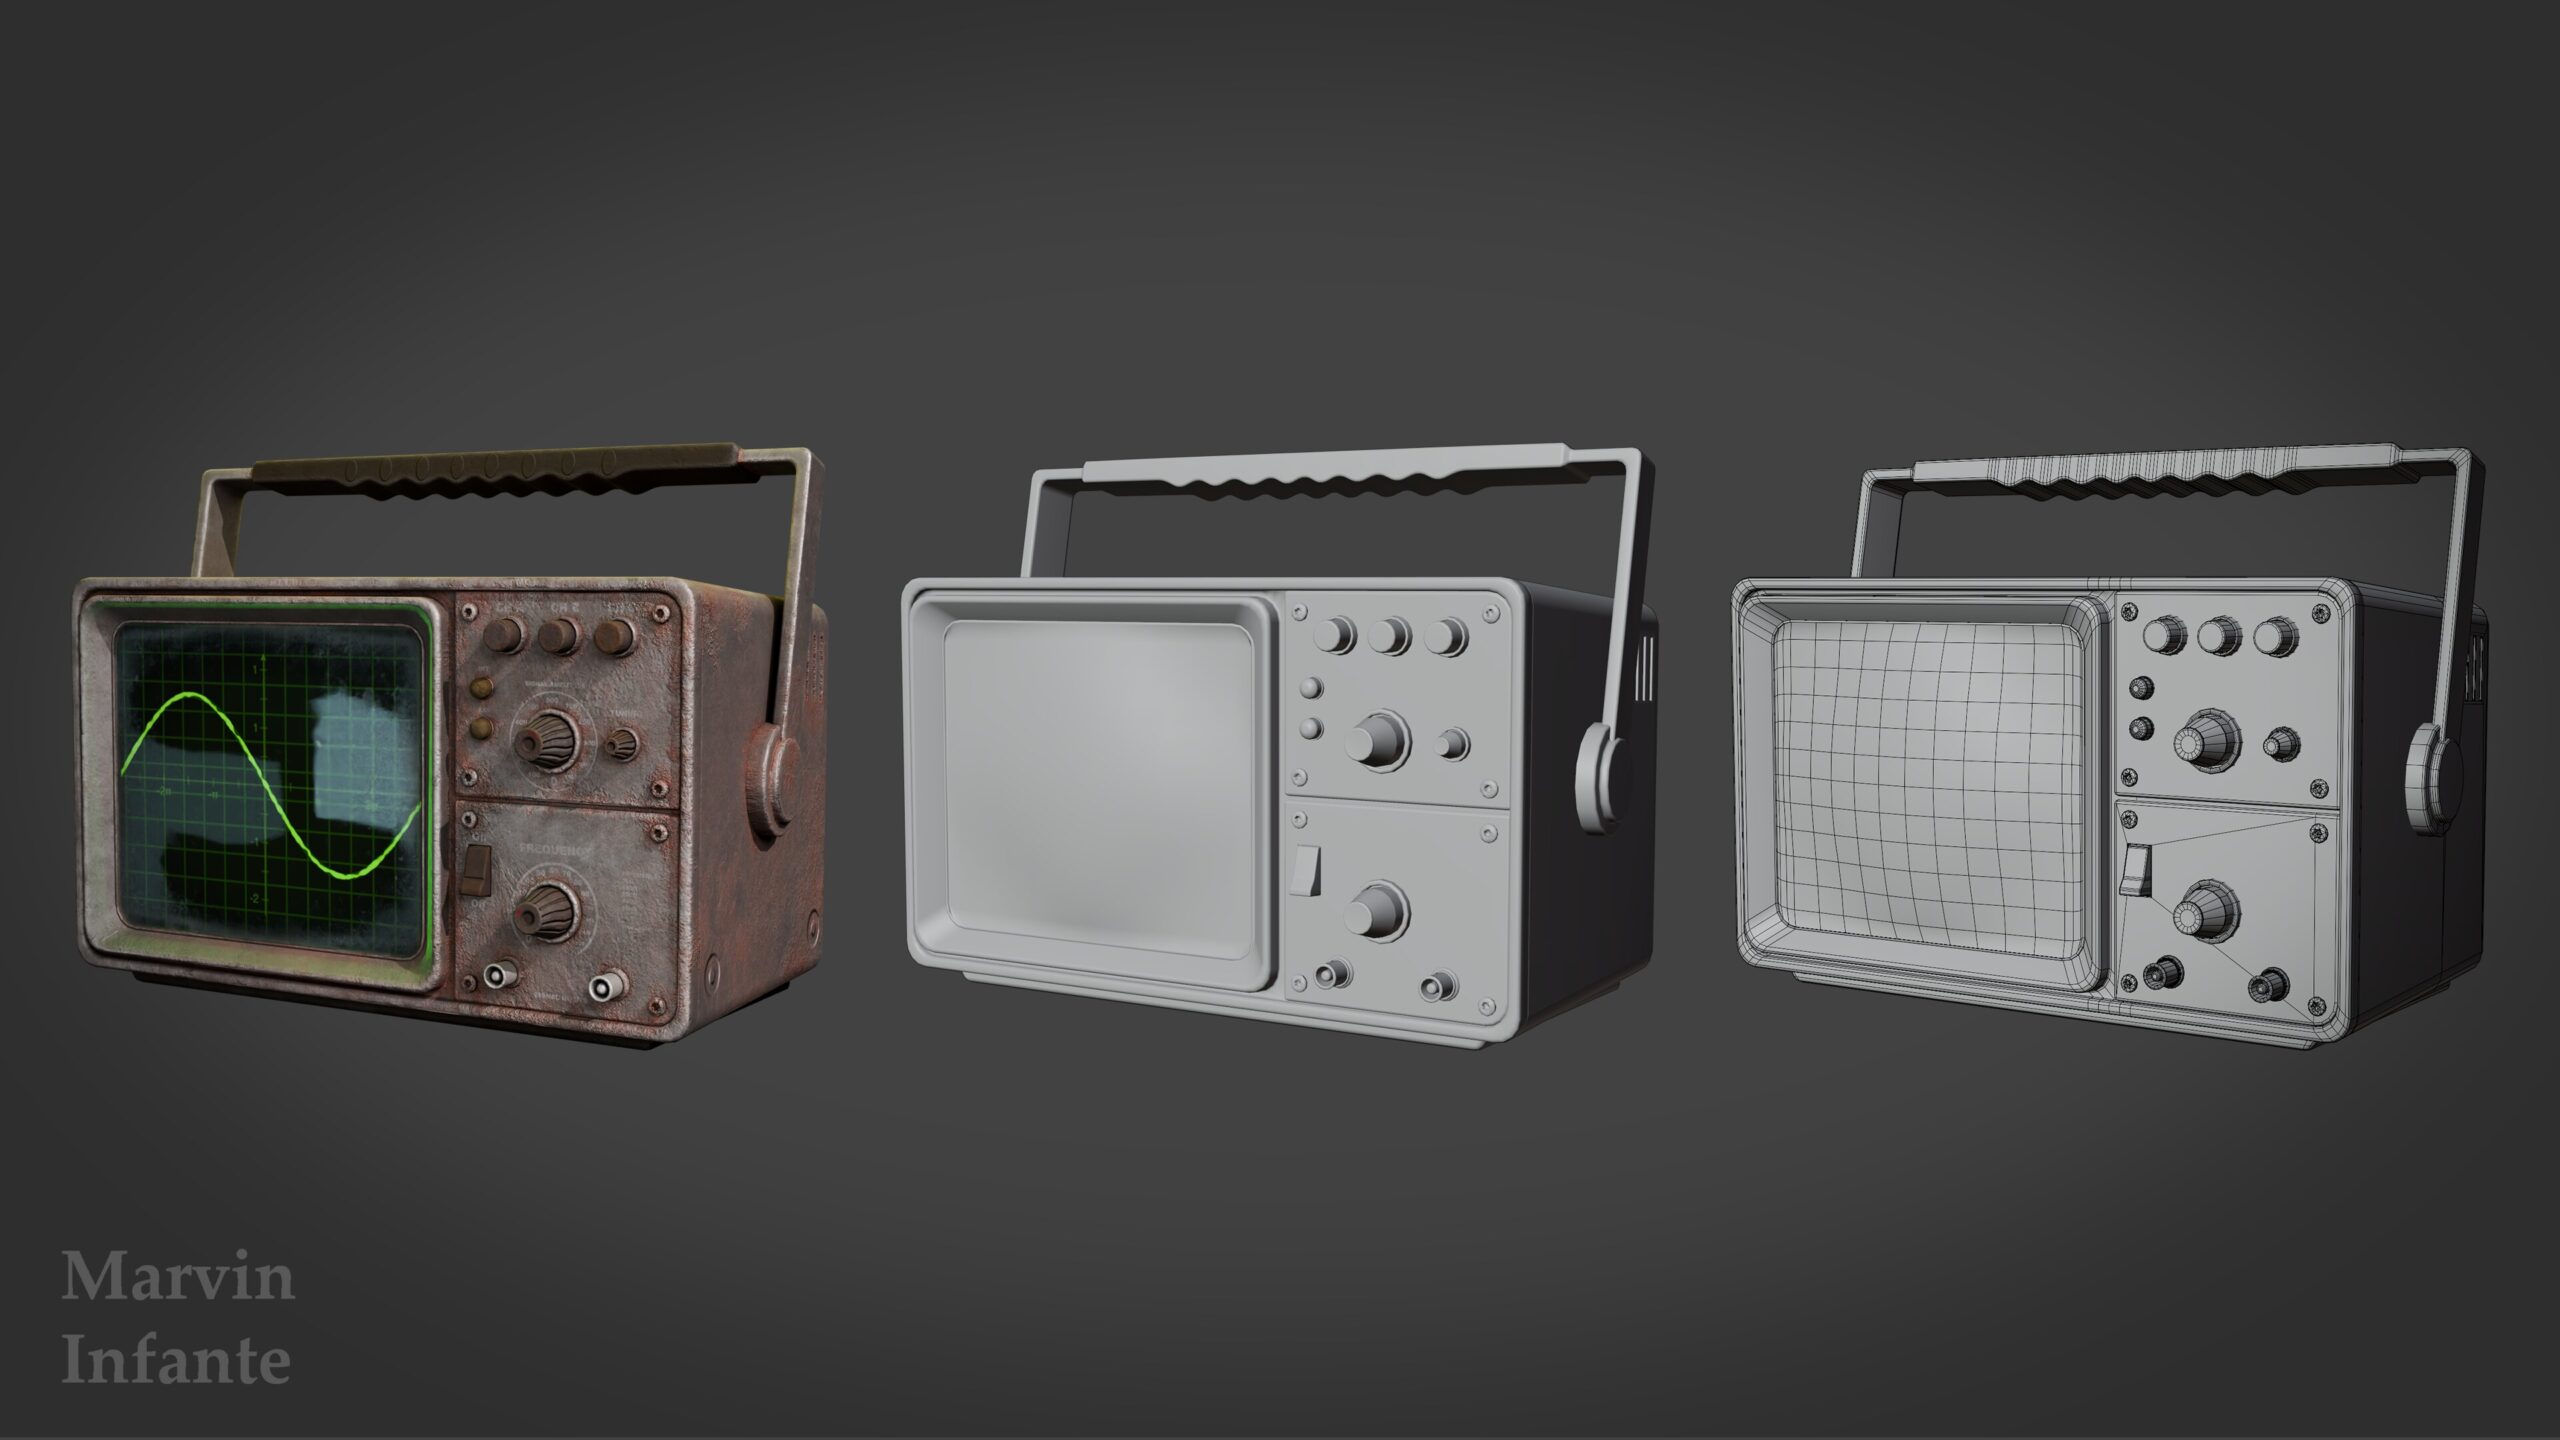
For this environment project, I used Blender for the complete modeling, layout, and UV unwrapping process, while the texturing and material creation were executed in Substance 3D Painter. Additionally, I utilized Photoshop and Illustrator to design custom alpha textures and decals for the control panels and signage.
My focus was on advancing my skills in environmental storytelling and atmospheric interior lighting. I aimed to build a cohesive, narrative-driven space by managing props and establishing a strict, era-appropriate color palette.
Tools used:
Blender
Unreal Engine
Substance Painter
Hier klicken, um den Inhalt von itch.io anzuzeigen.
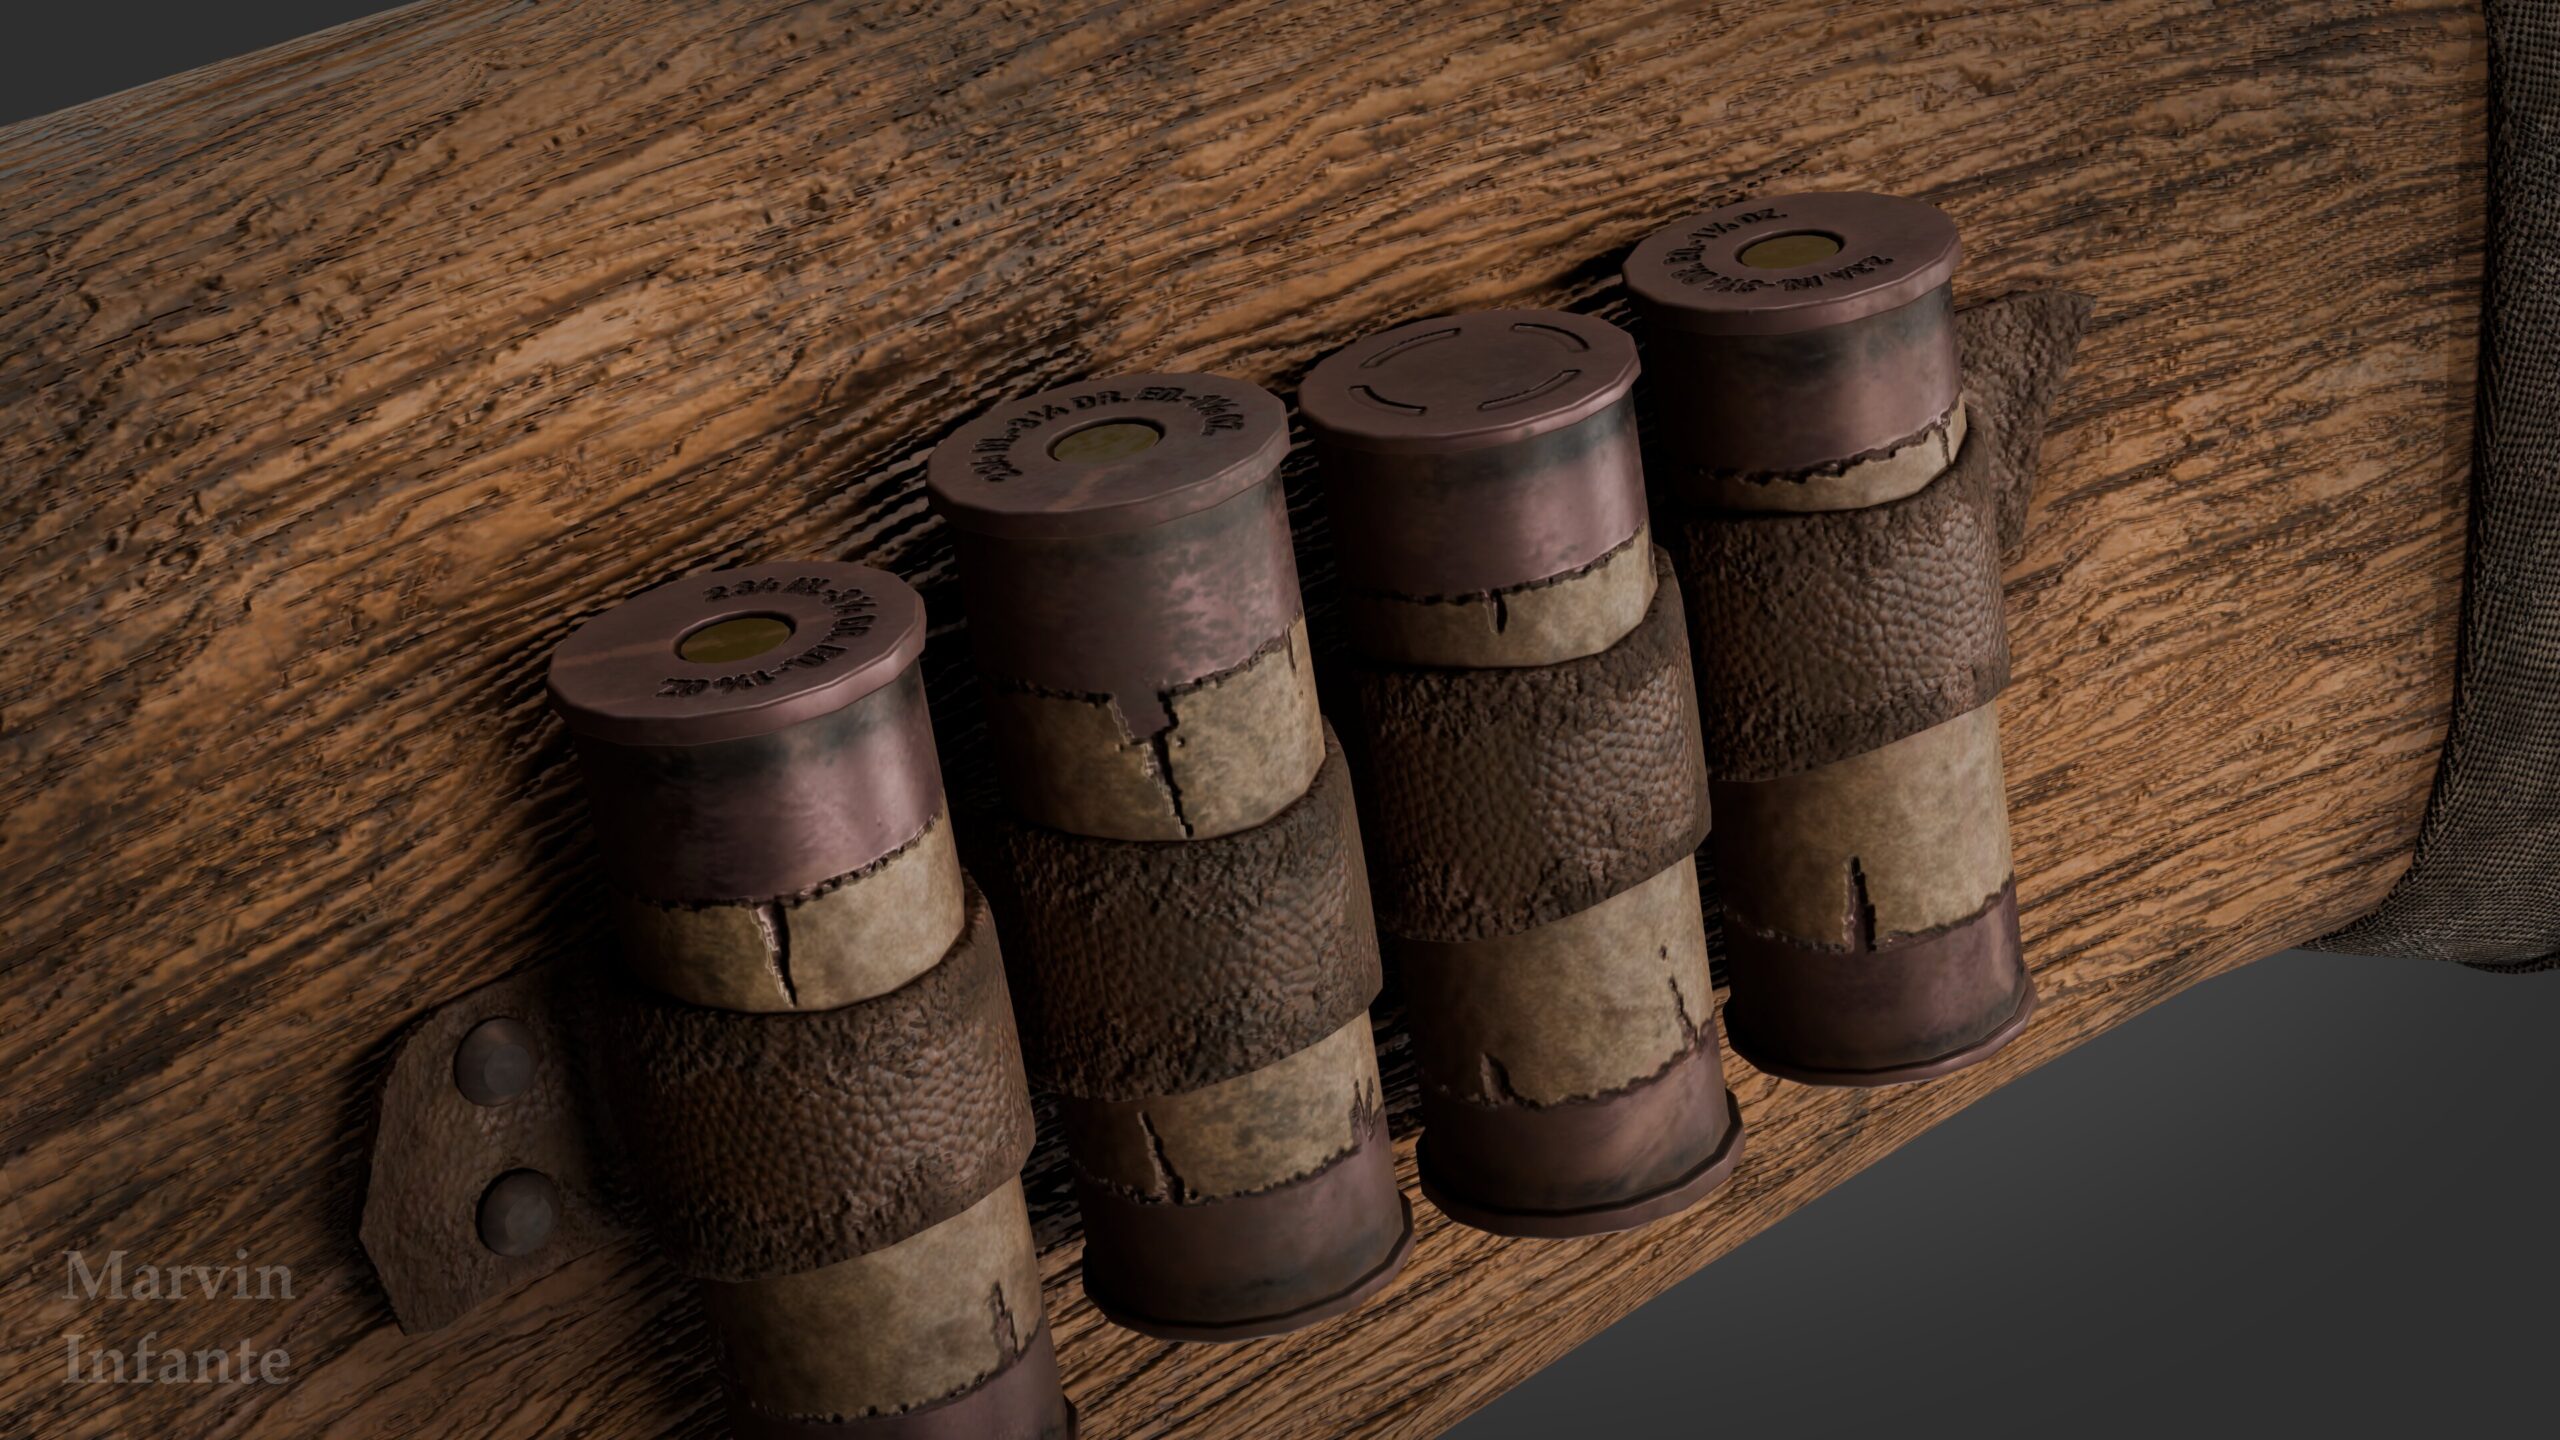
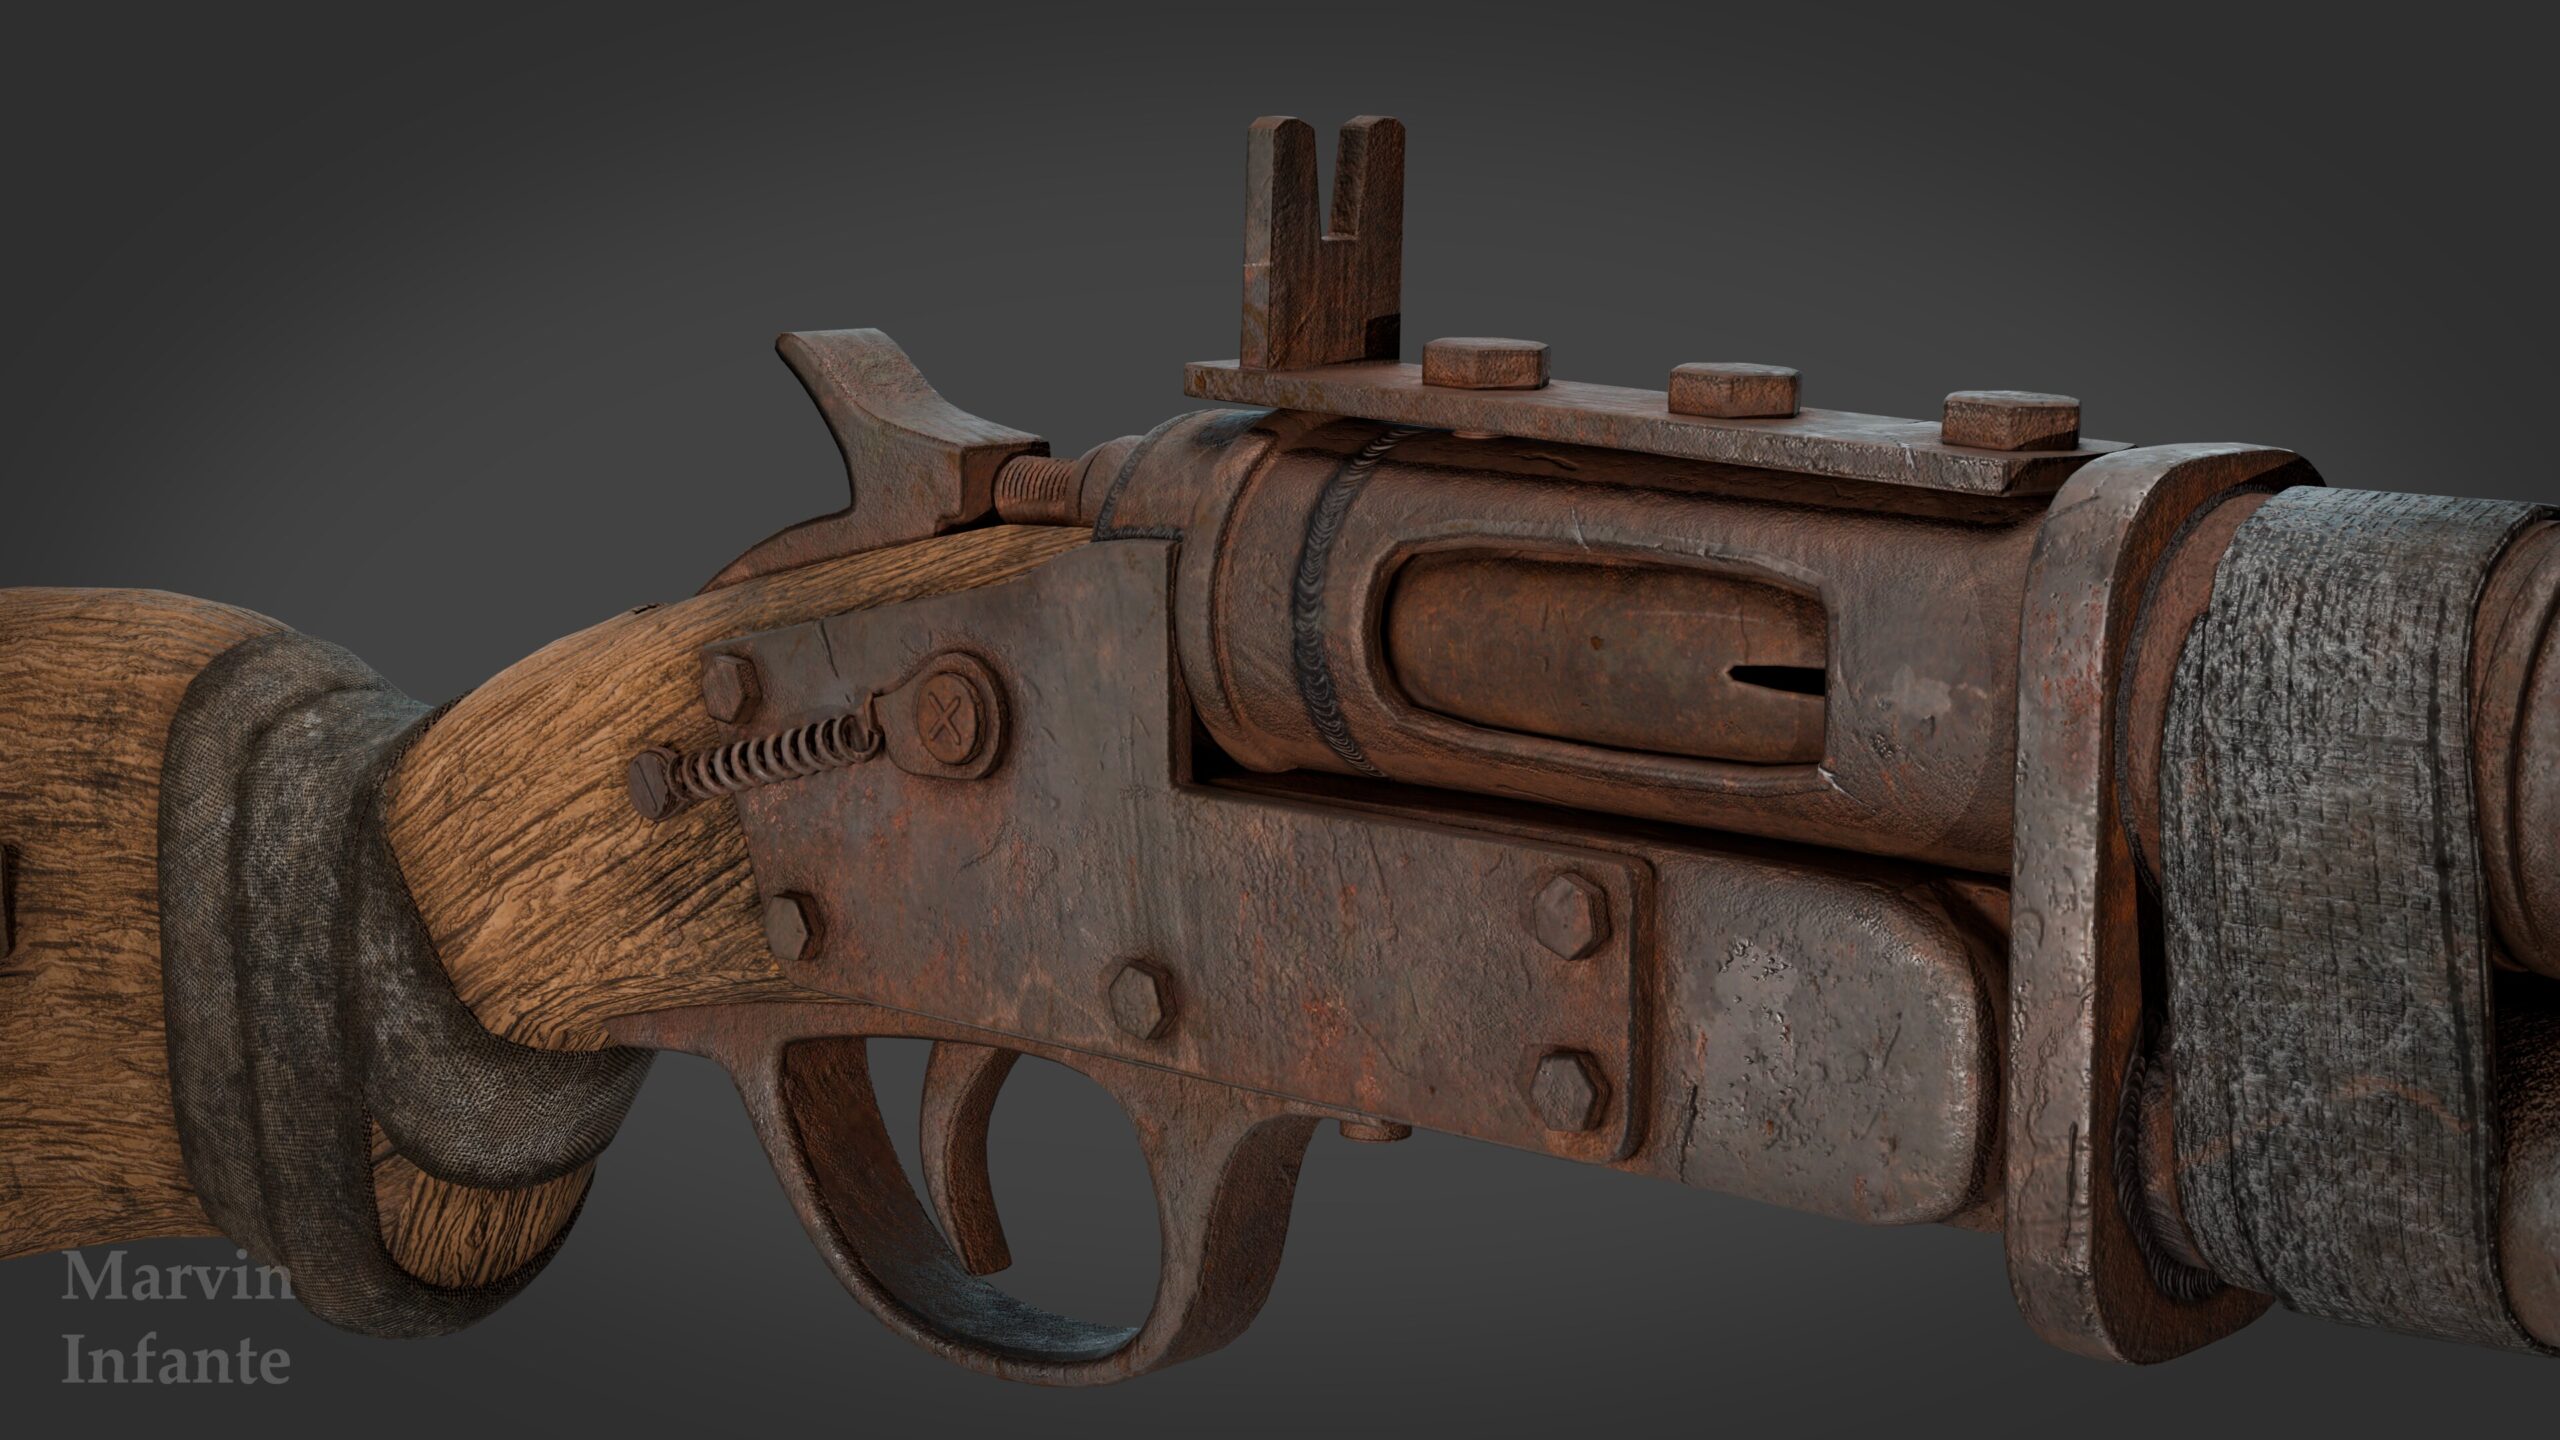
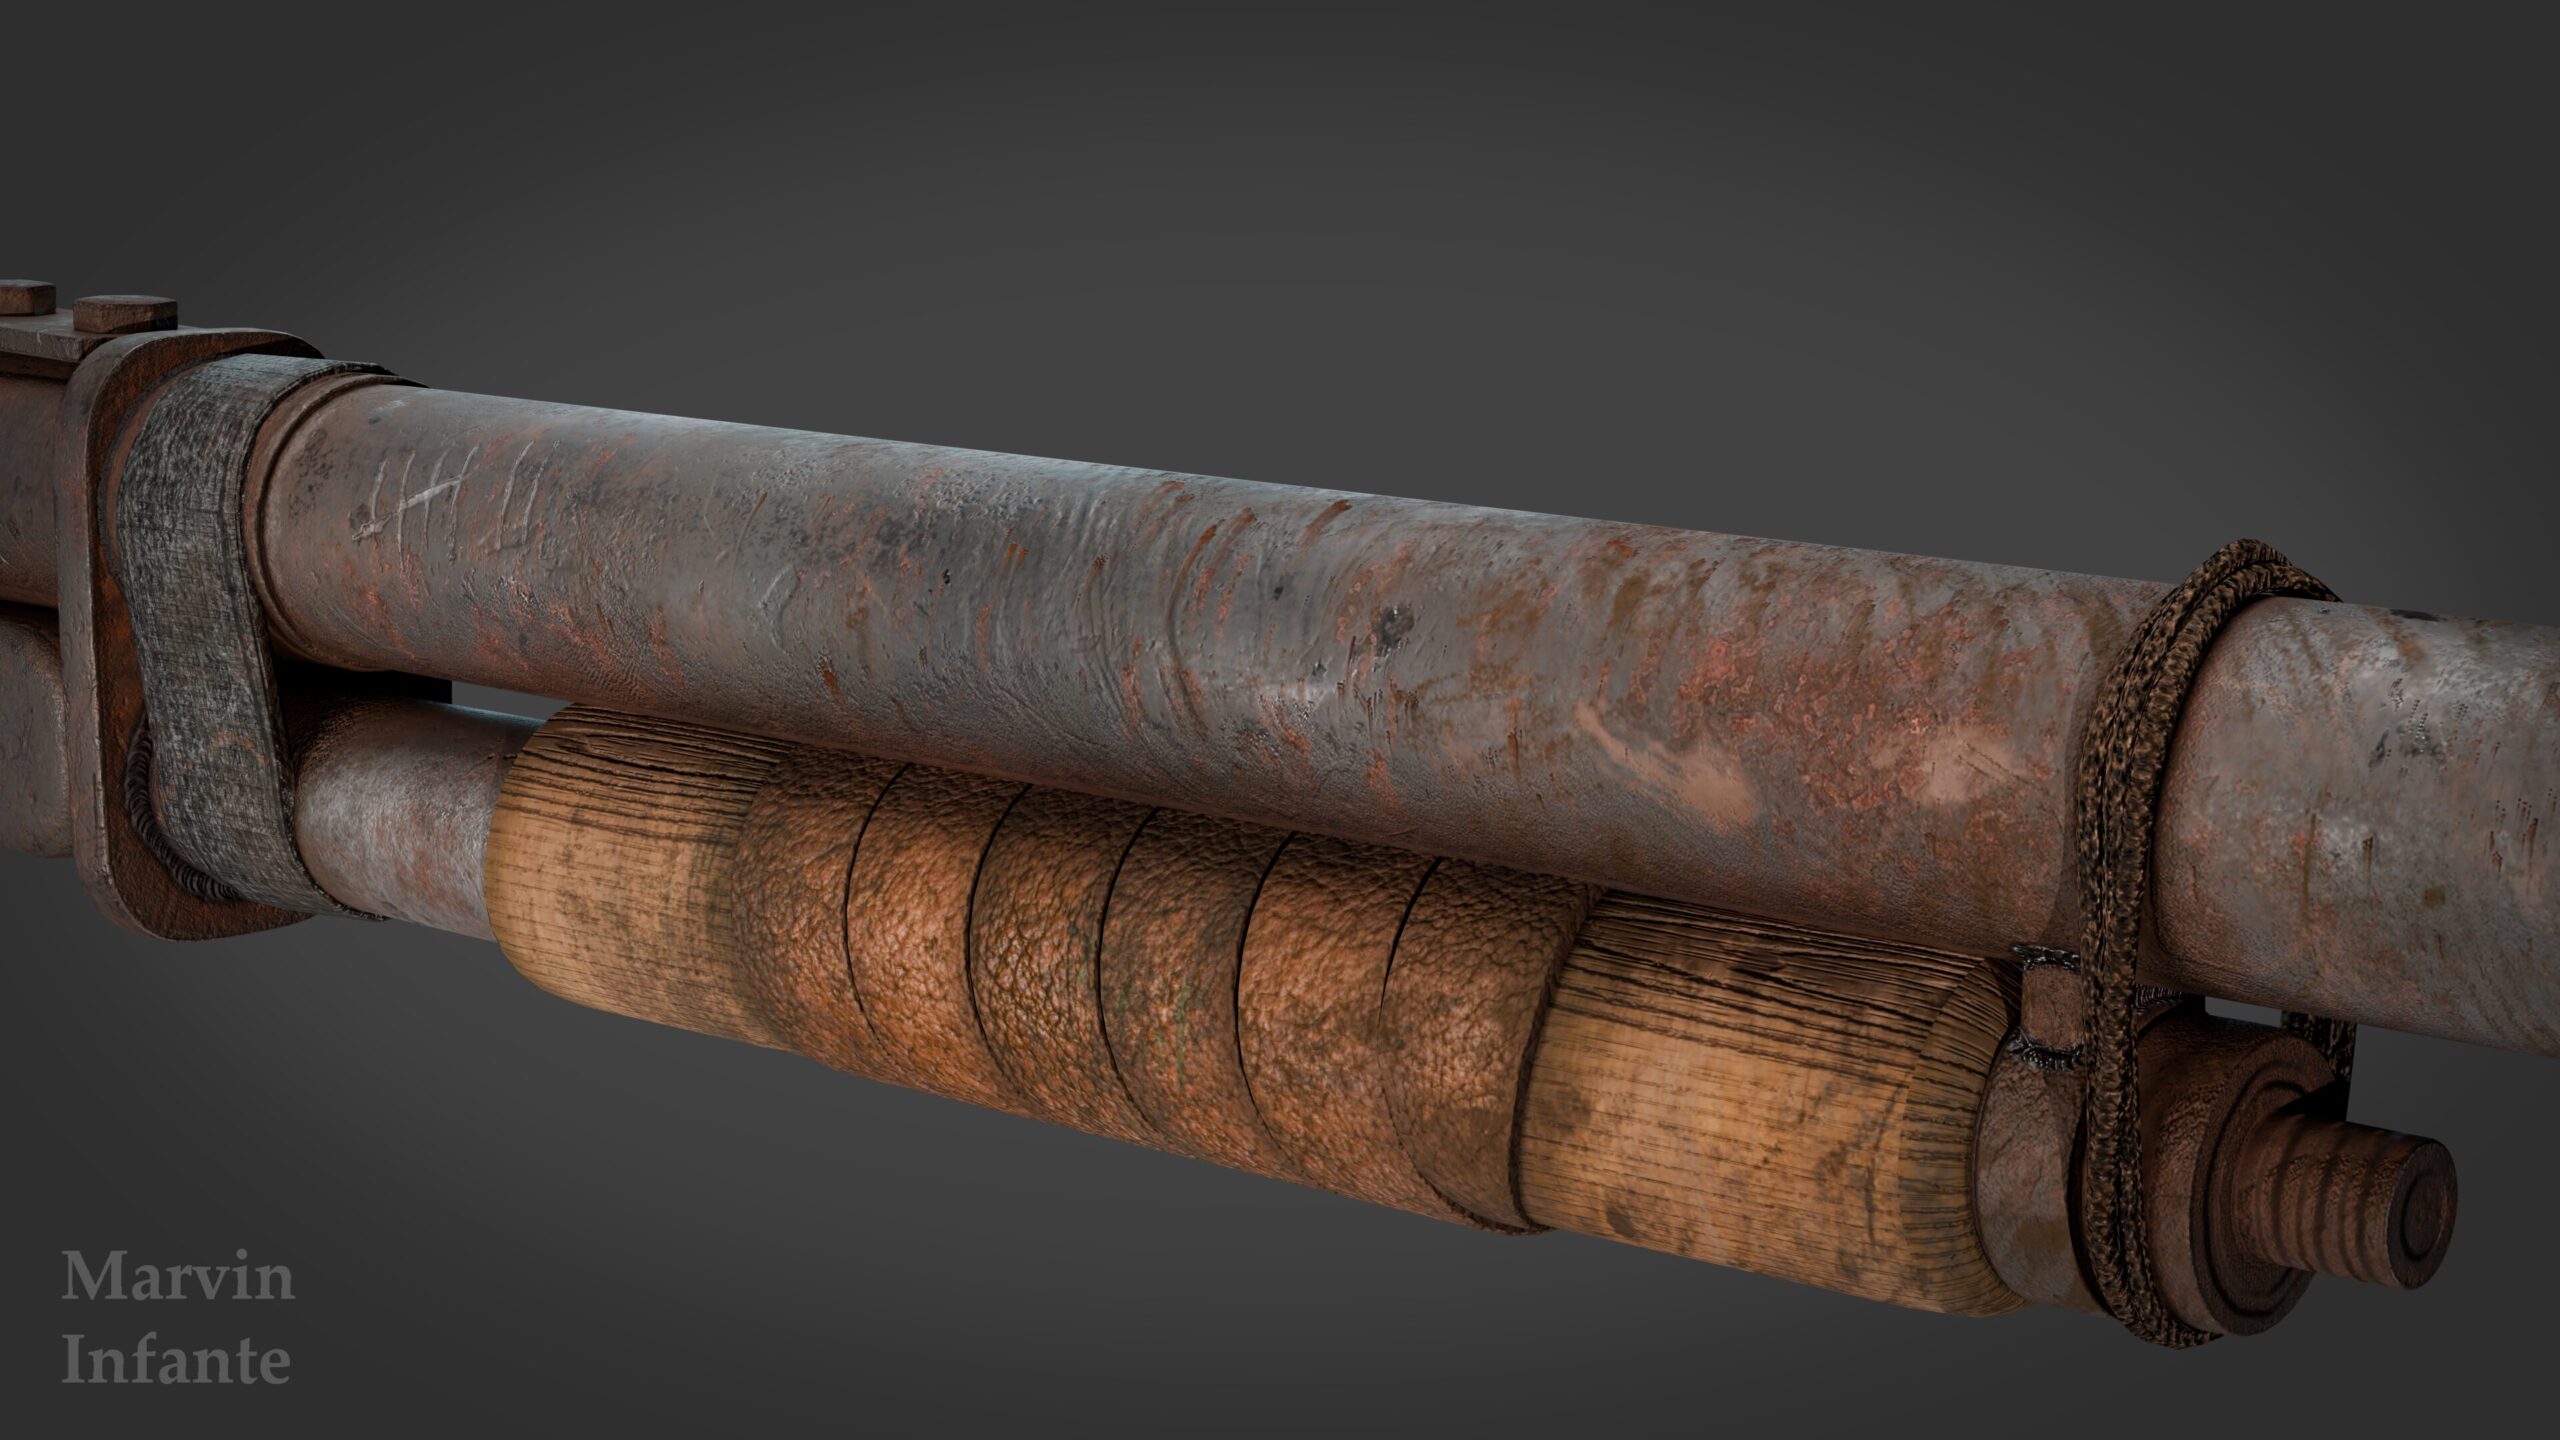
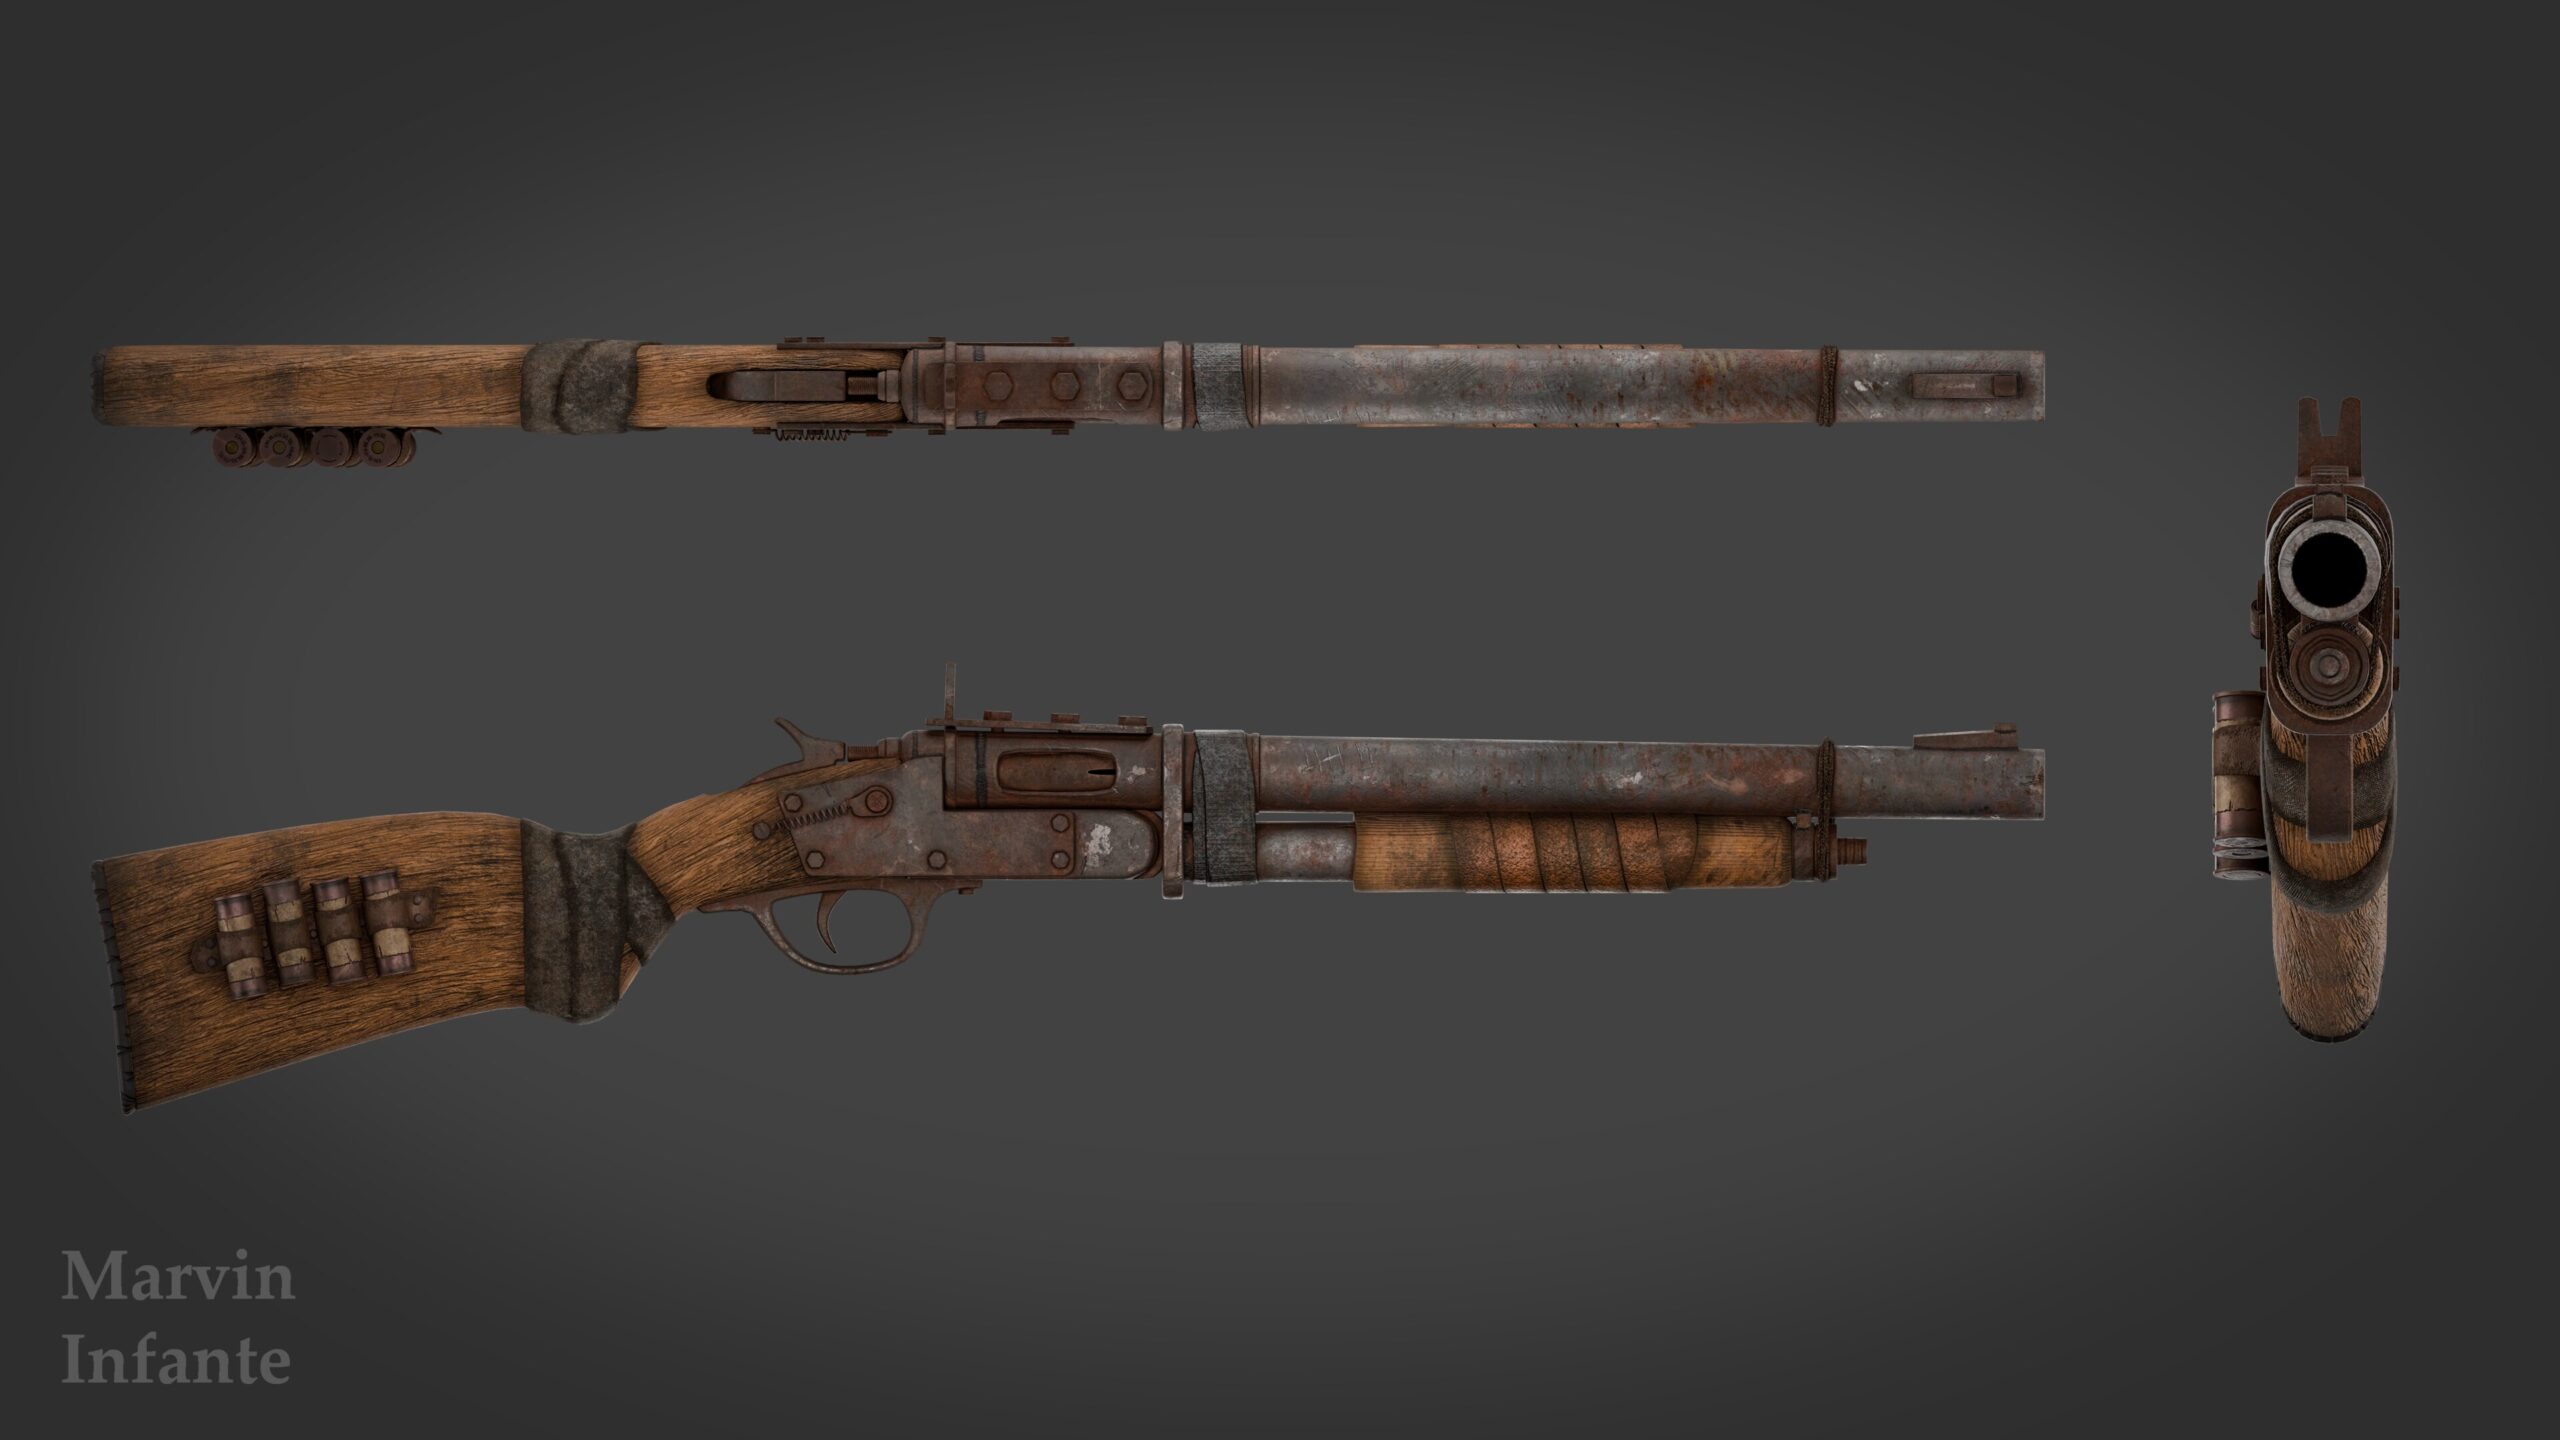
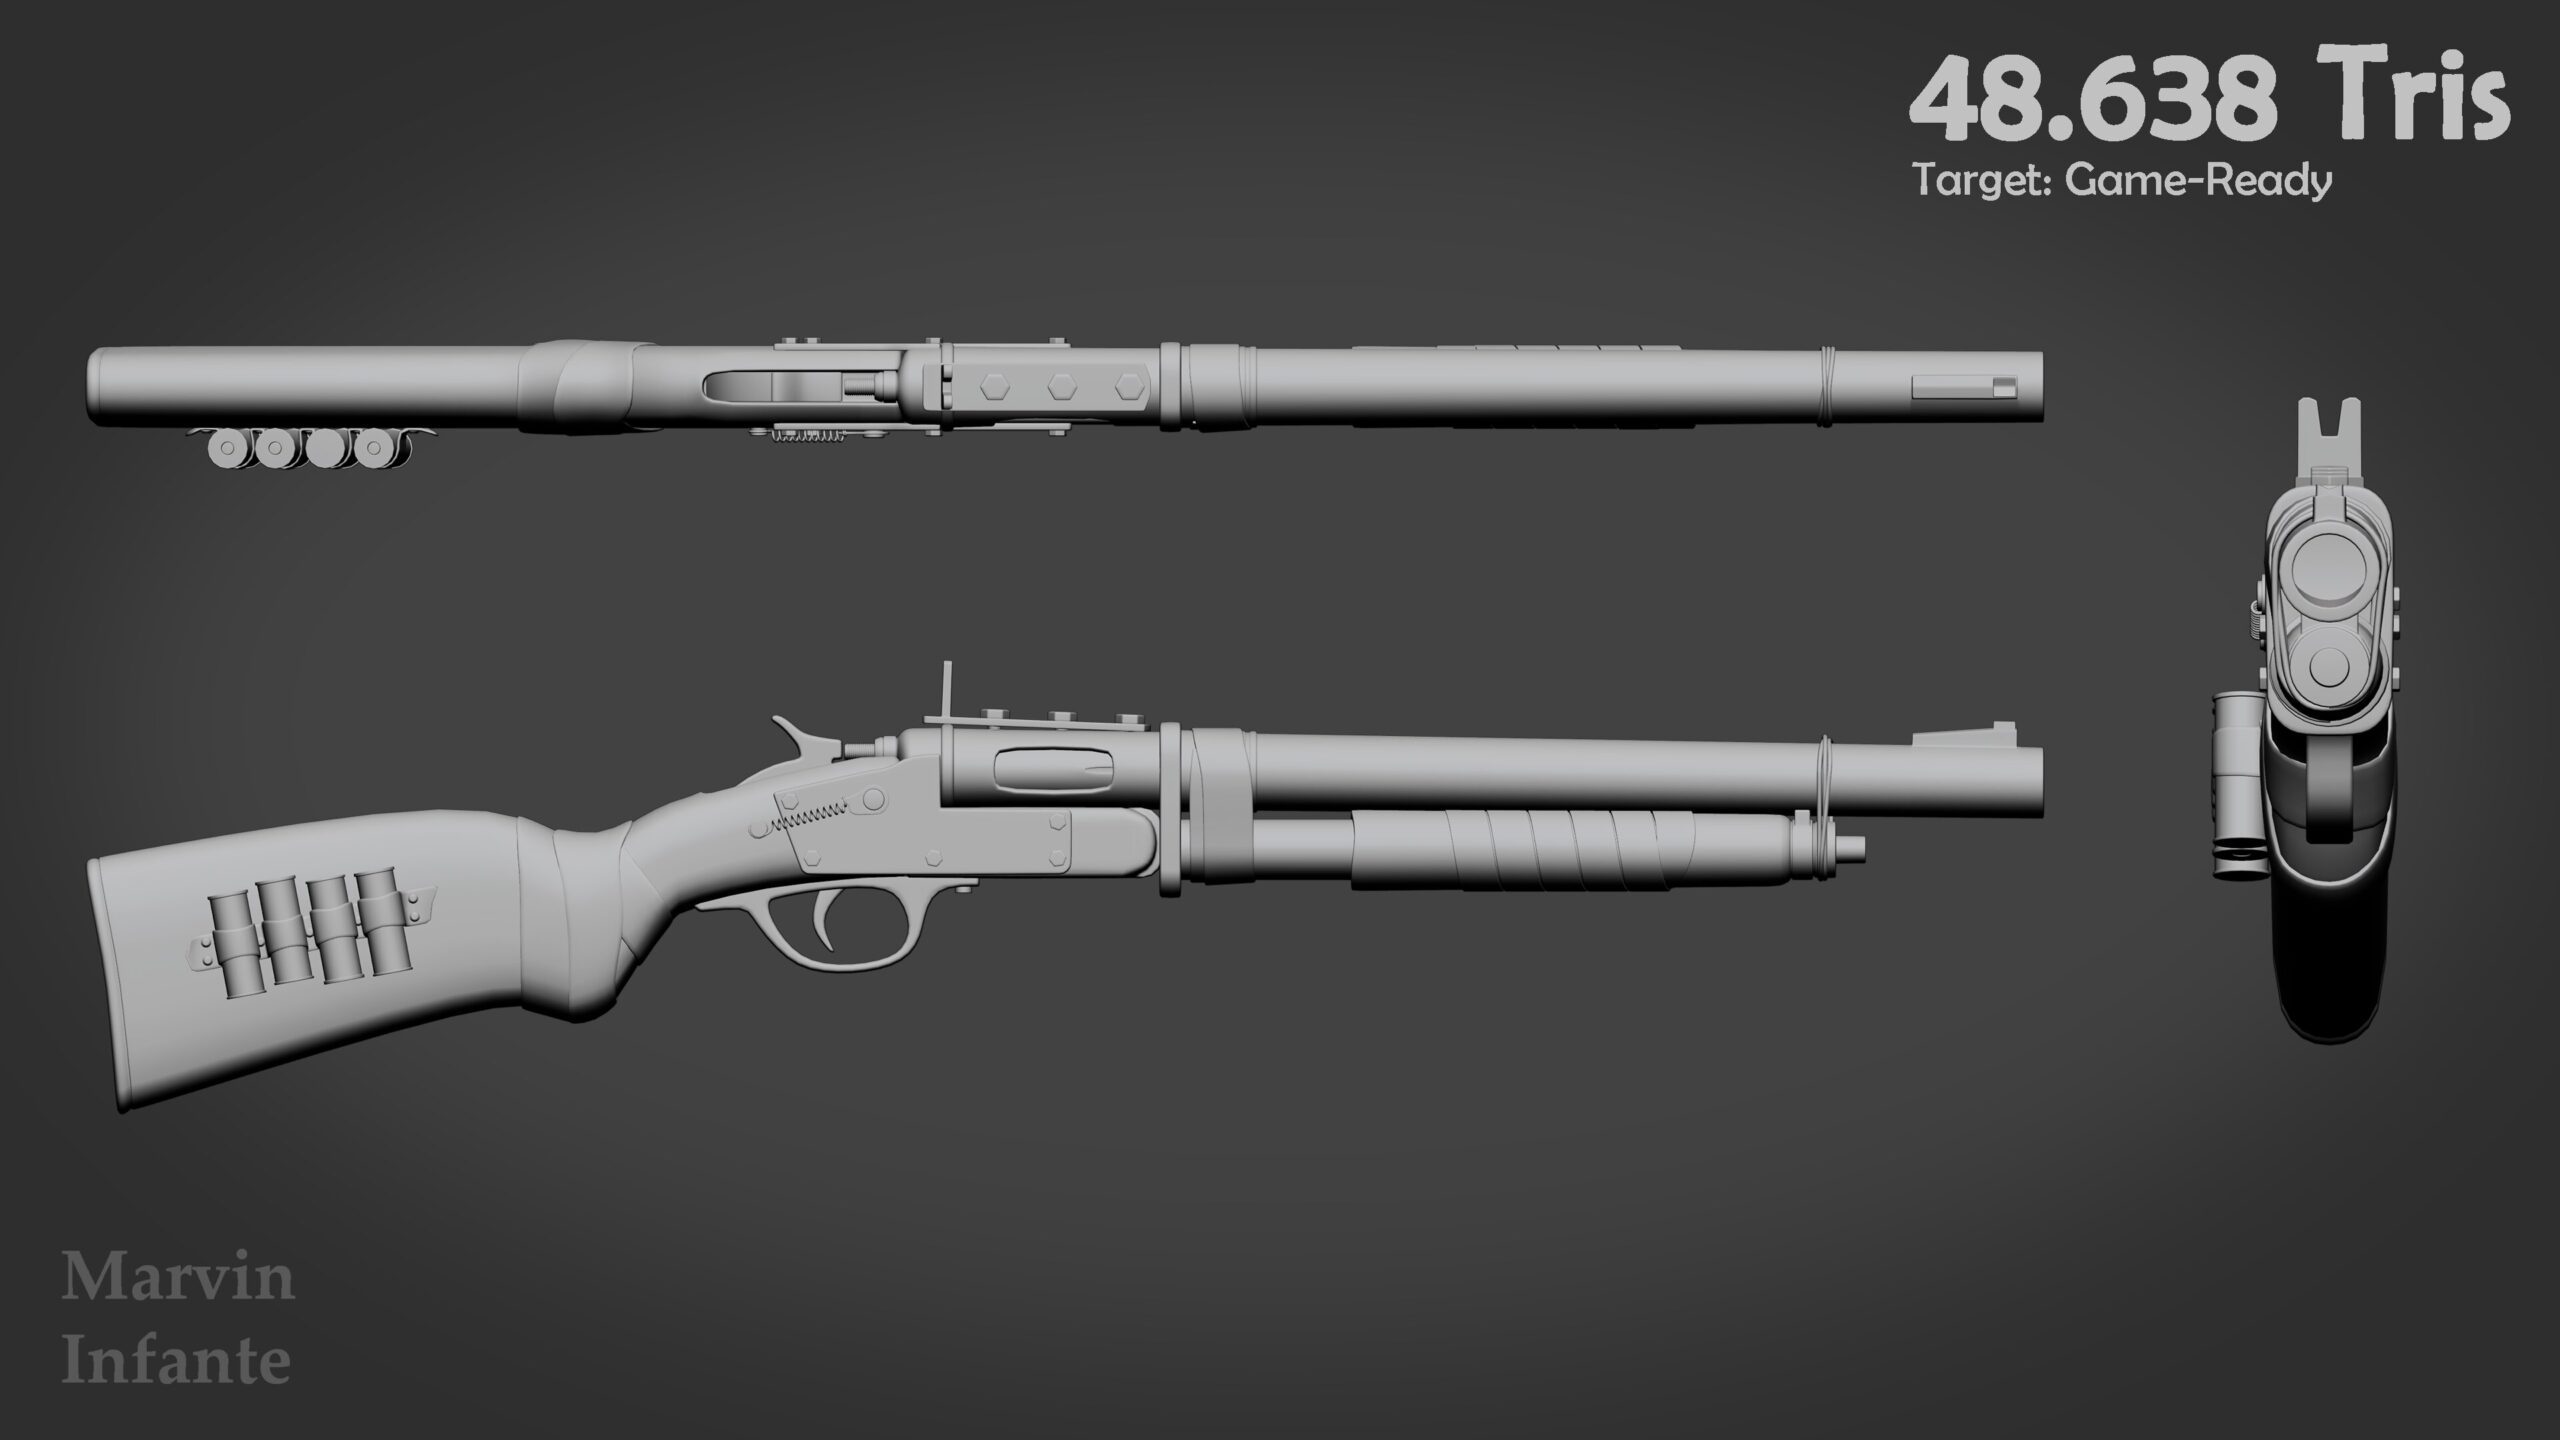
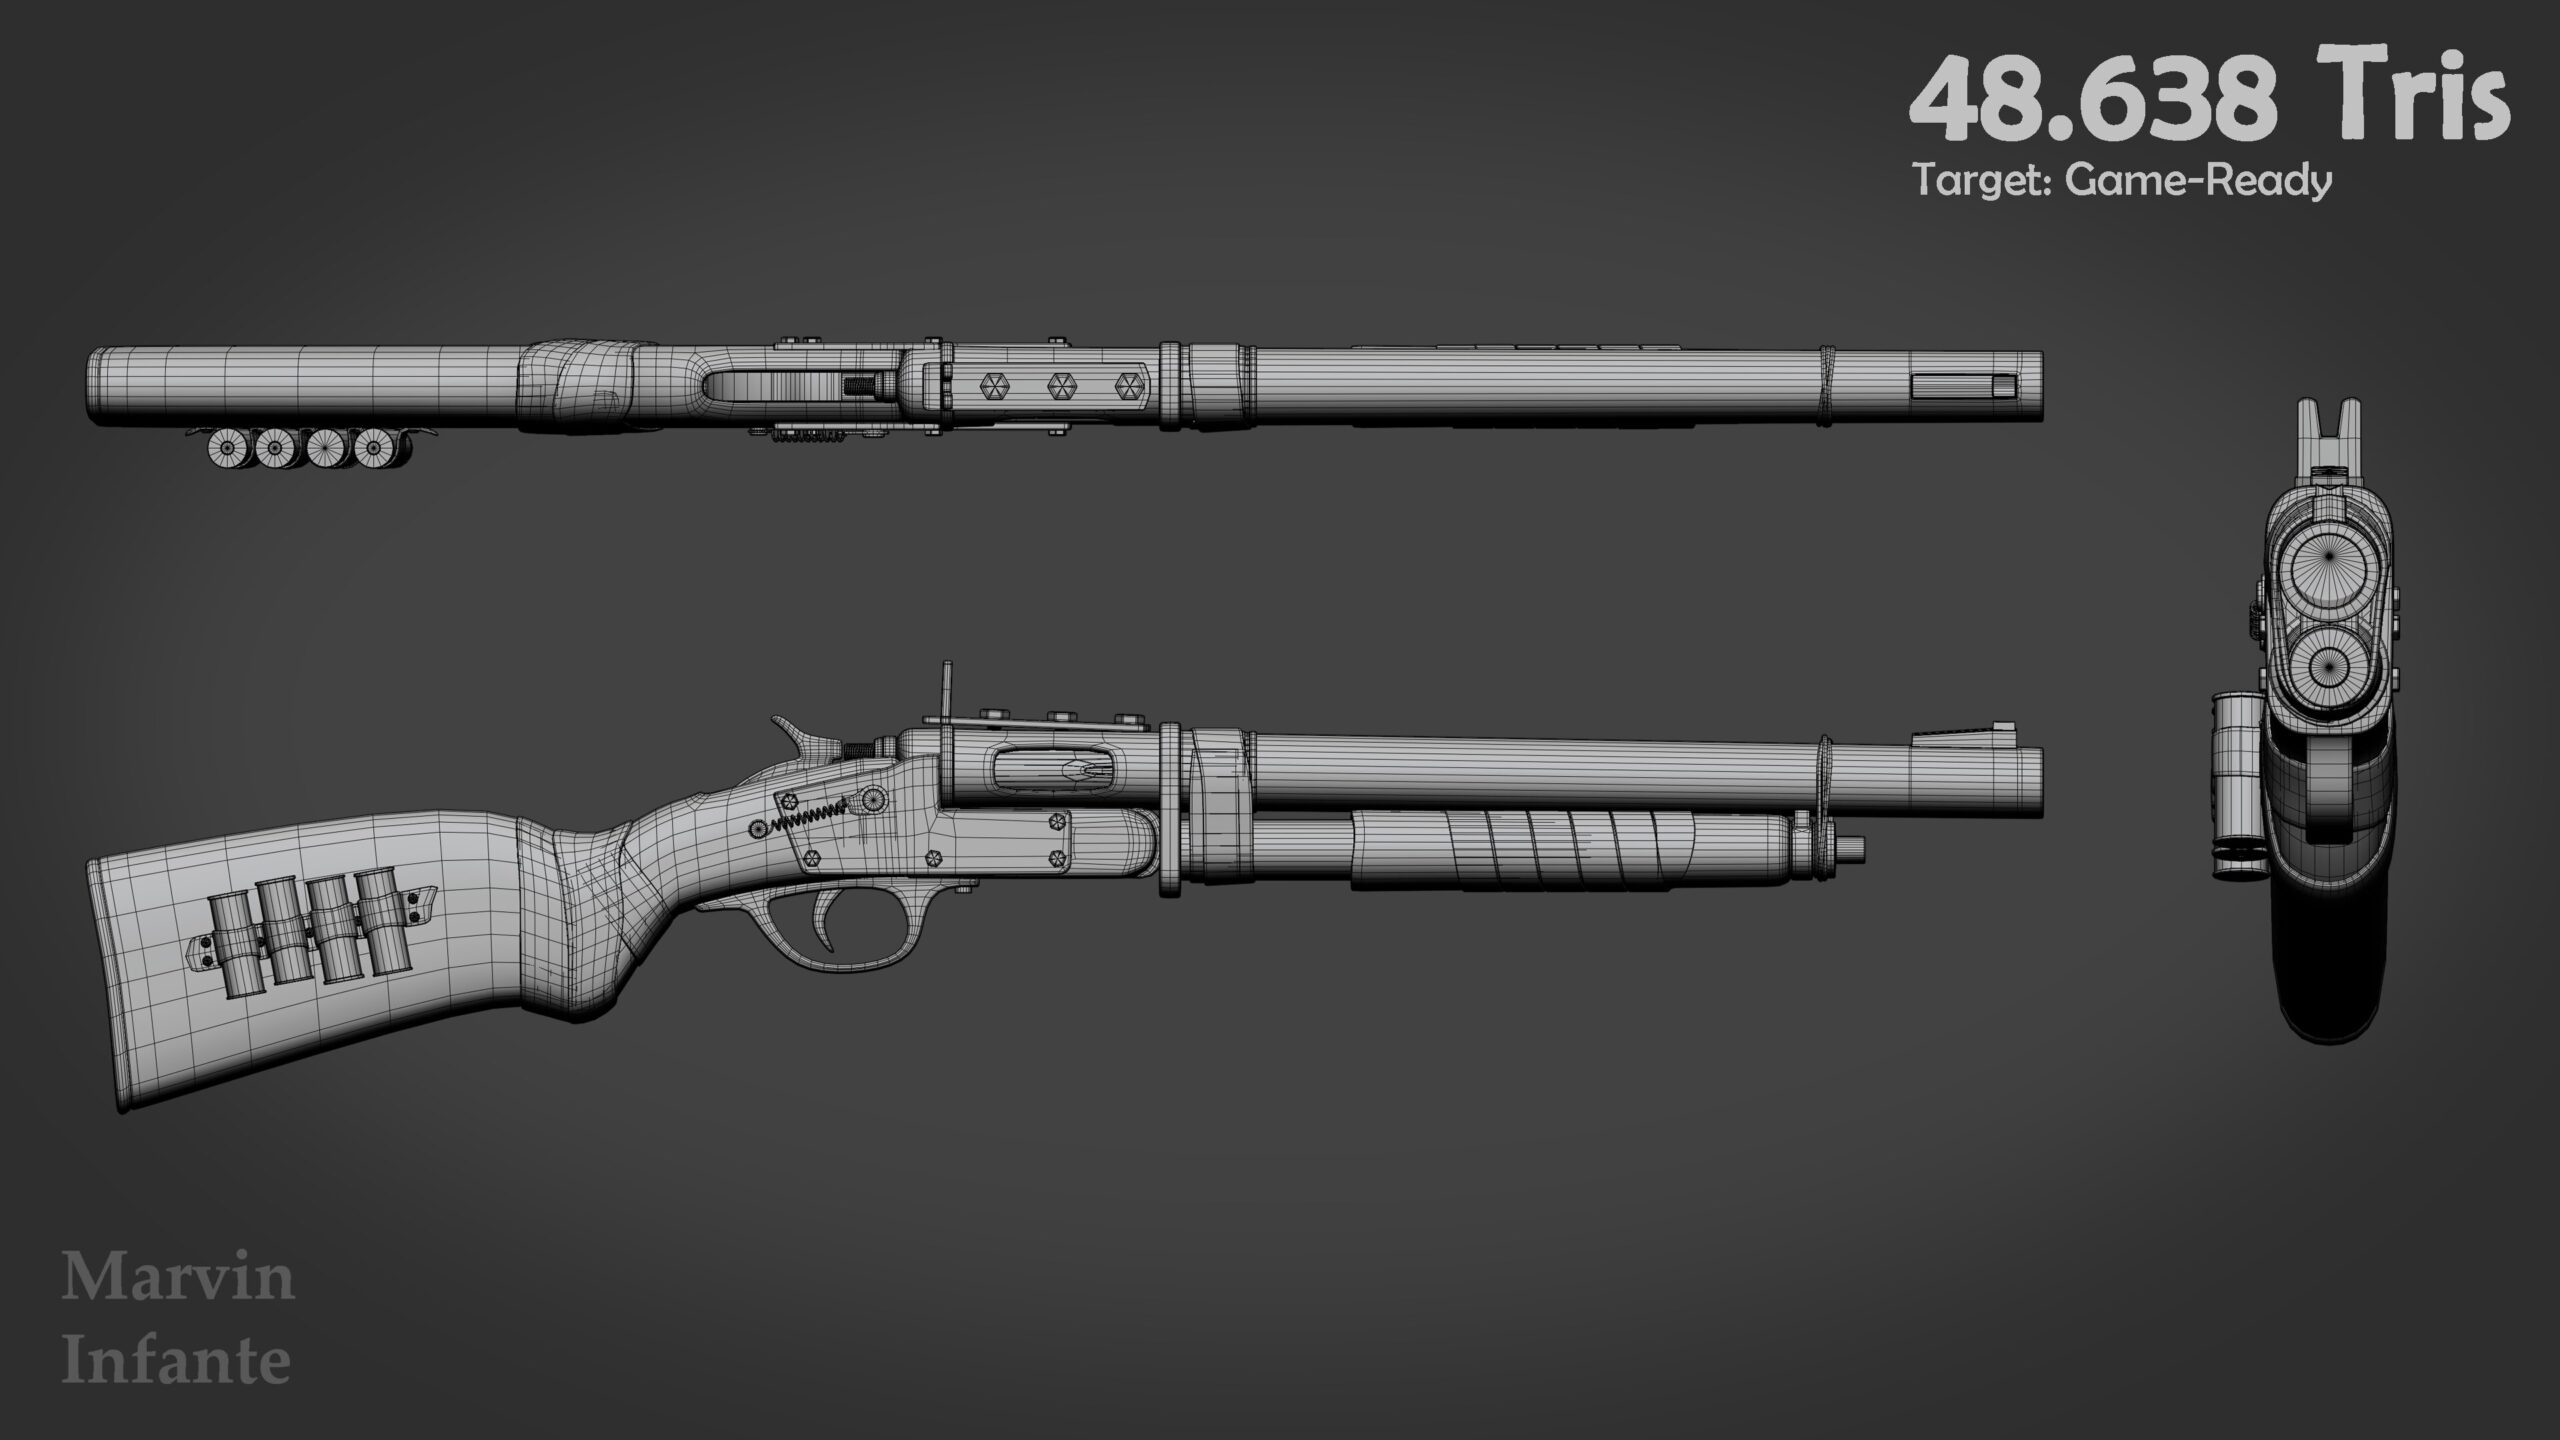
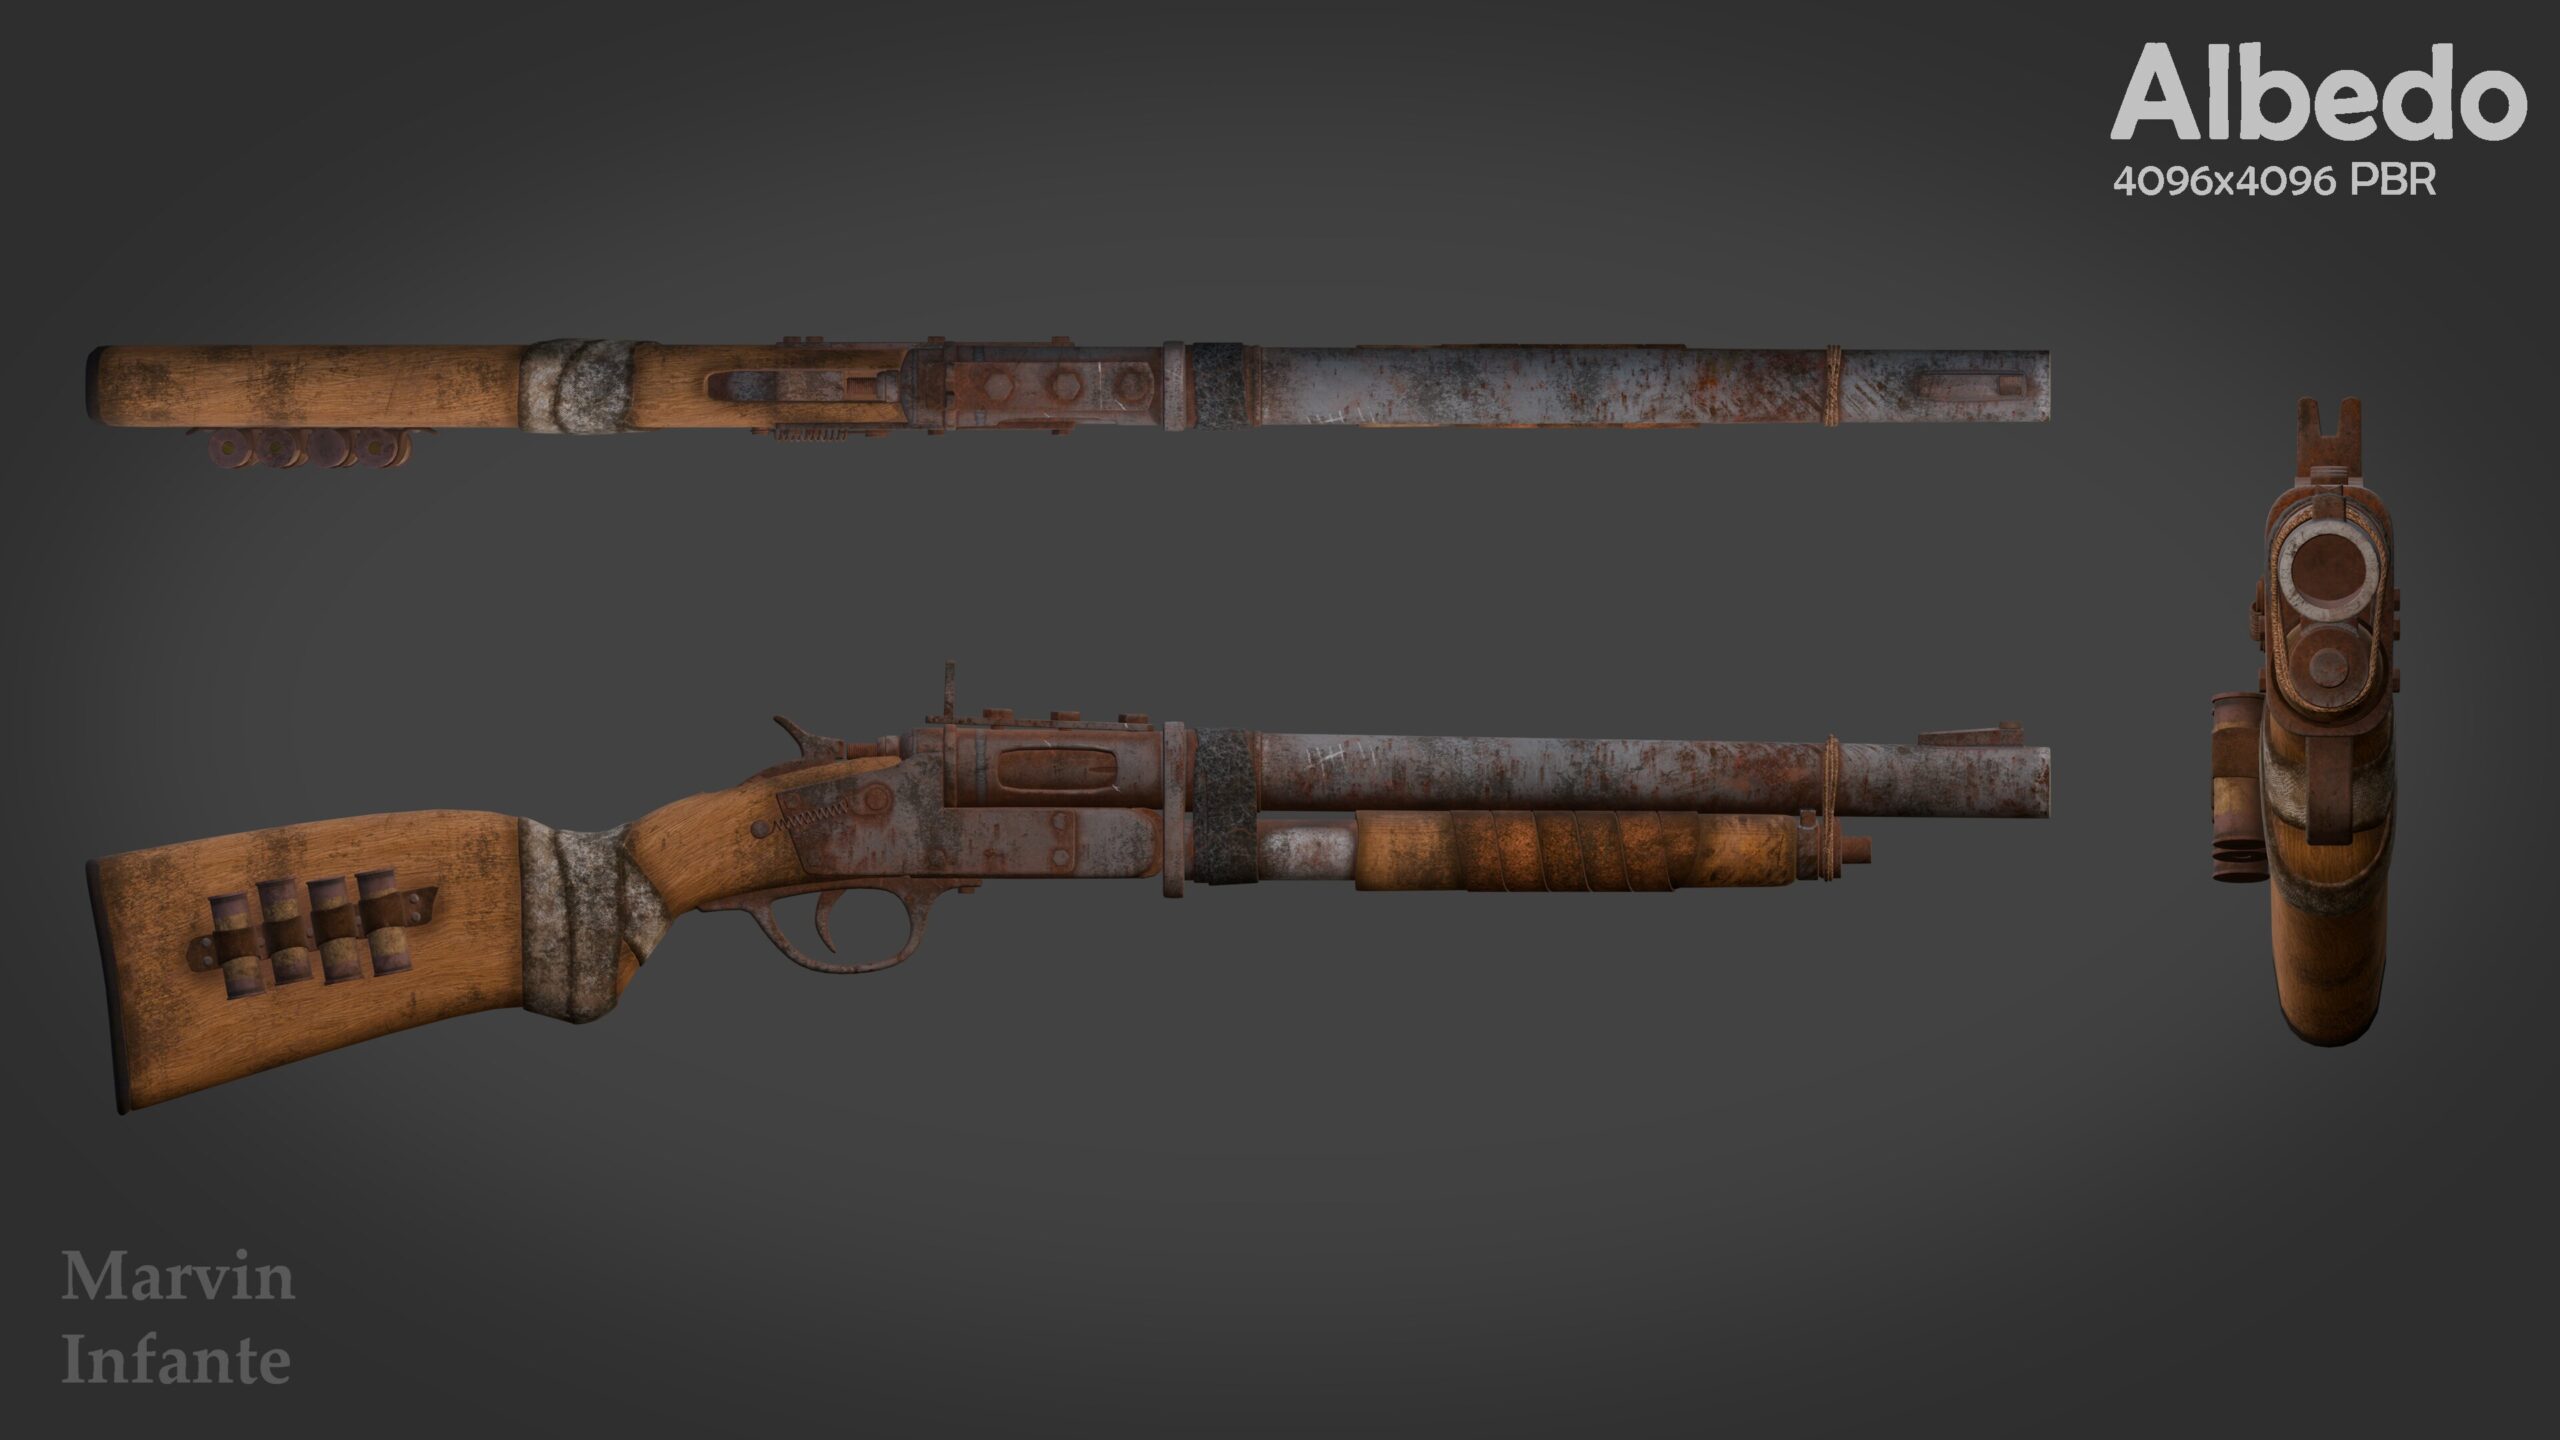
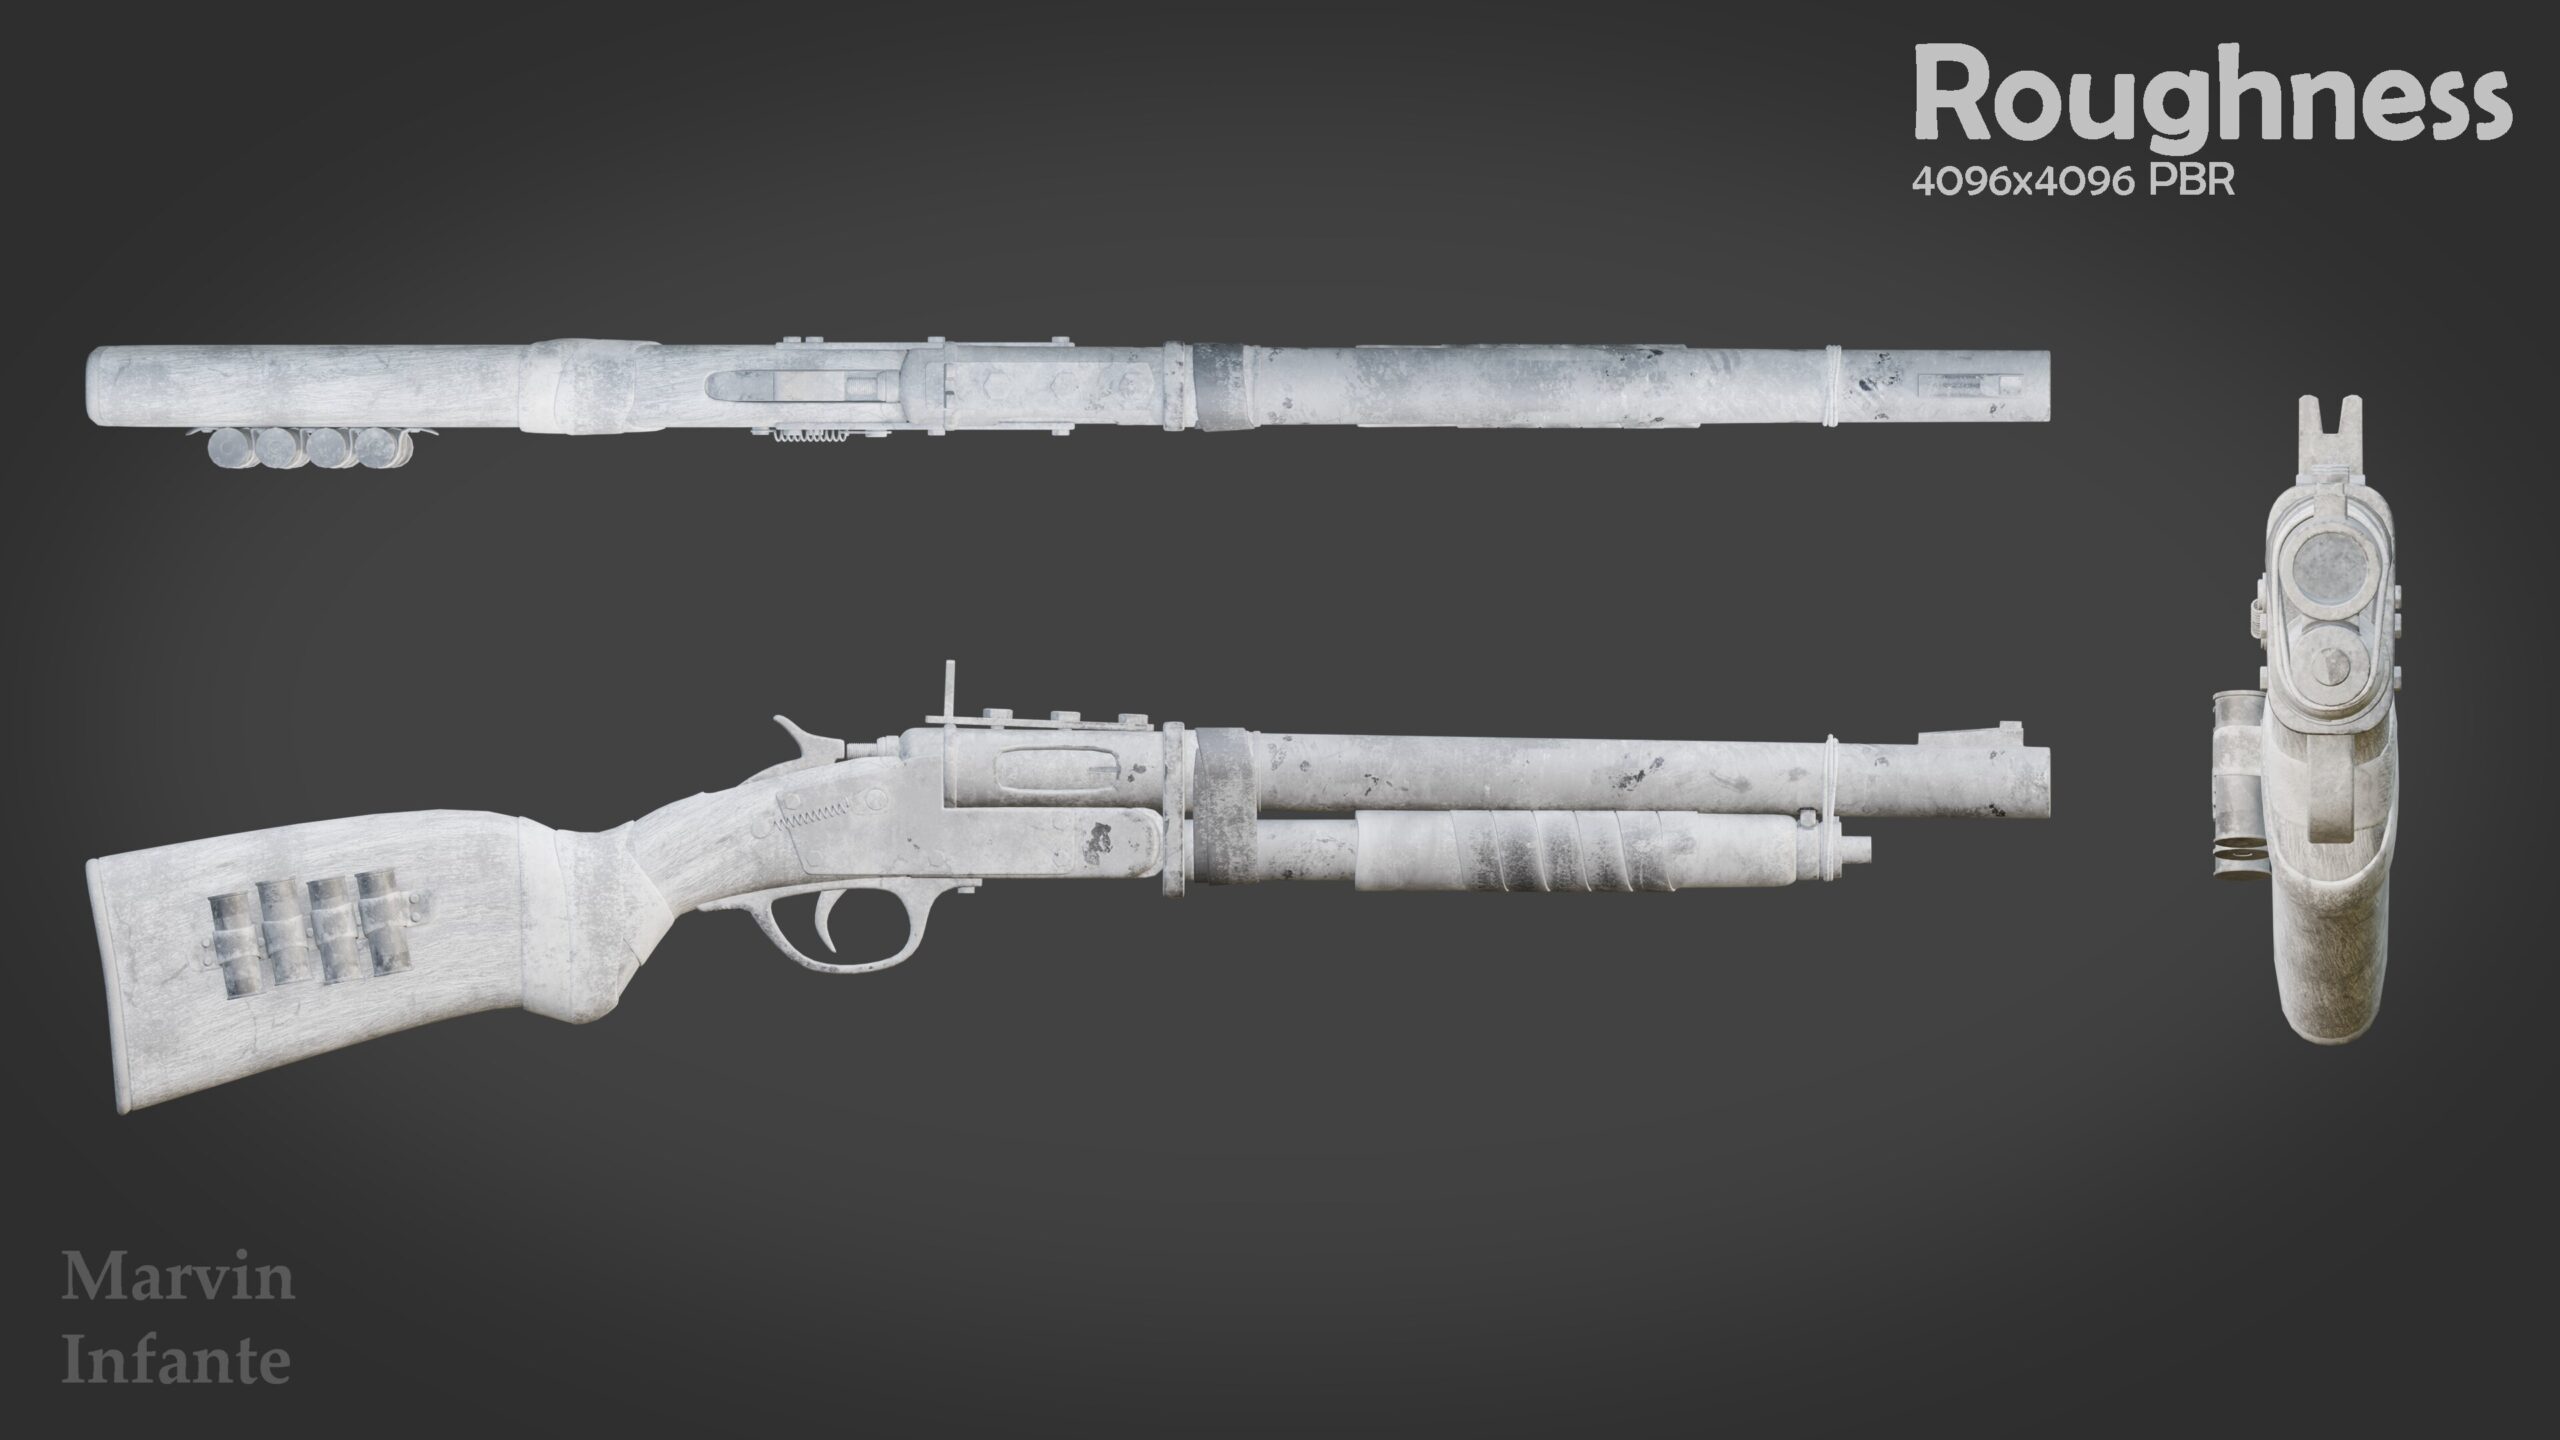
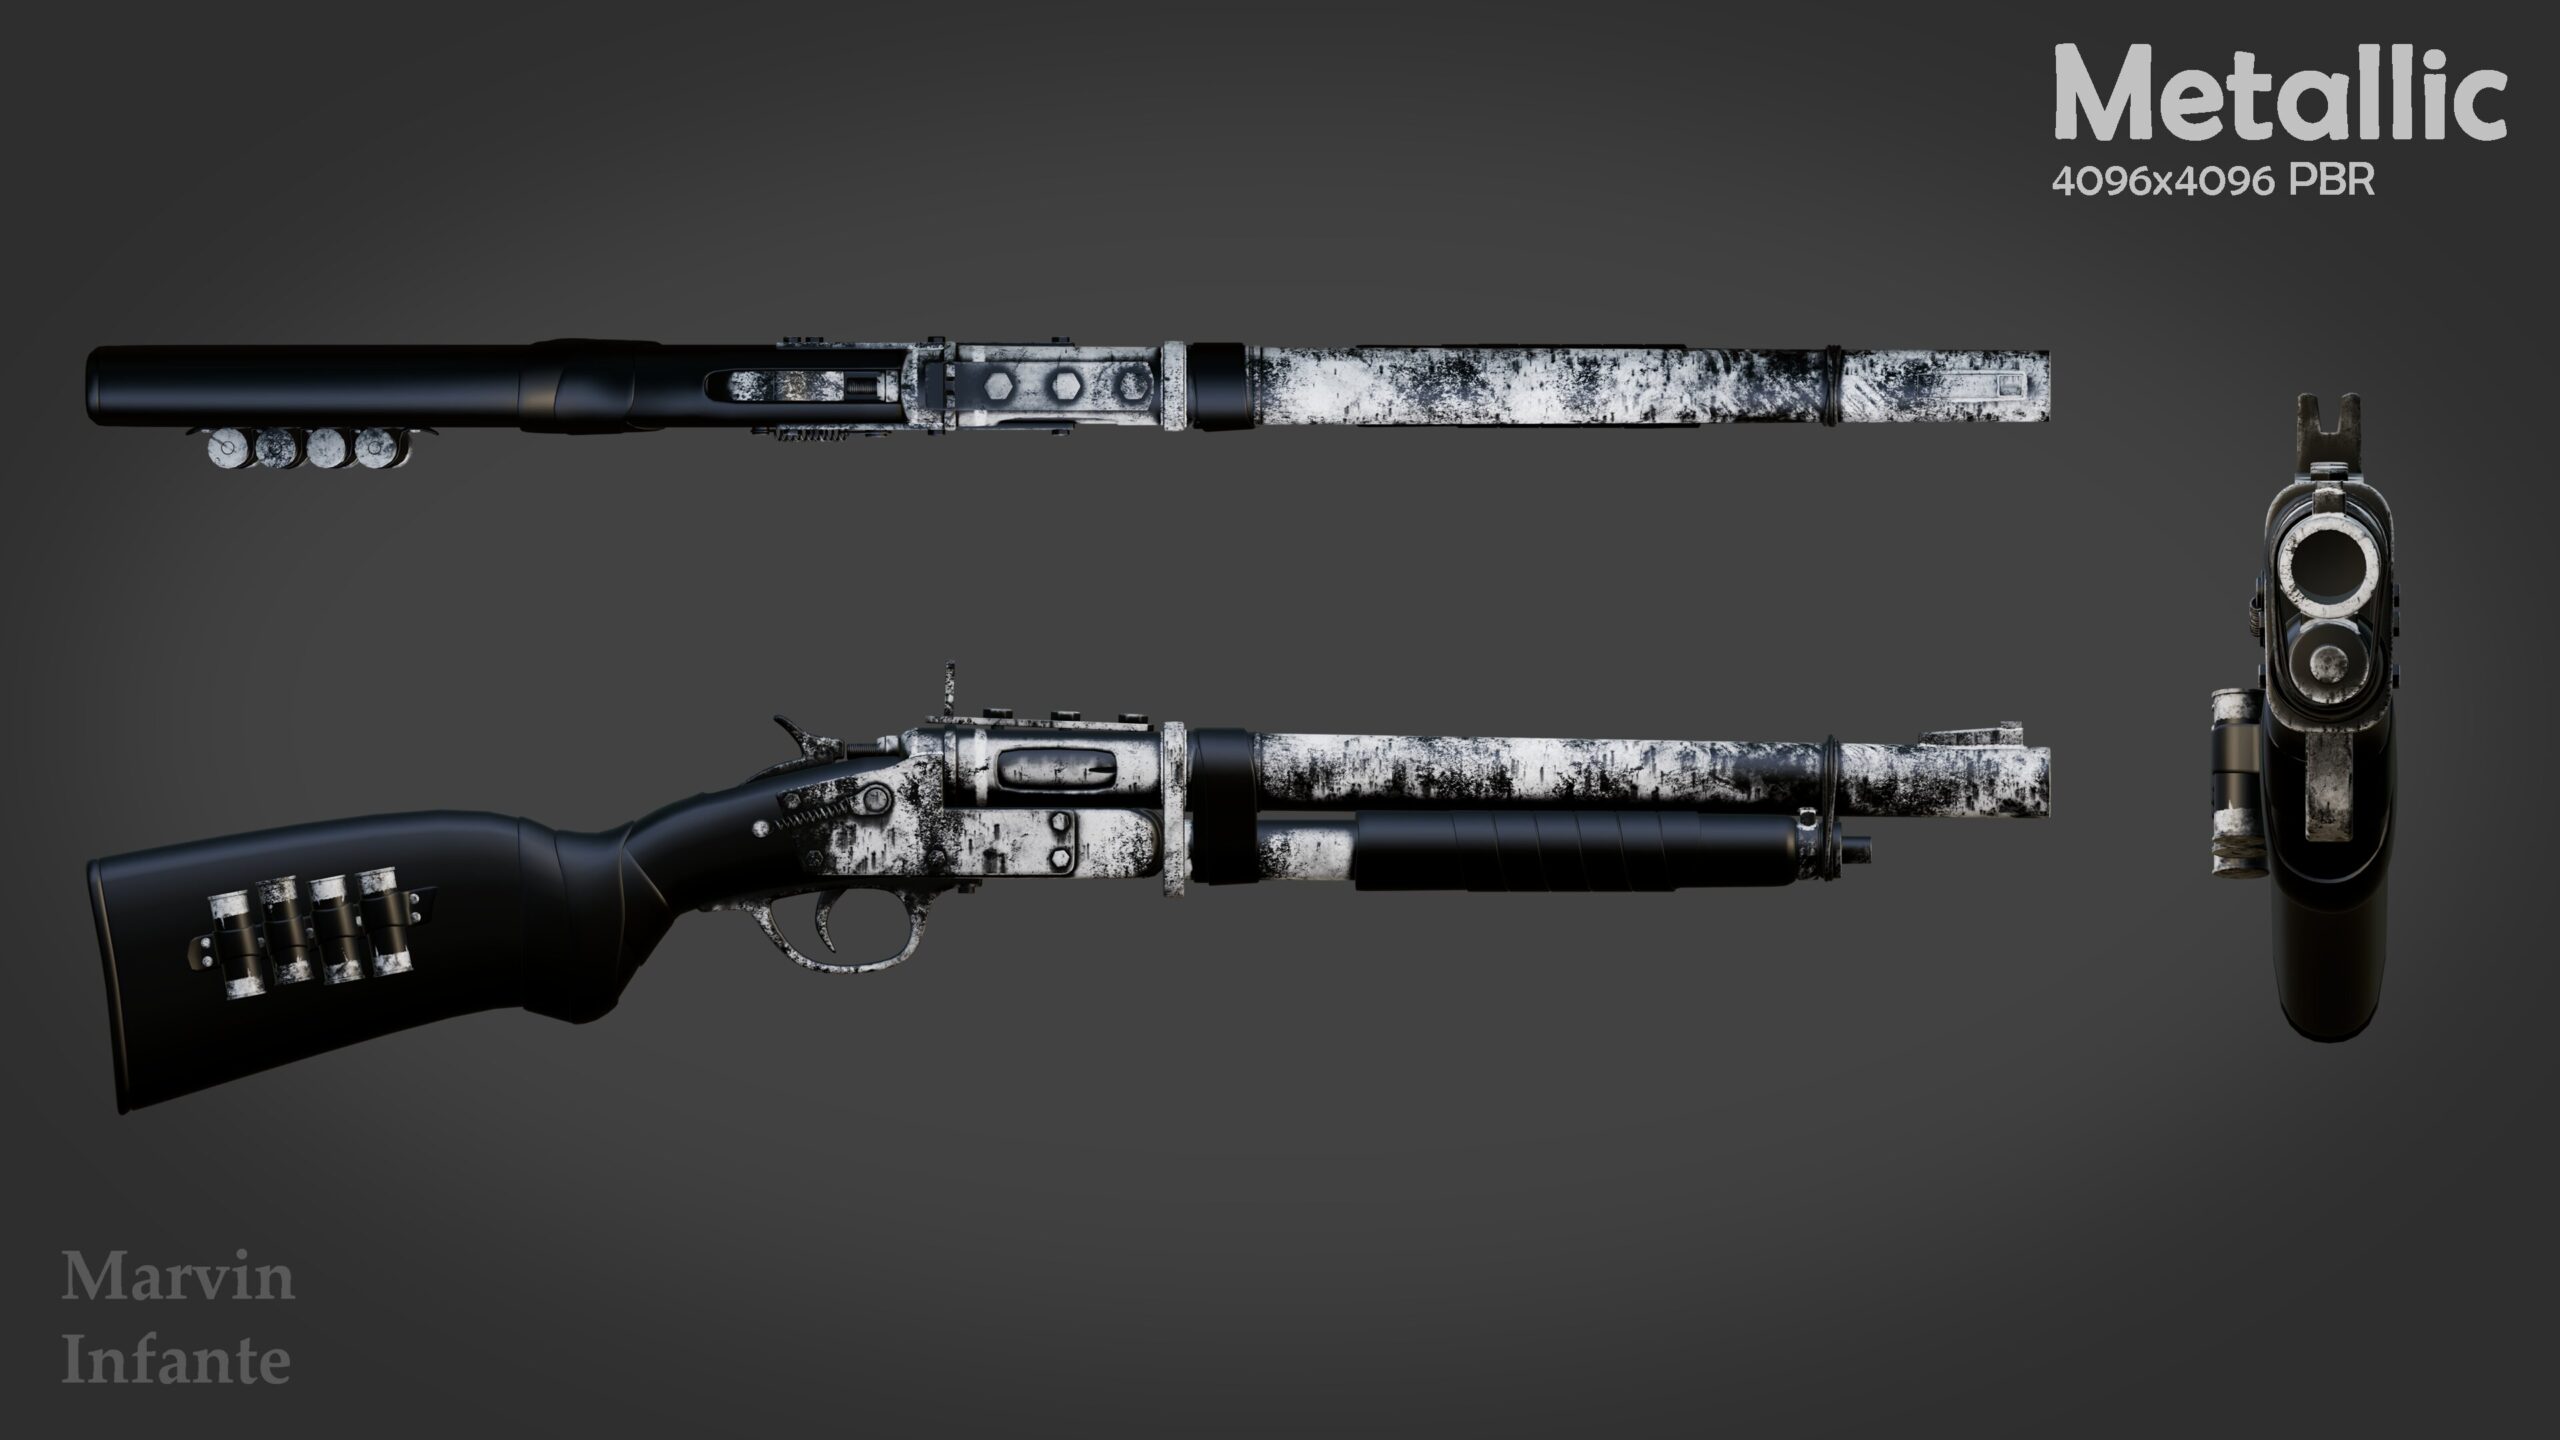
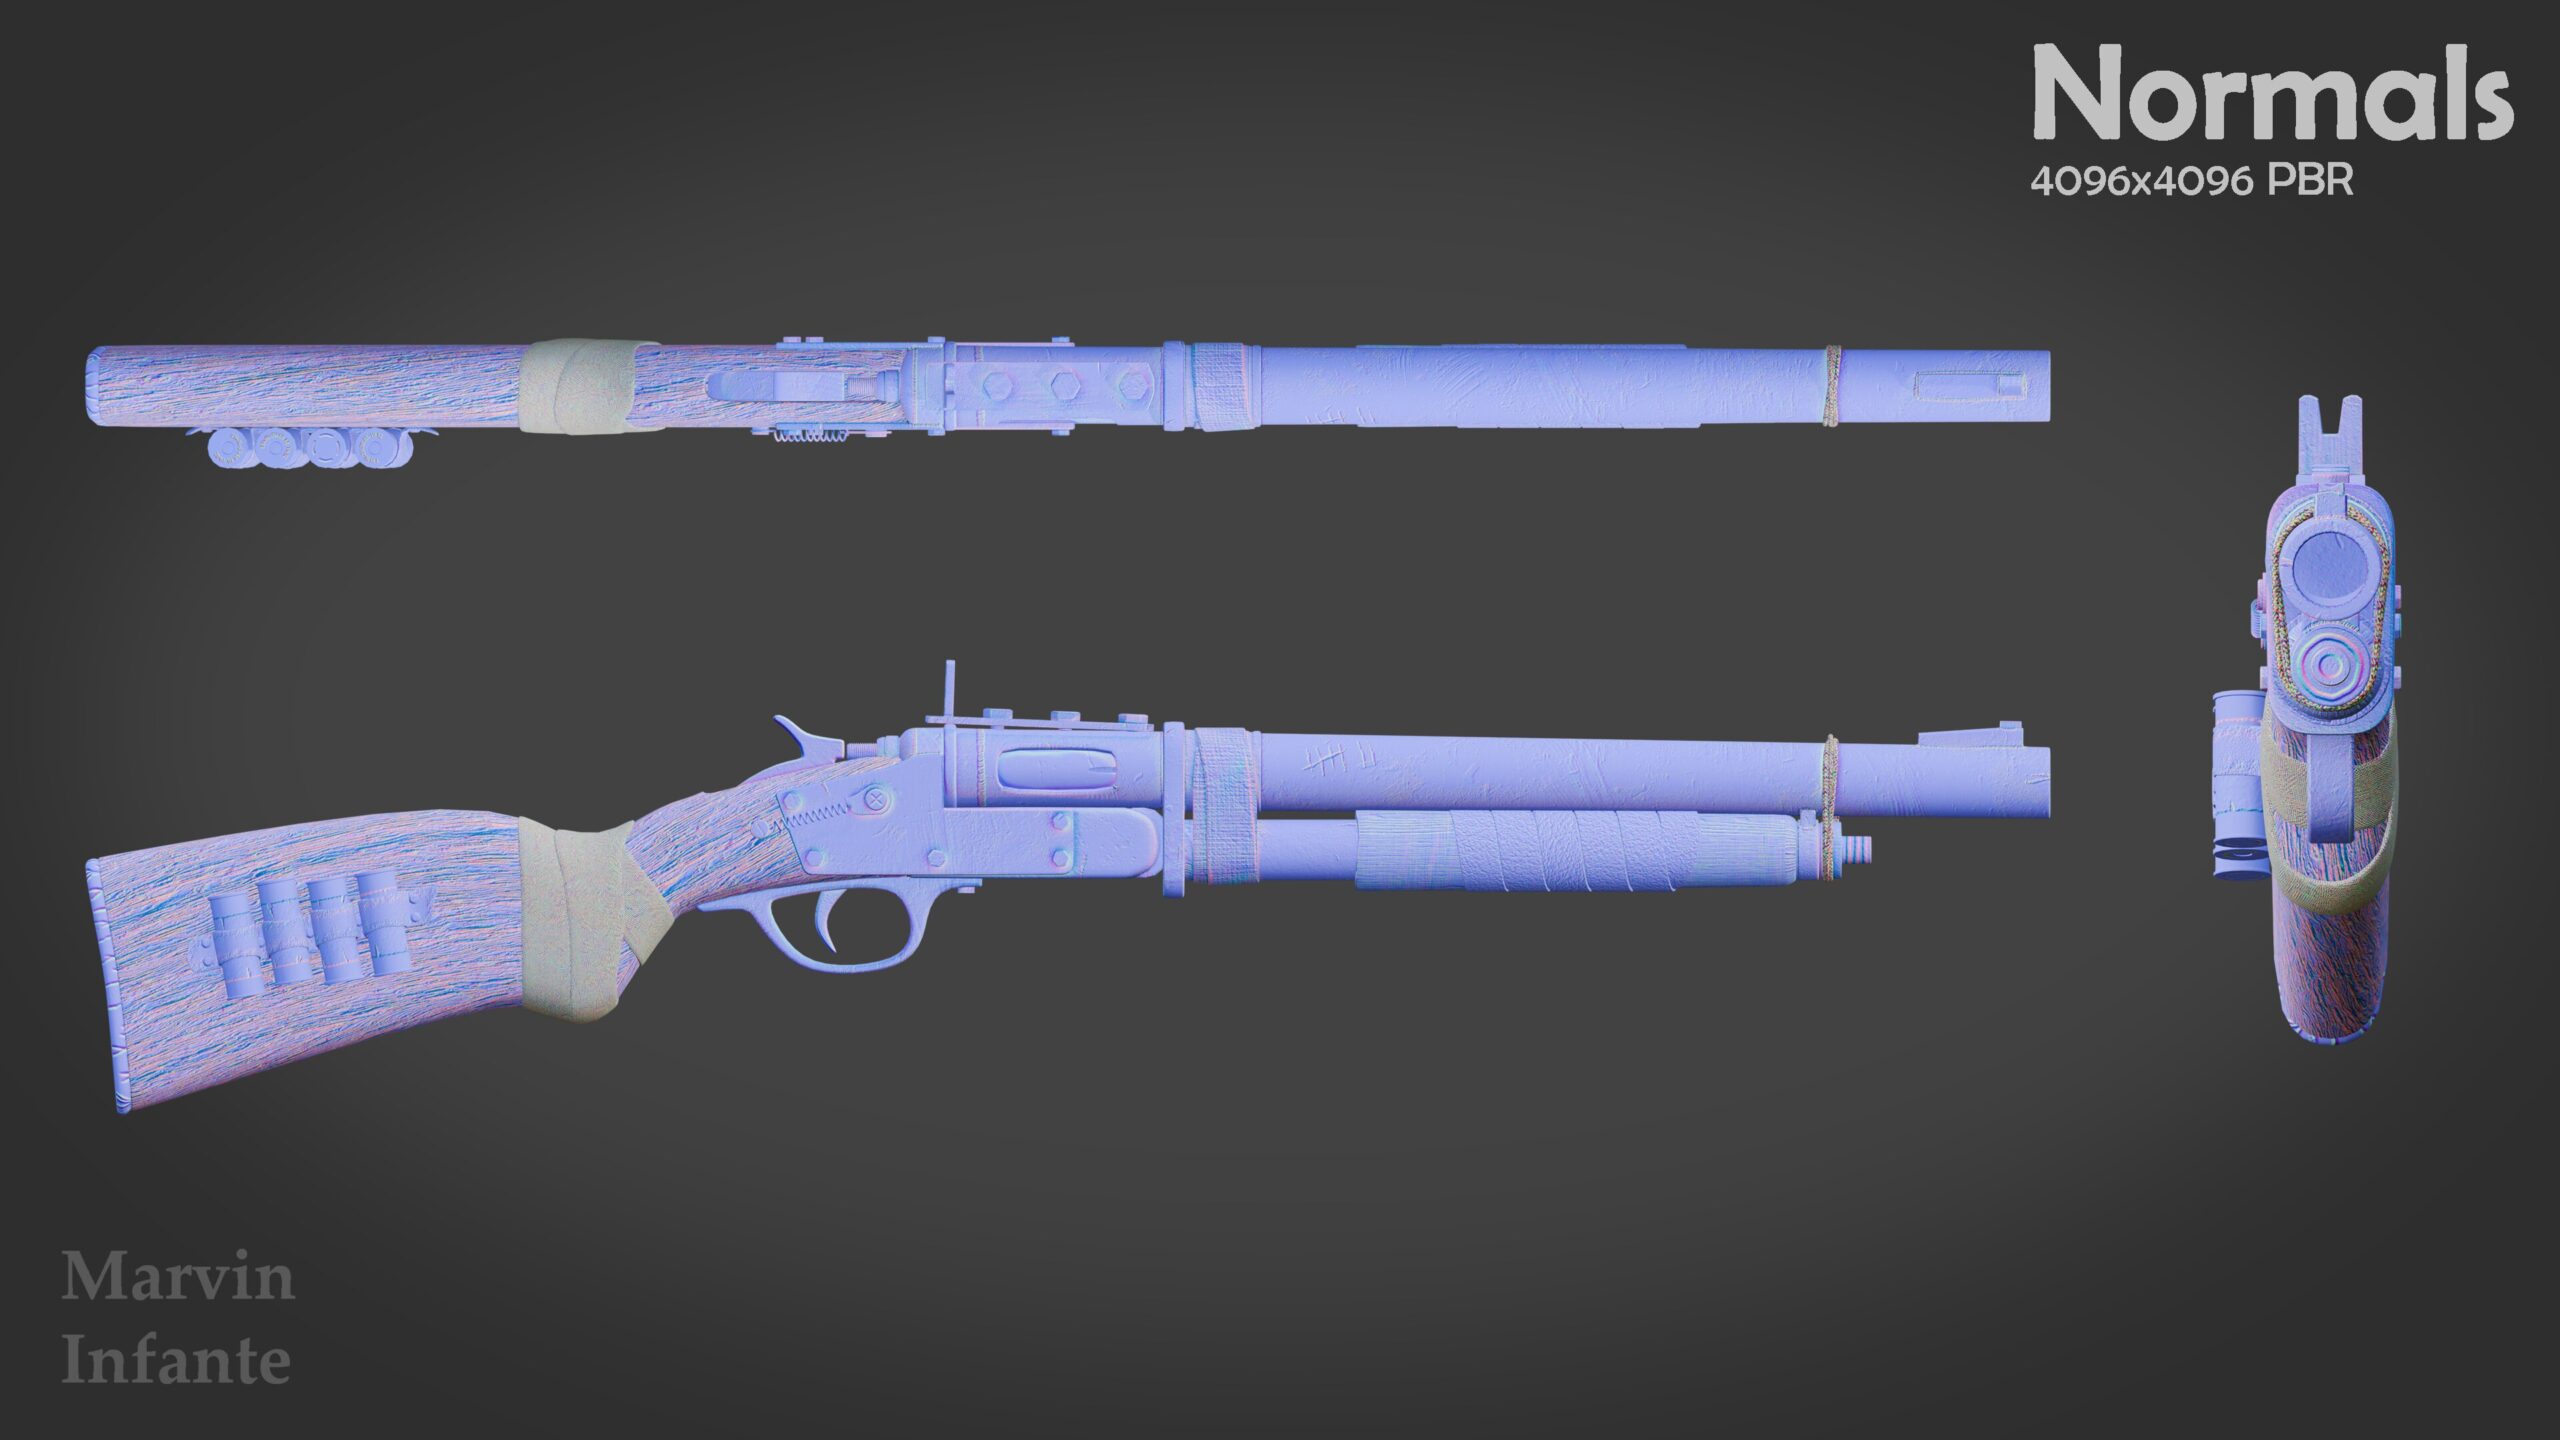
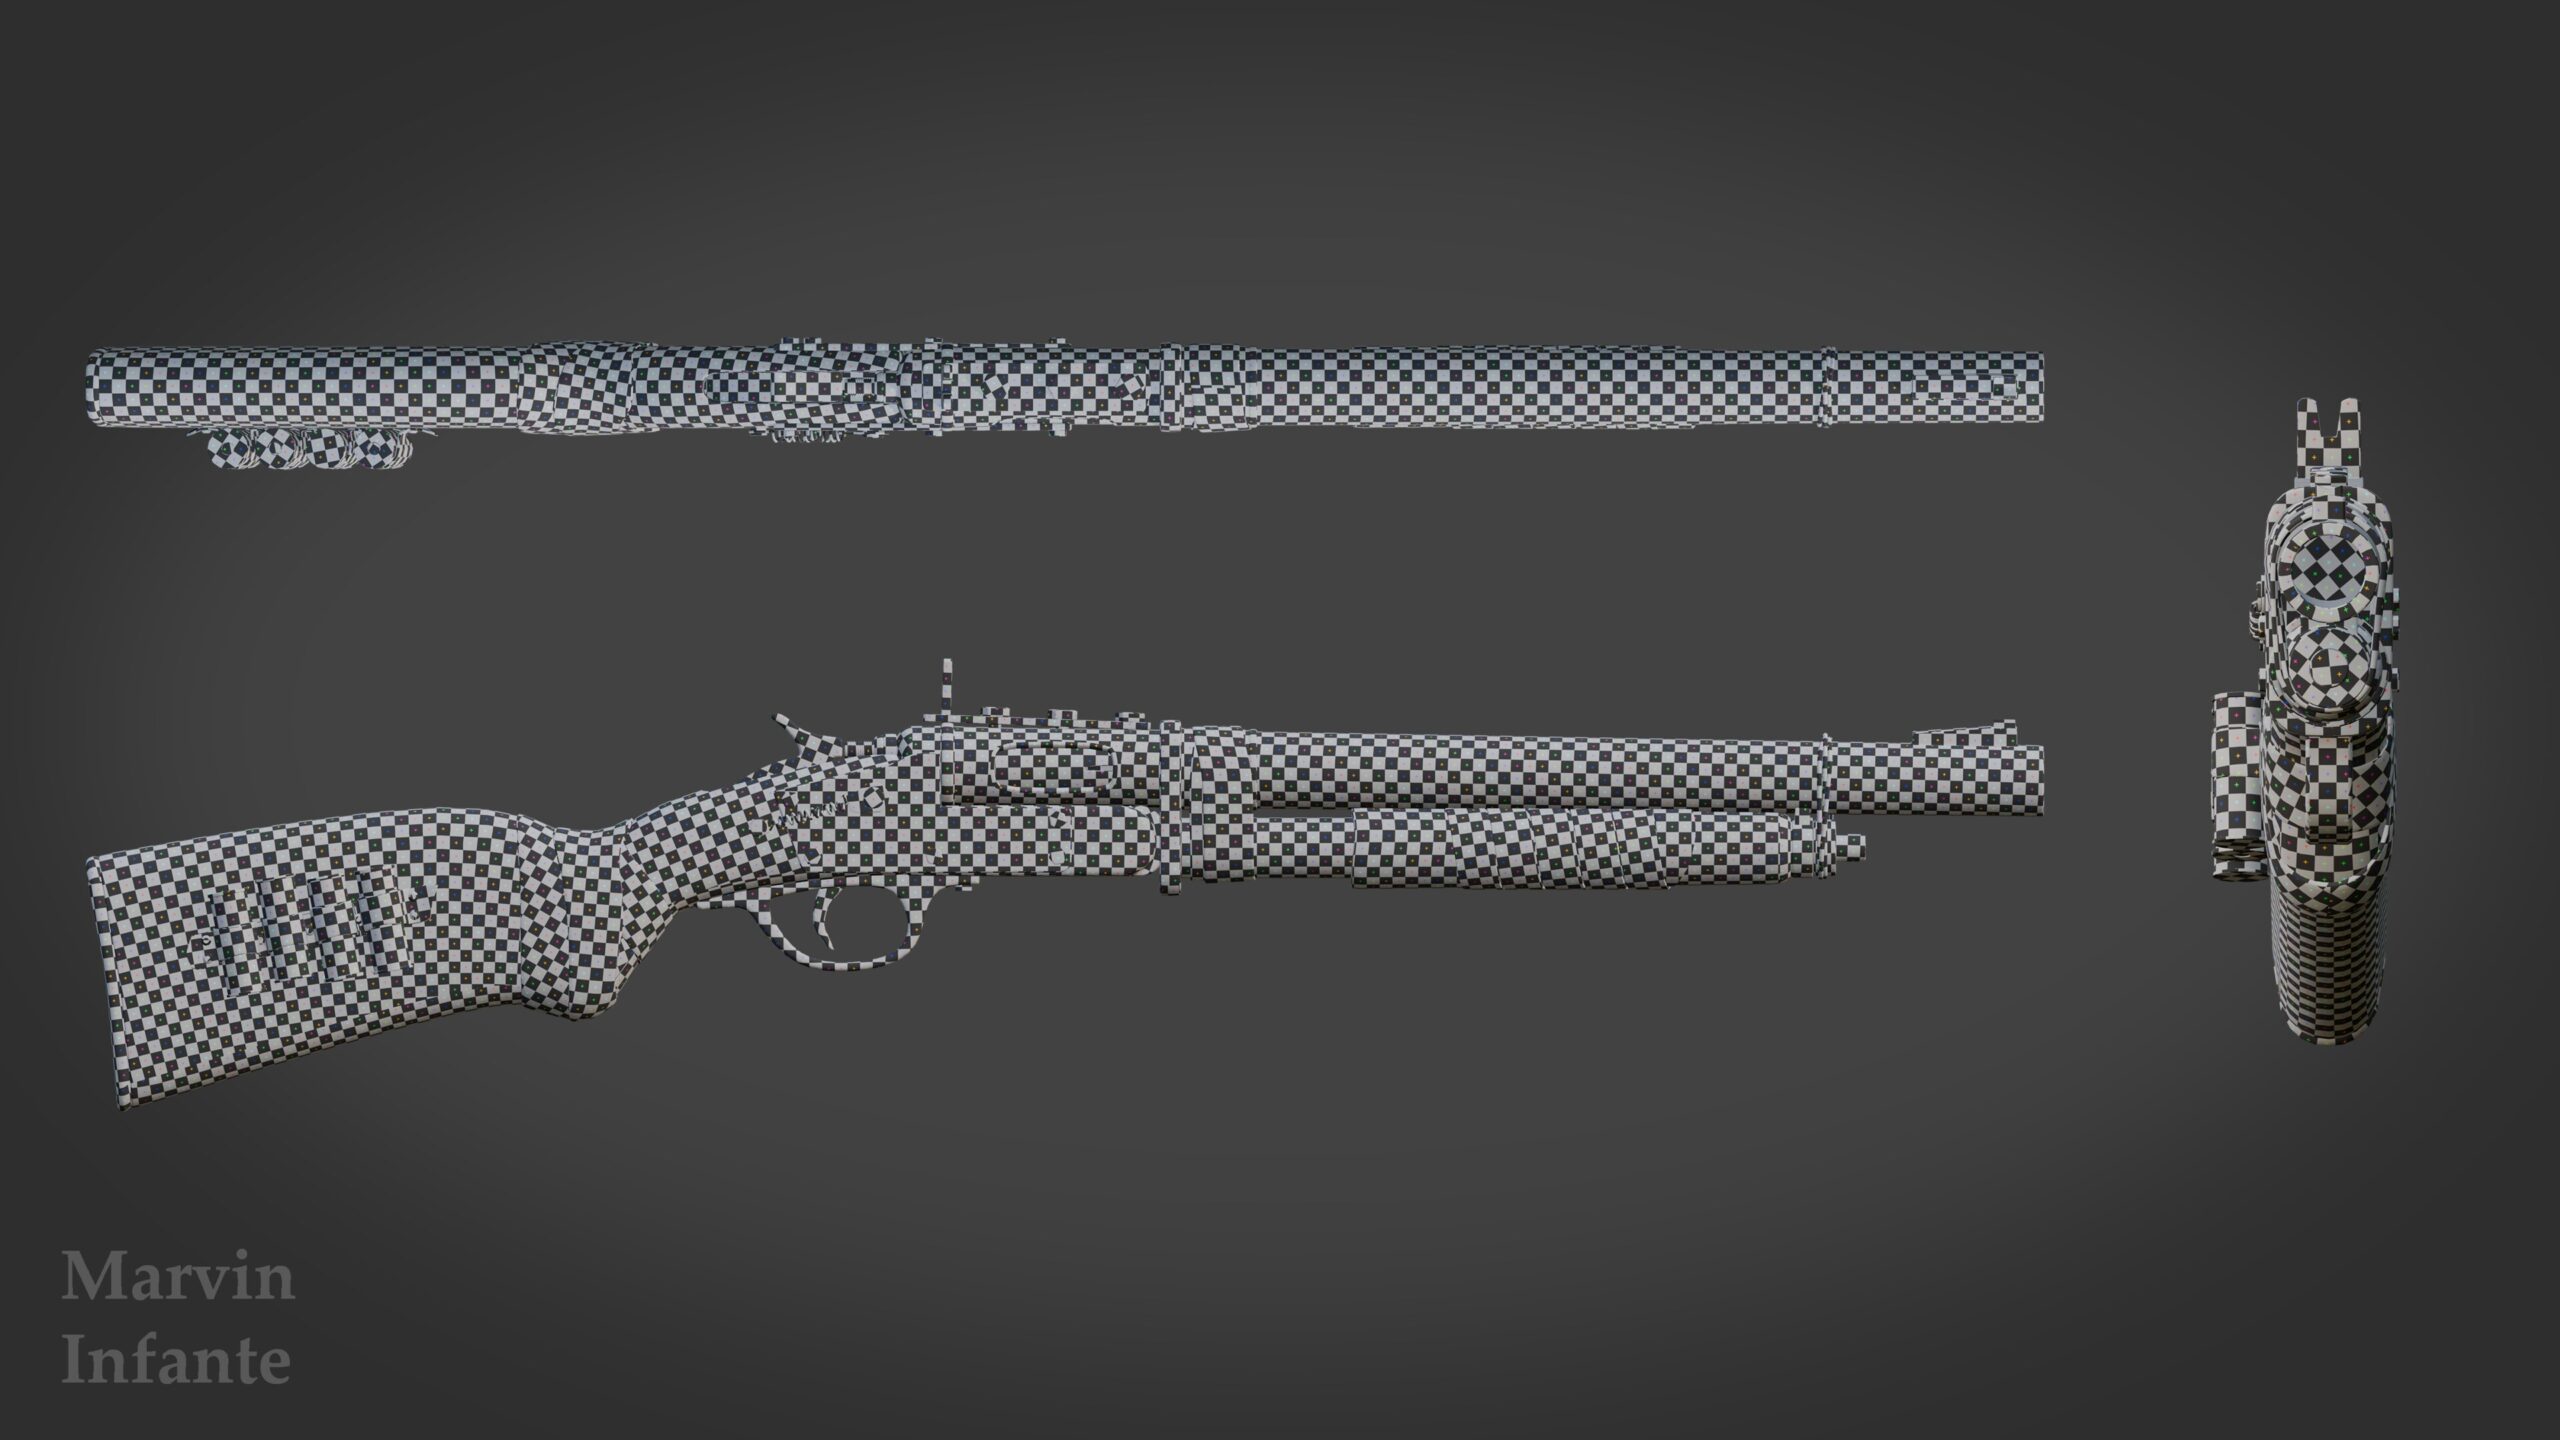
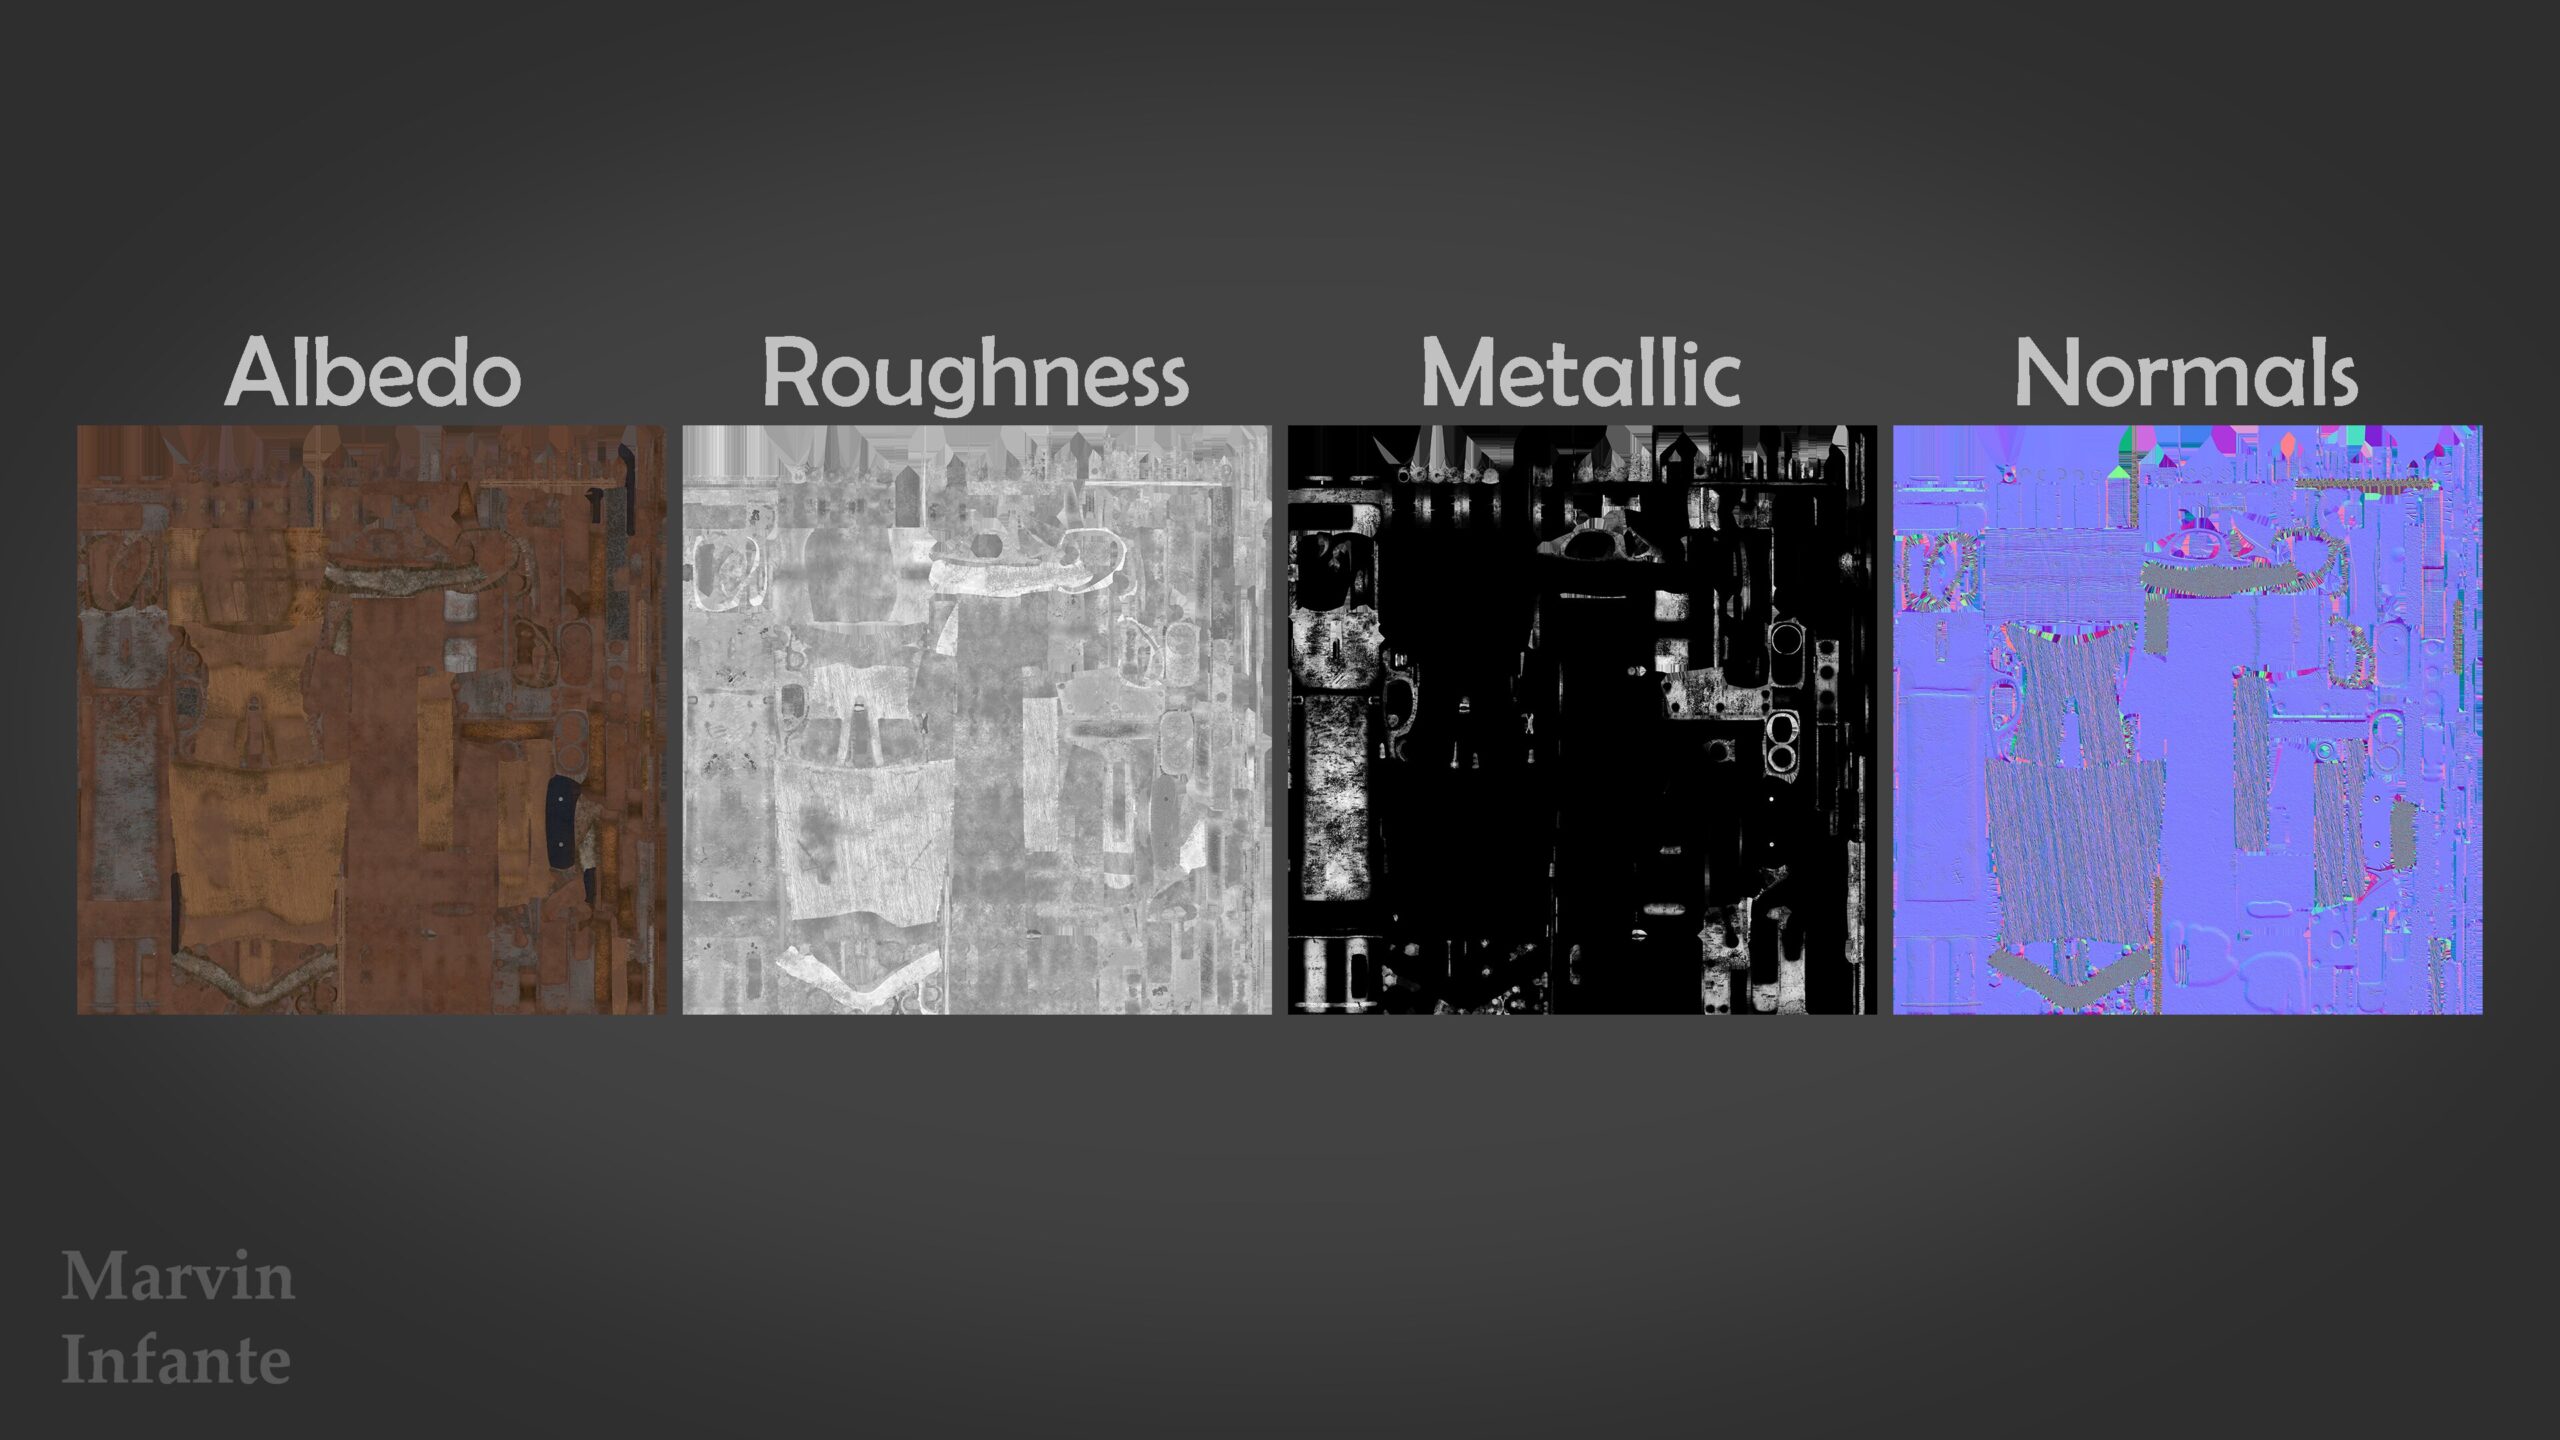
The Makeshift Shotgun is a game-ready weapon prop modeled in Blender and textured in Substance Painter. I approached it as a personal exercise with two clear goals: to build a fully optimized, game-ready asset, and to push my texturing skills further — with a strong focus on telling a story through surface detail alone.
The concept is an improvised, scavenged pump-action shotgun — a weapon that was clearly never built in a factory, but assembled and kept alive by whoever needed it. That idea guided every decision. Mismatched metal parts are bolted together, a worn cloth wrap reinforces the wrist of the stock and a section of the barrel, and a simple shell holder is fixed to the buttstock with four spare shells ready to go. The most deliberate storytelling beat are the tally marks scratched into the barrel — a quiet detail that suggests the owner has been keeping count, and that this gun carries a history.
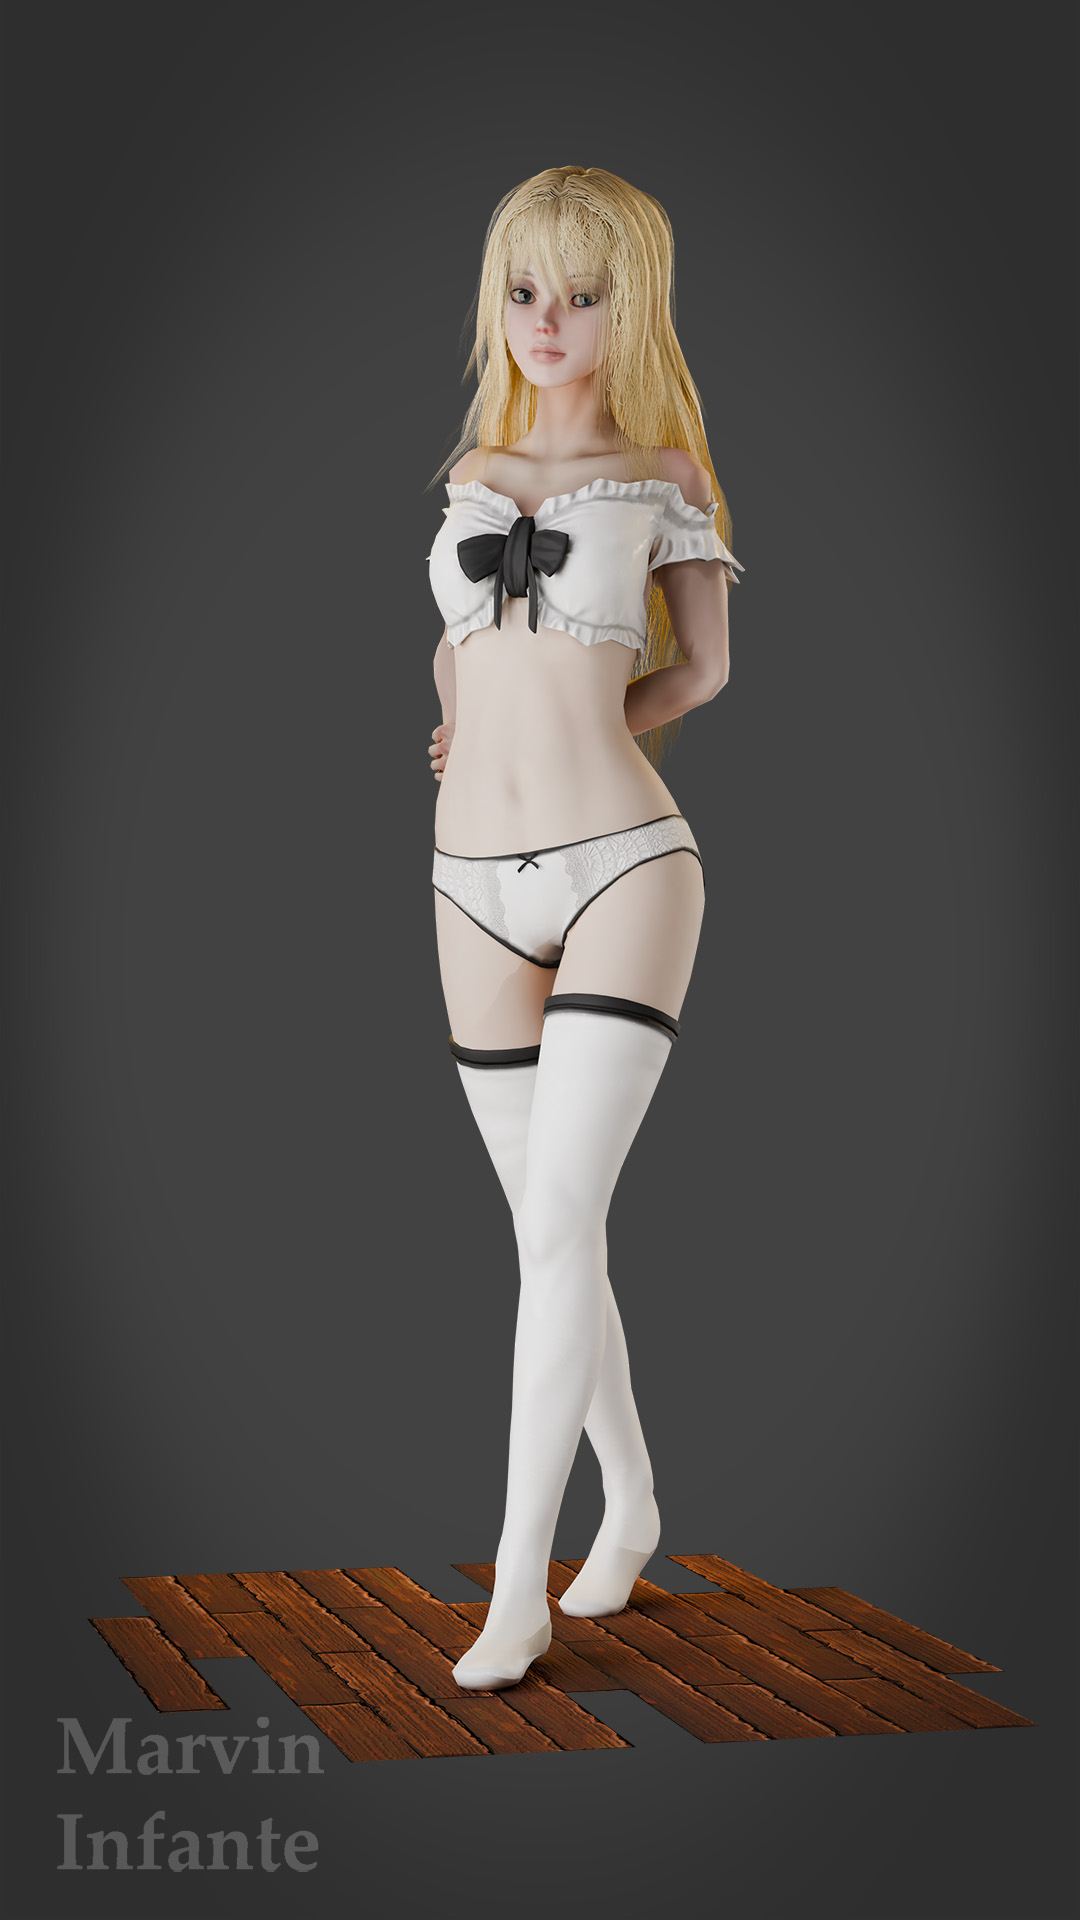
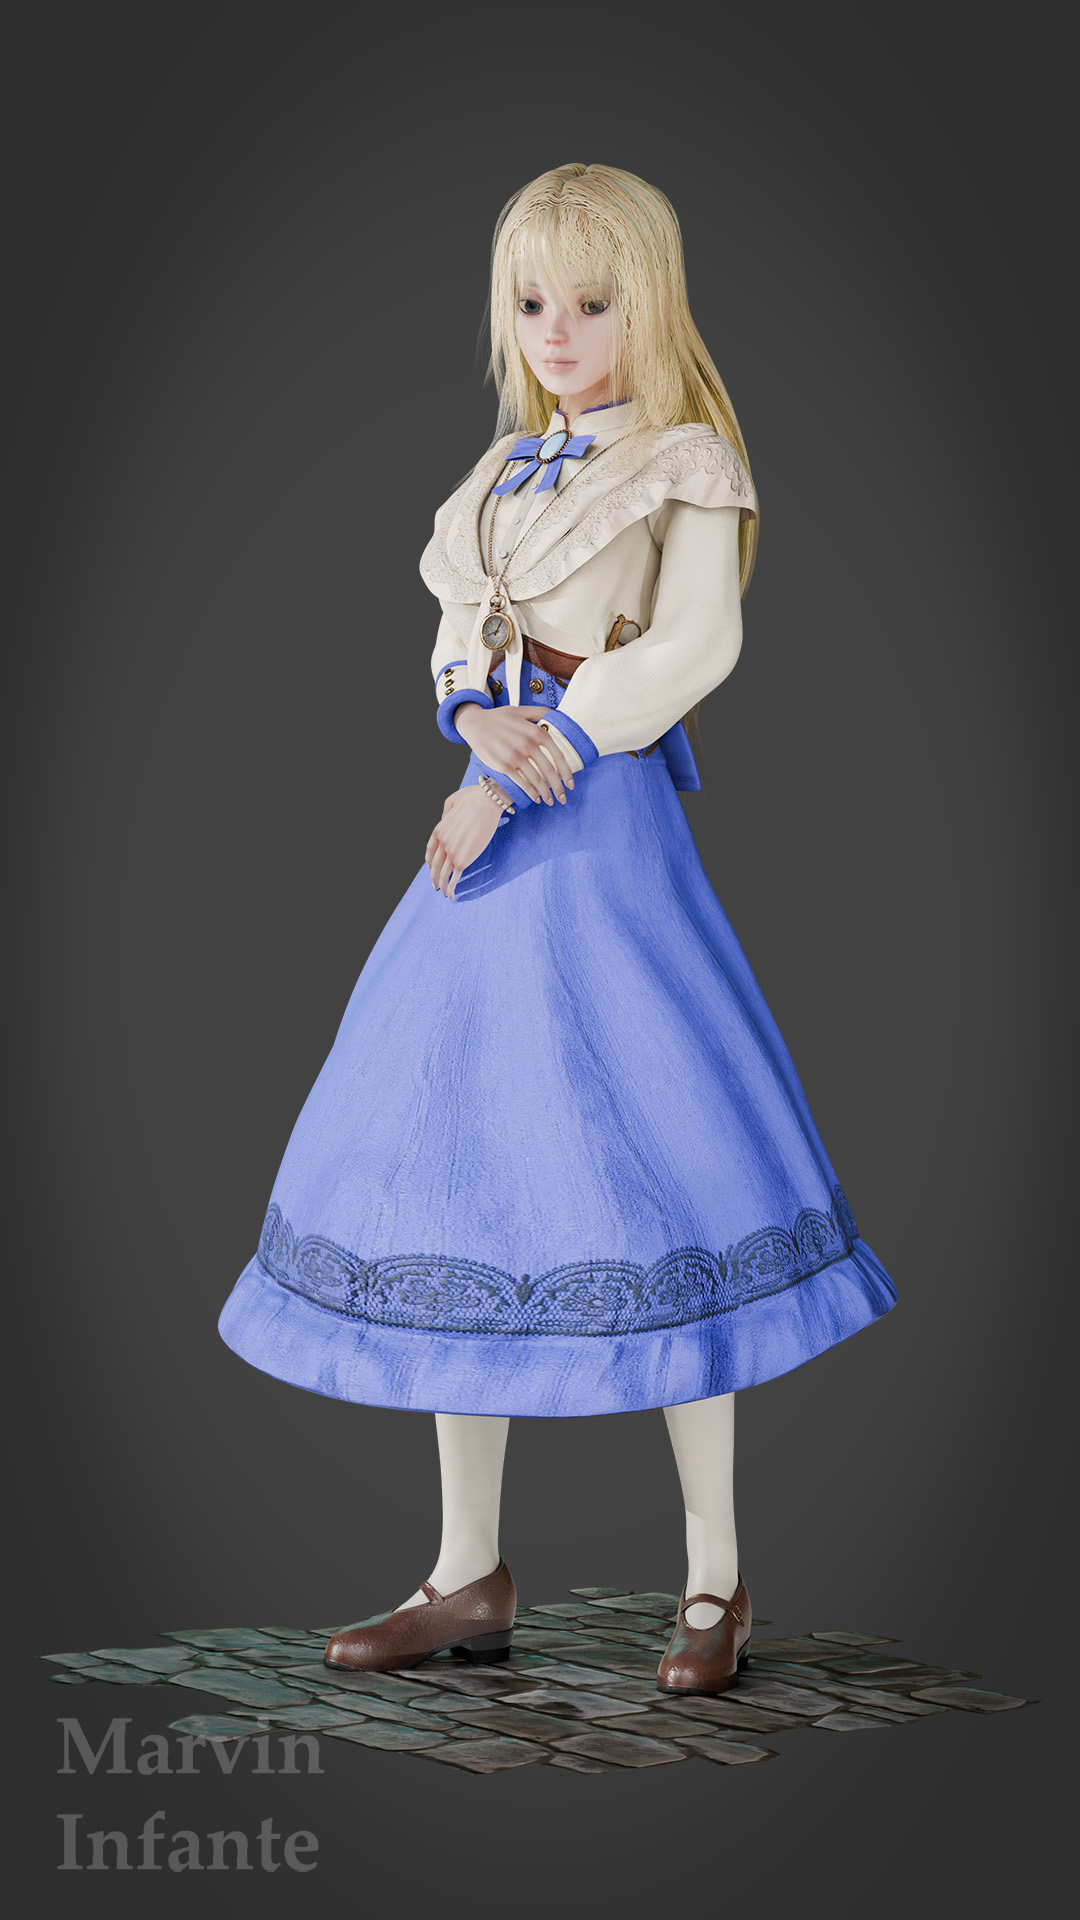
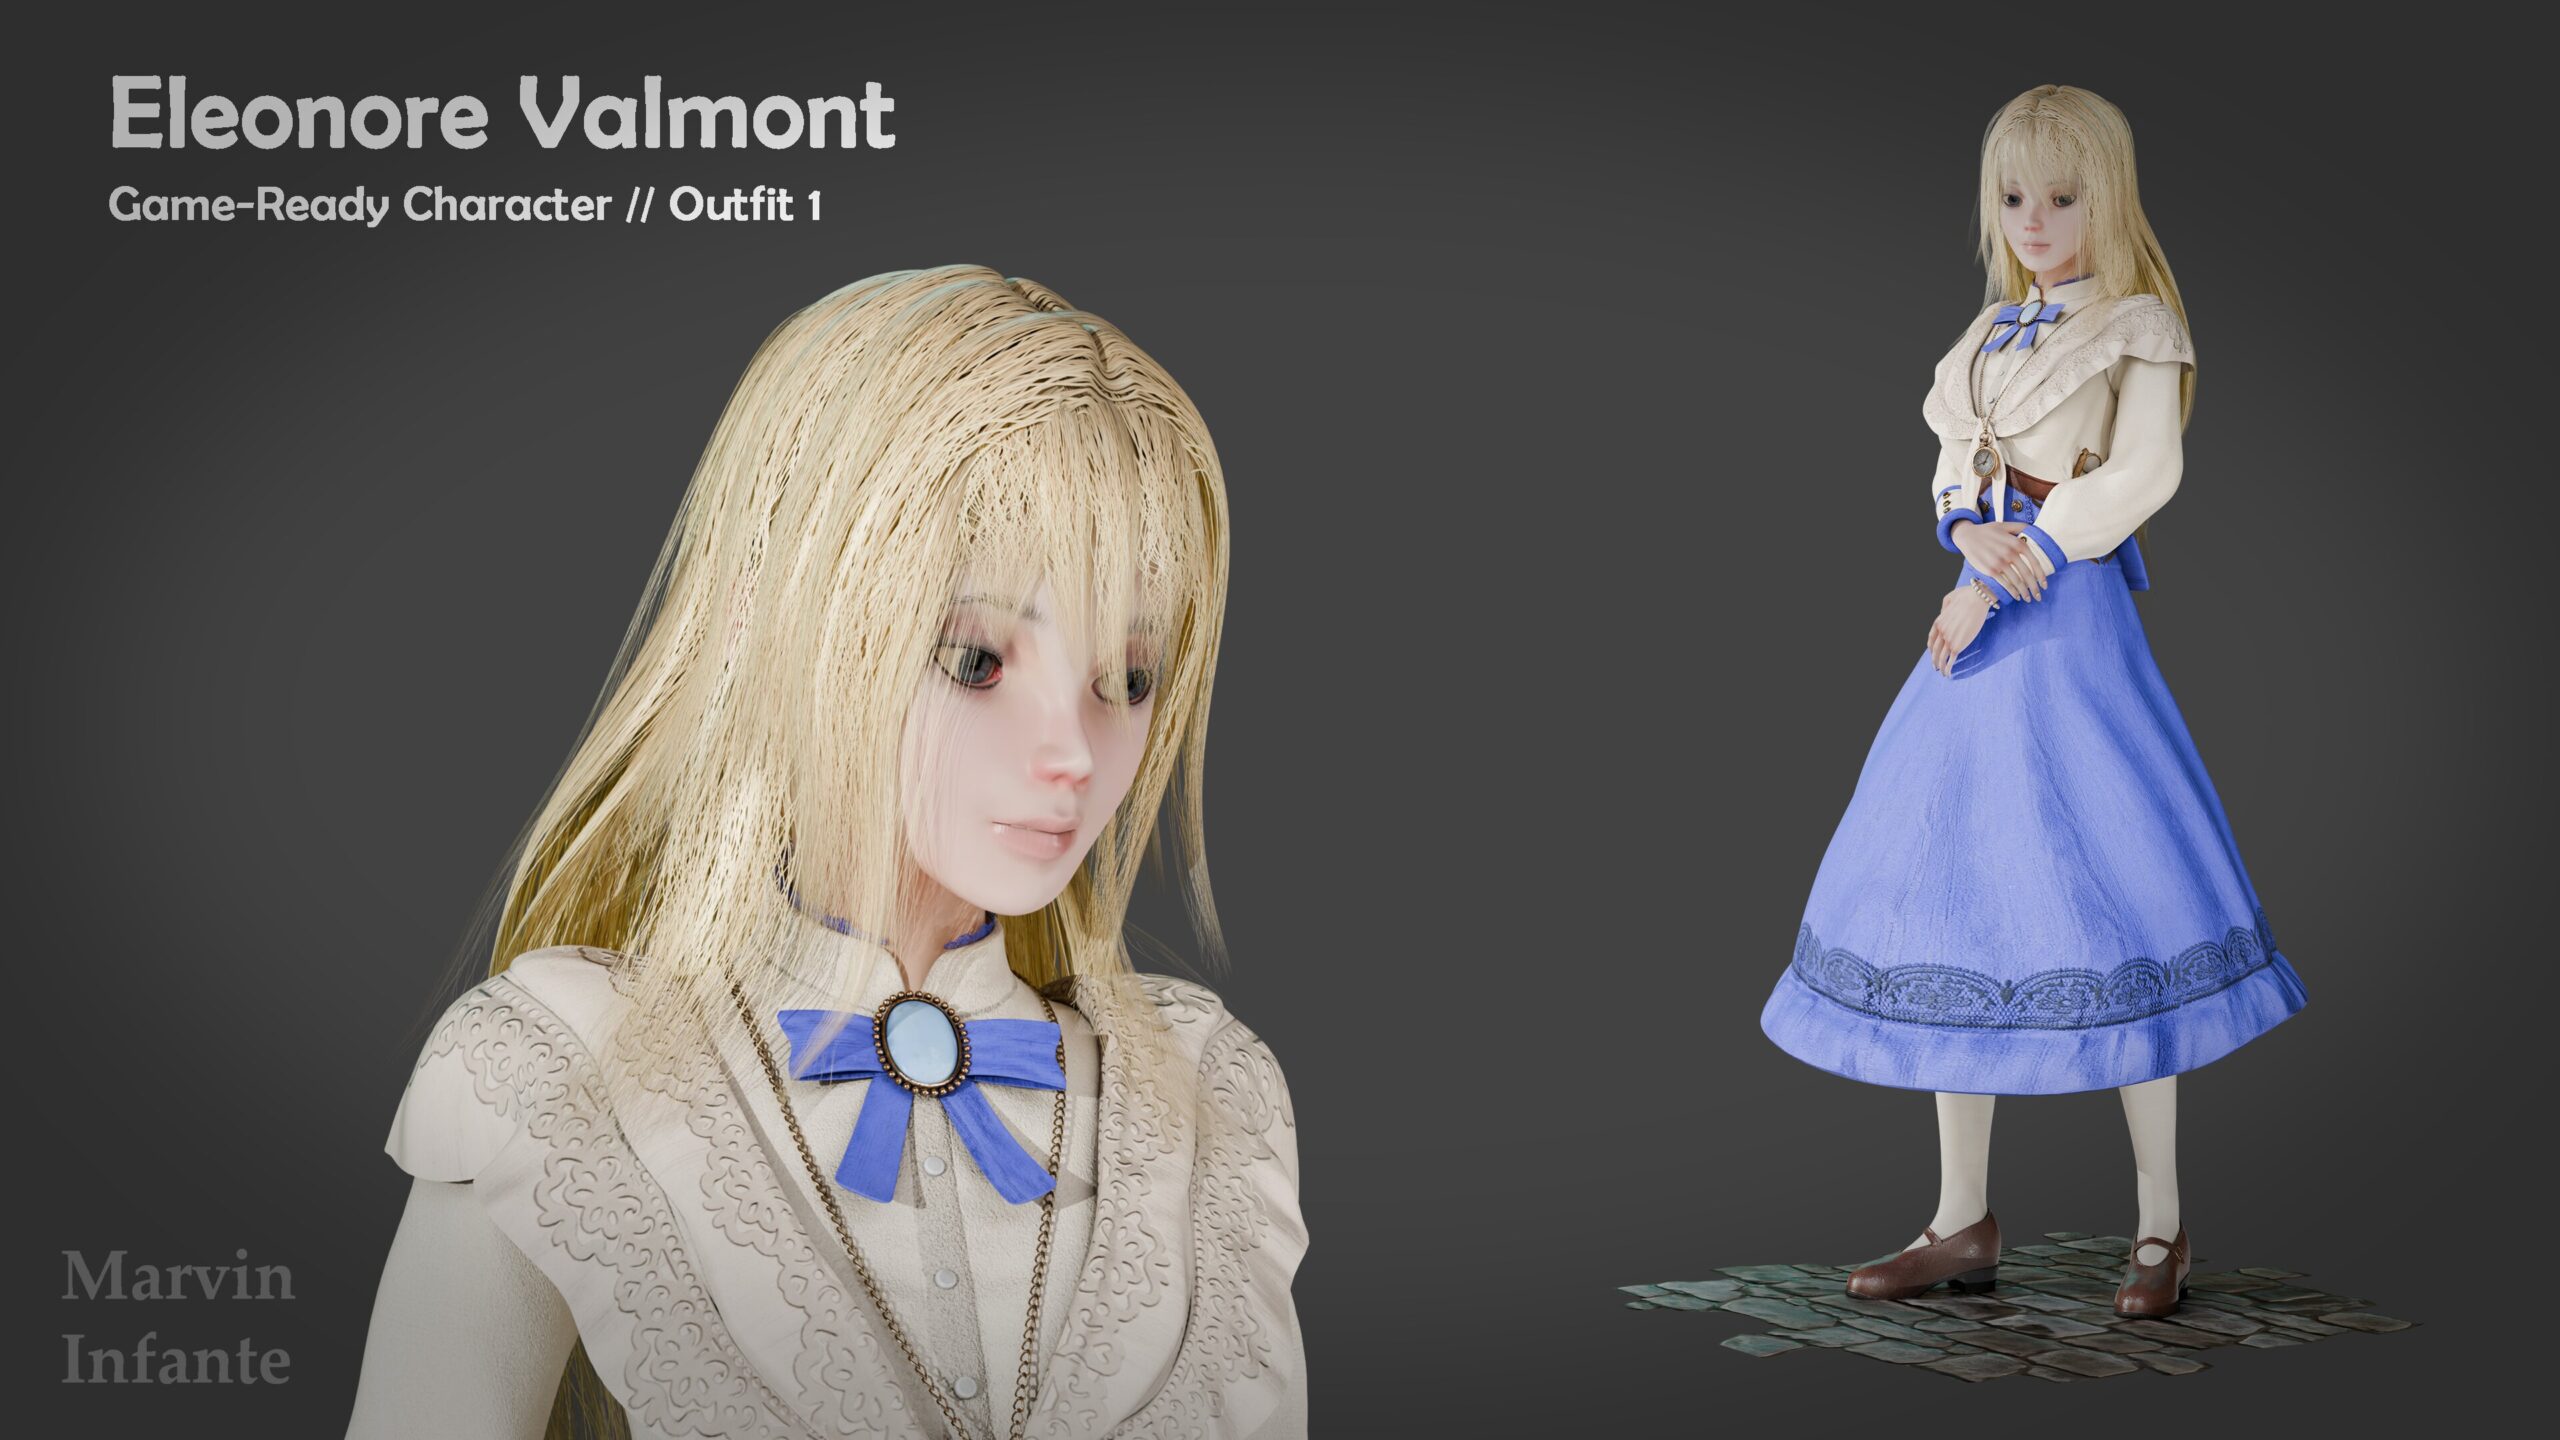
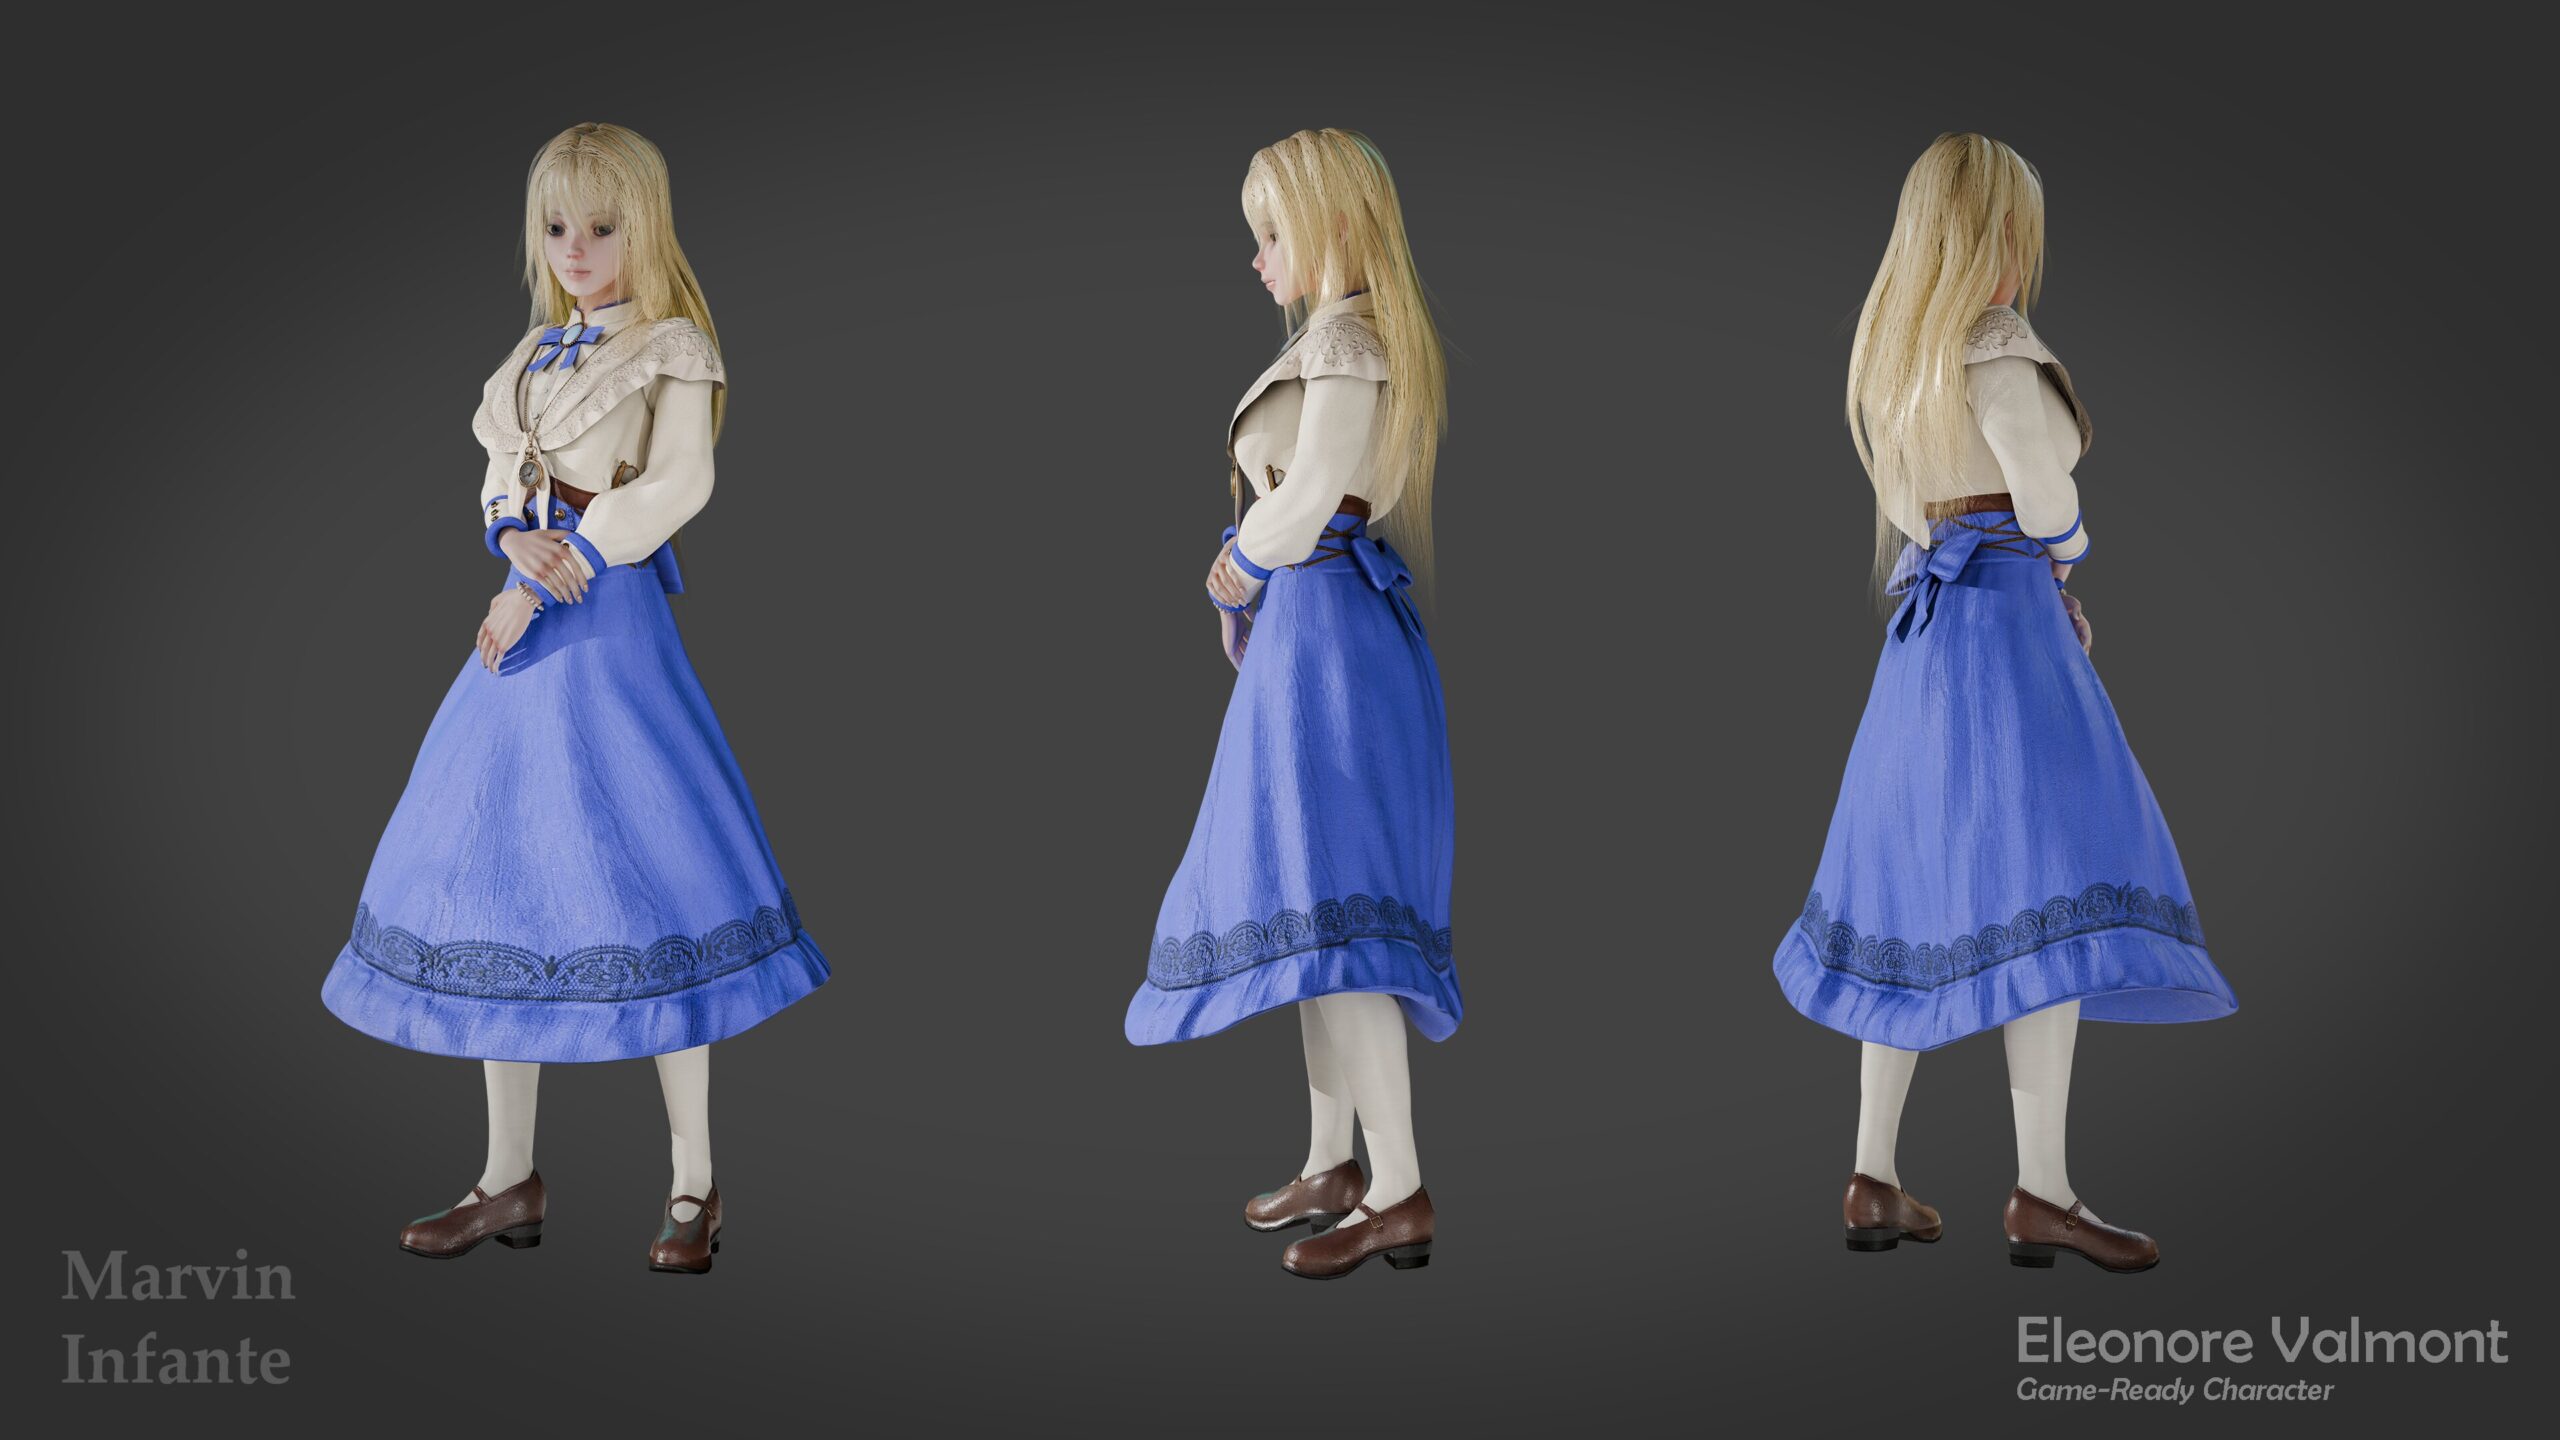
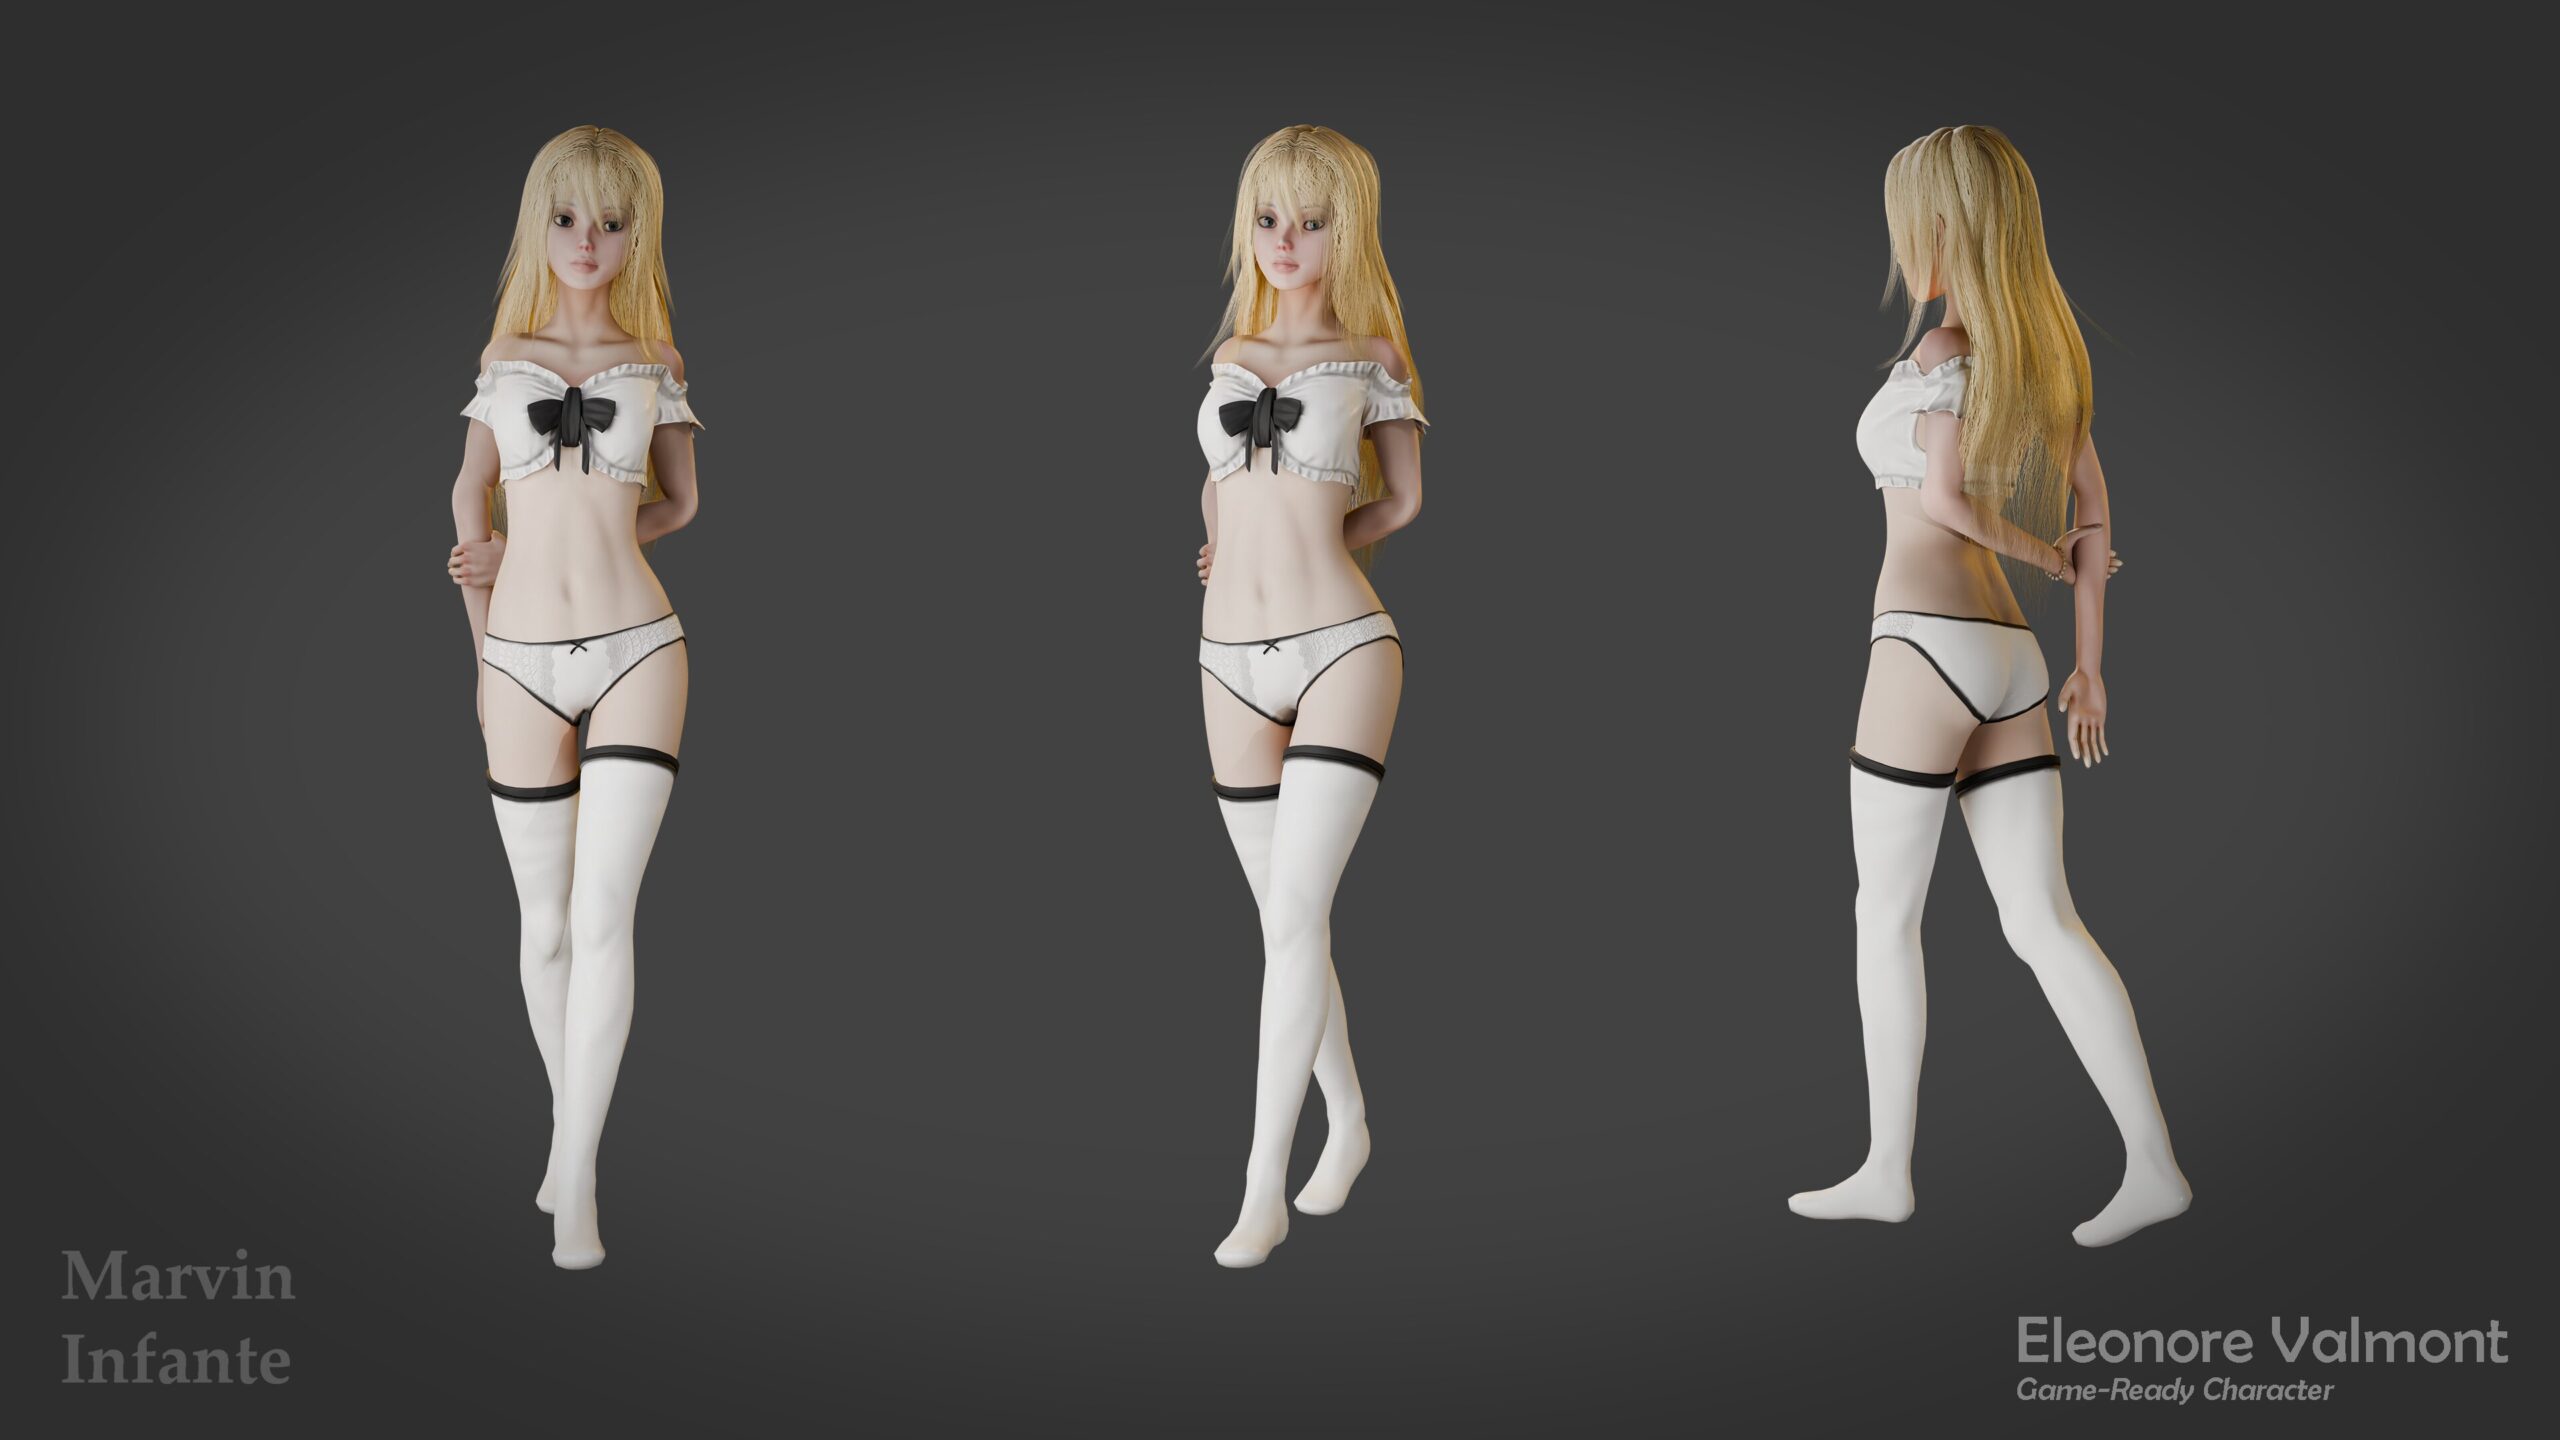
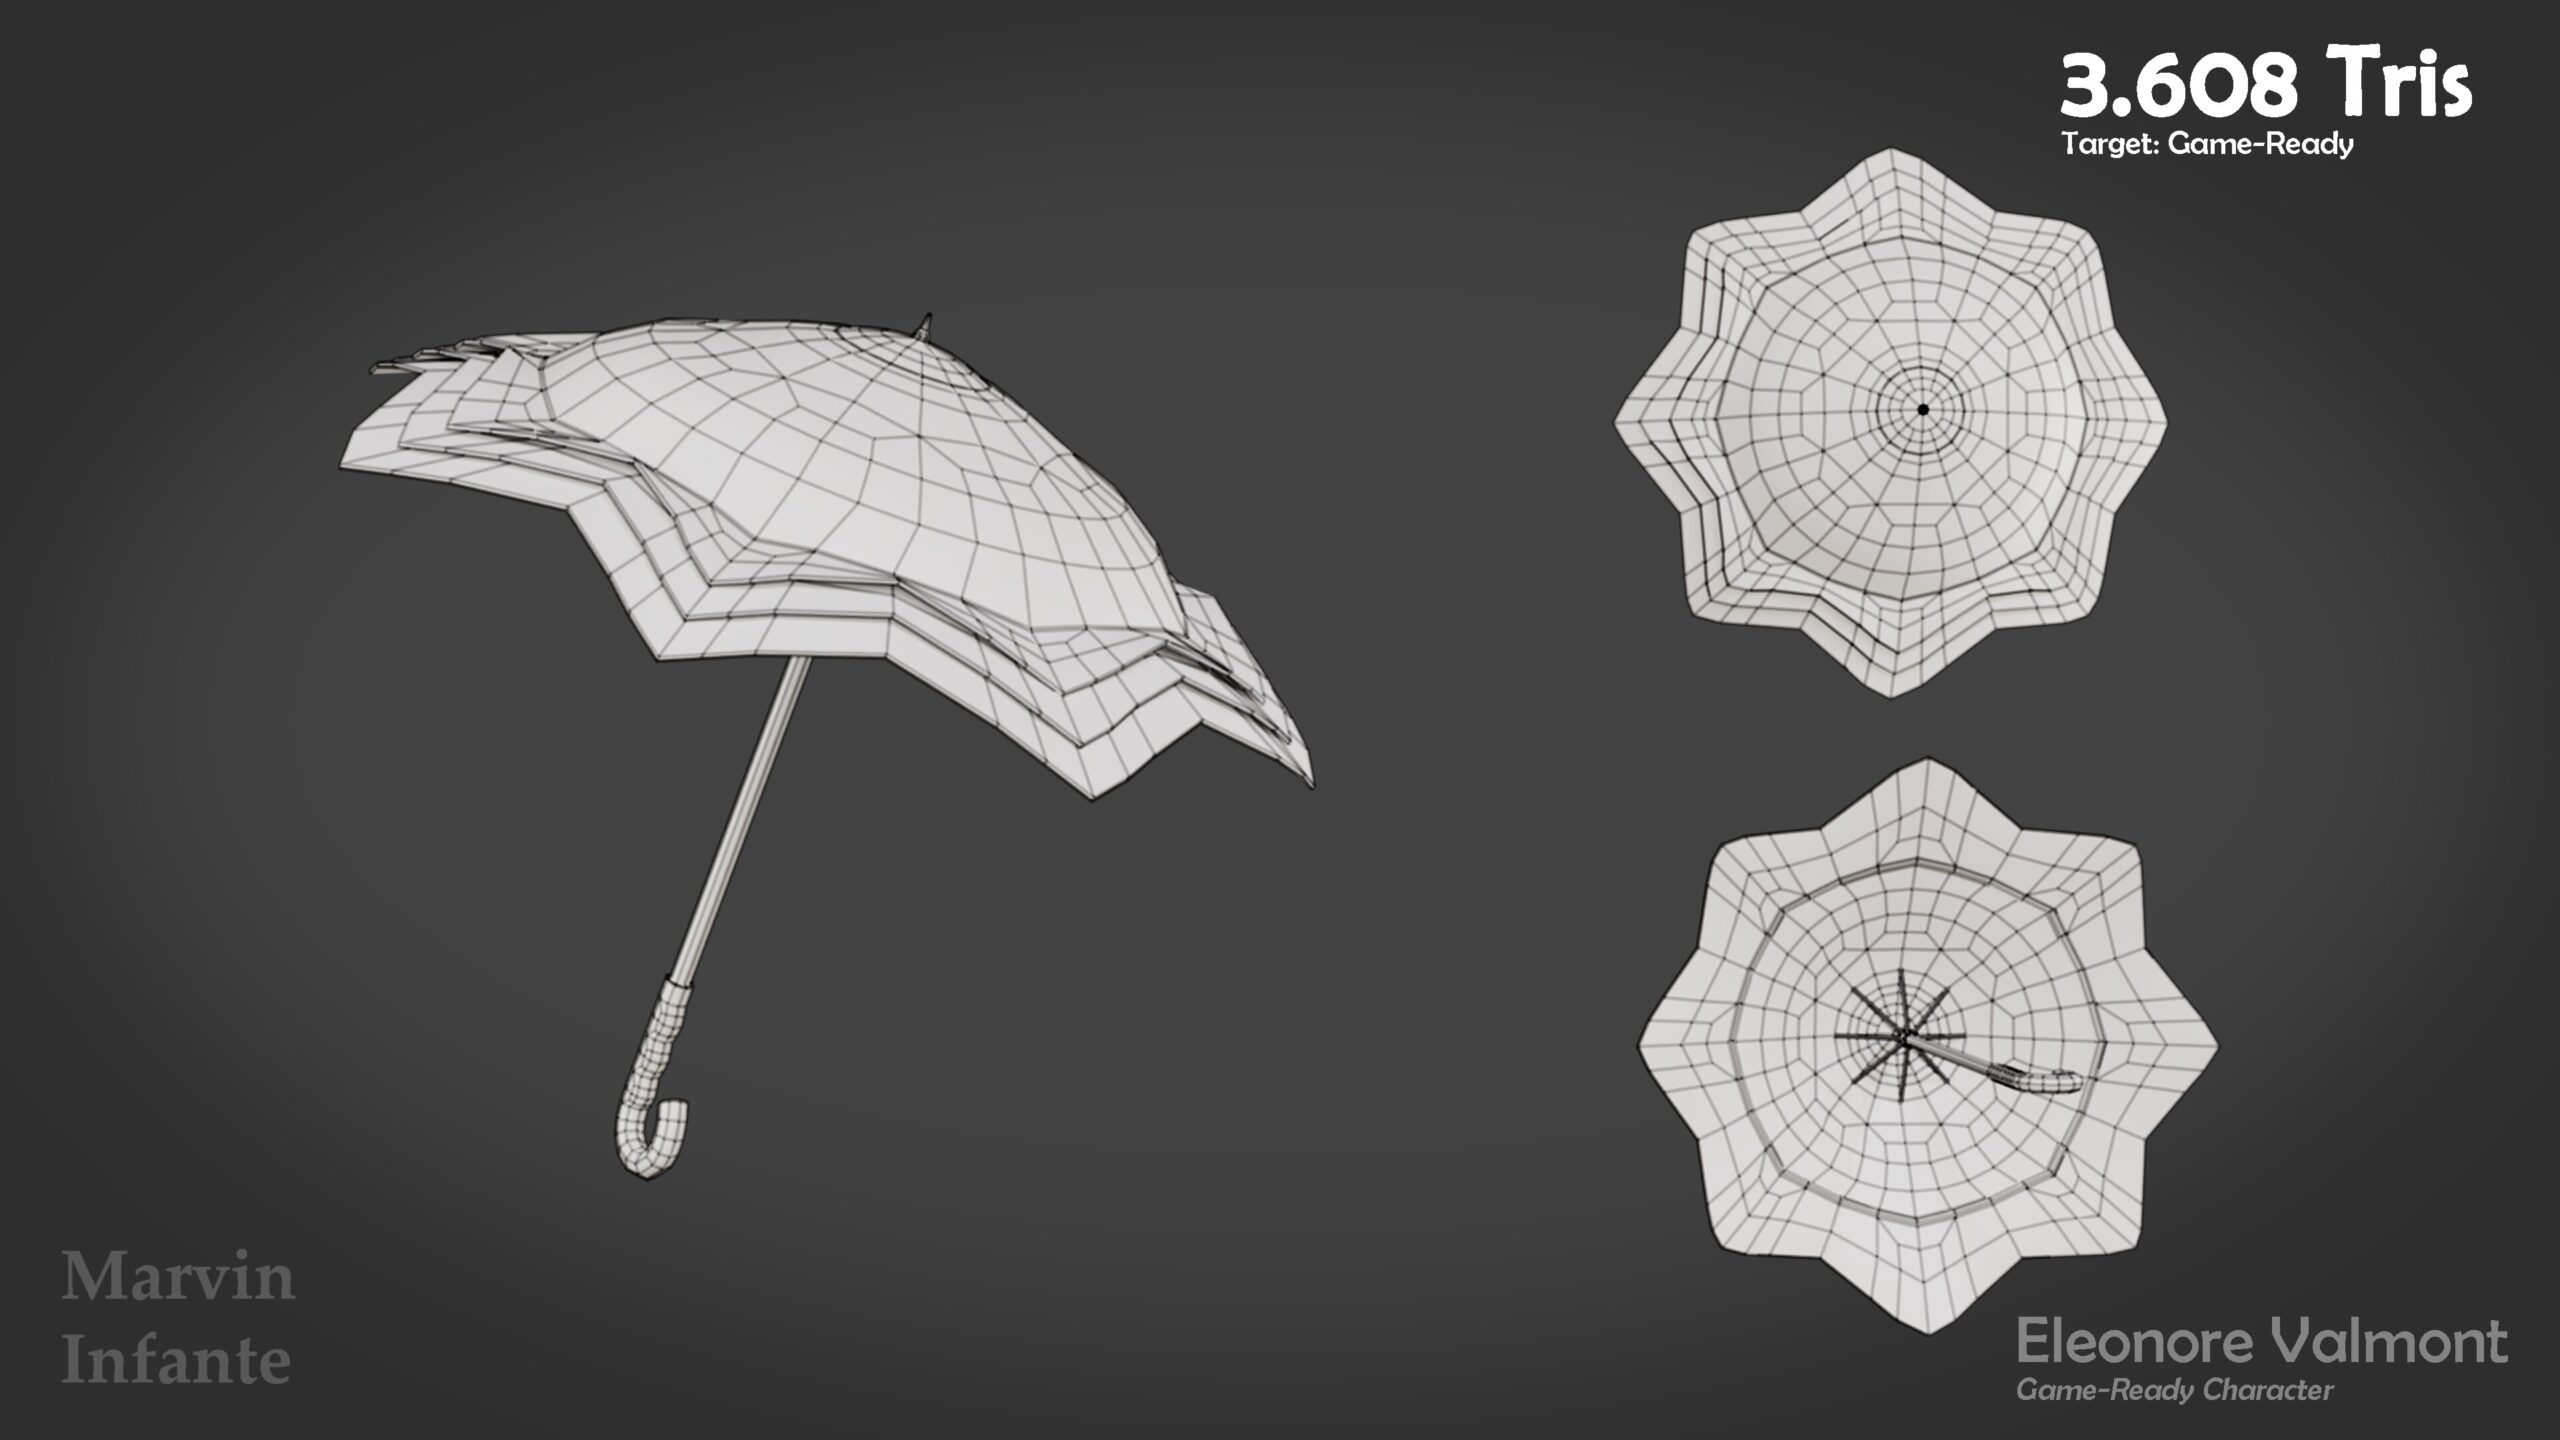
Eleonore grew up as the only daughter of a watchmaker in a harbour town. The cameo brooch at her throat was the last piece her father worked on before his hands began to shake. After her father’s death she kept the workshop running on her own, at a time when a young woman was not trusted with that kind of work.
For this project I deliberately changed the order of my design process. Instead of collecting references first, I started by writing Eleonore’s backstory: where she comes from, what she does for a living, what she carries with her and why. Only afterwards did I build the moodboard and gather reference material.
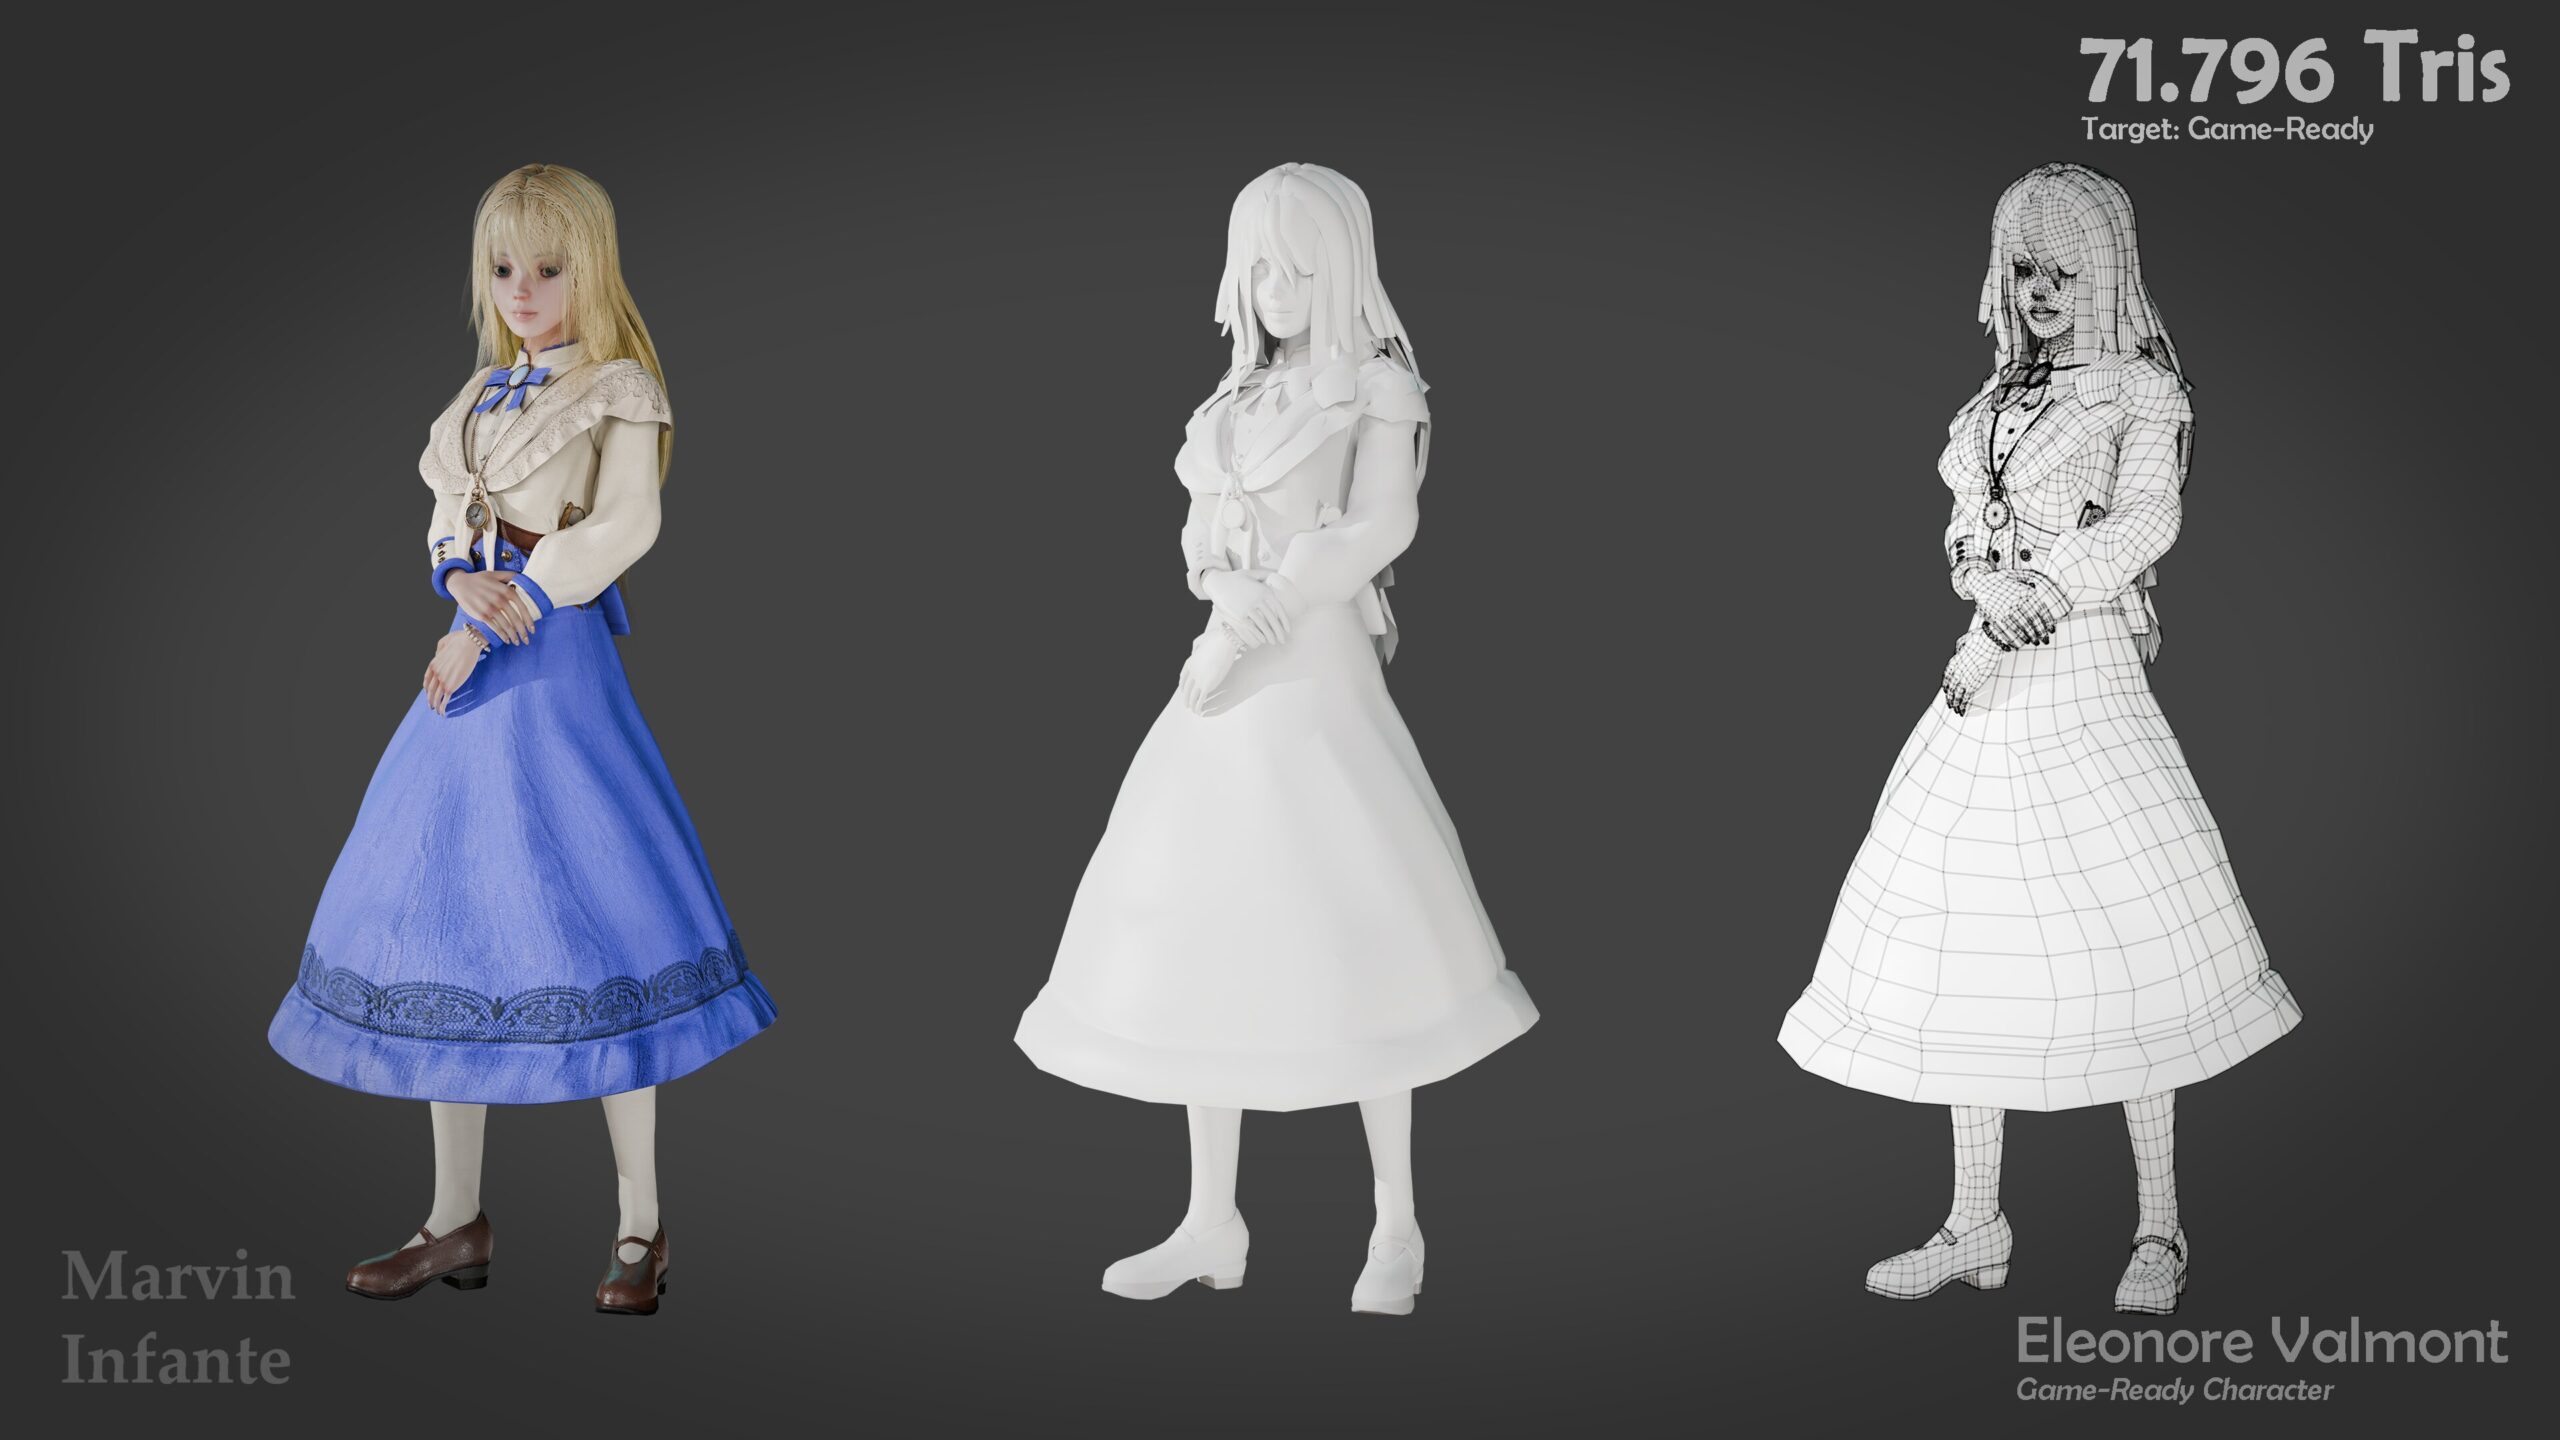
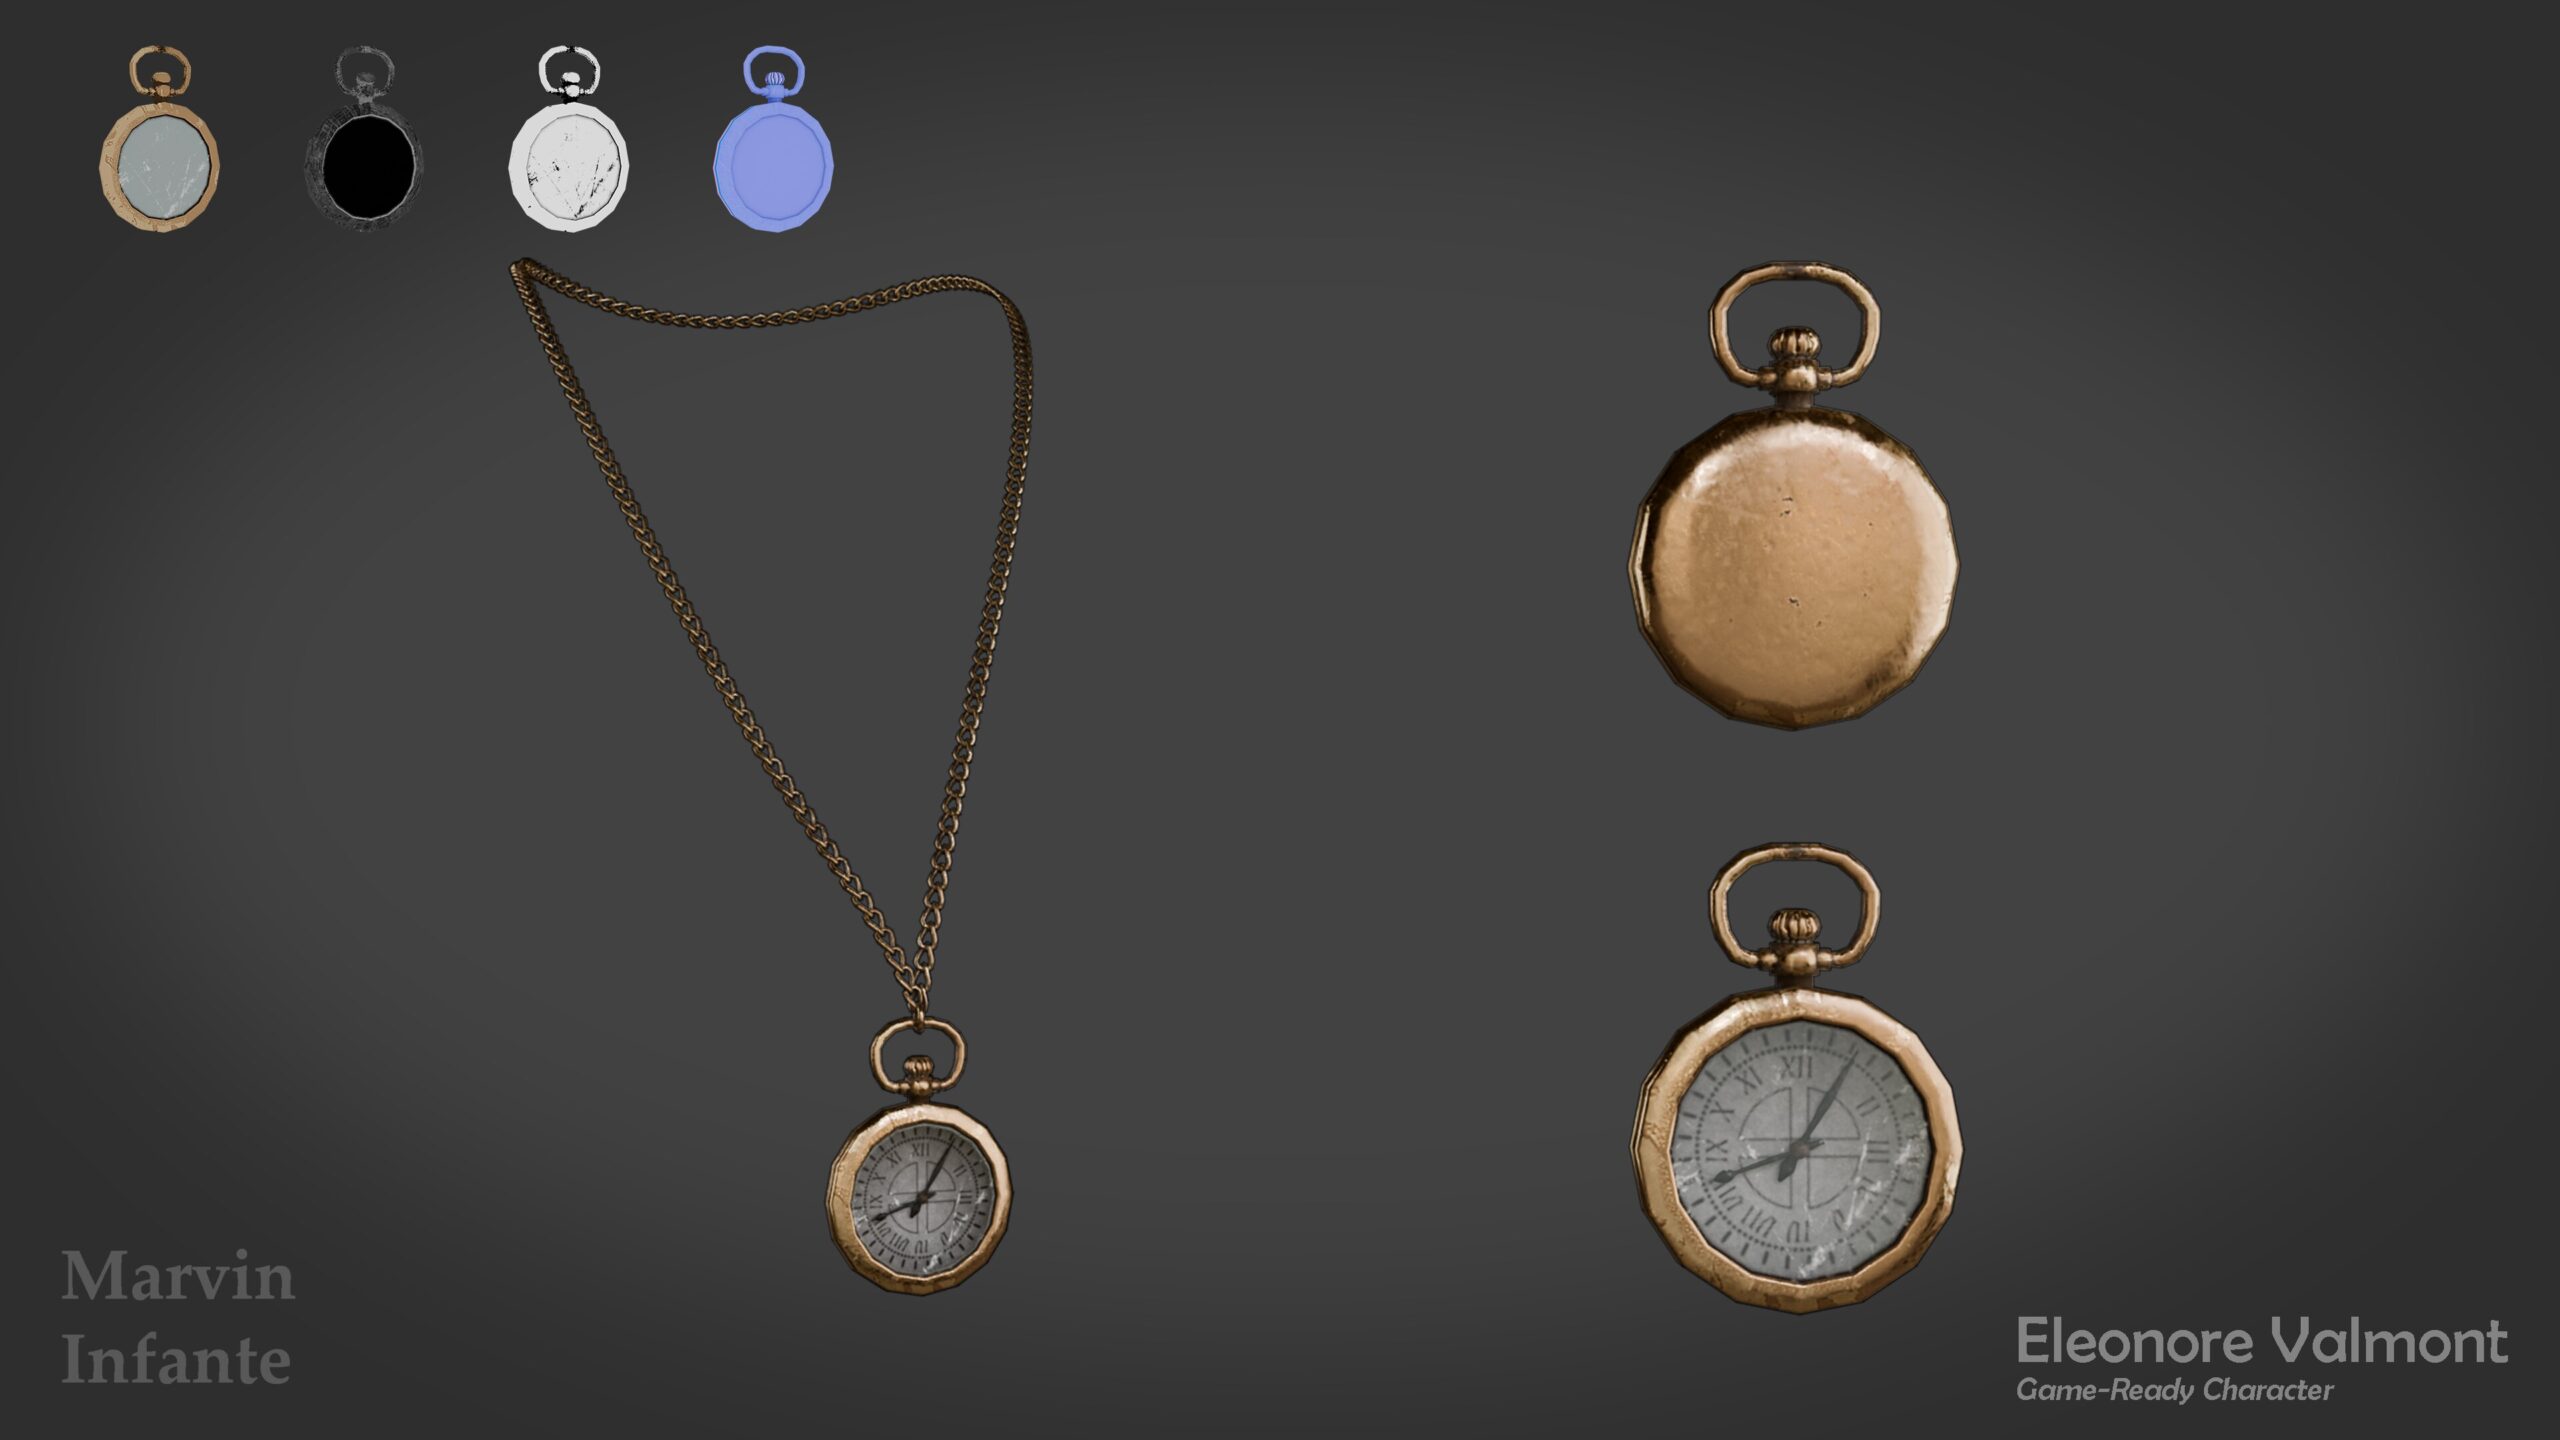
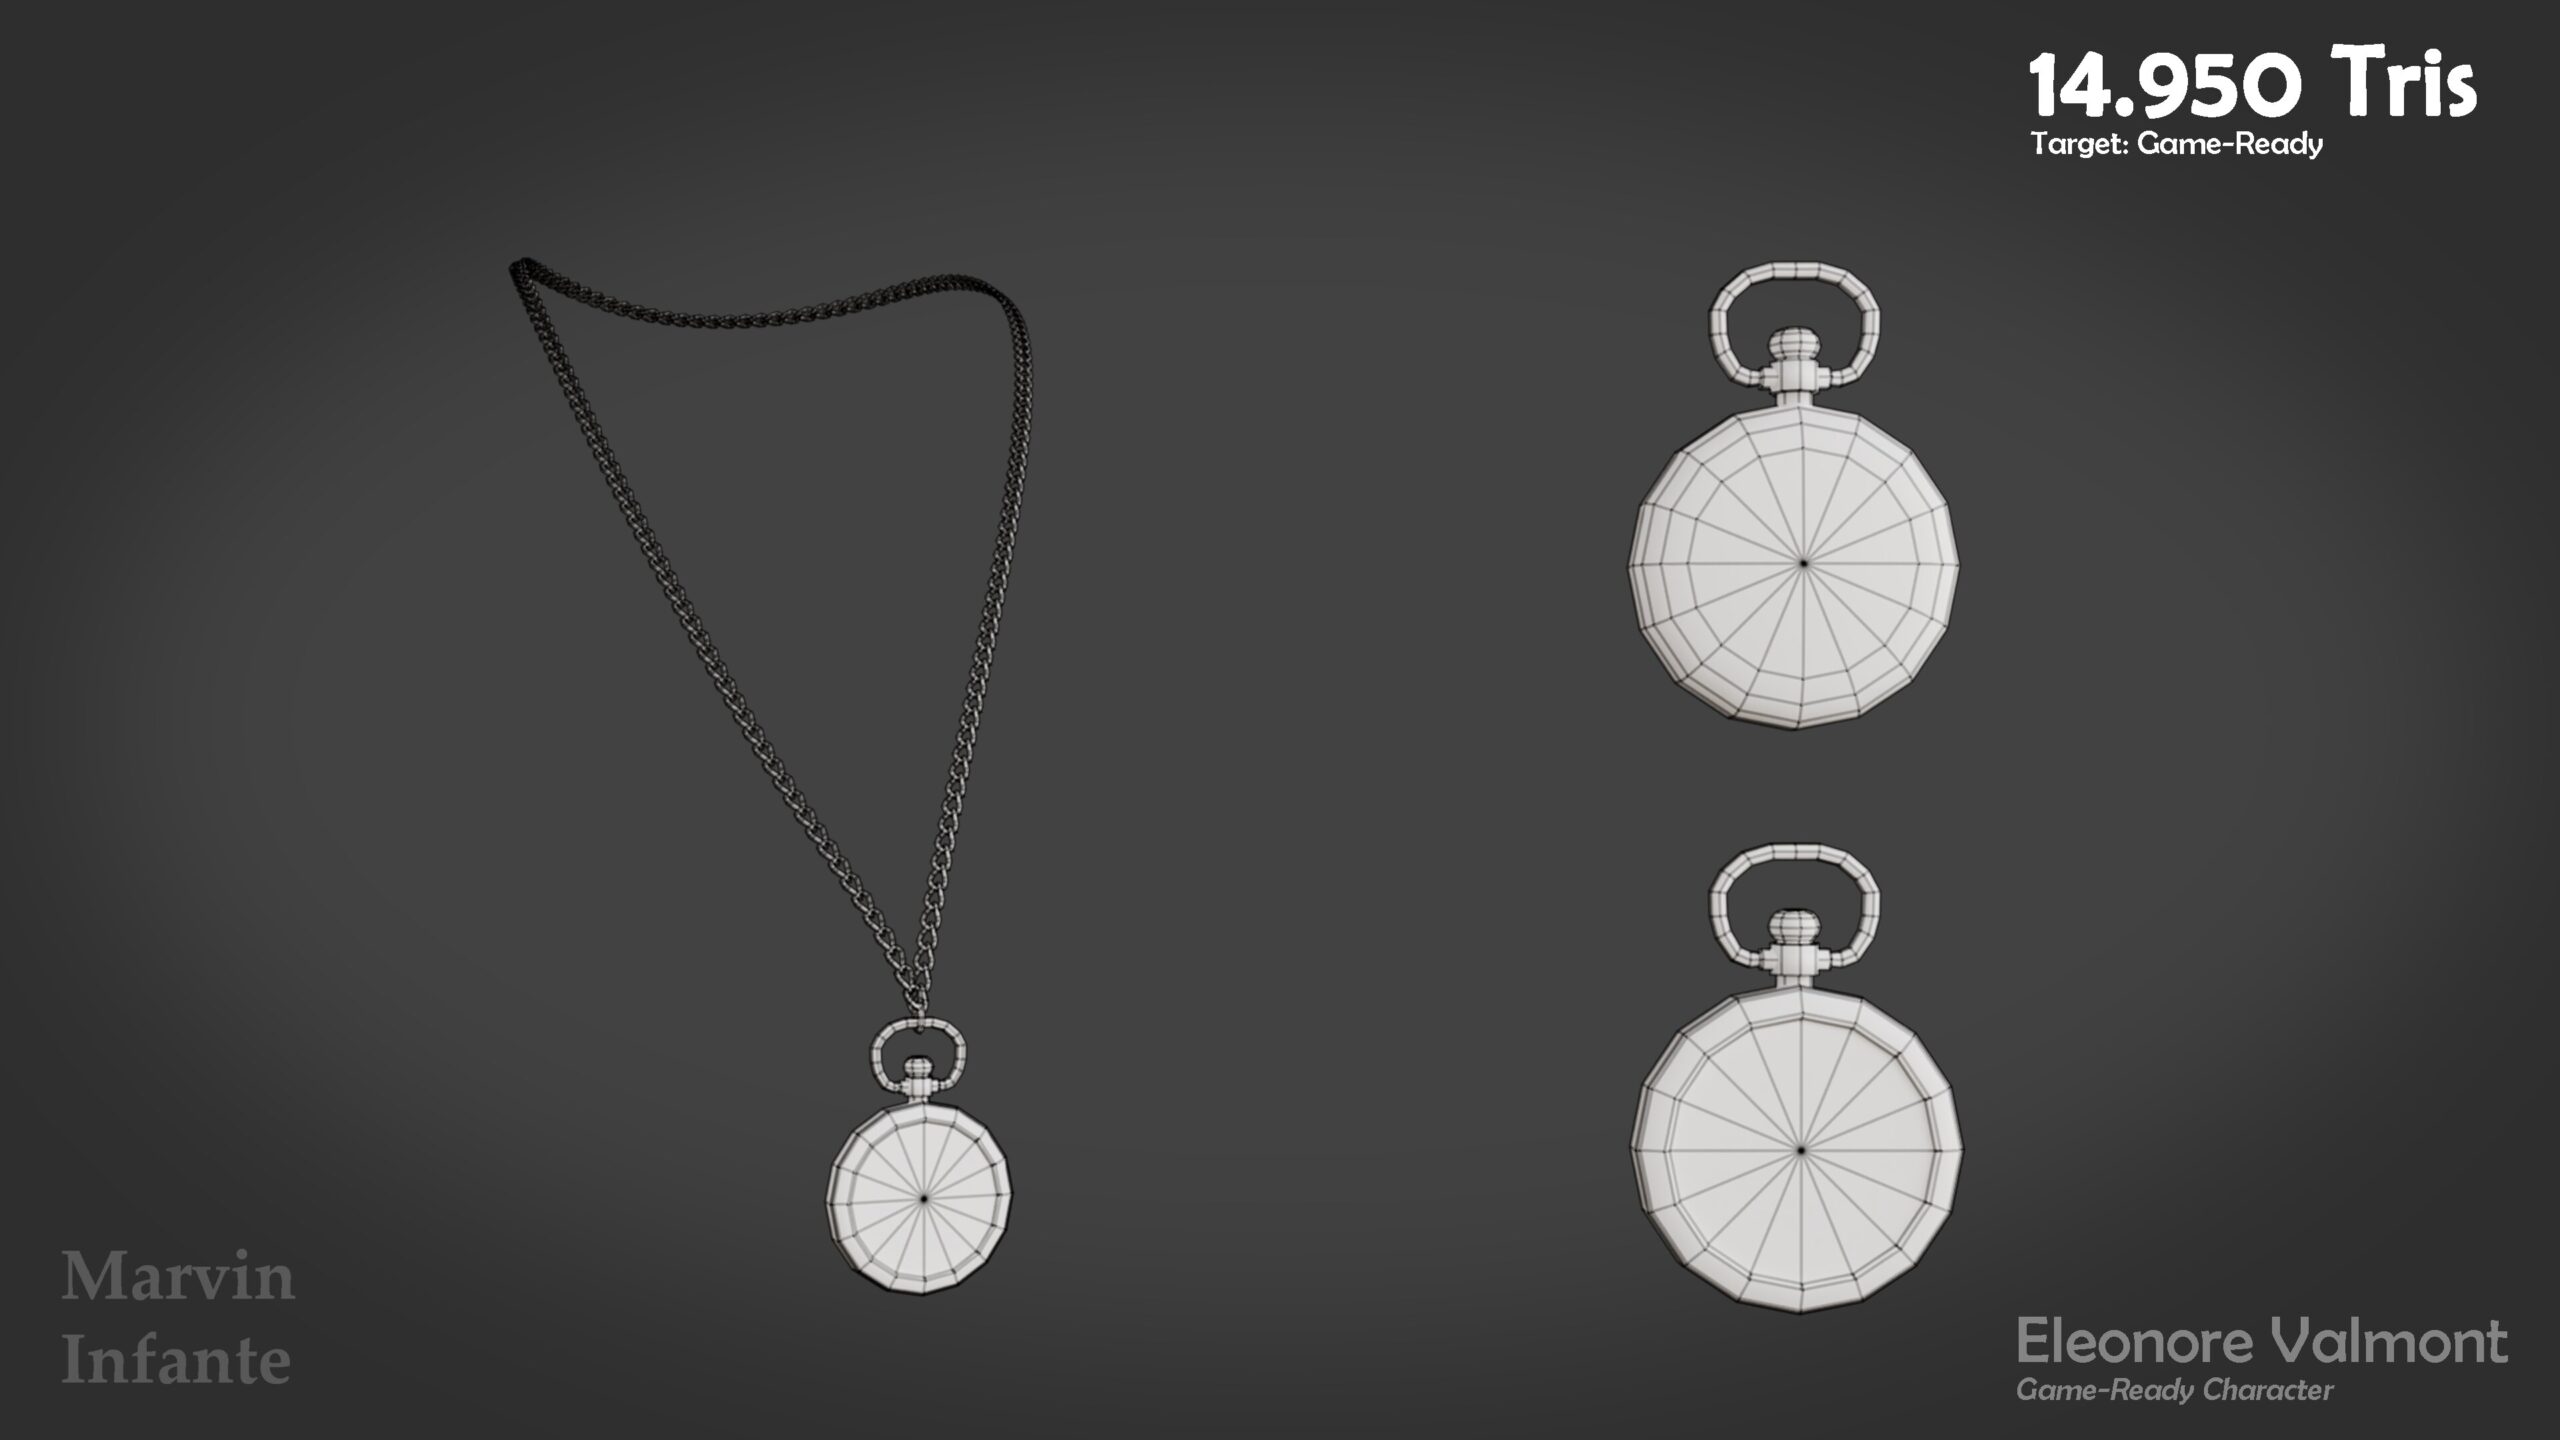
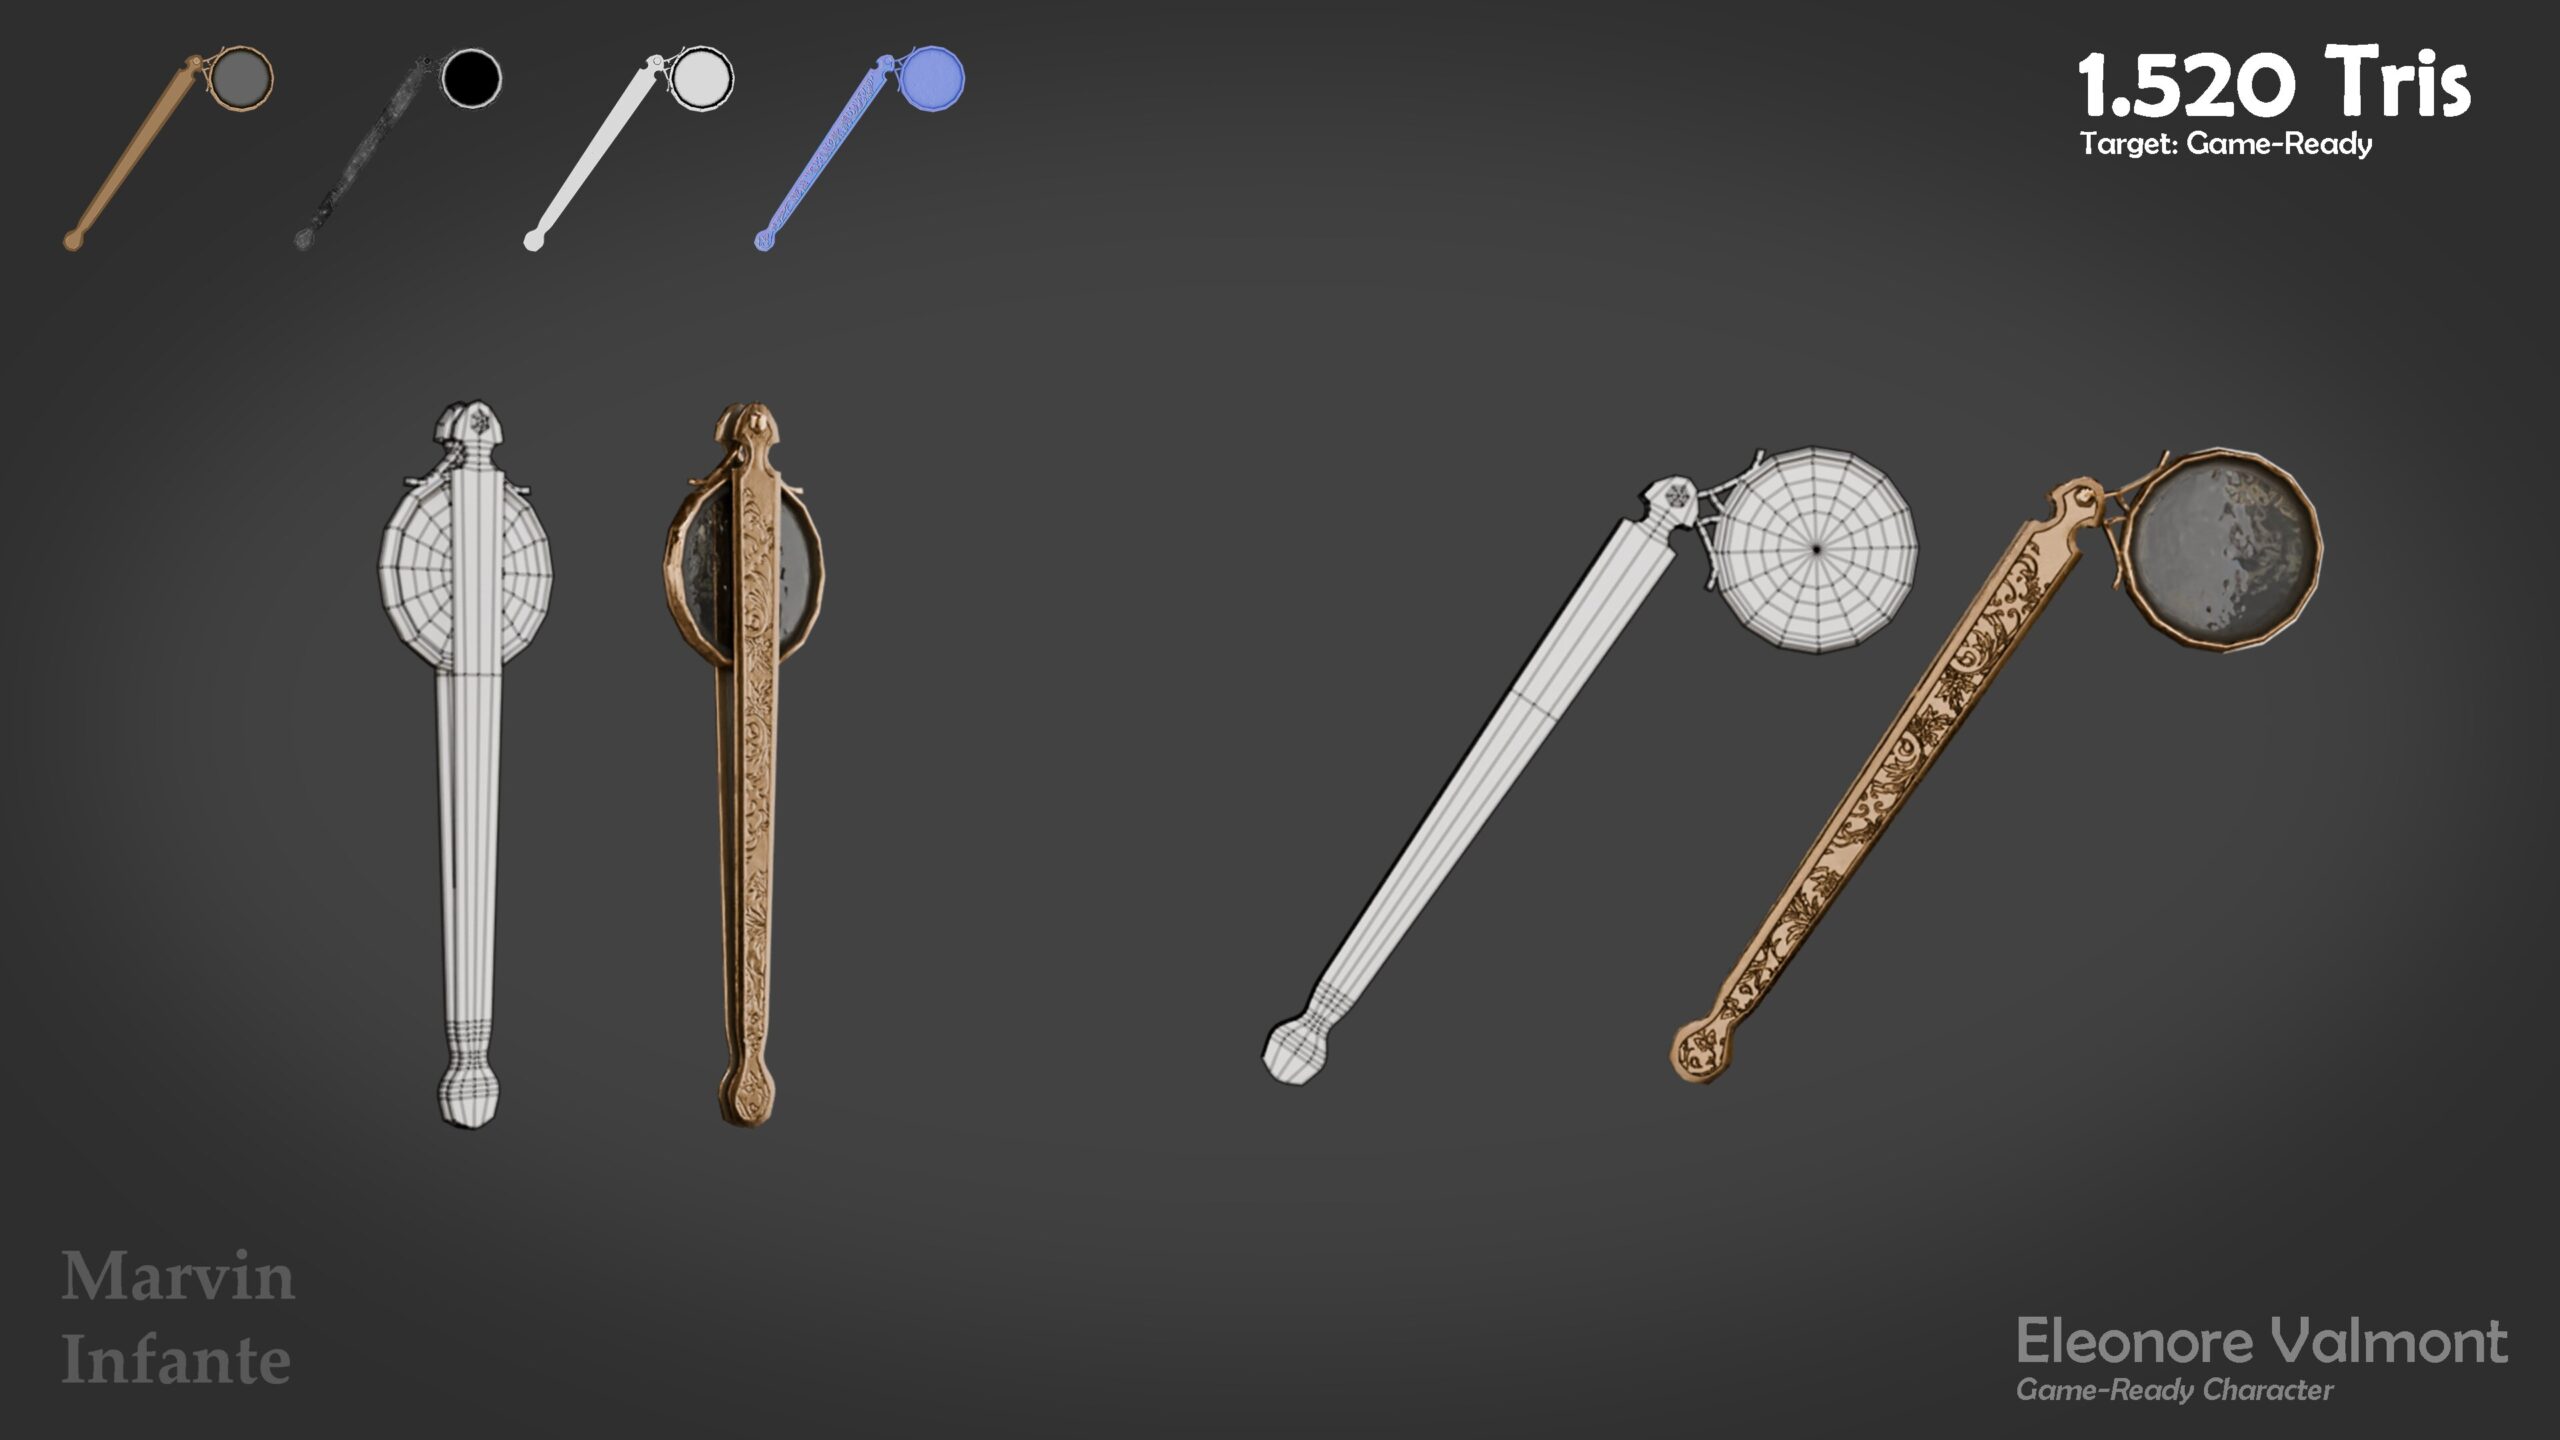
That change affected almost every design decision that followed. The pocket watch on her chest, the empty cameo at her throat, as well as the Loupe on her hip are not decorative accessories, they come directly from the story. Working this way made the silhouette much easier to decide on, because every element had to justify itself against something I had already written down.
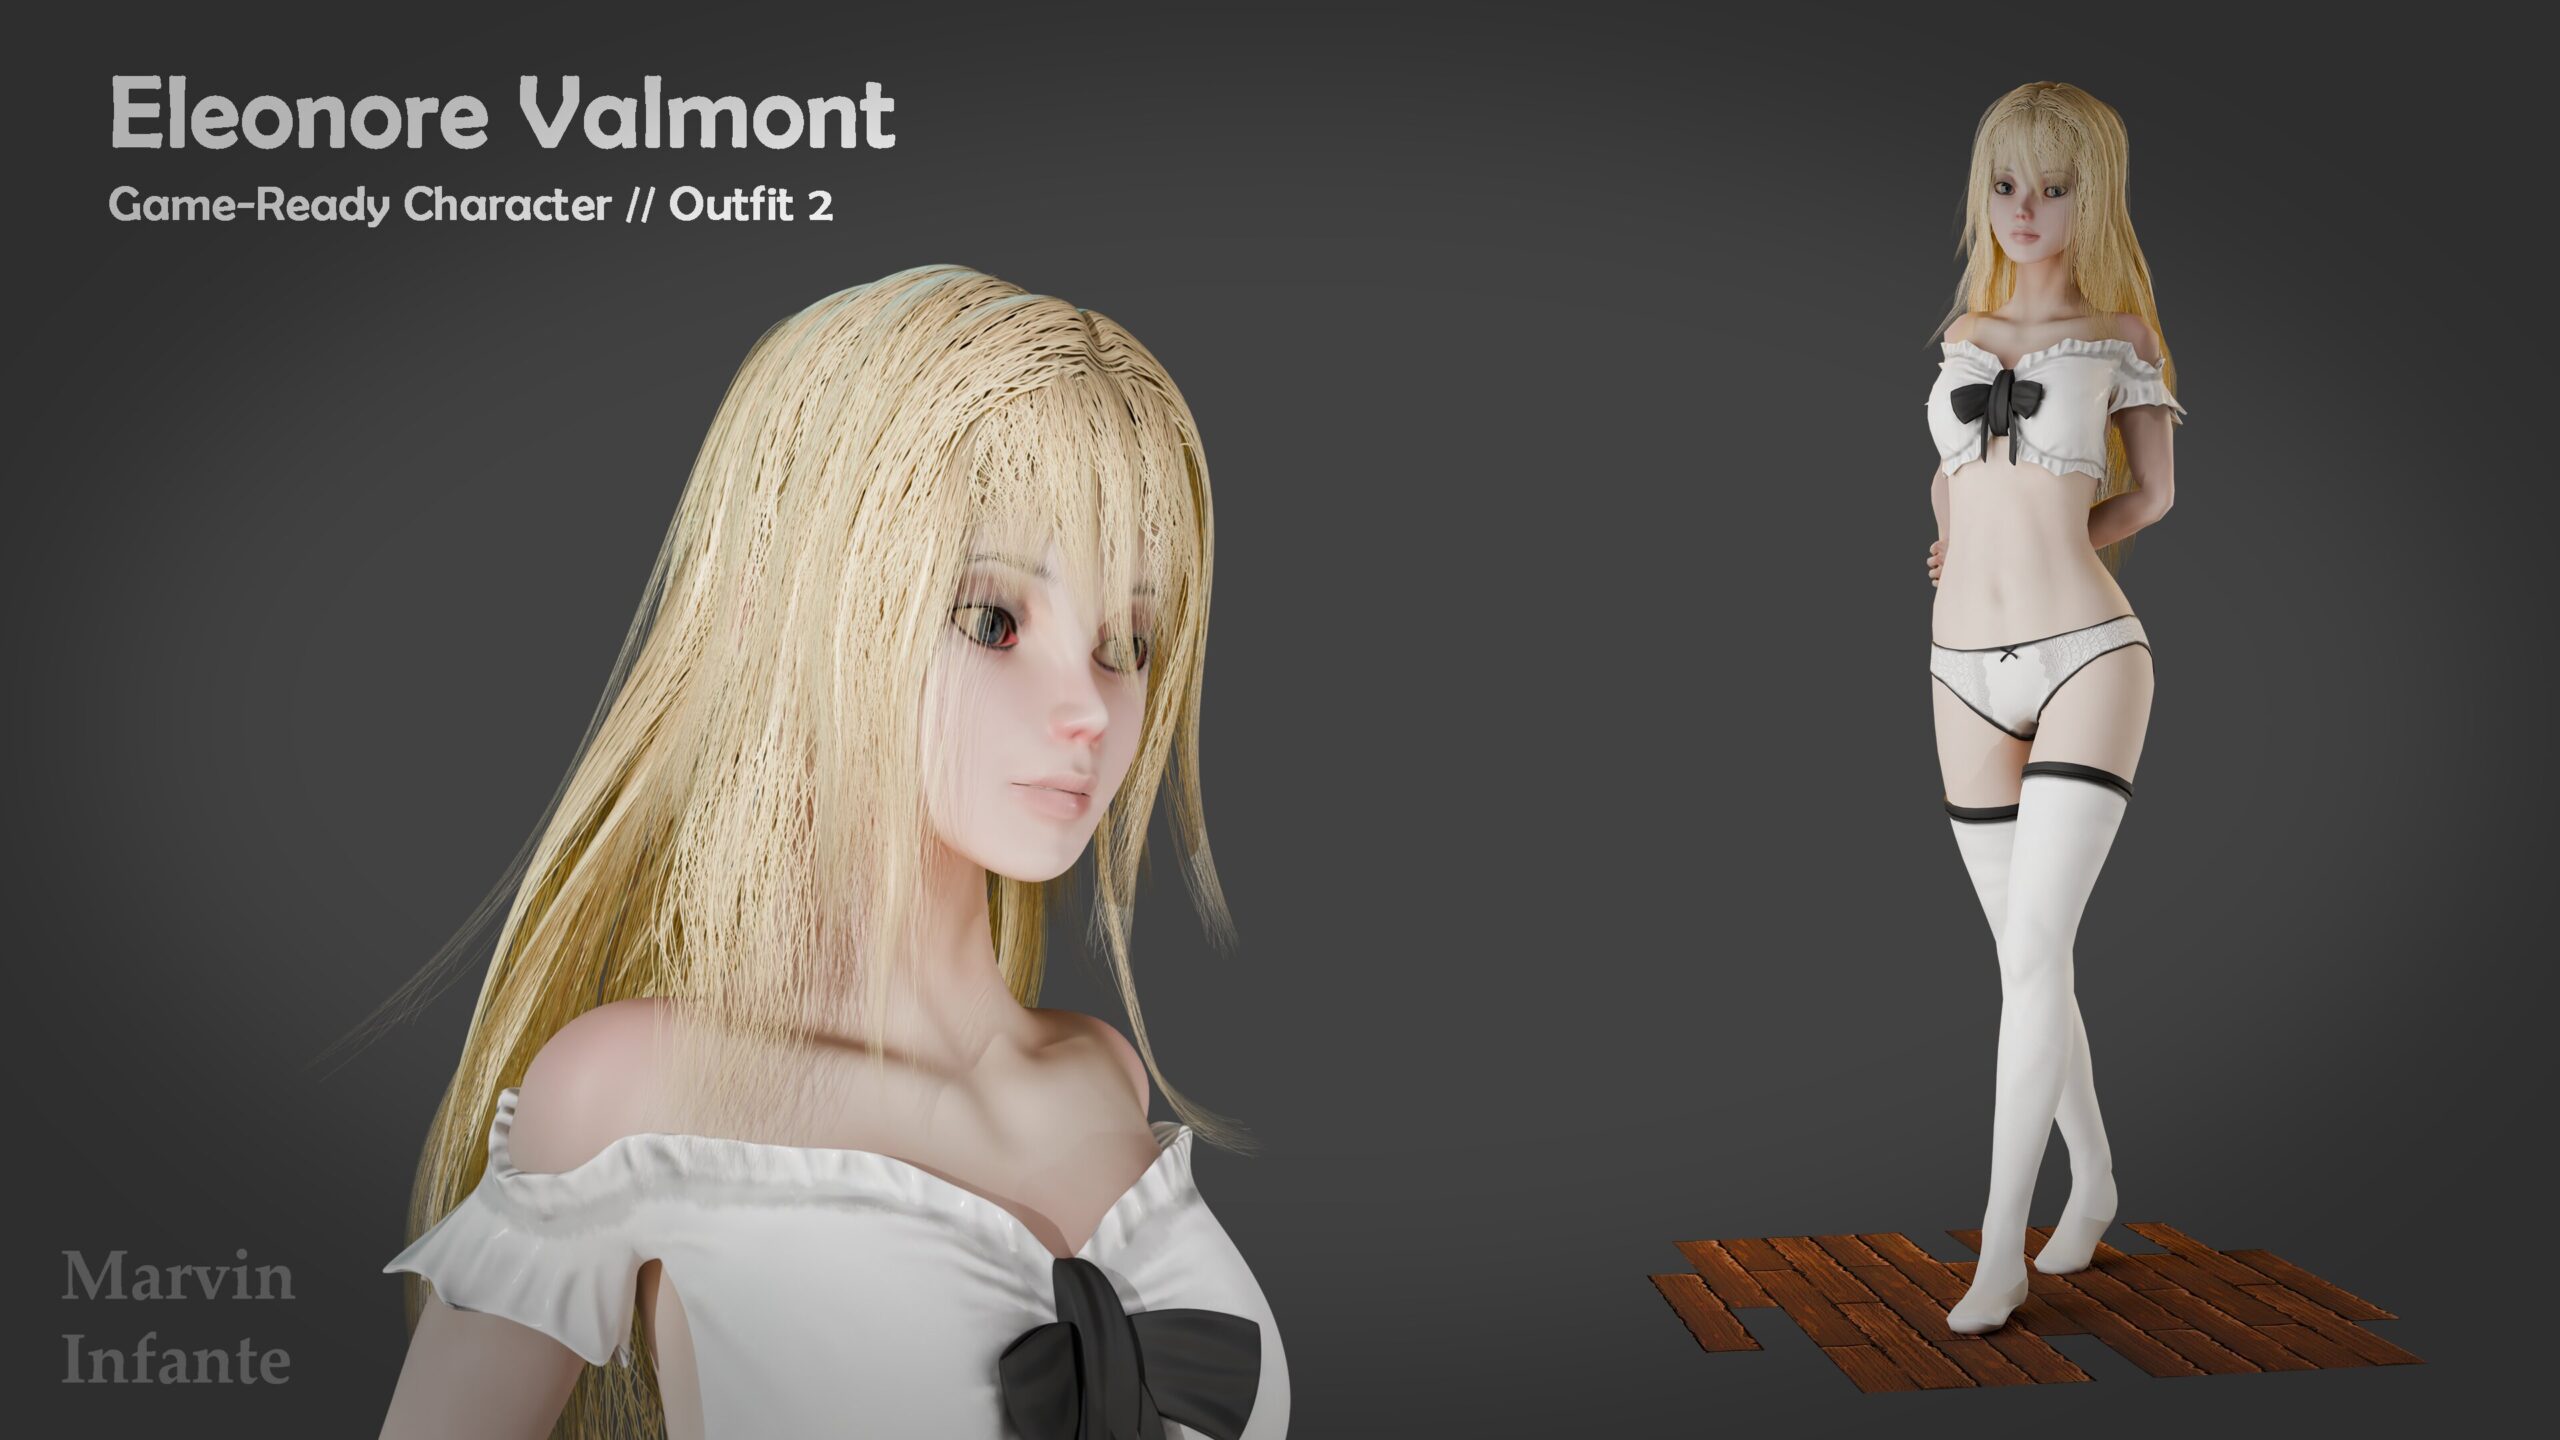
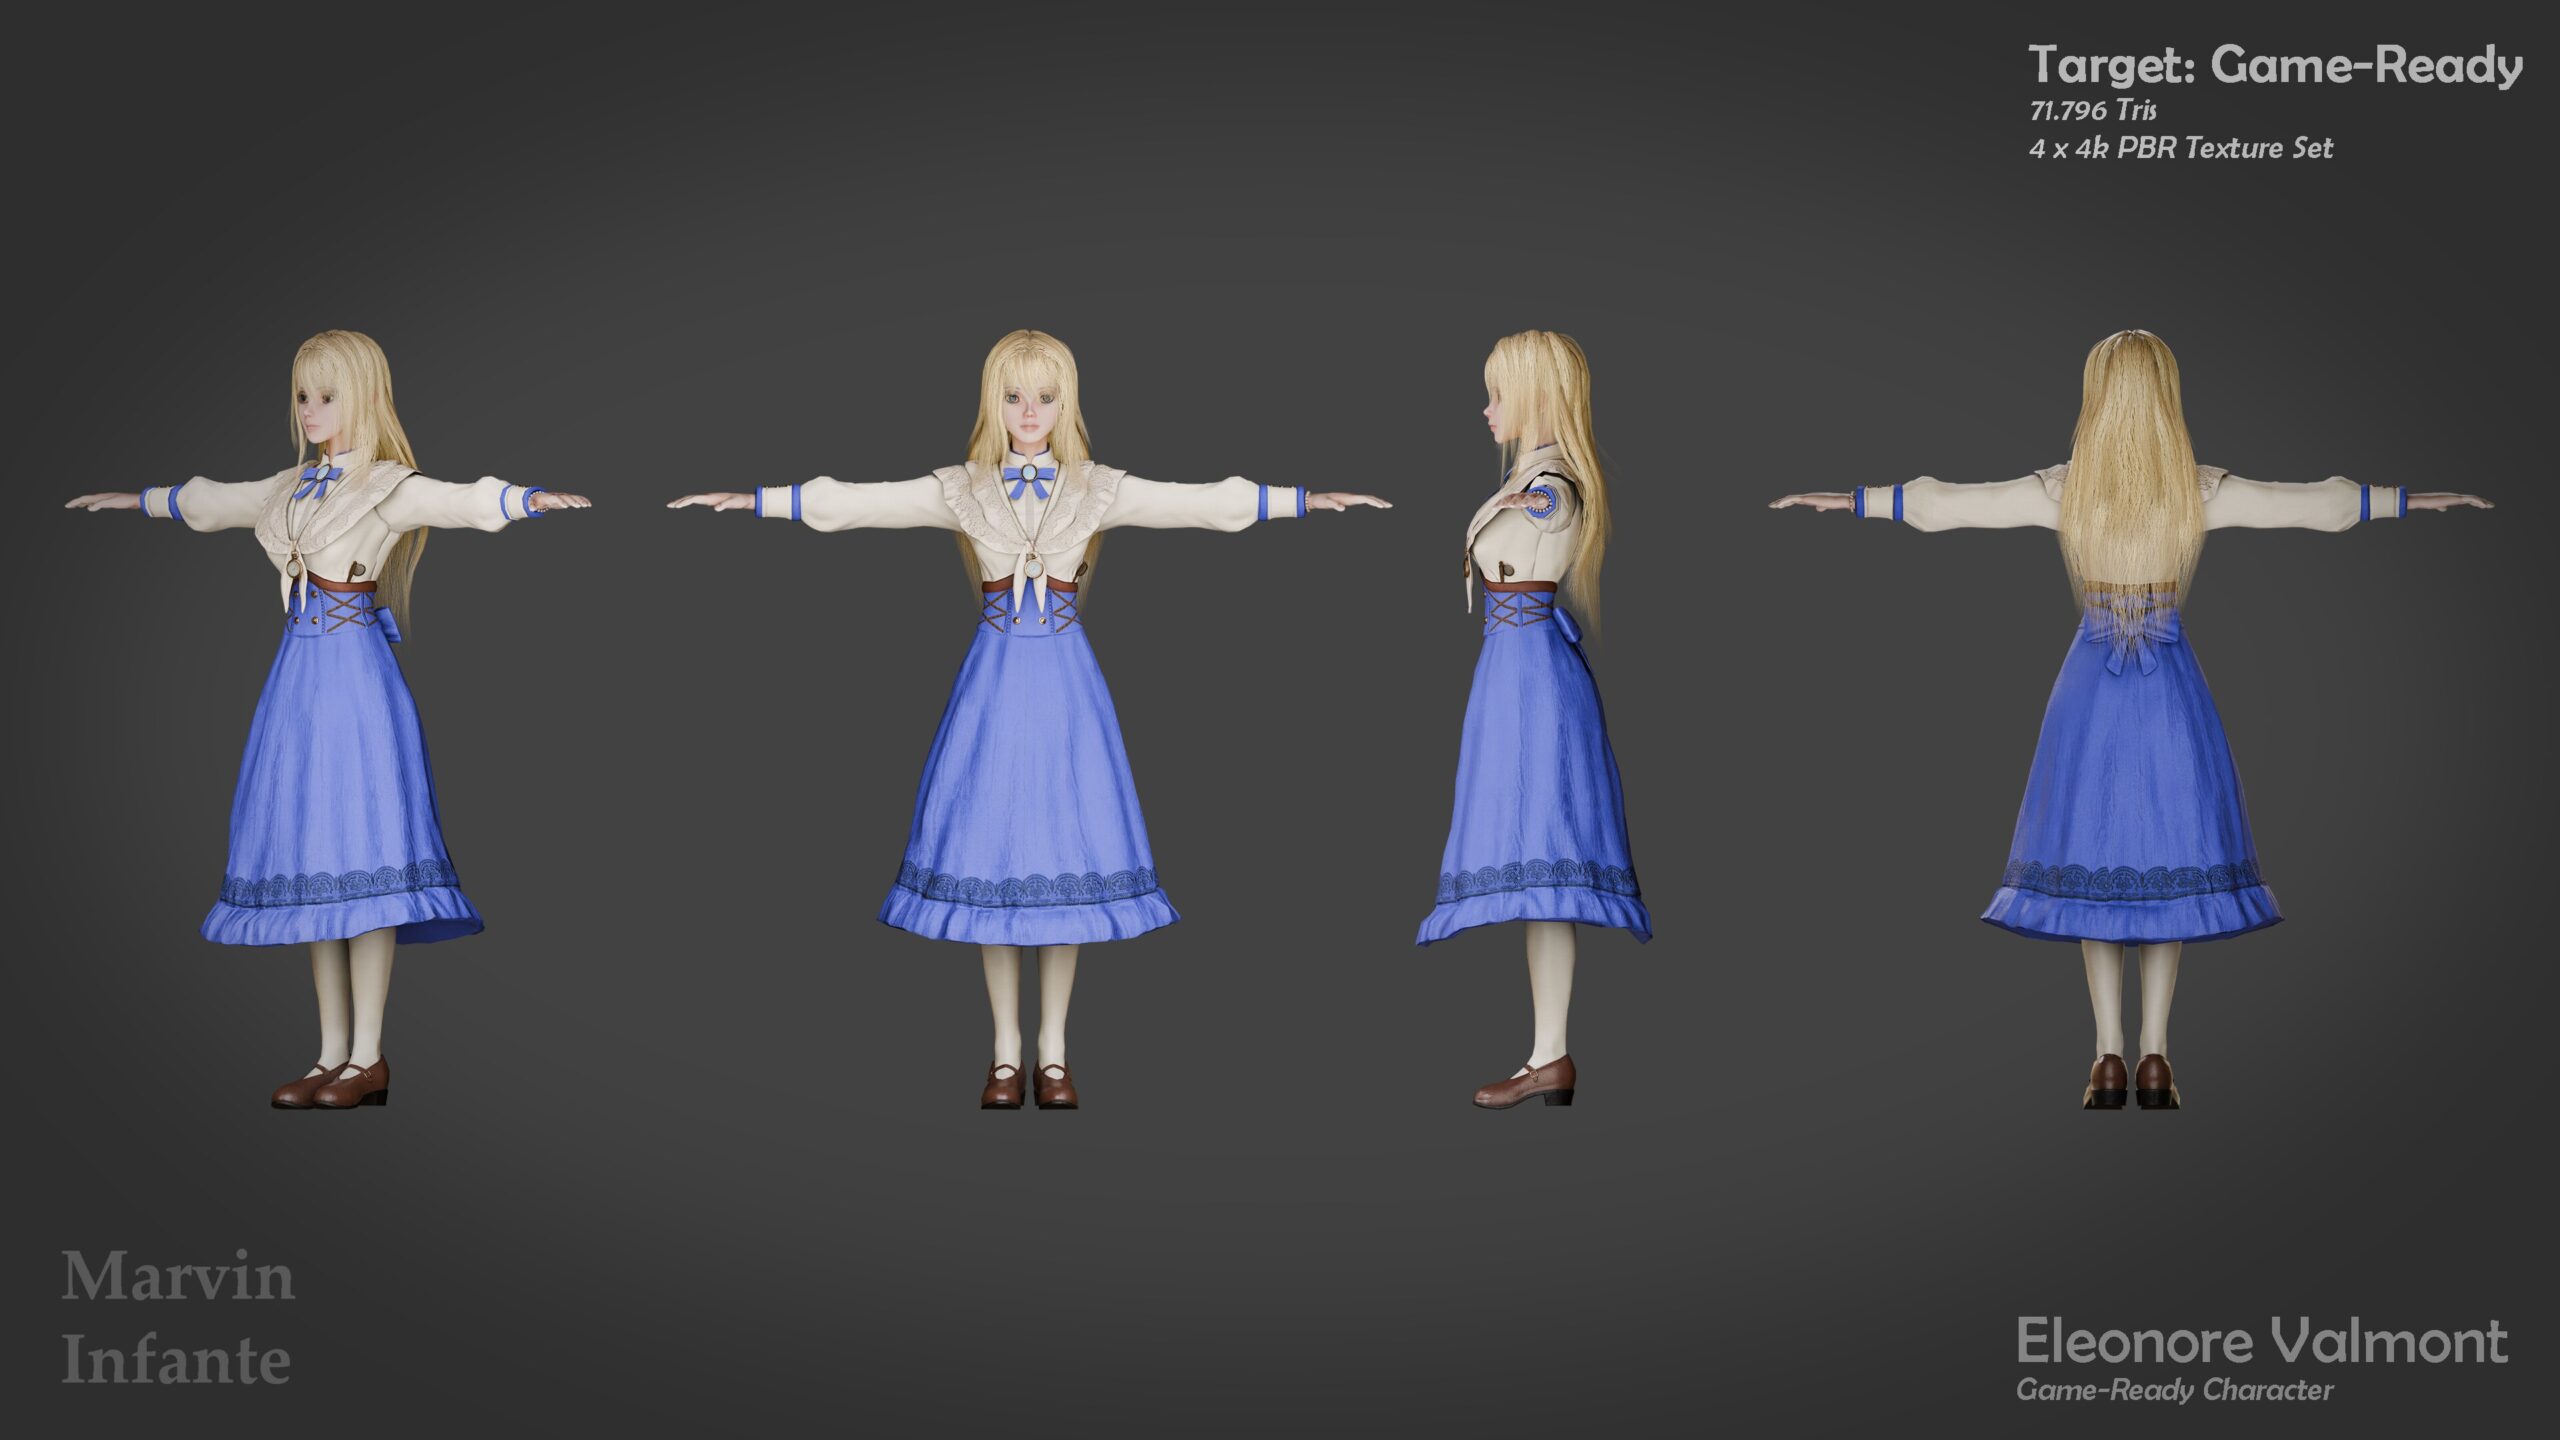
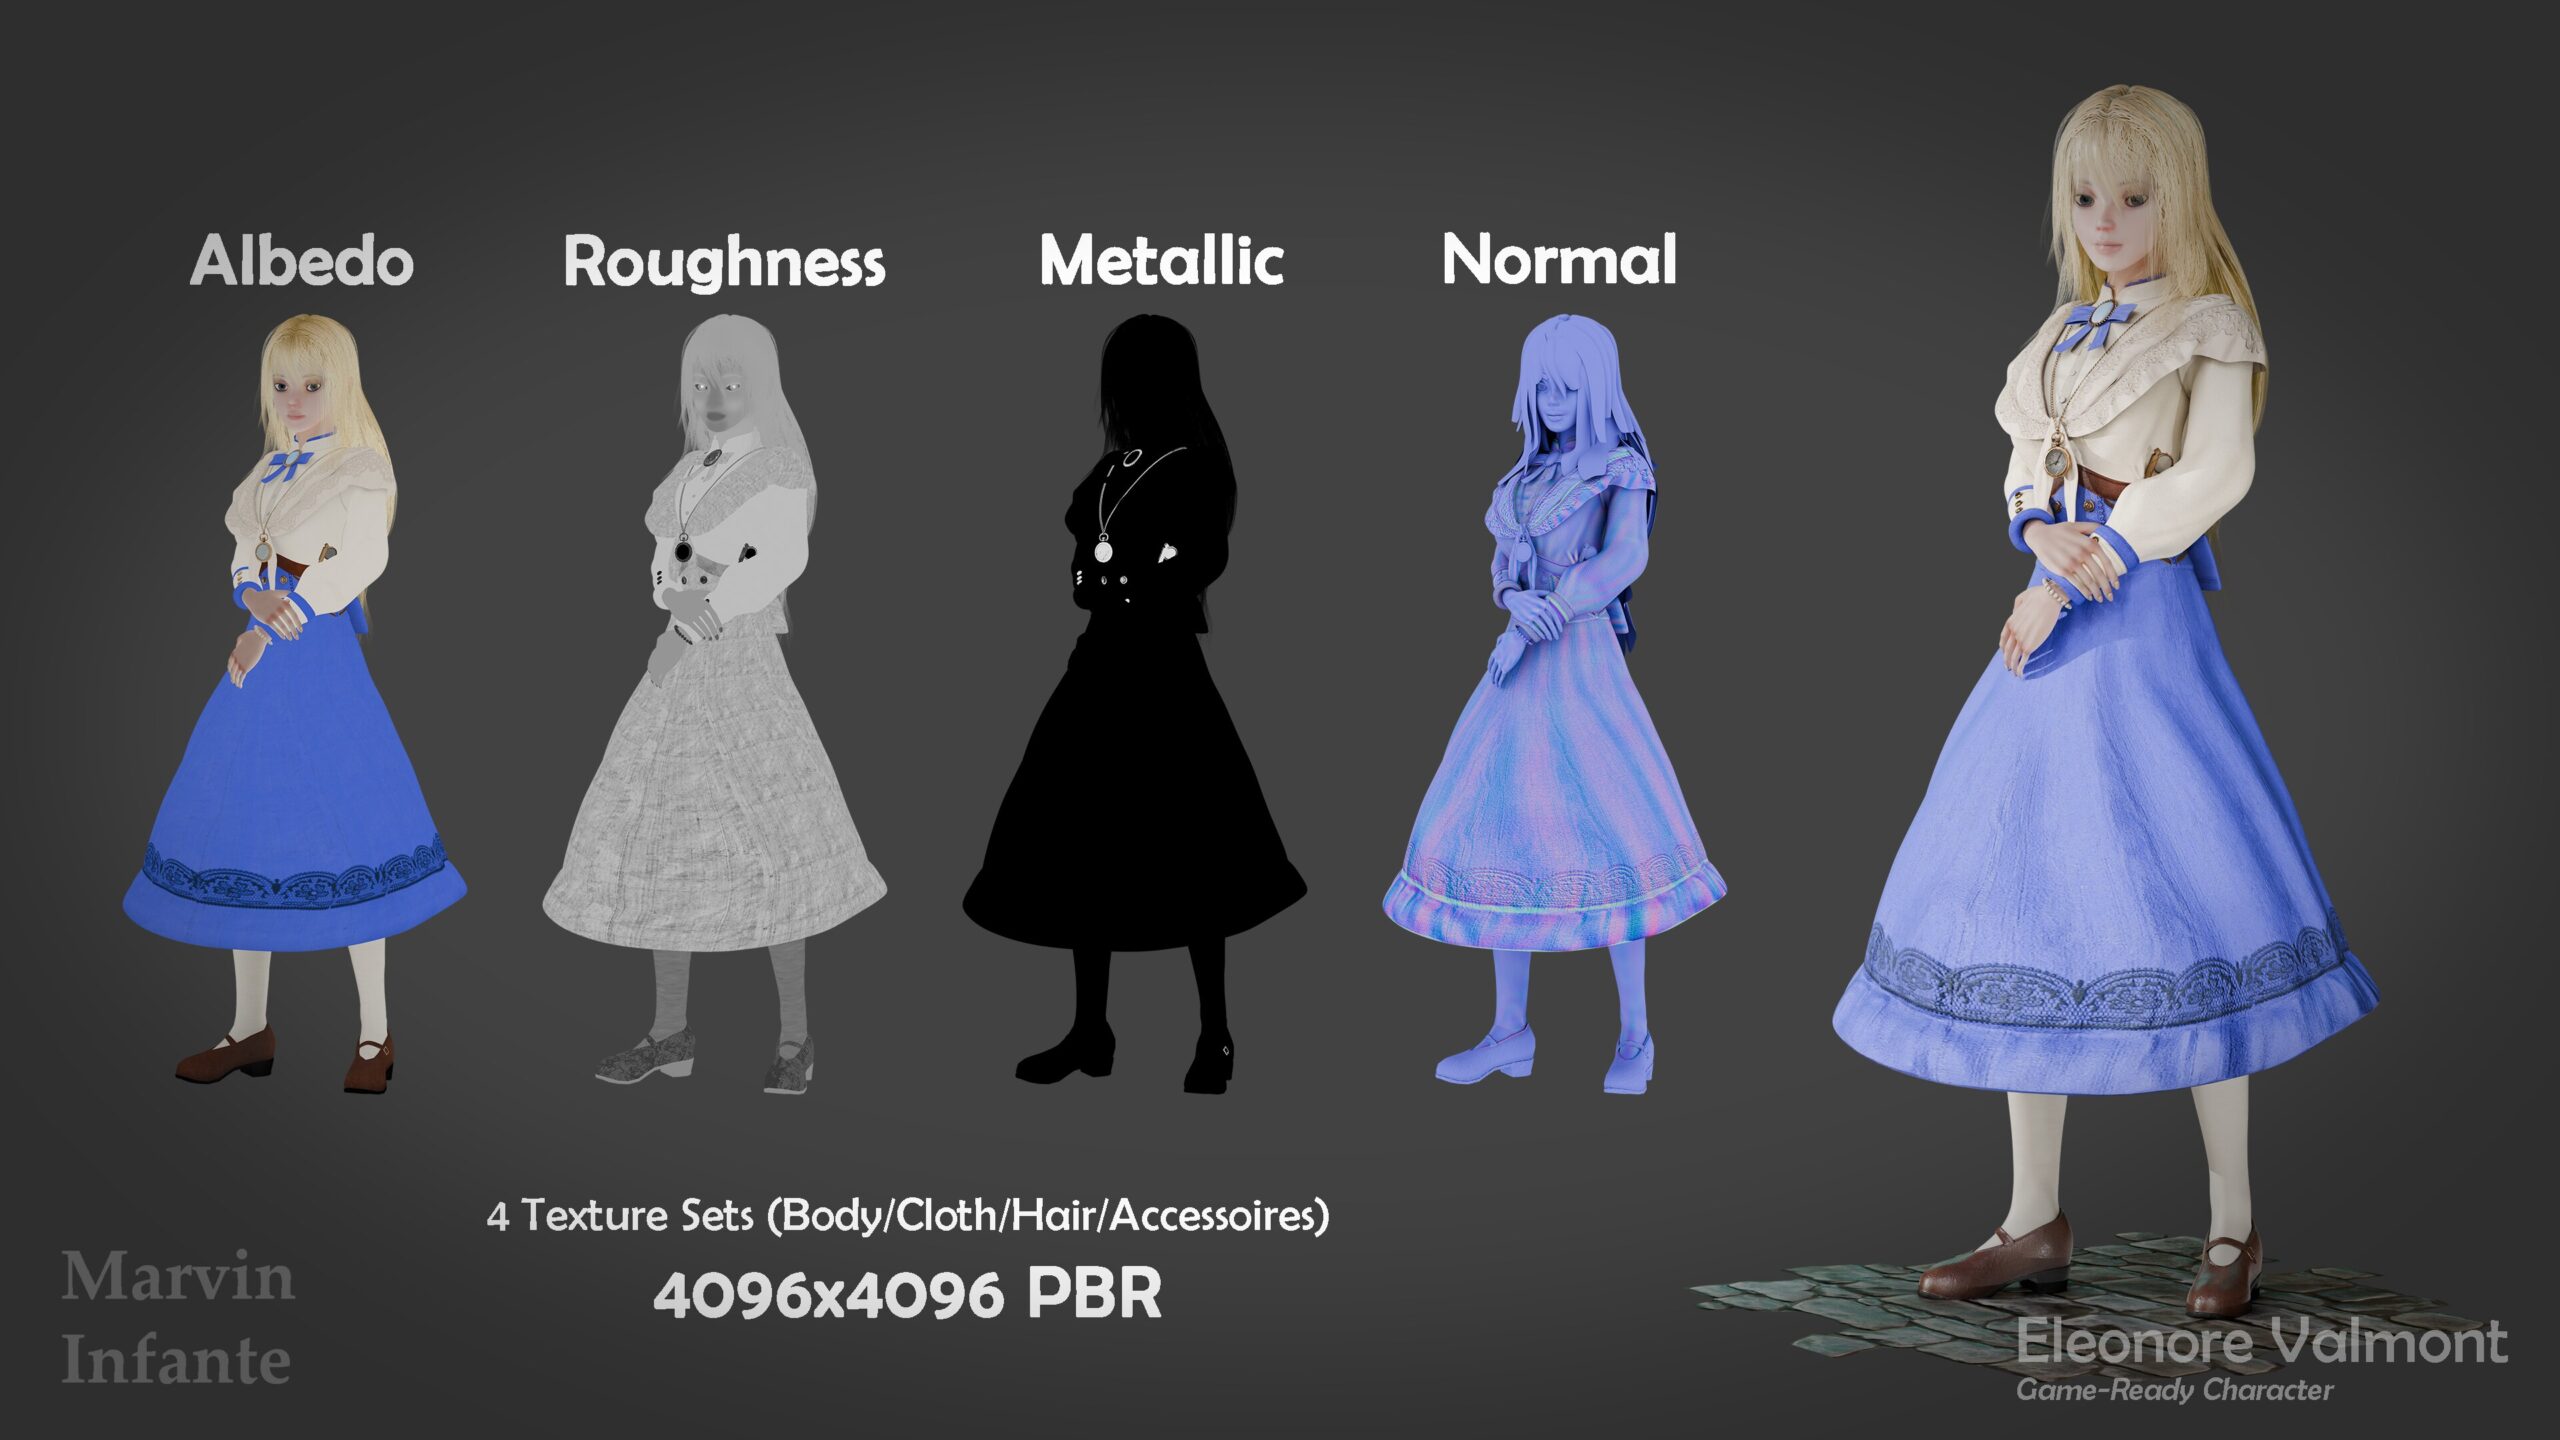
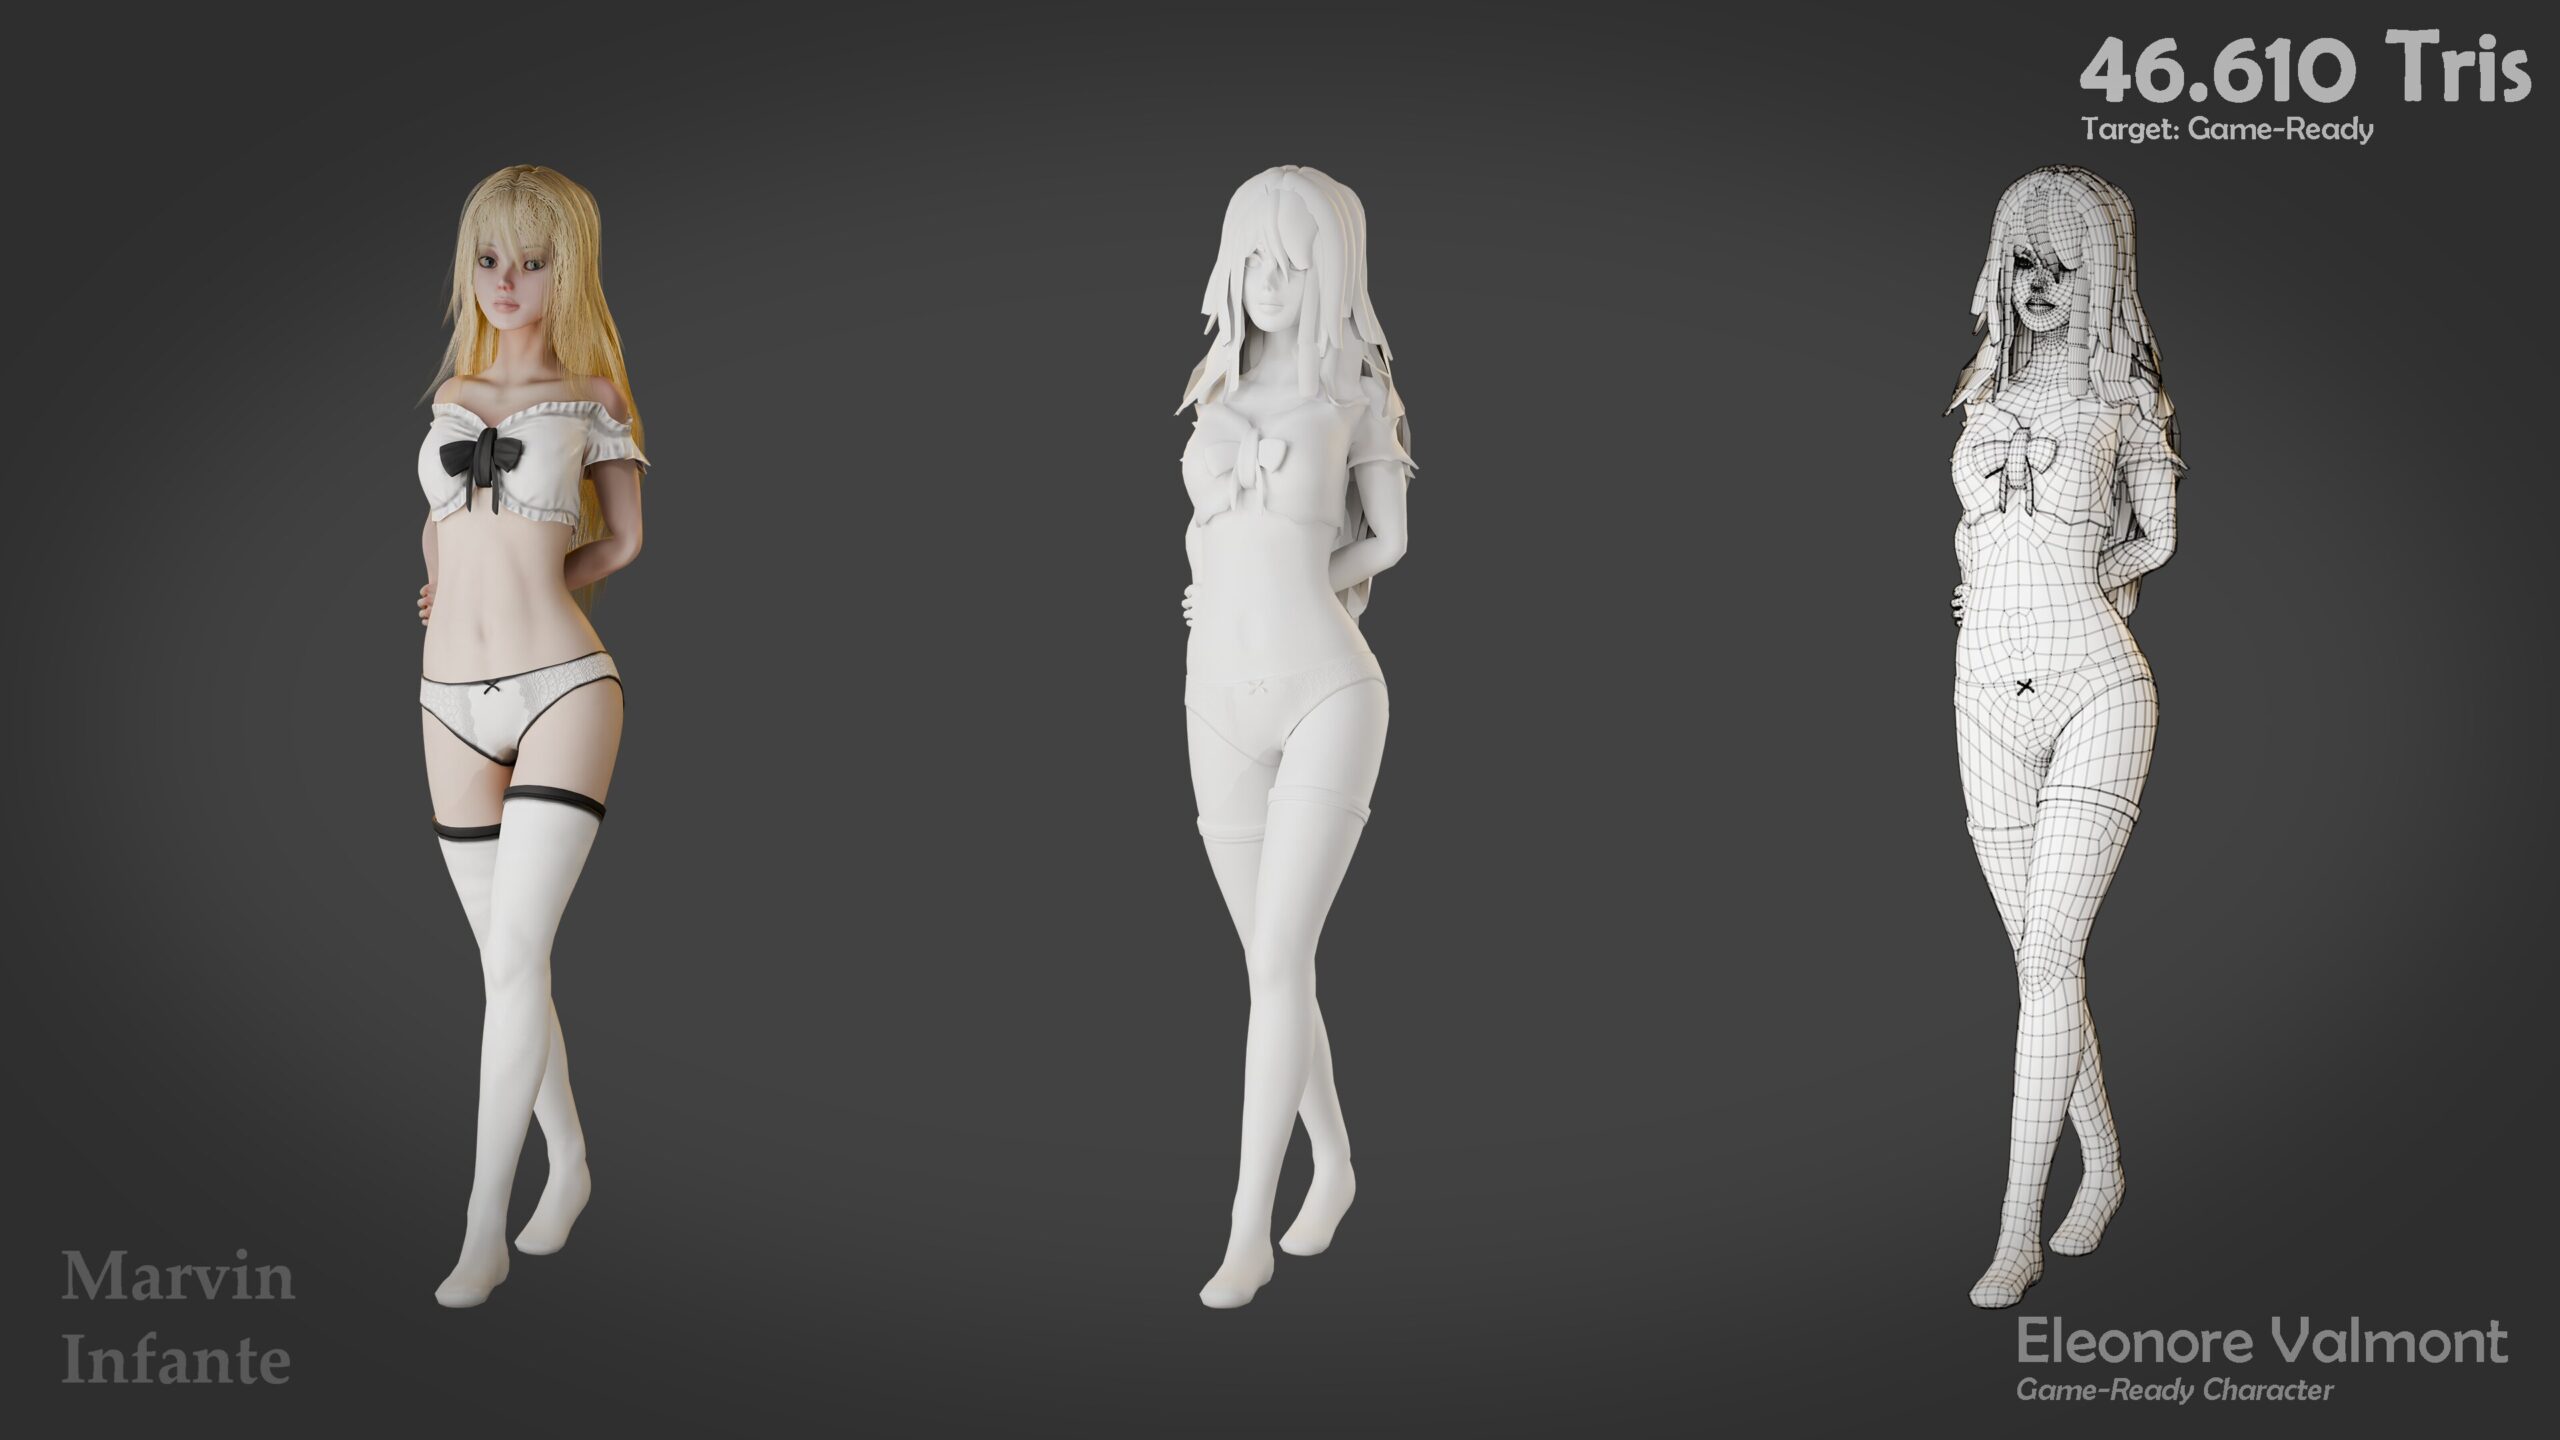
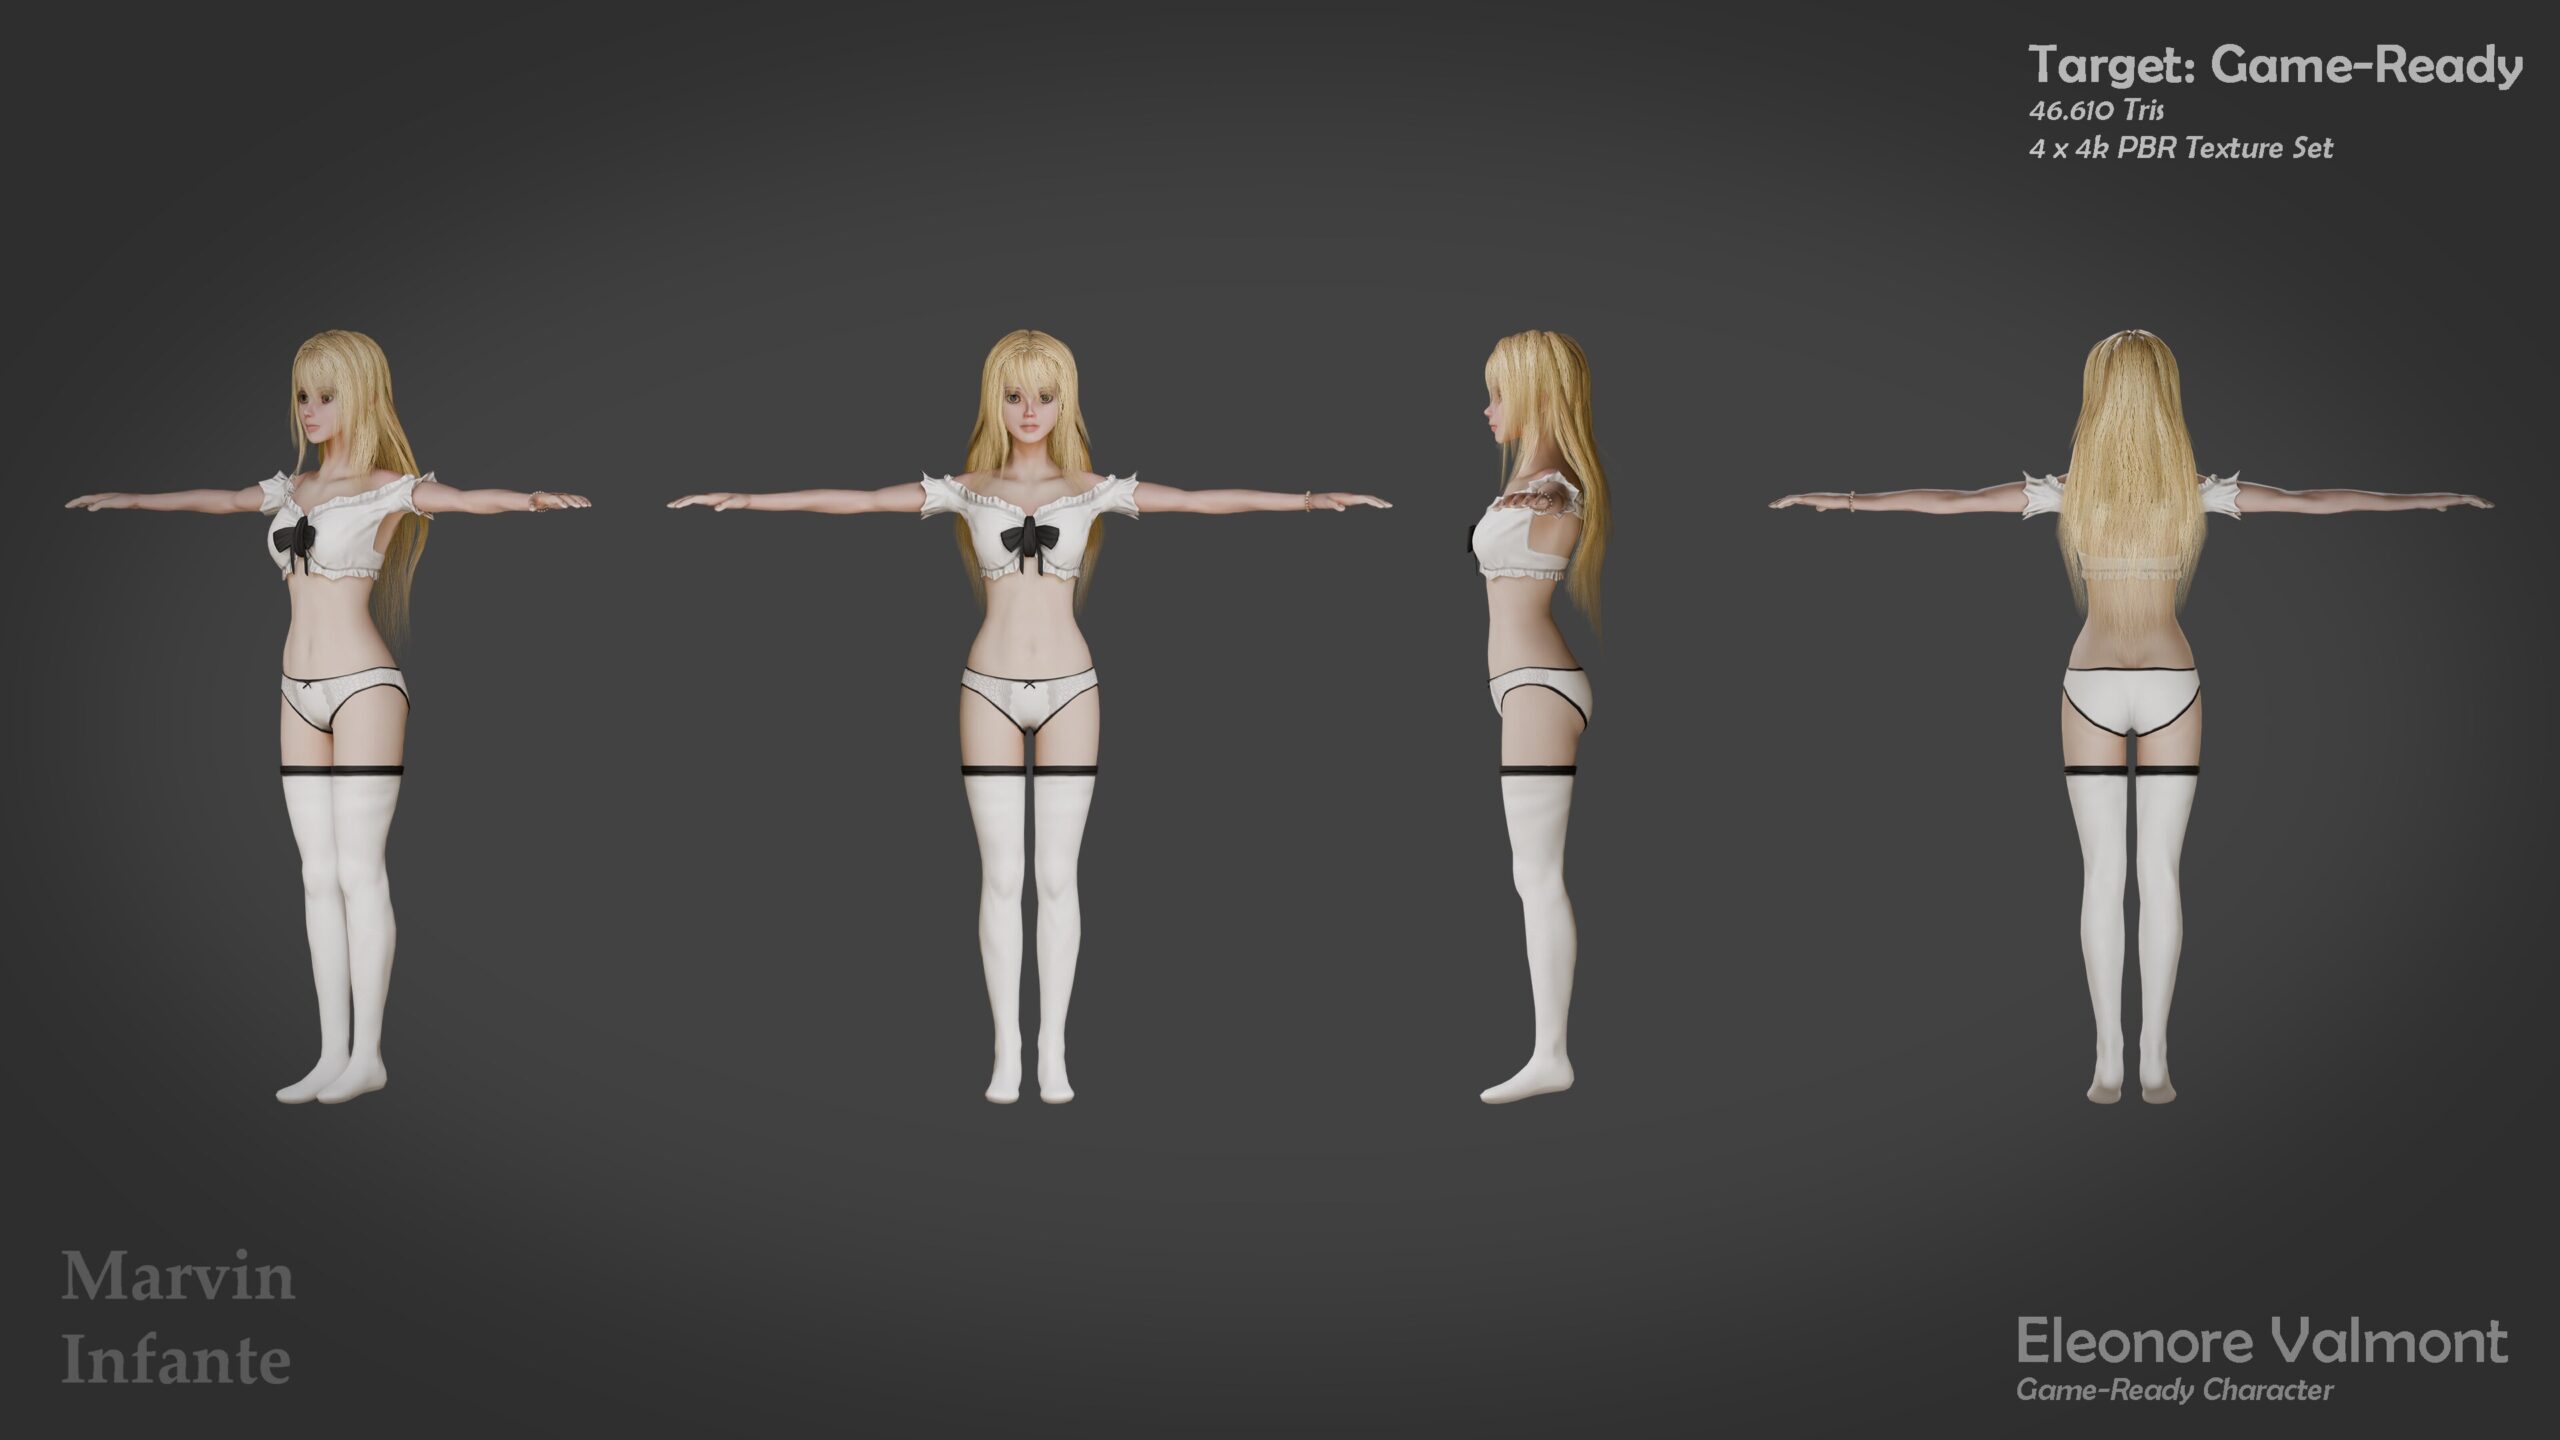
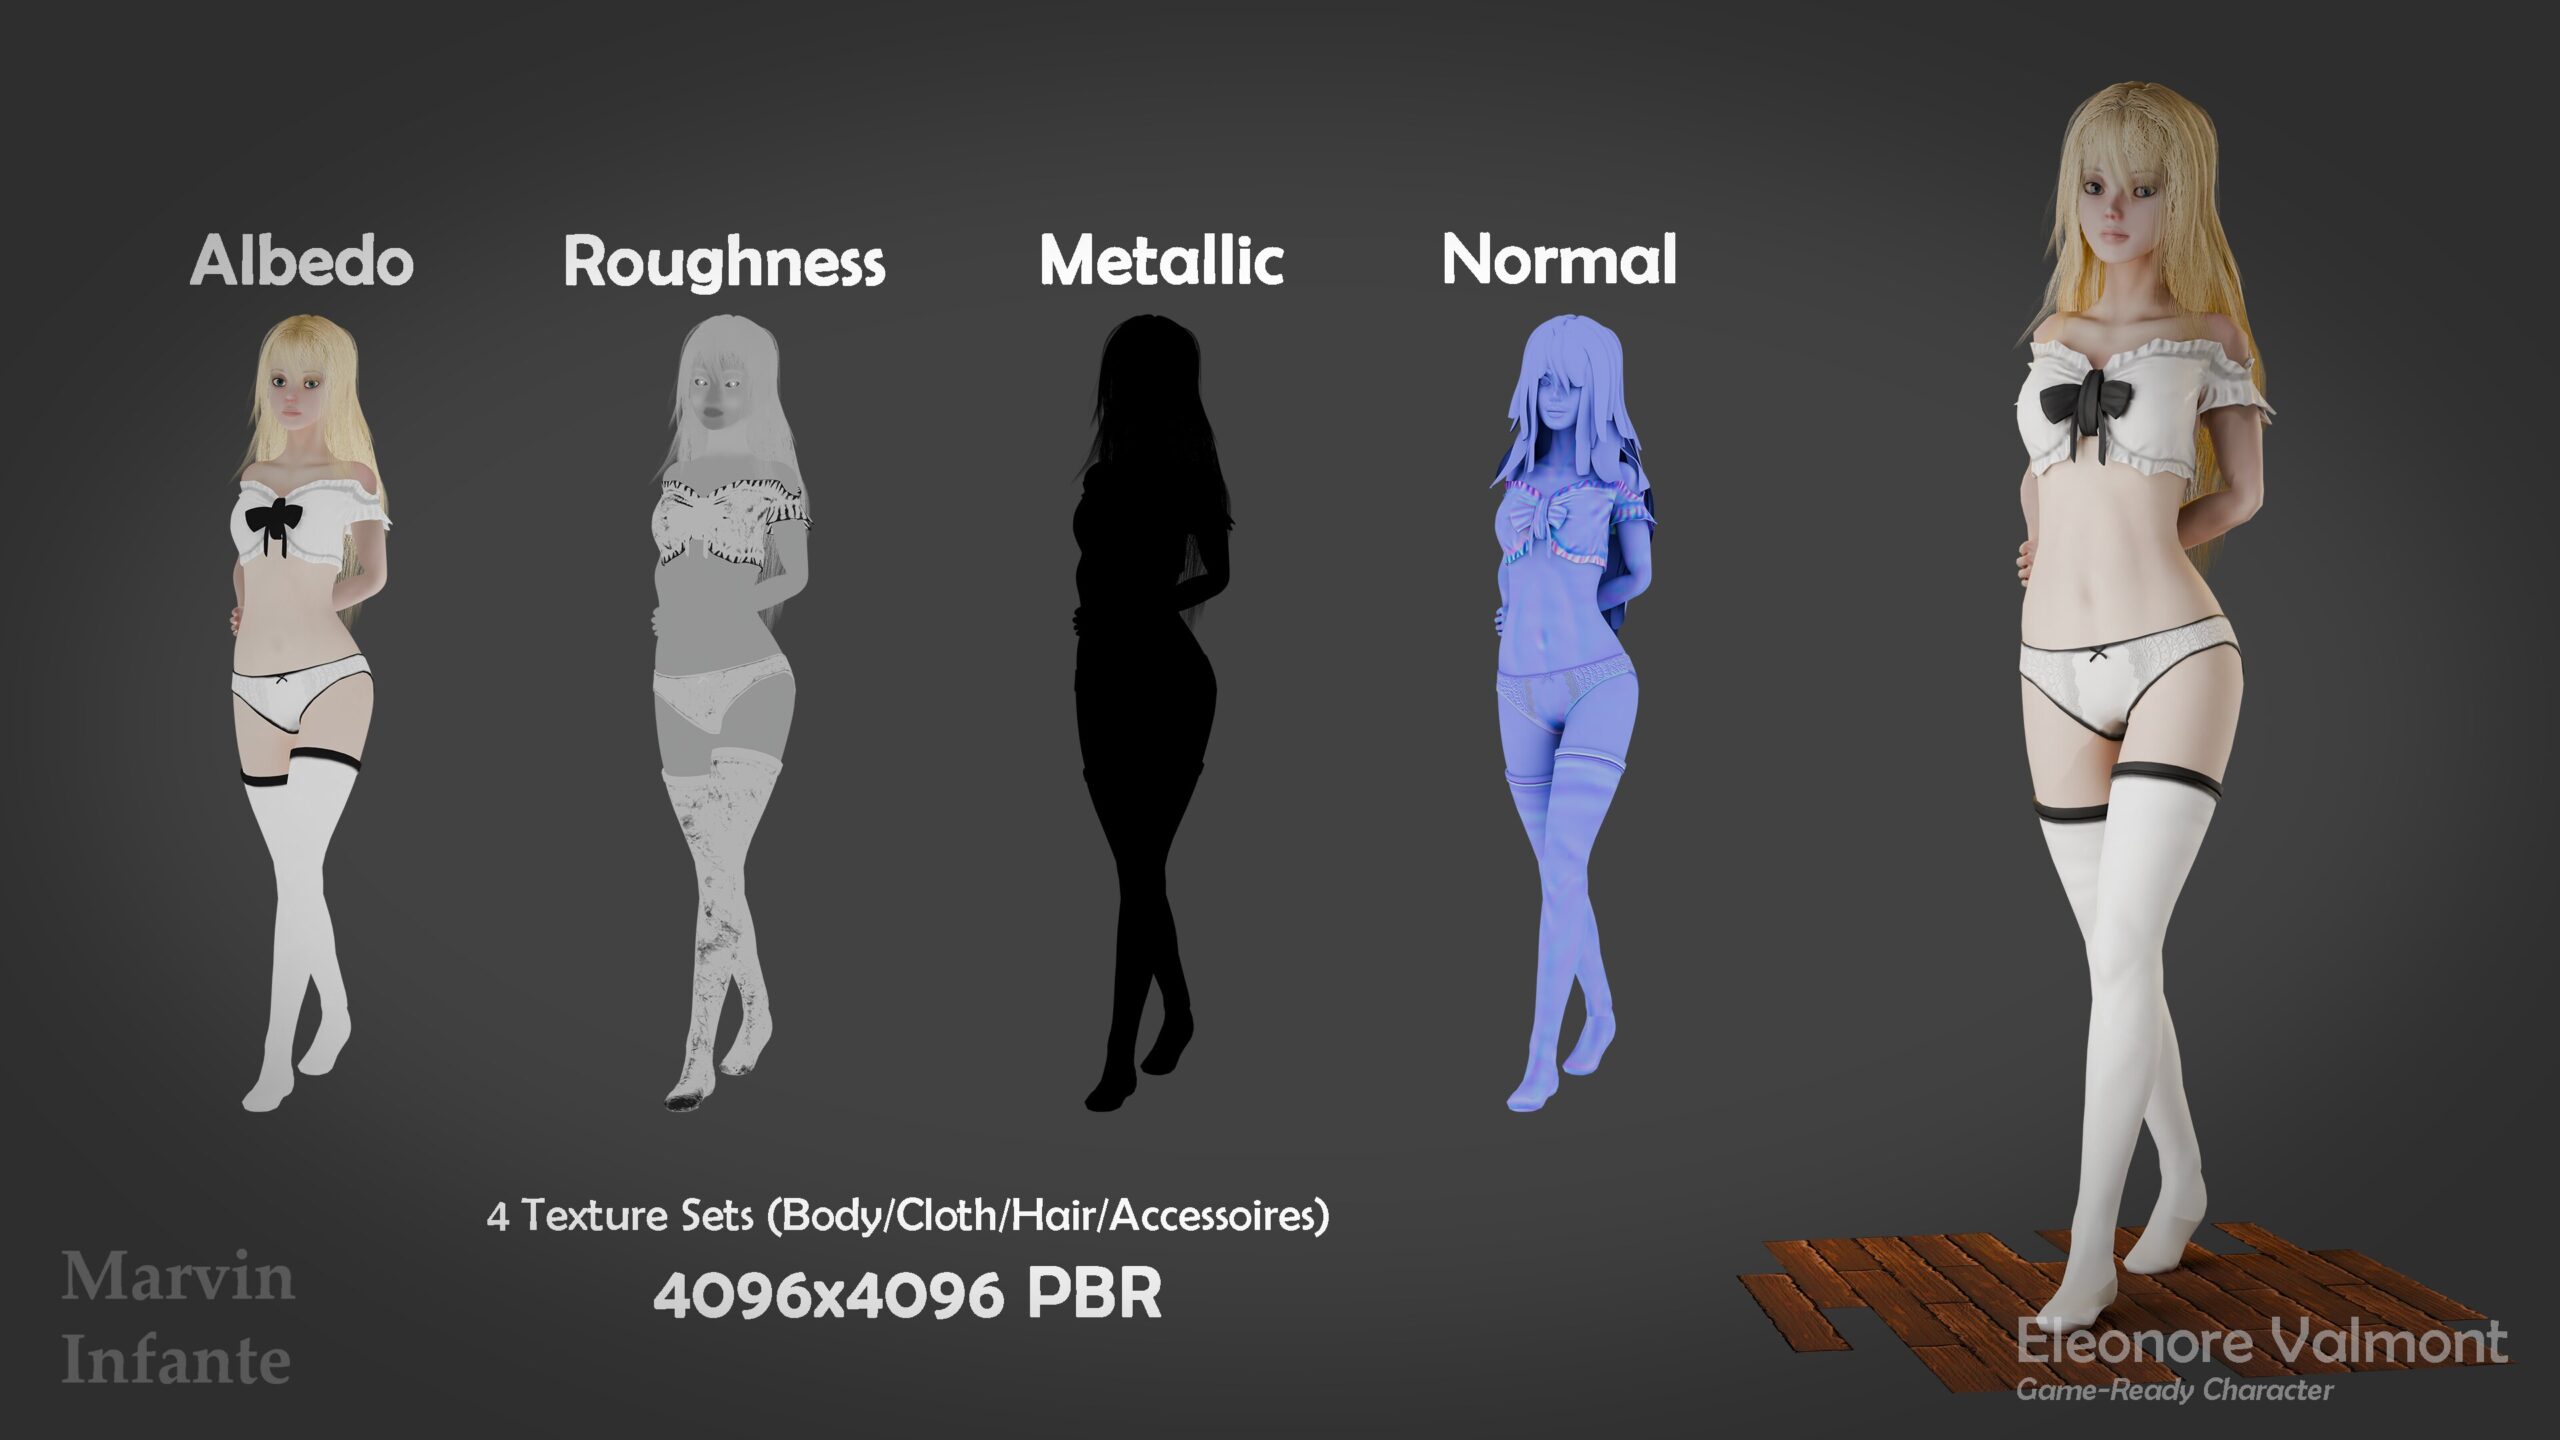
Both outfits were built with a strict budget in mind: stay under 100k triangles per version. The full outfit with blouse, cape collar and skirt came in at 71,796 tris, the second, lighter outfit at 46,610 tris. Keeping those numbers meant deciding very consciously what actually needs geometry and what can be solved with textures and normal maps.
The character was rigged and animated and then brought into Unreal Engine 5, which was the part of the pipeline I had the least experience with going in. This is also where I ran into the biggest technical problem of the project: the alpha textures on the hair caused shading issues in the engine that did not appear in Blender. Getting the hair and the transparent details of the Cloth and accessories to read correctly took by far the most iterations of anything in this project.
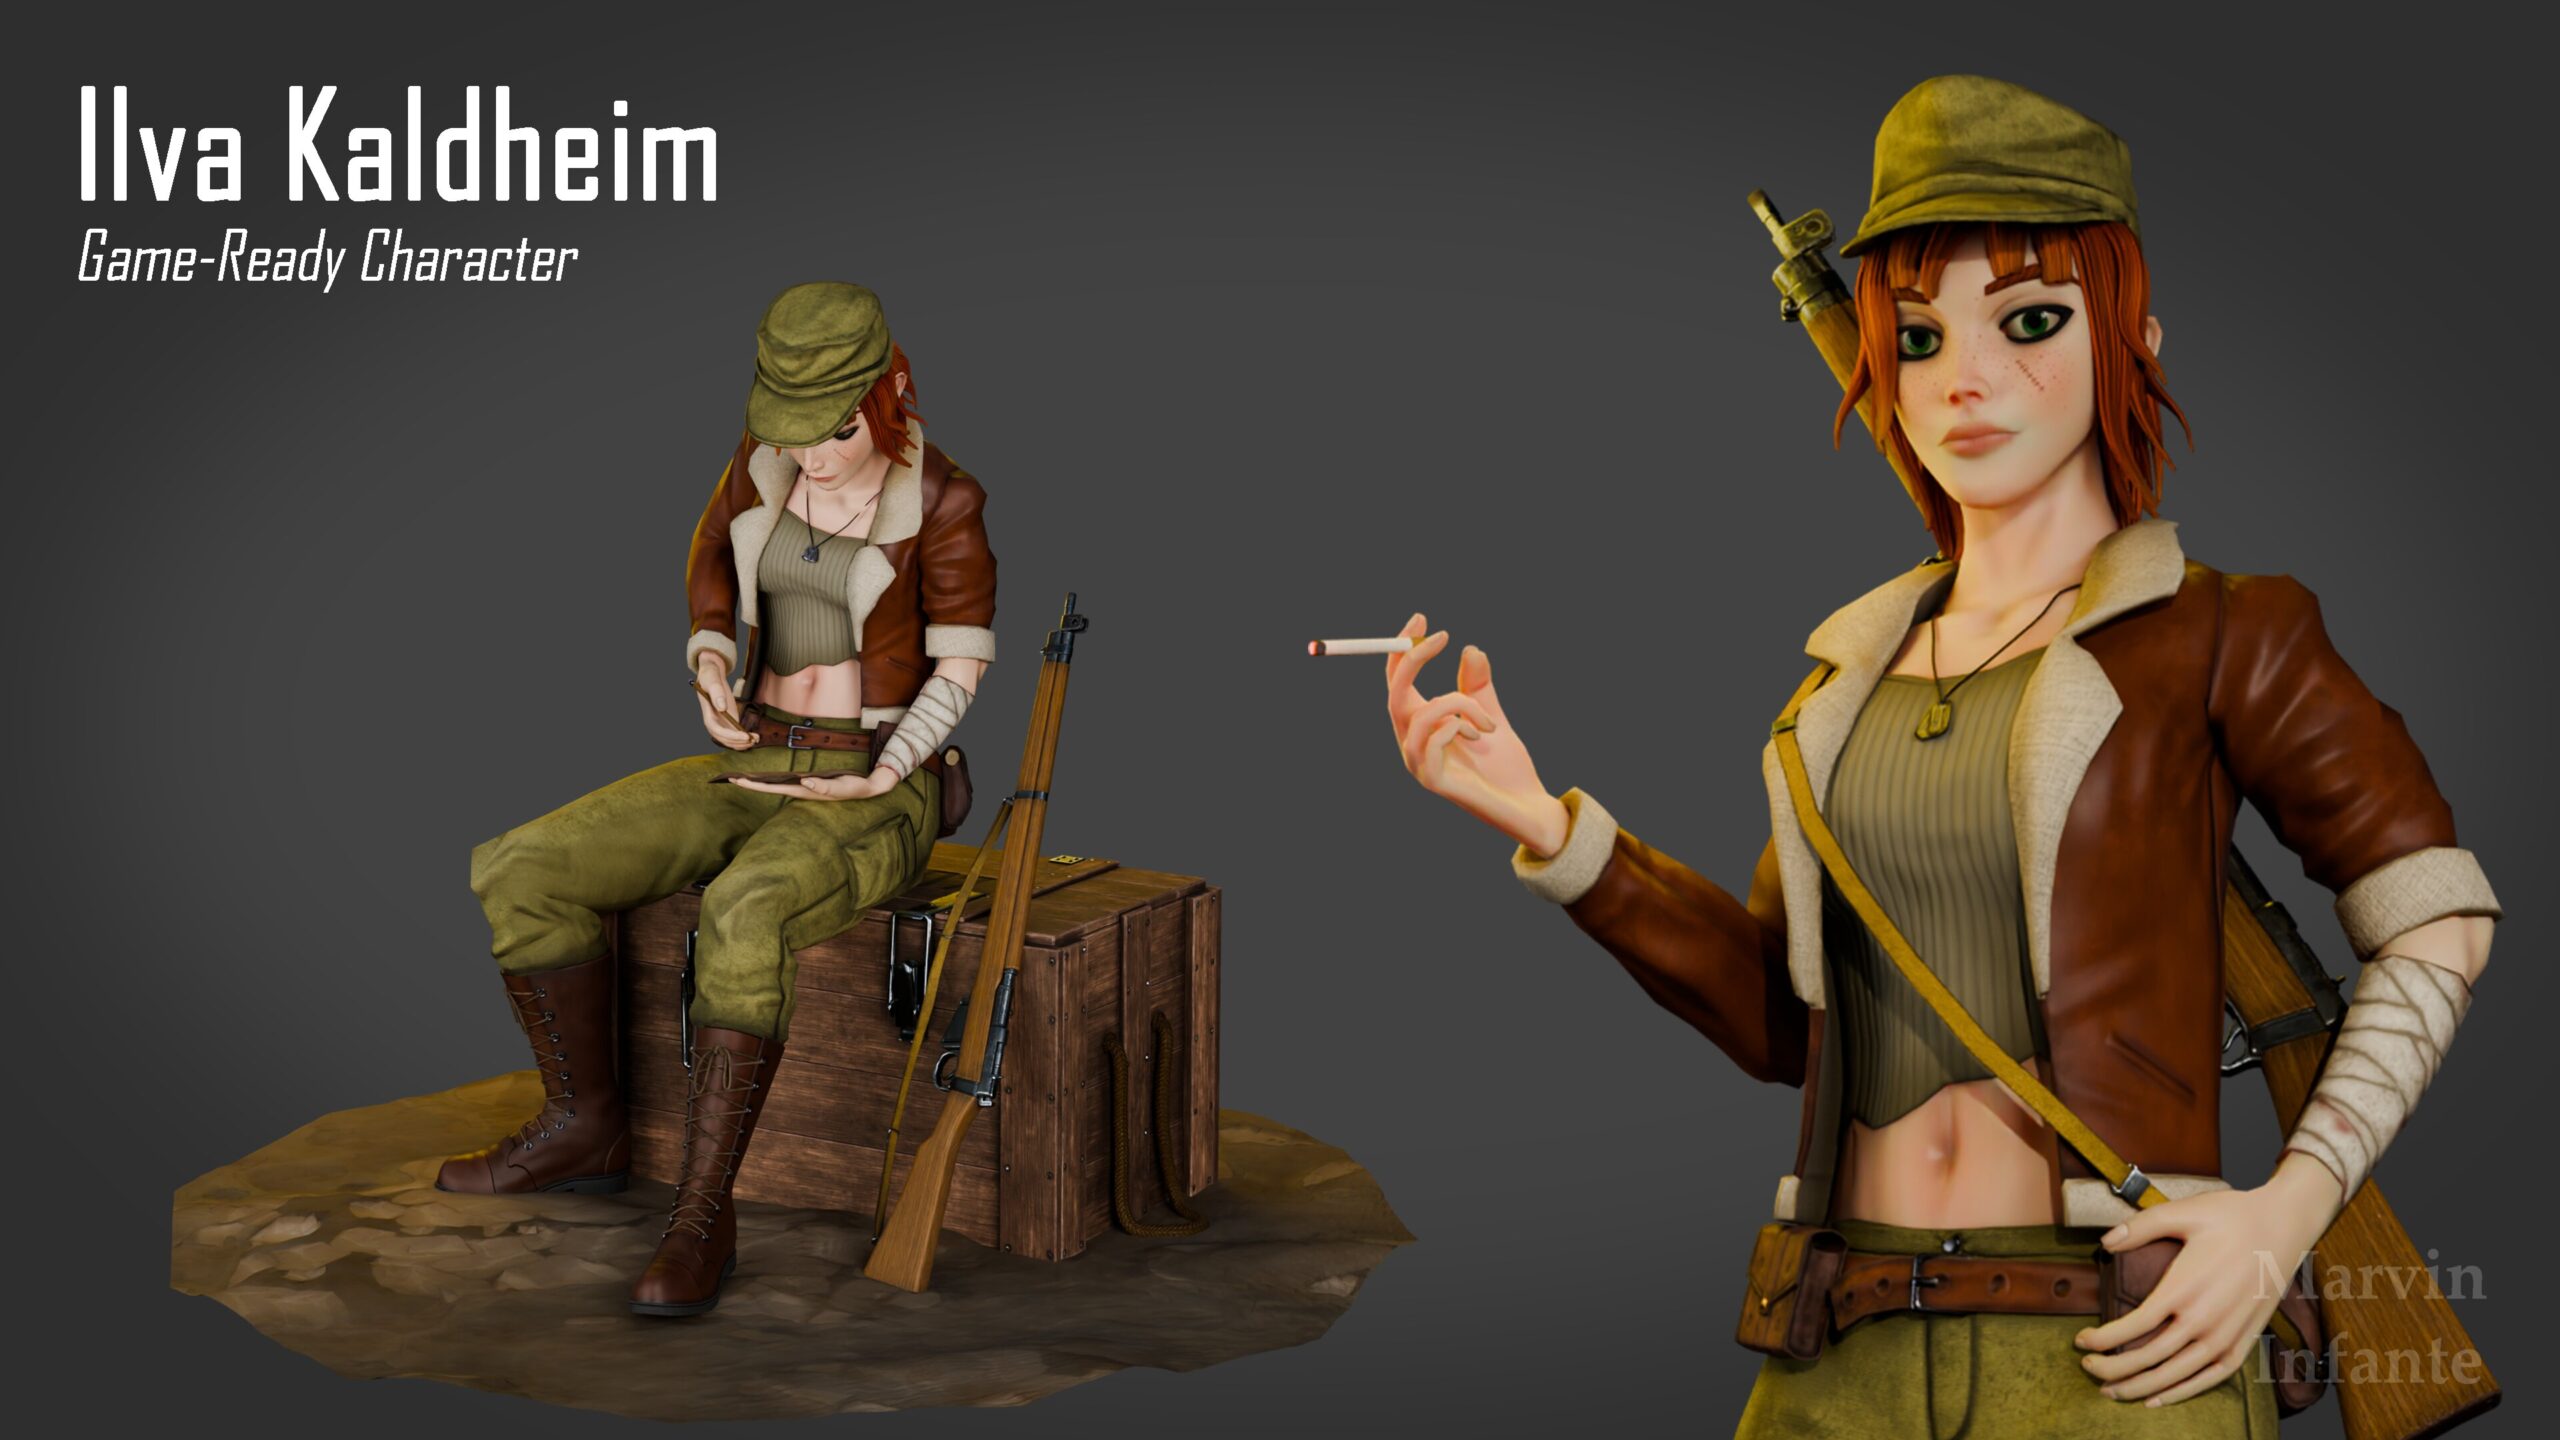
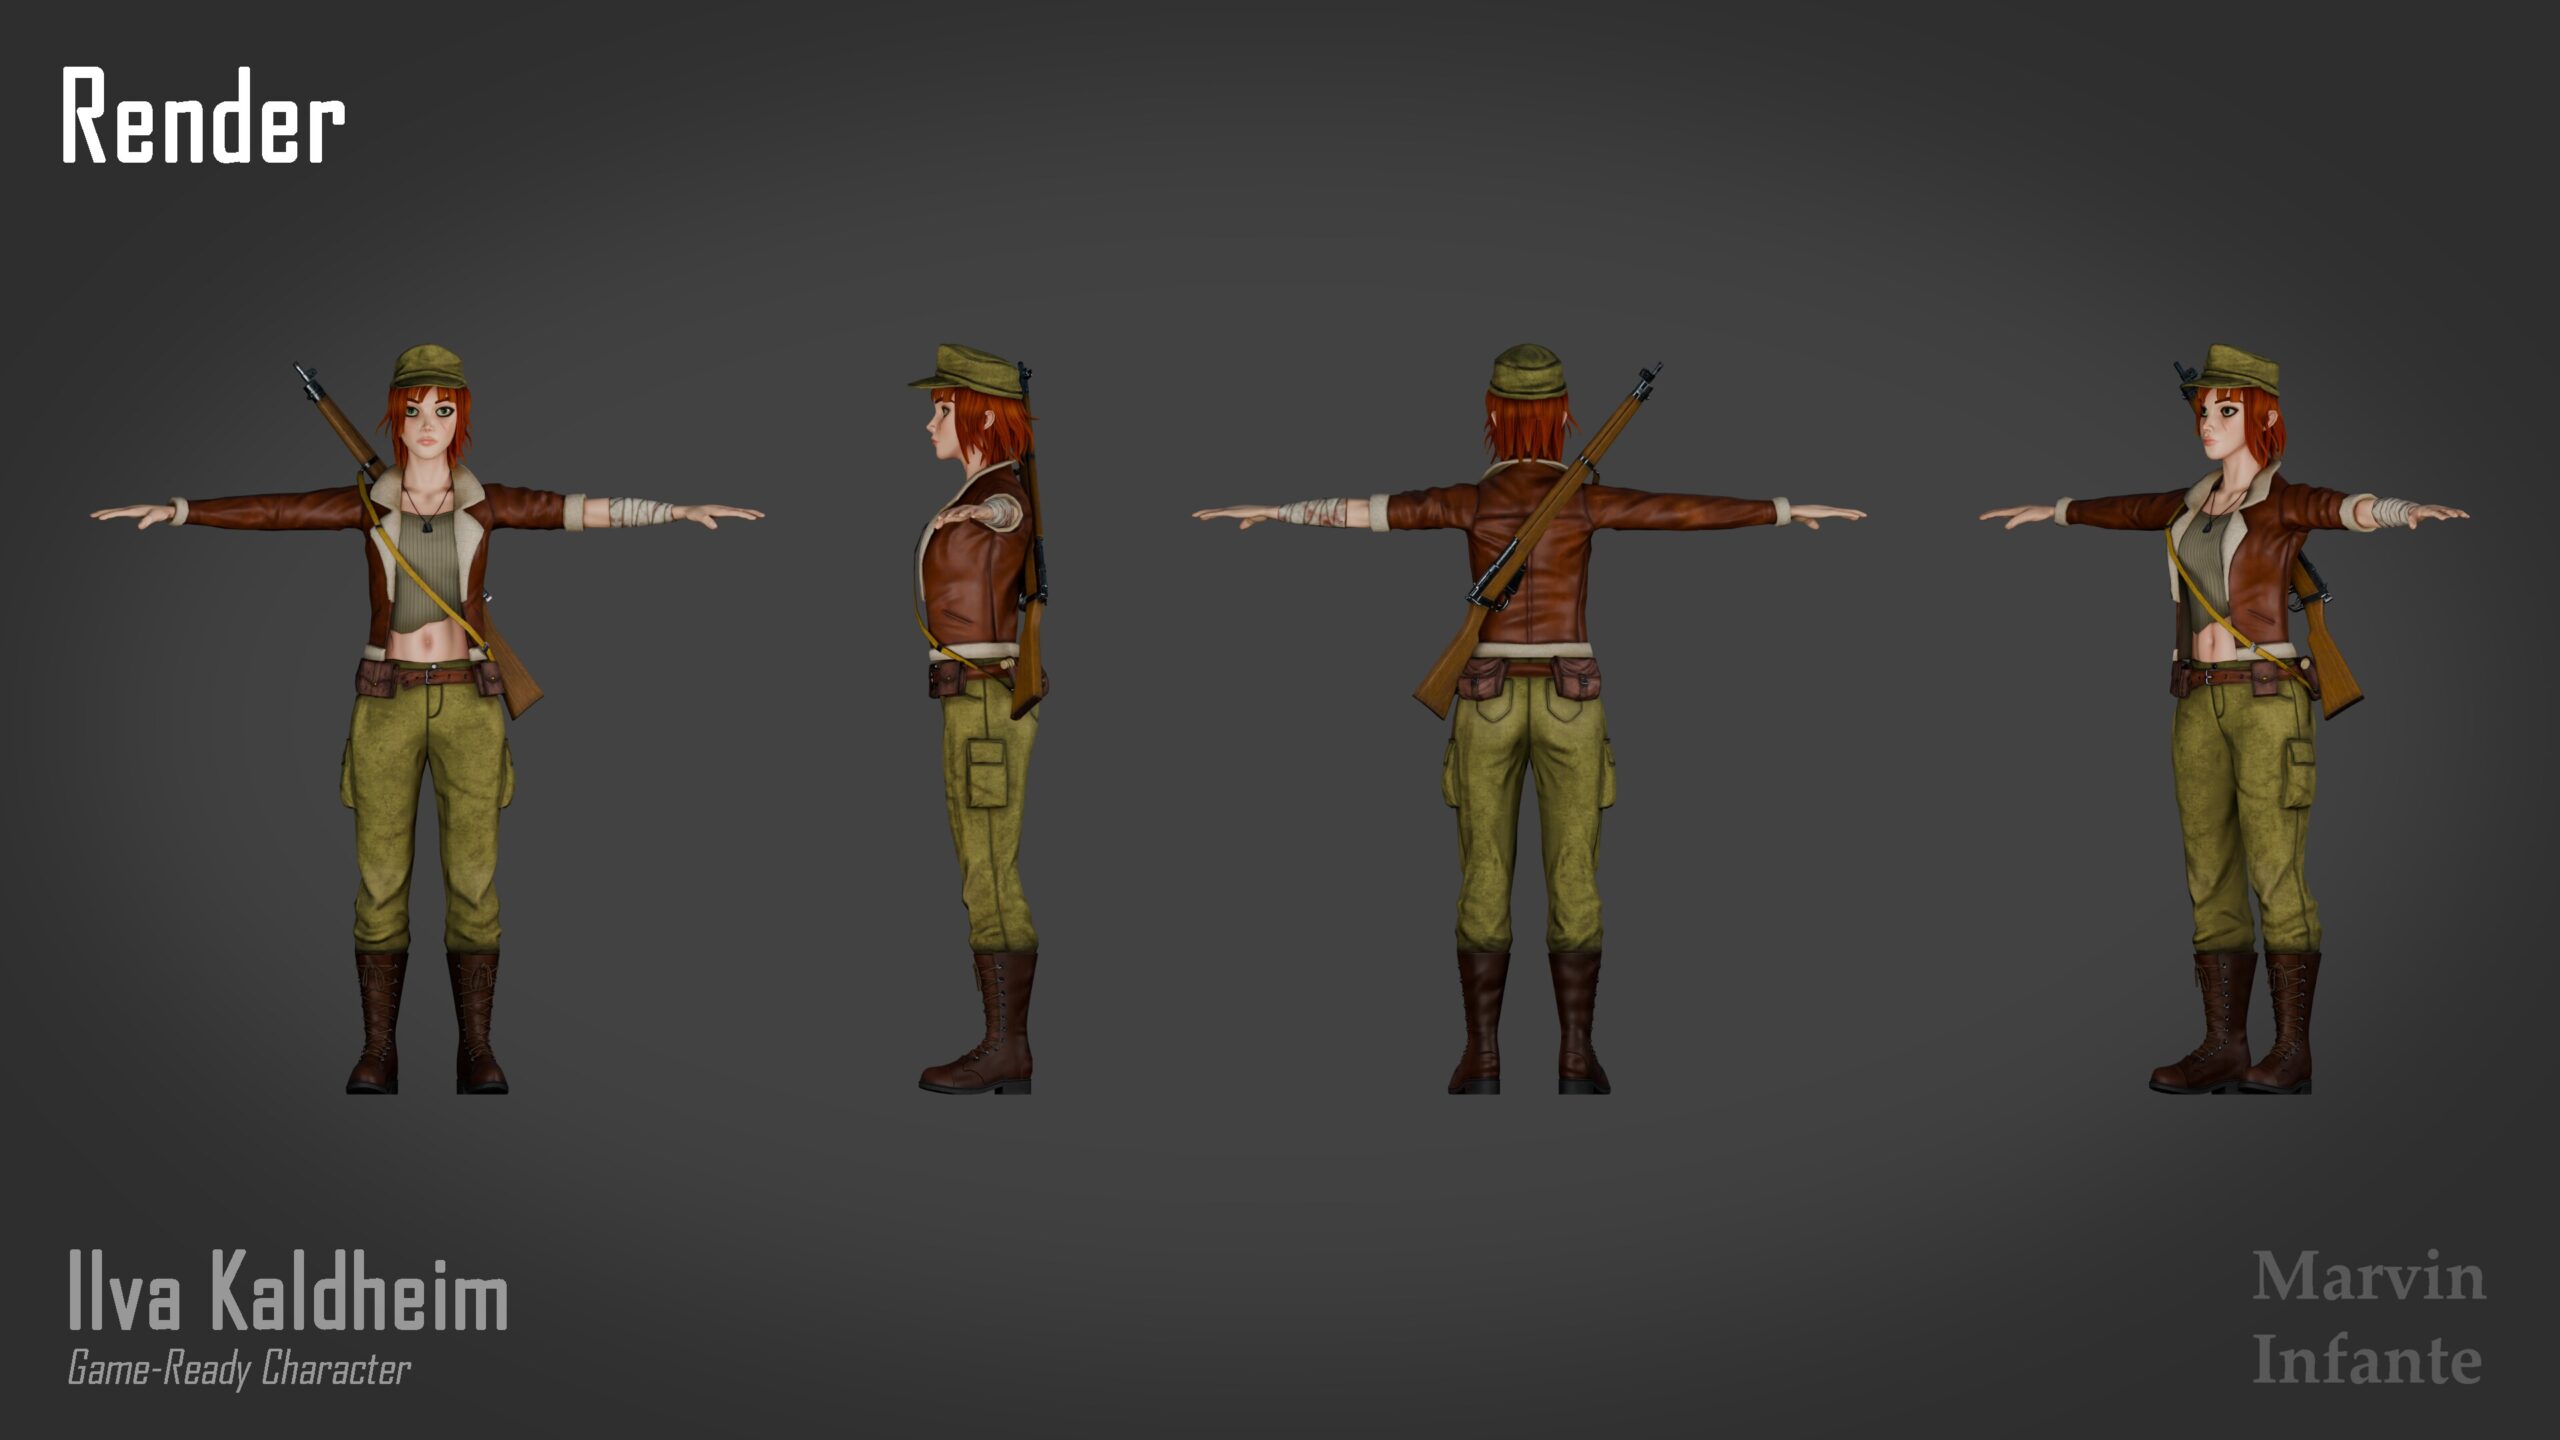
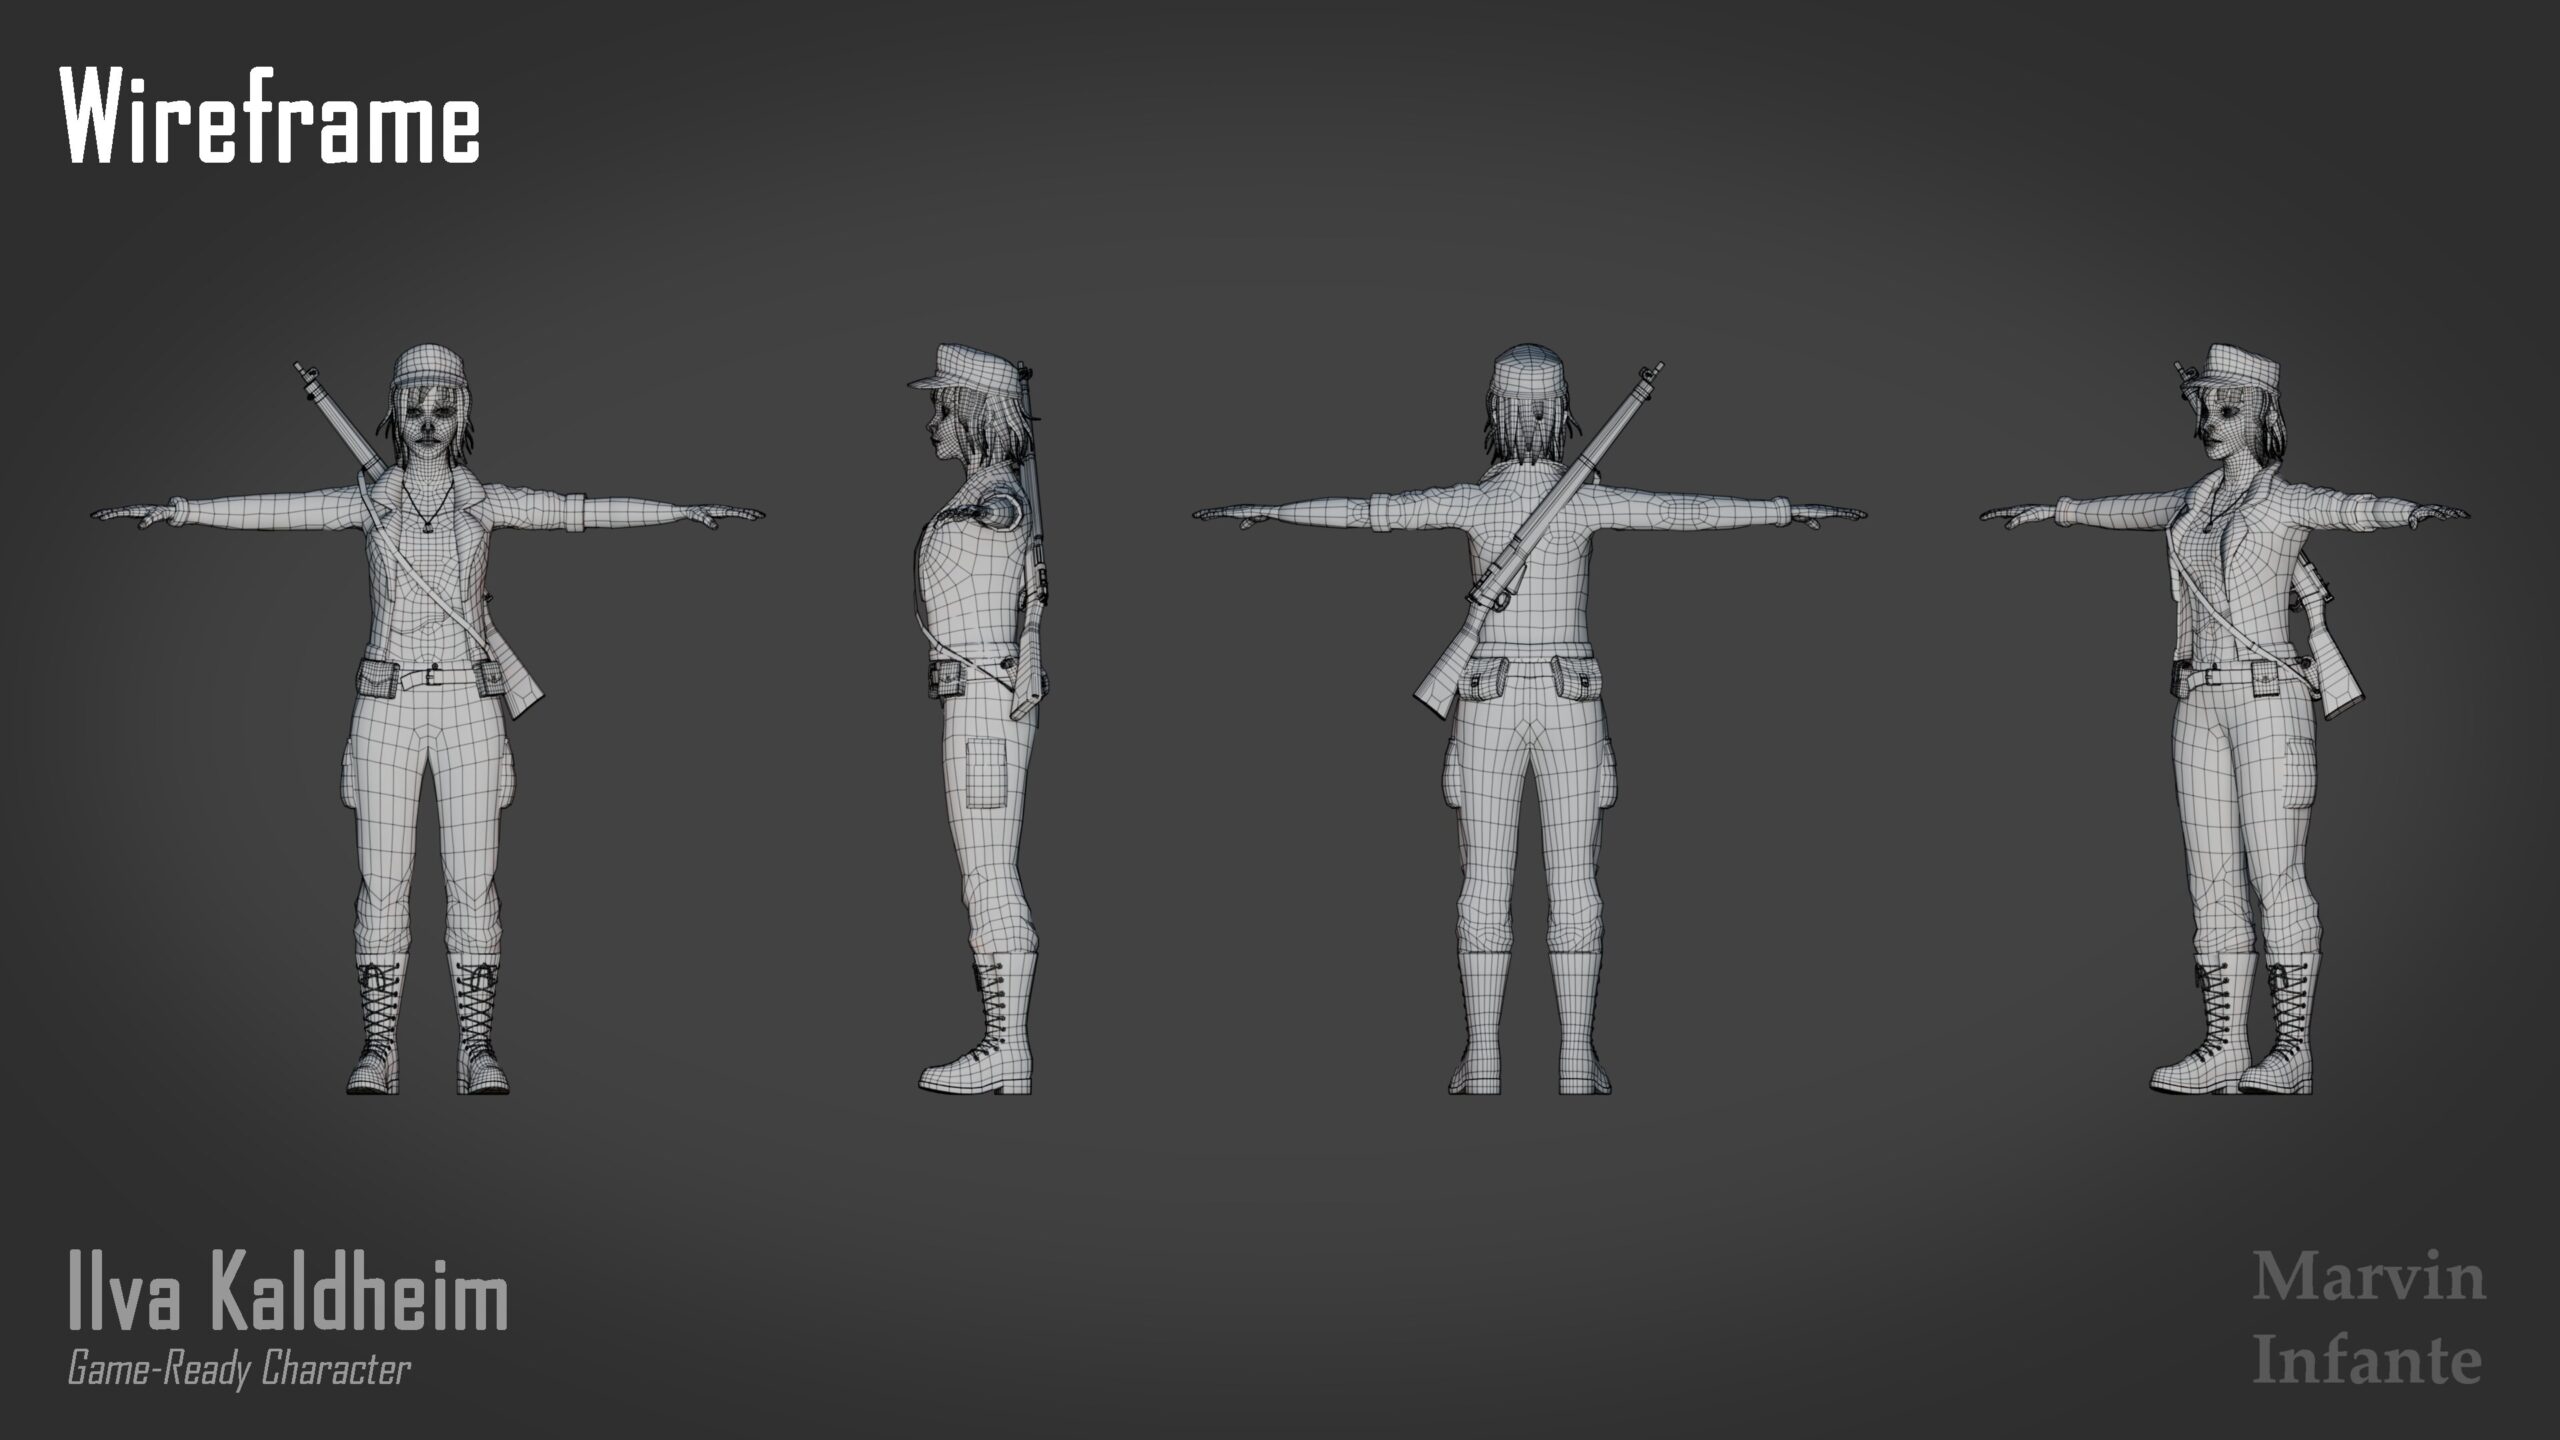
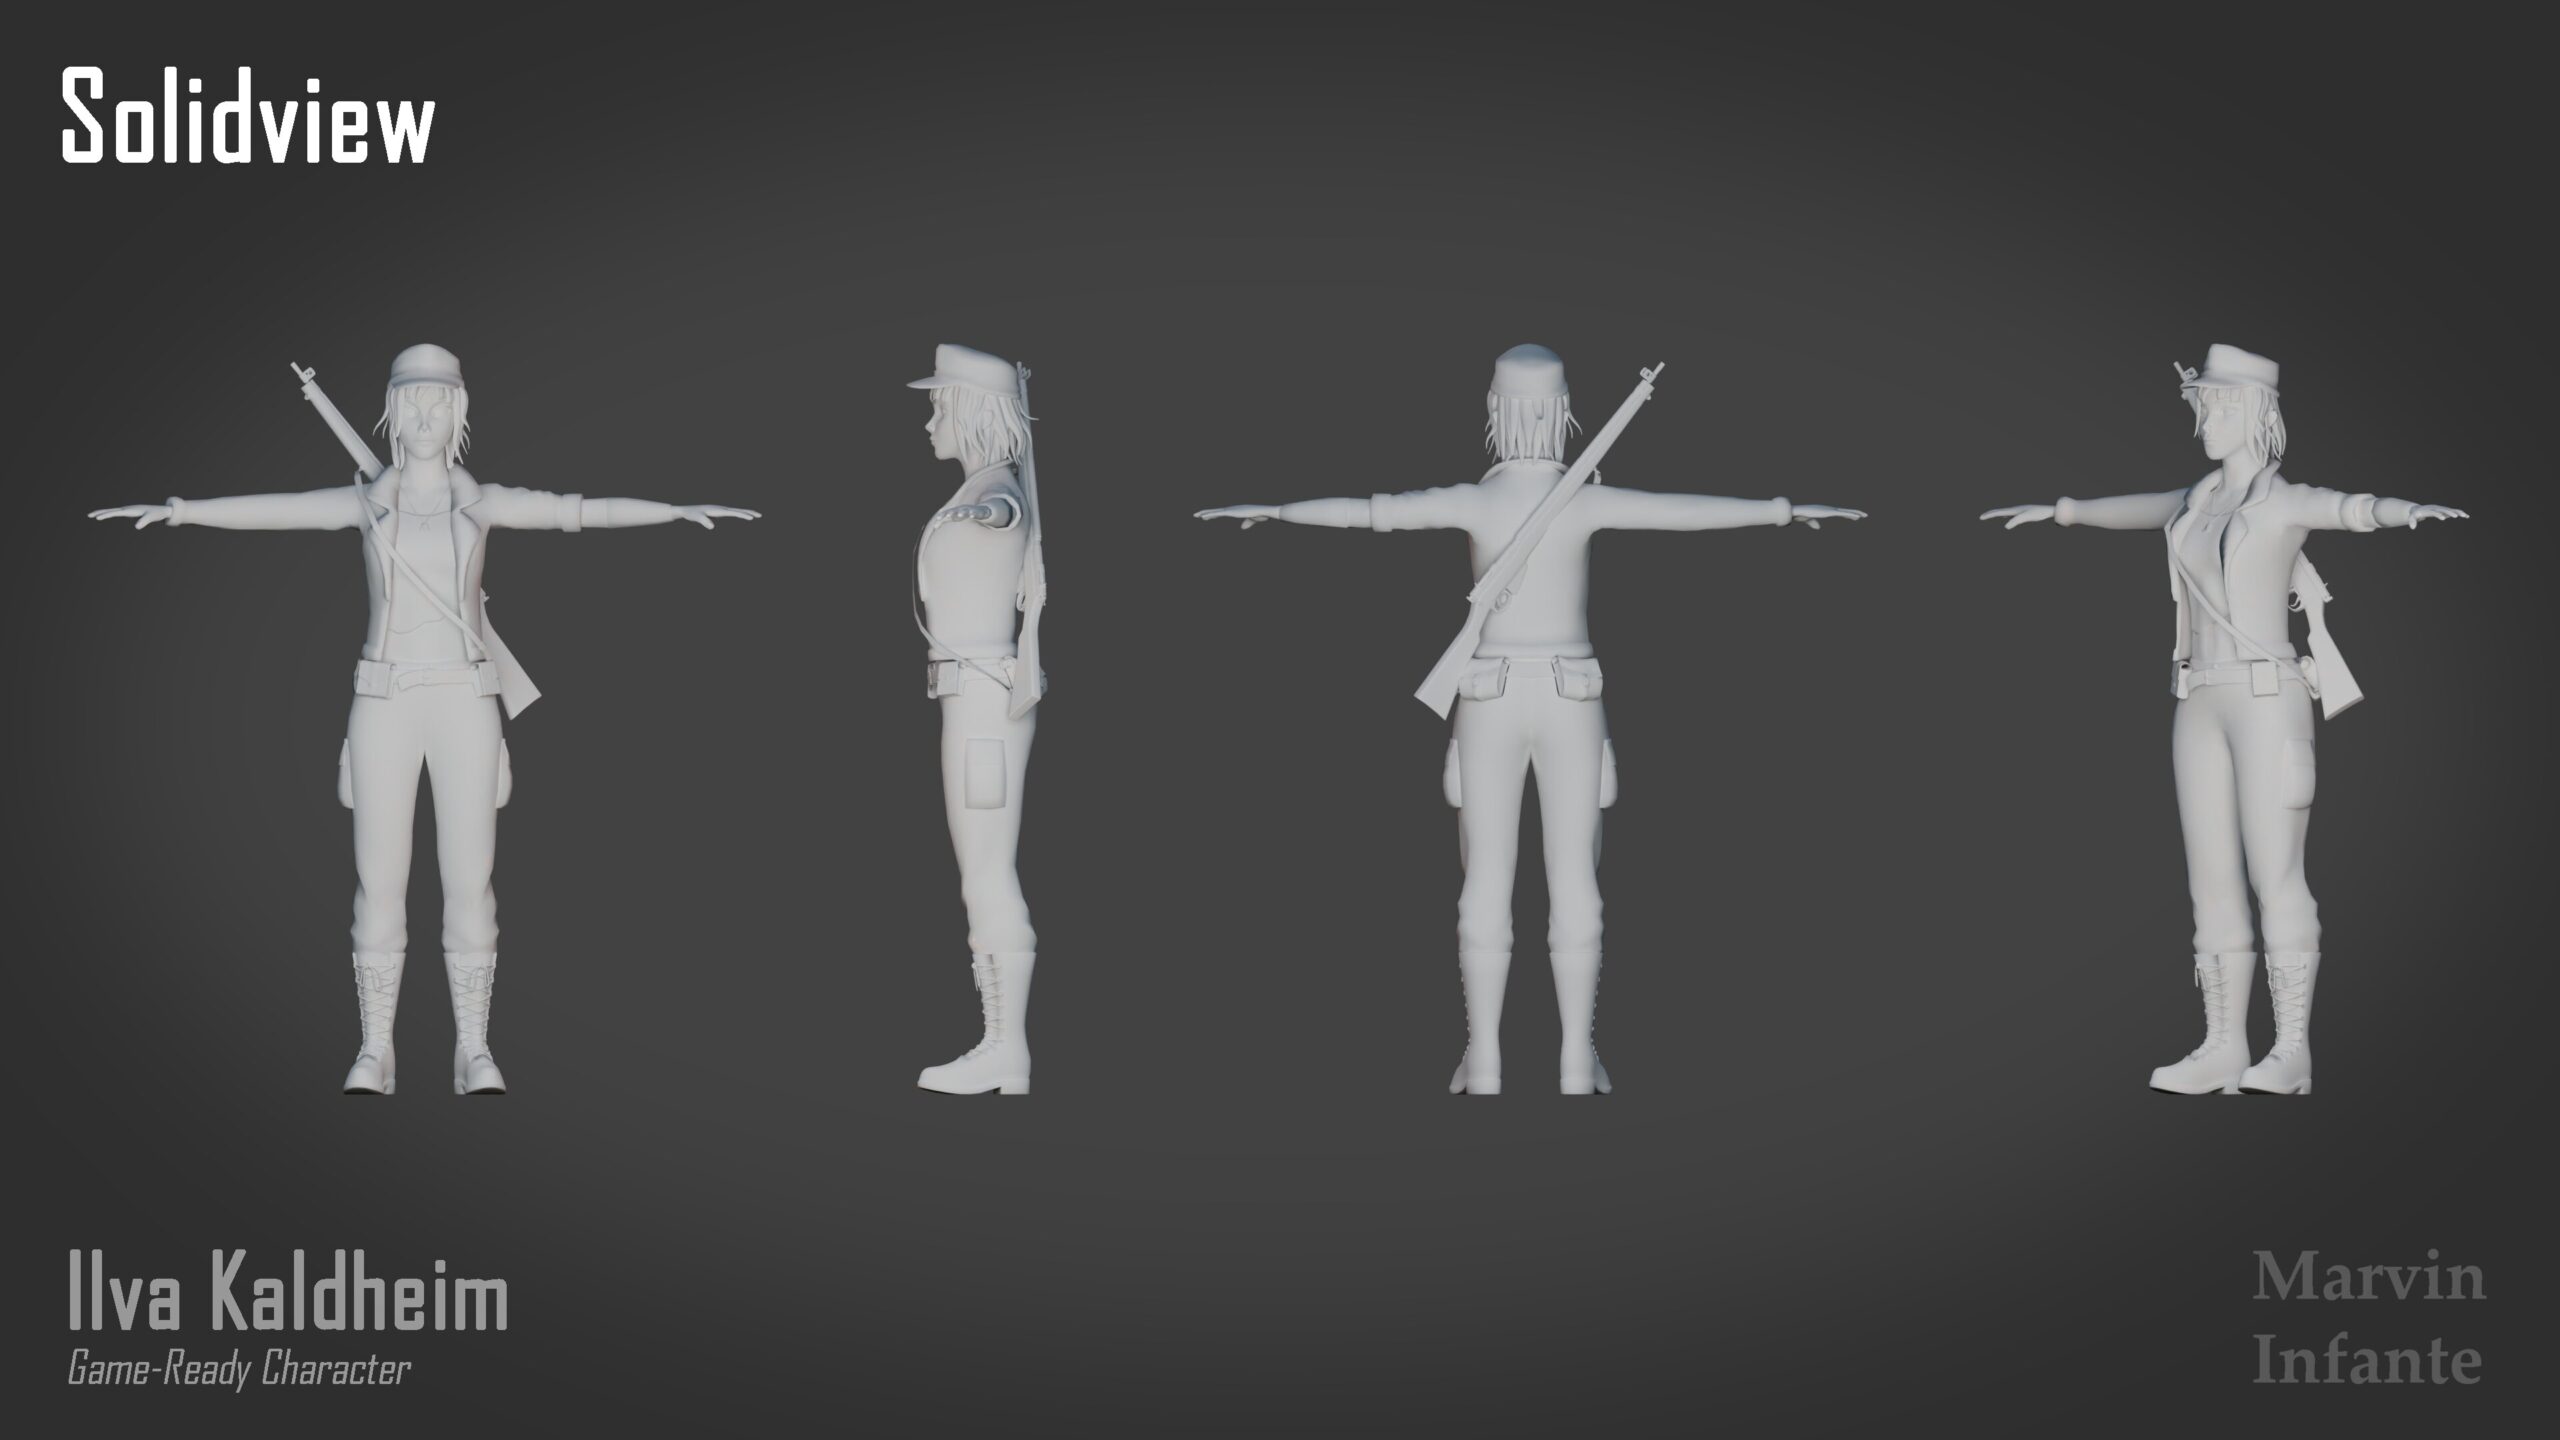
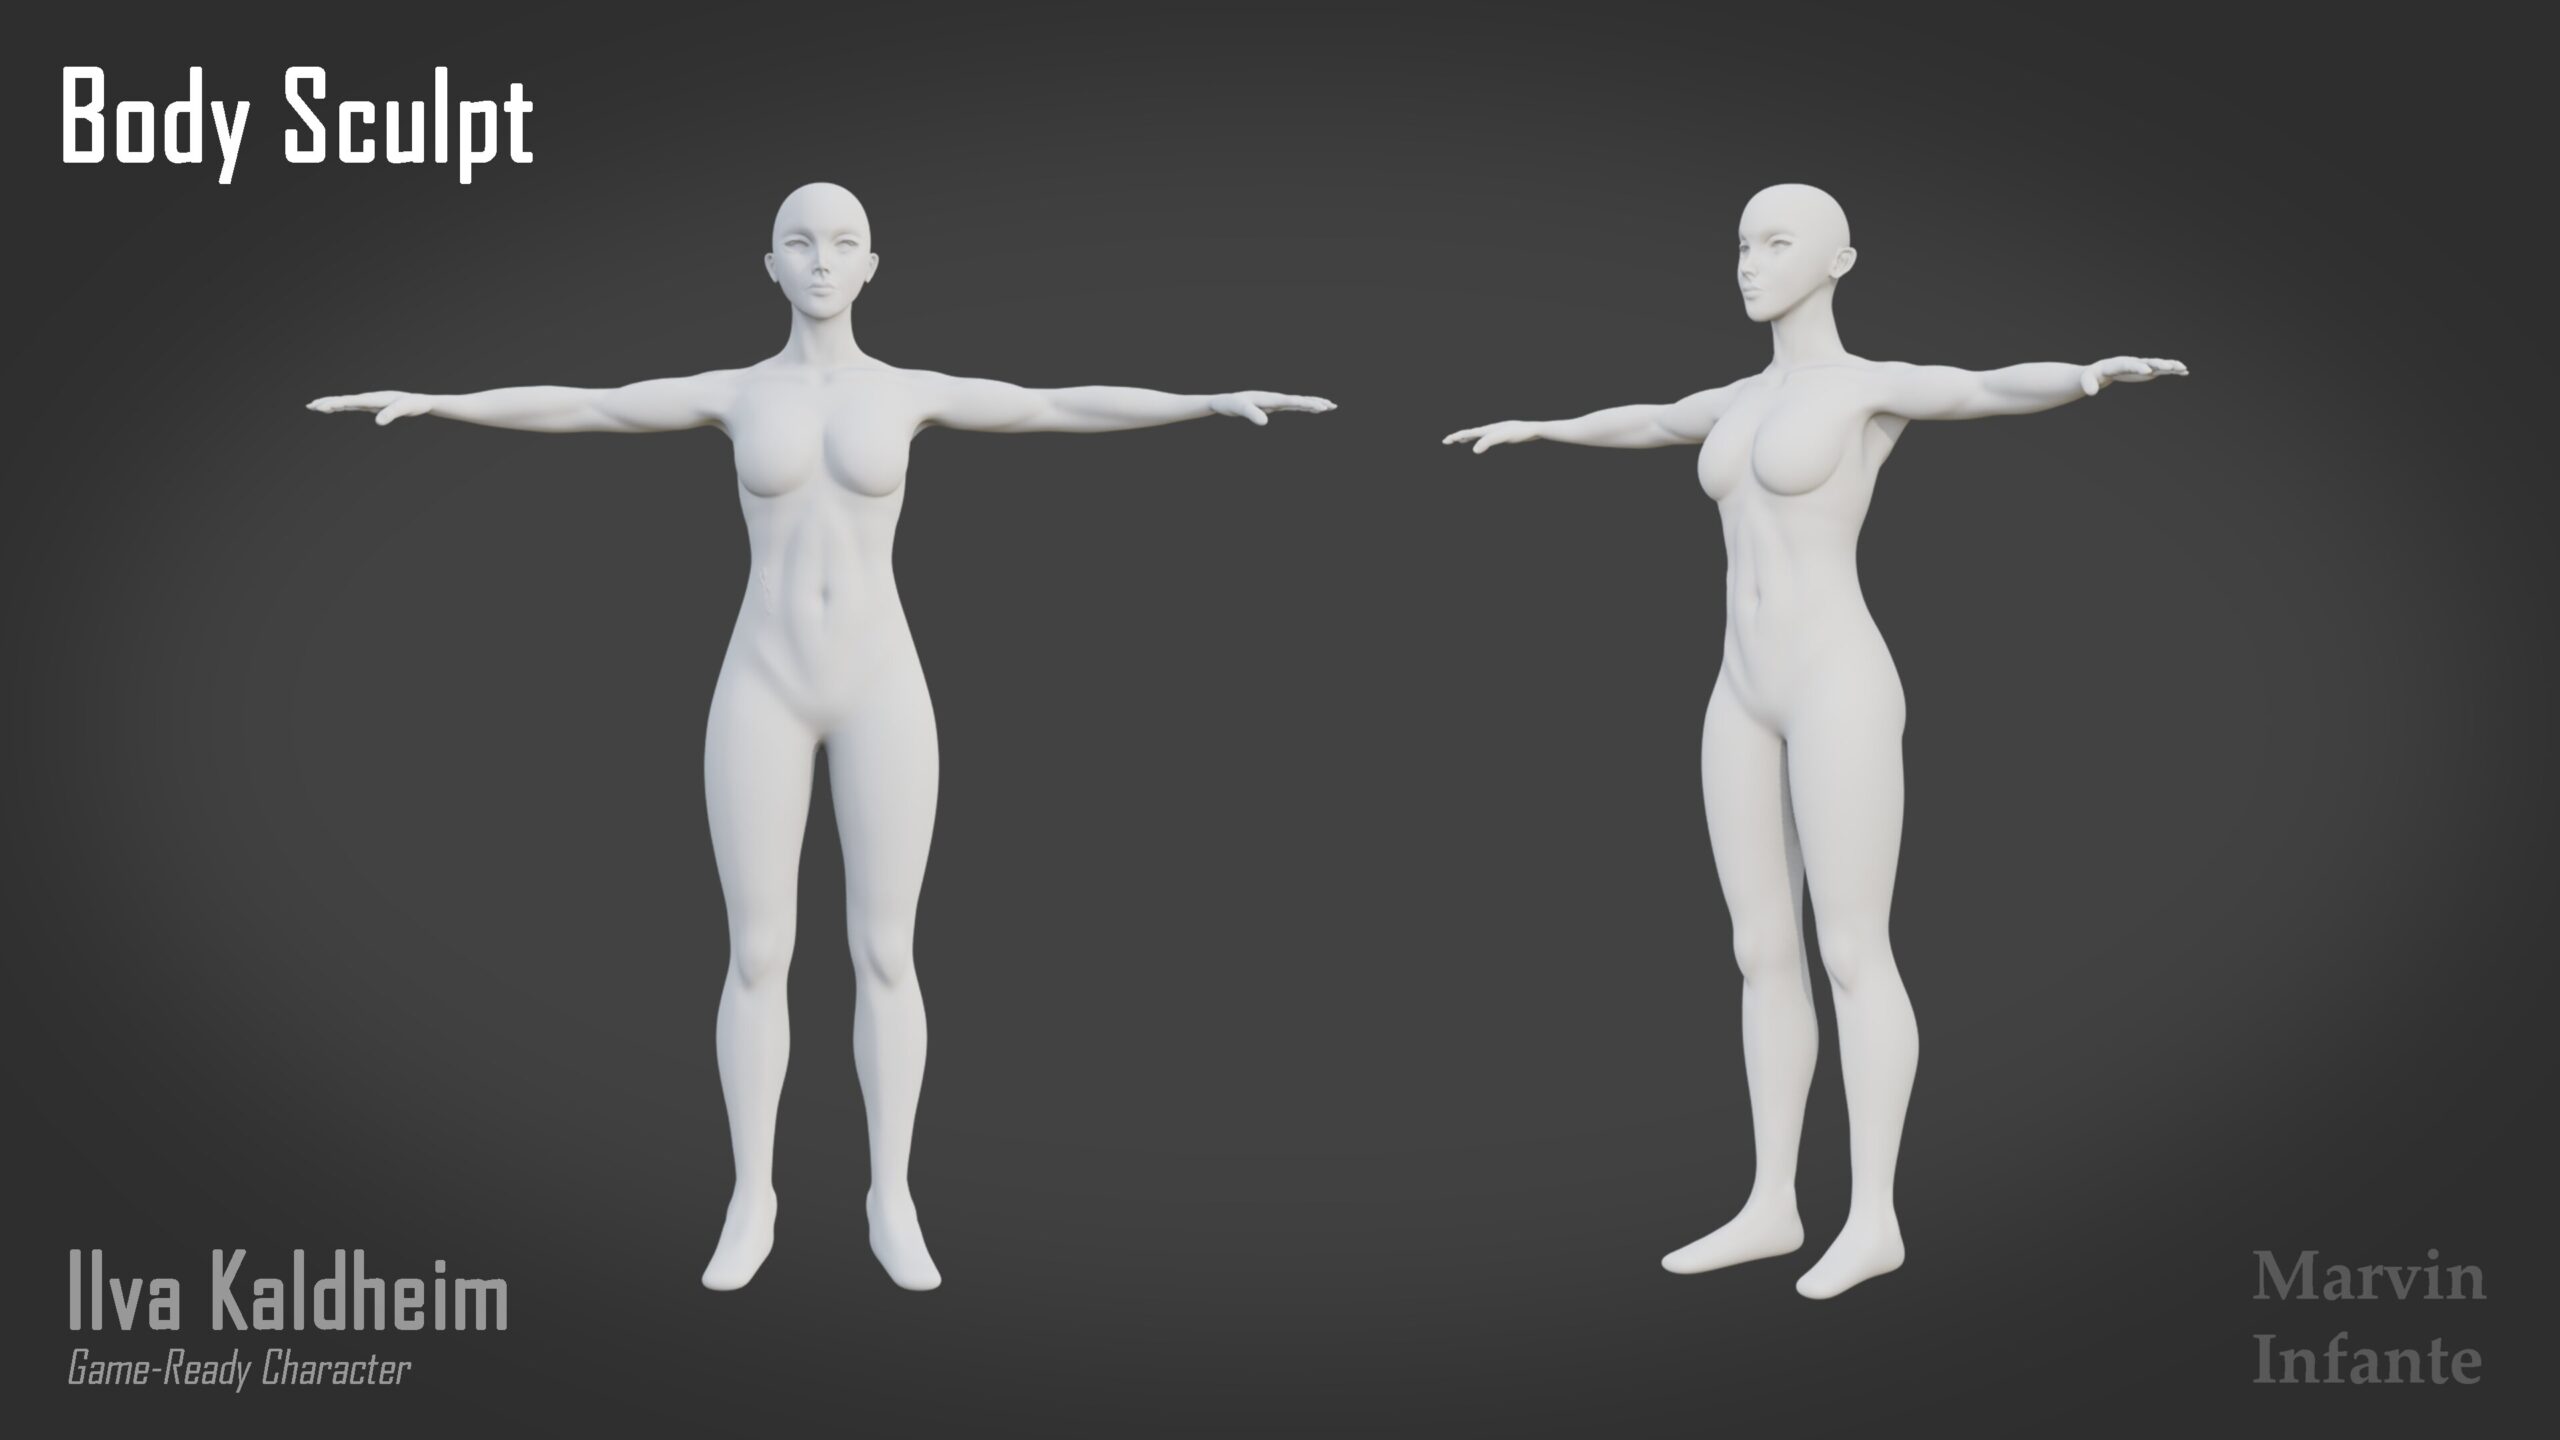
Ilva Kaldheim is a stylized, game-ready character that I created as a personal exercise to keep developing my character creation workflow. Instead of aiming for a completely new kind of result, I used this project to work on two specific areas that I felt were still holding my characters back: the folds and drape of the clothing, and the way I build hair.
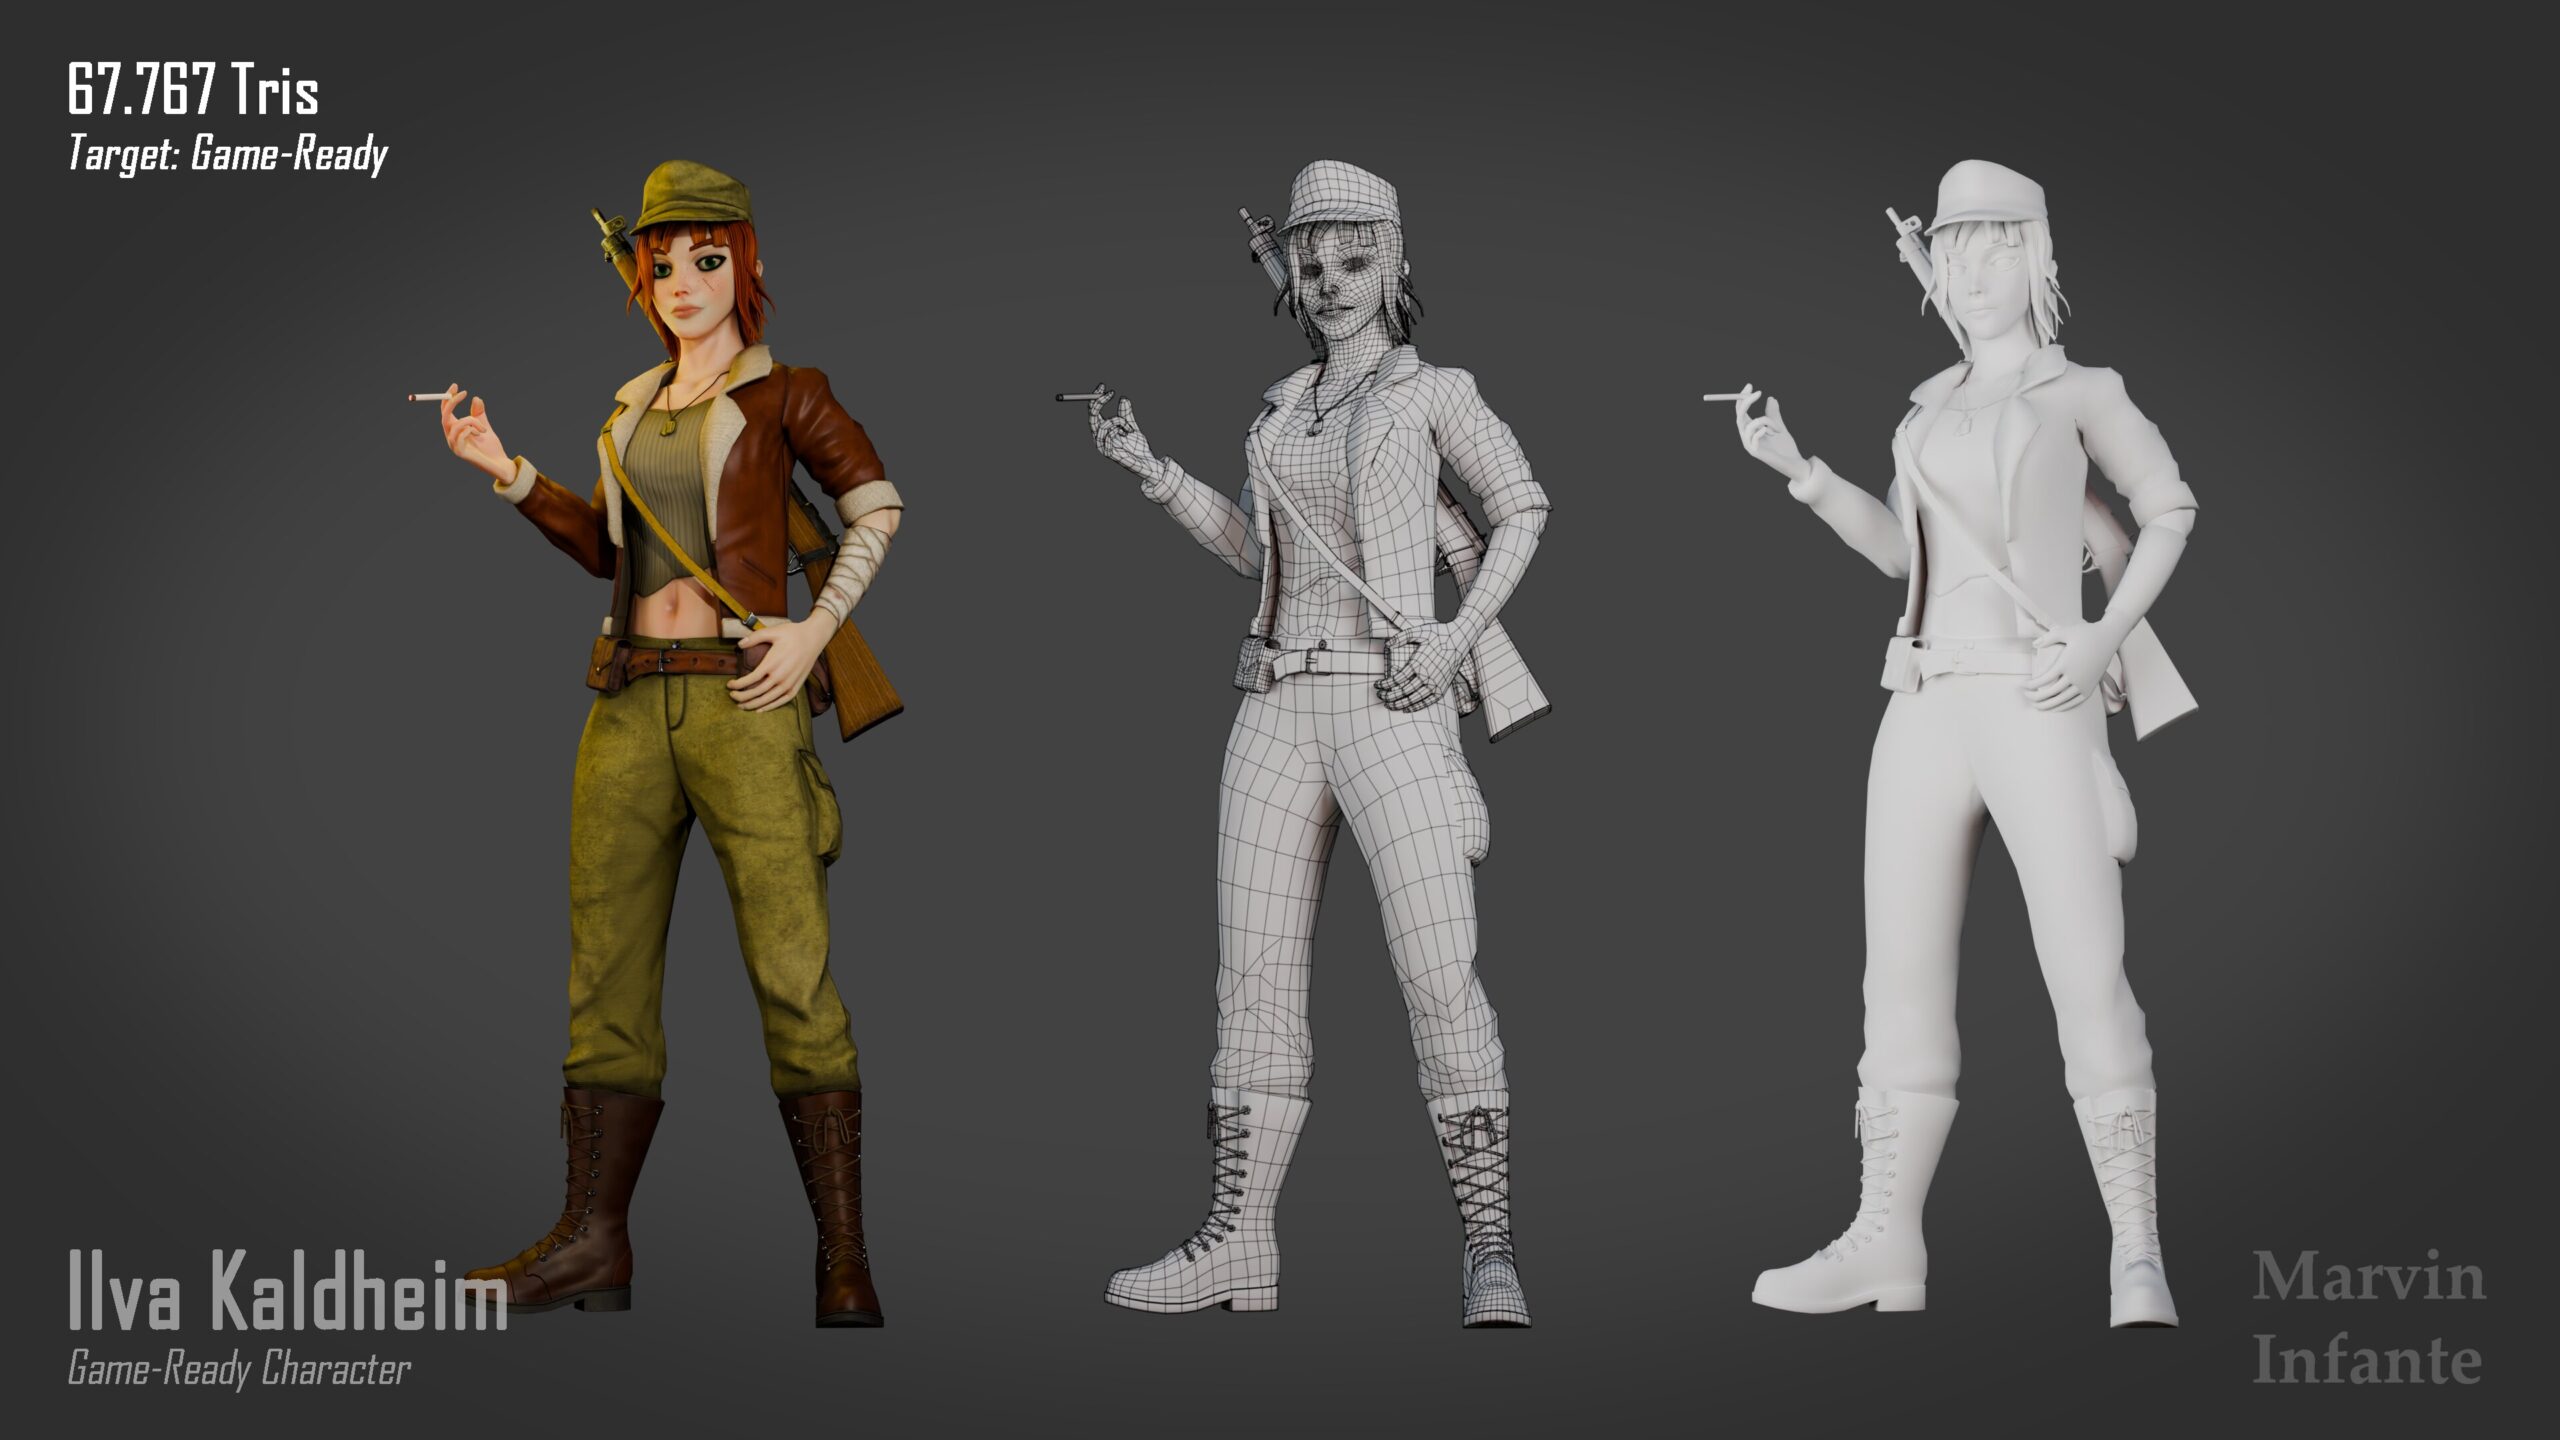
The clothing was the core of the exercise. I sculpted the outfit as a separate high-poly pass and paid close attention to how the different materials behave: stiff leather folds differently from the softer fabric of the trousers or the ribbed knit of the top. Those sculpted details were then baked into normal maps for the game-ready mesh, which keeps the silhouette clean and the triangle count under control while preserving the surface information.
The second focus was the hair. In my previous characters I worked with hair cards and alpha channels, a method I never fully got to read the way I wanted. For Ilva I switched to a curve-based approach: I built the hair with curves in Blender, converted them into meshes and textured them accordingly. This gave me noticeably more control over the shapes and the overall flow of the hairstyle.
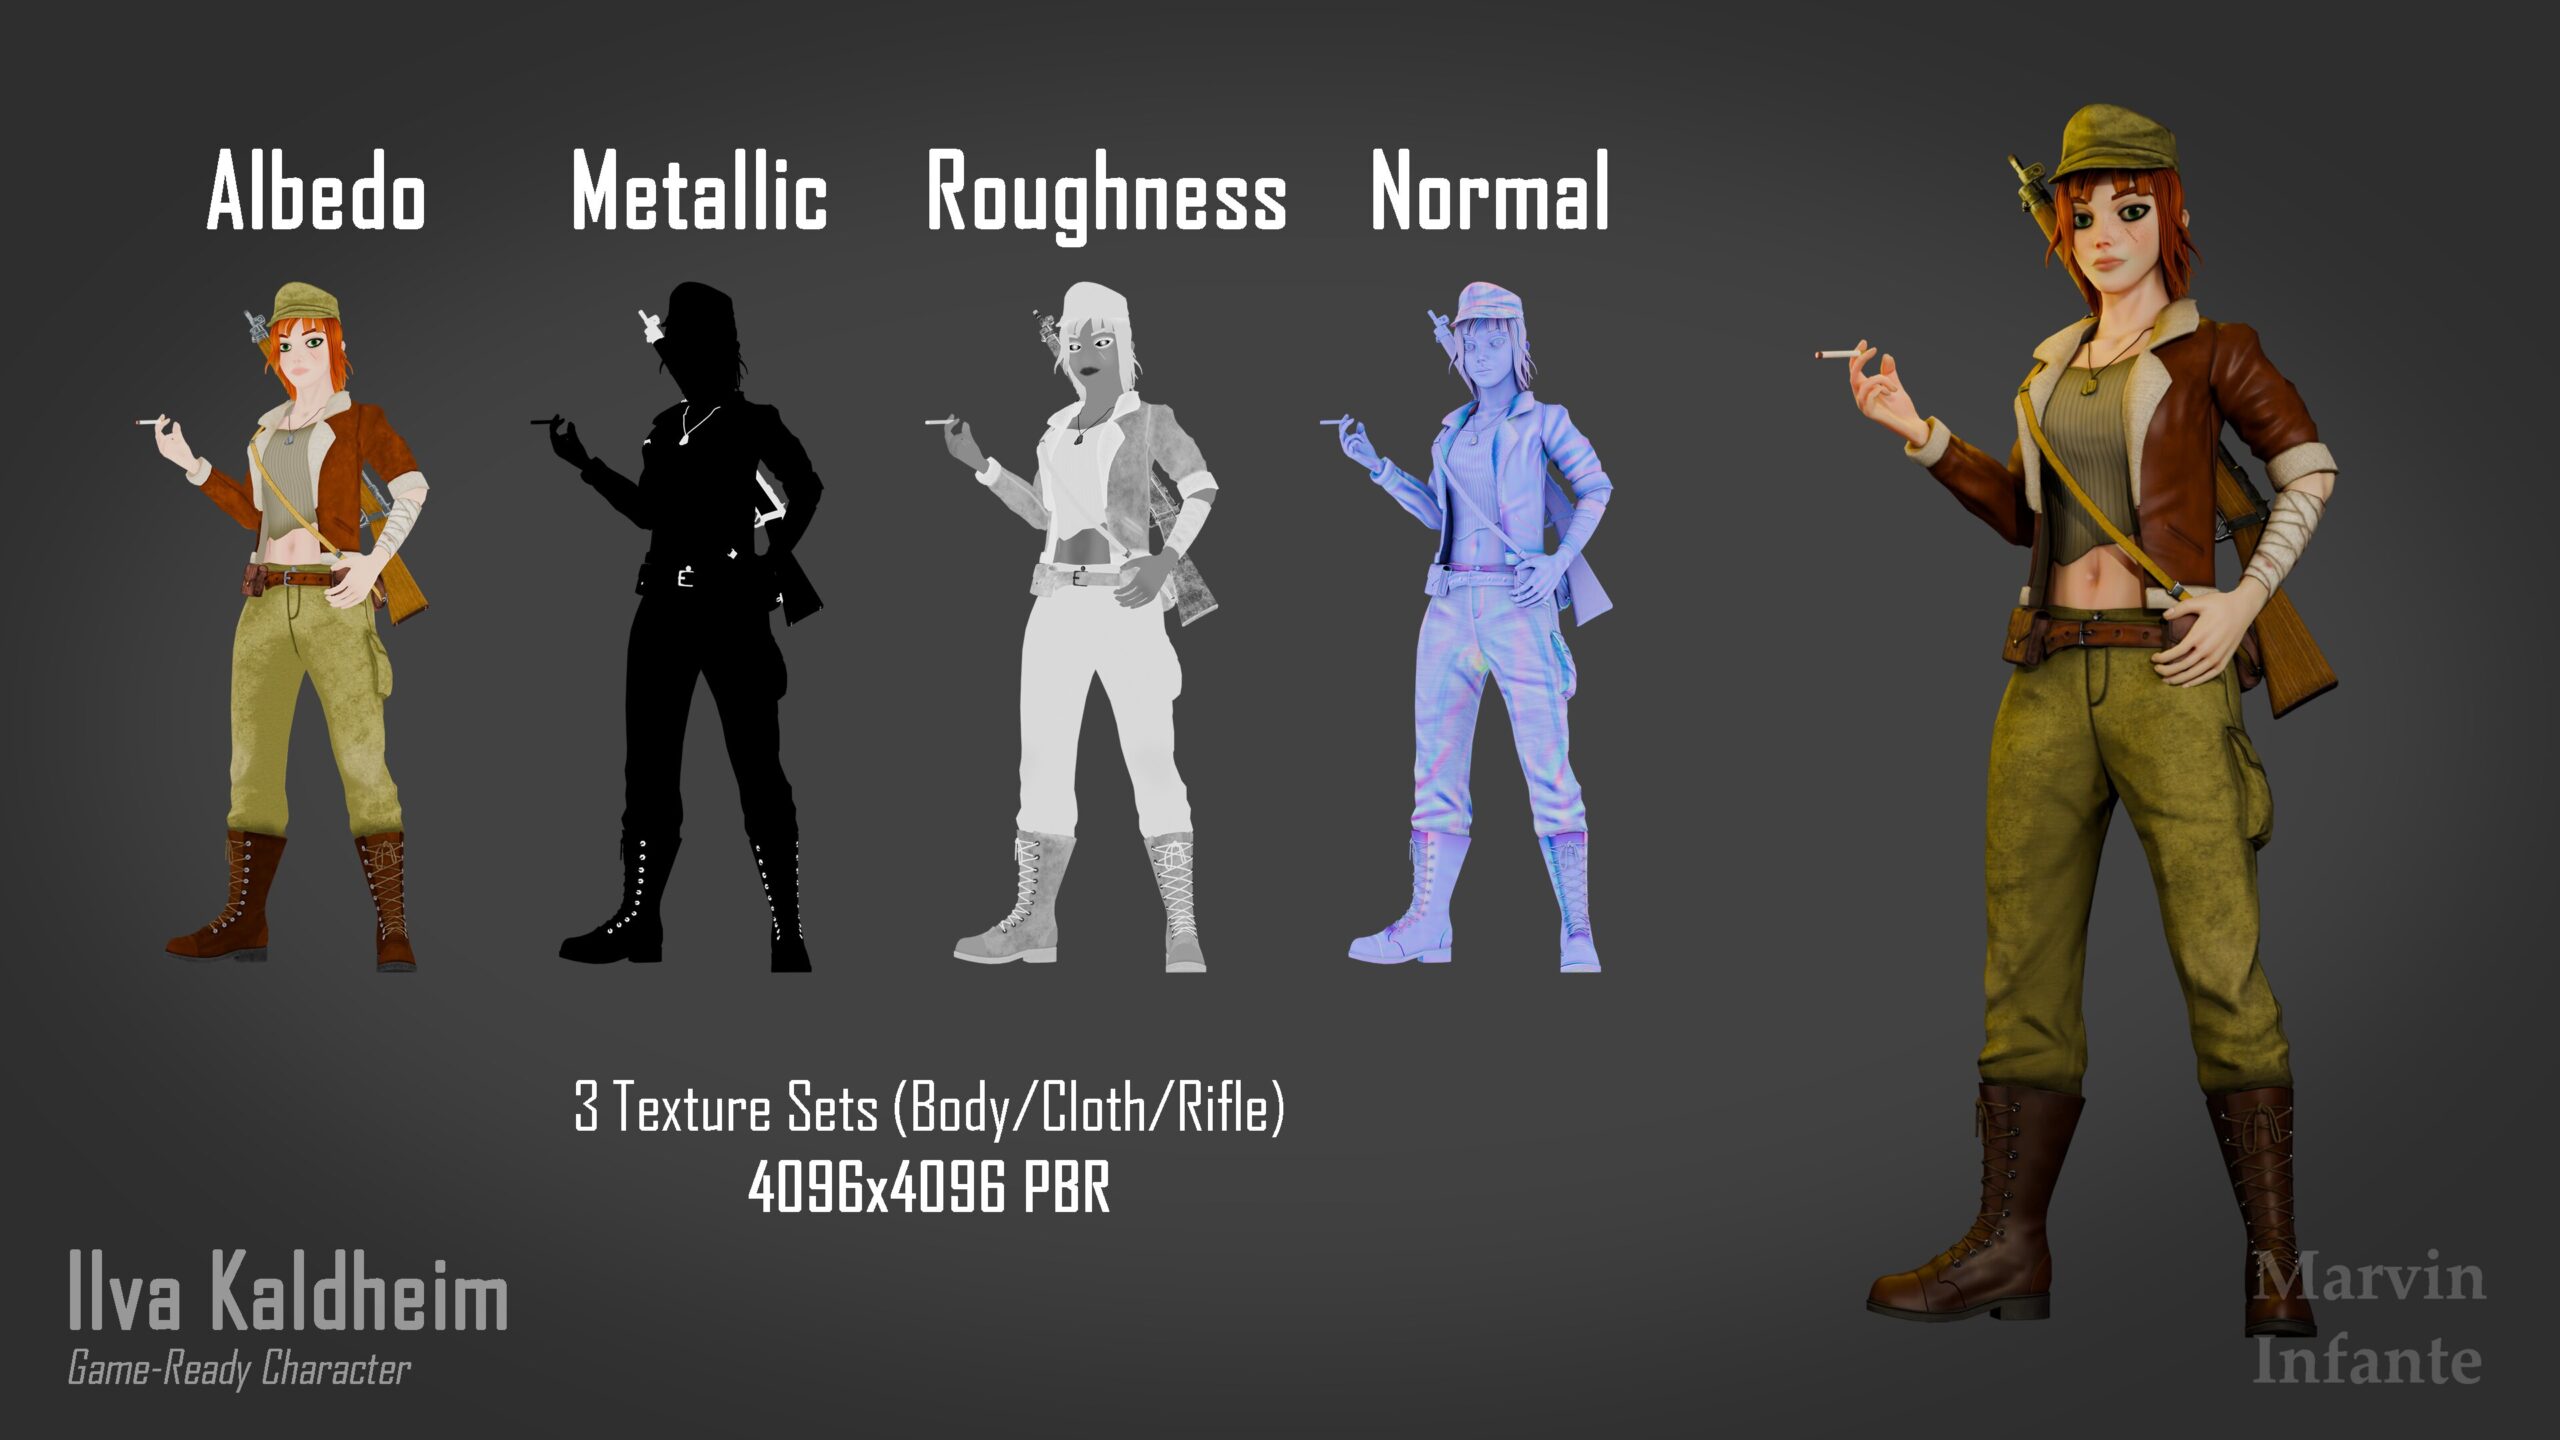
Texturing was done in Substance Painter across three texture sets (body, cloth and rifle) at 4096×4096, using a standard PBR setup with albedo, metallic, roughness and normal maps. The final mesh comes in at 67,767 triangles.
To make sure the character actually holds up as a game asset and not only as a render, I rigged her and tested her directly in Unreal Engine 5.
Overall, this project was another solid step in making my character pipeline more reliable. The cloth bake worked out better than in my previous attempts, and switching the hair to curves was the change I got the most out of. At the same time I can clearly see where to go next: refining the smaller fabric details and pushing the skin and face texturing further are the areas I want to focus on in my next character.
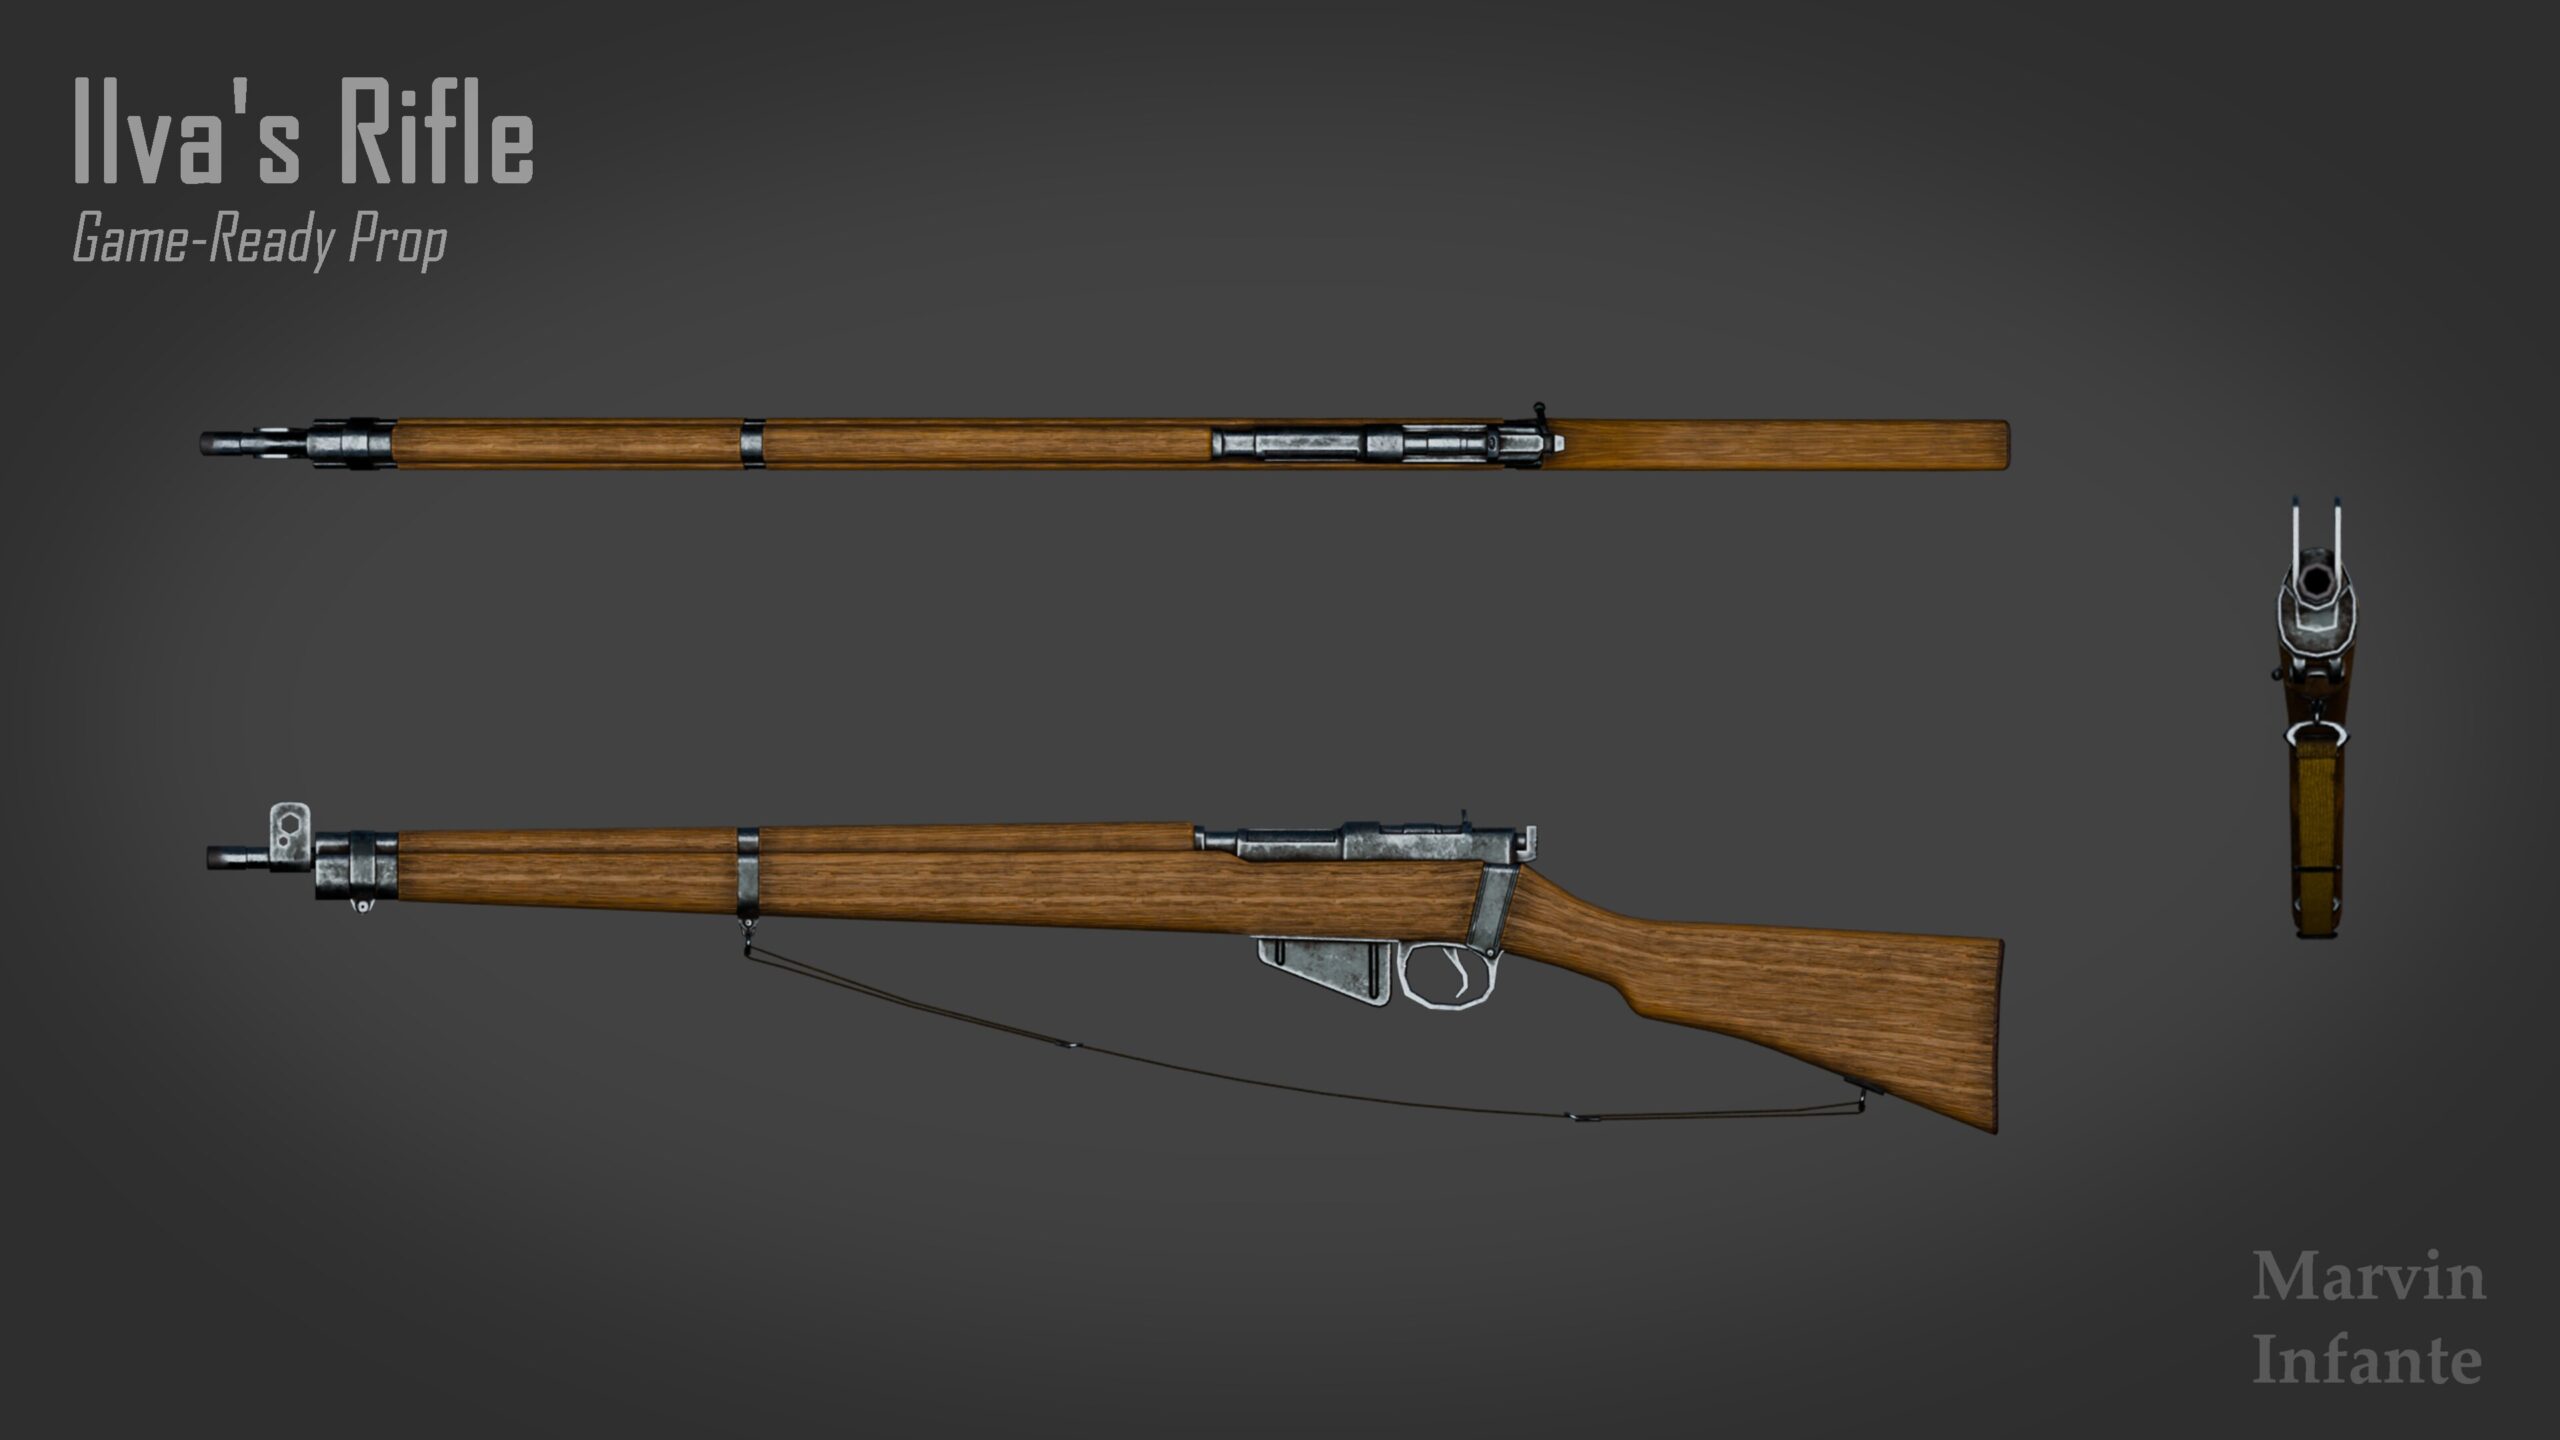
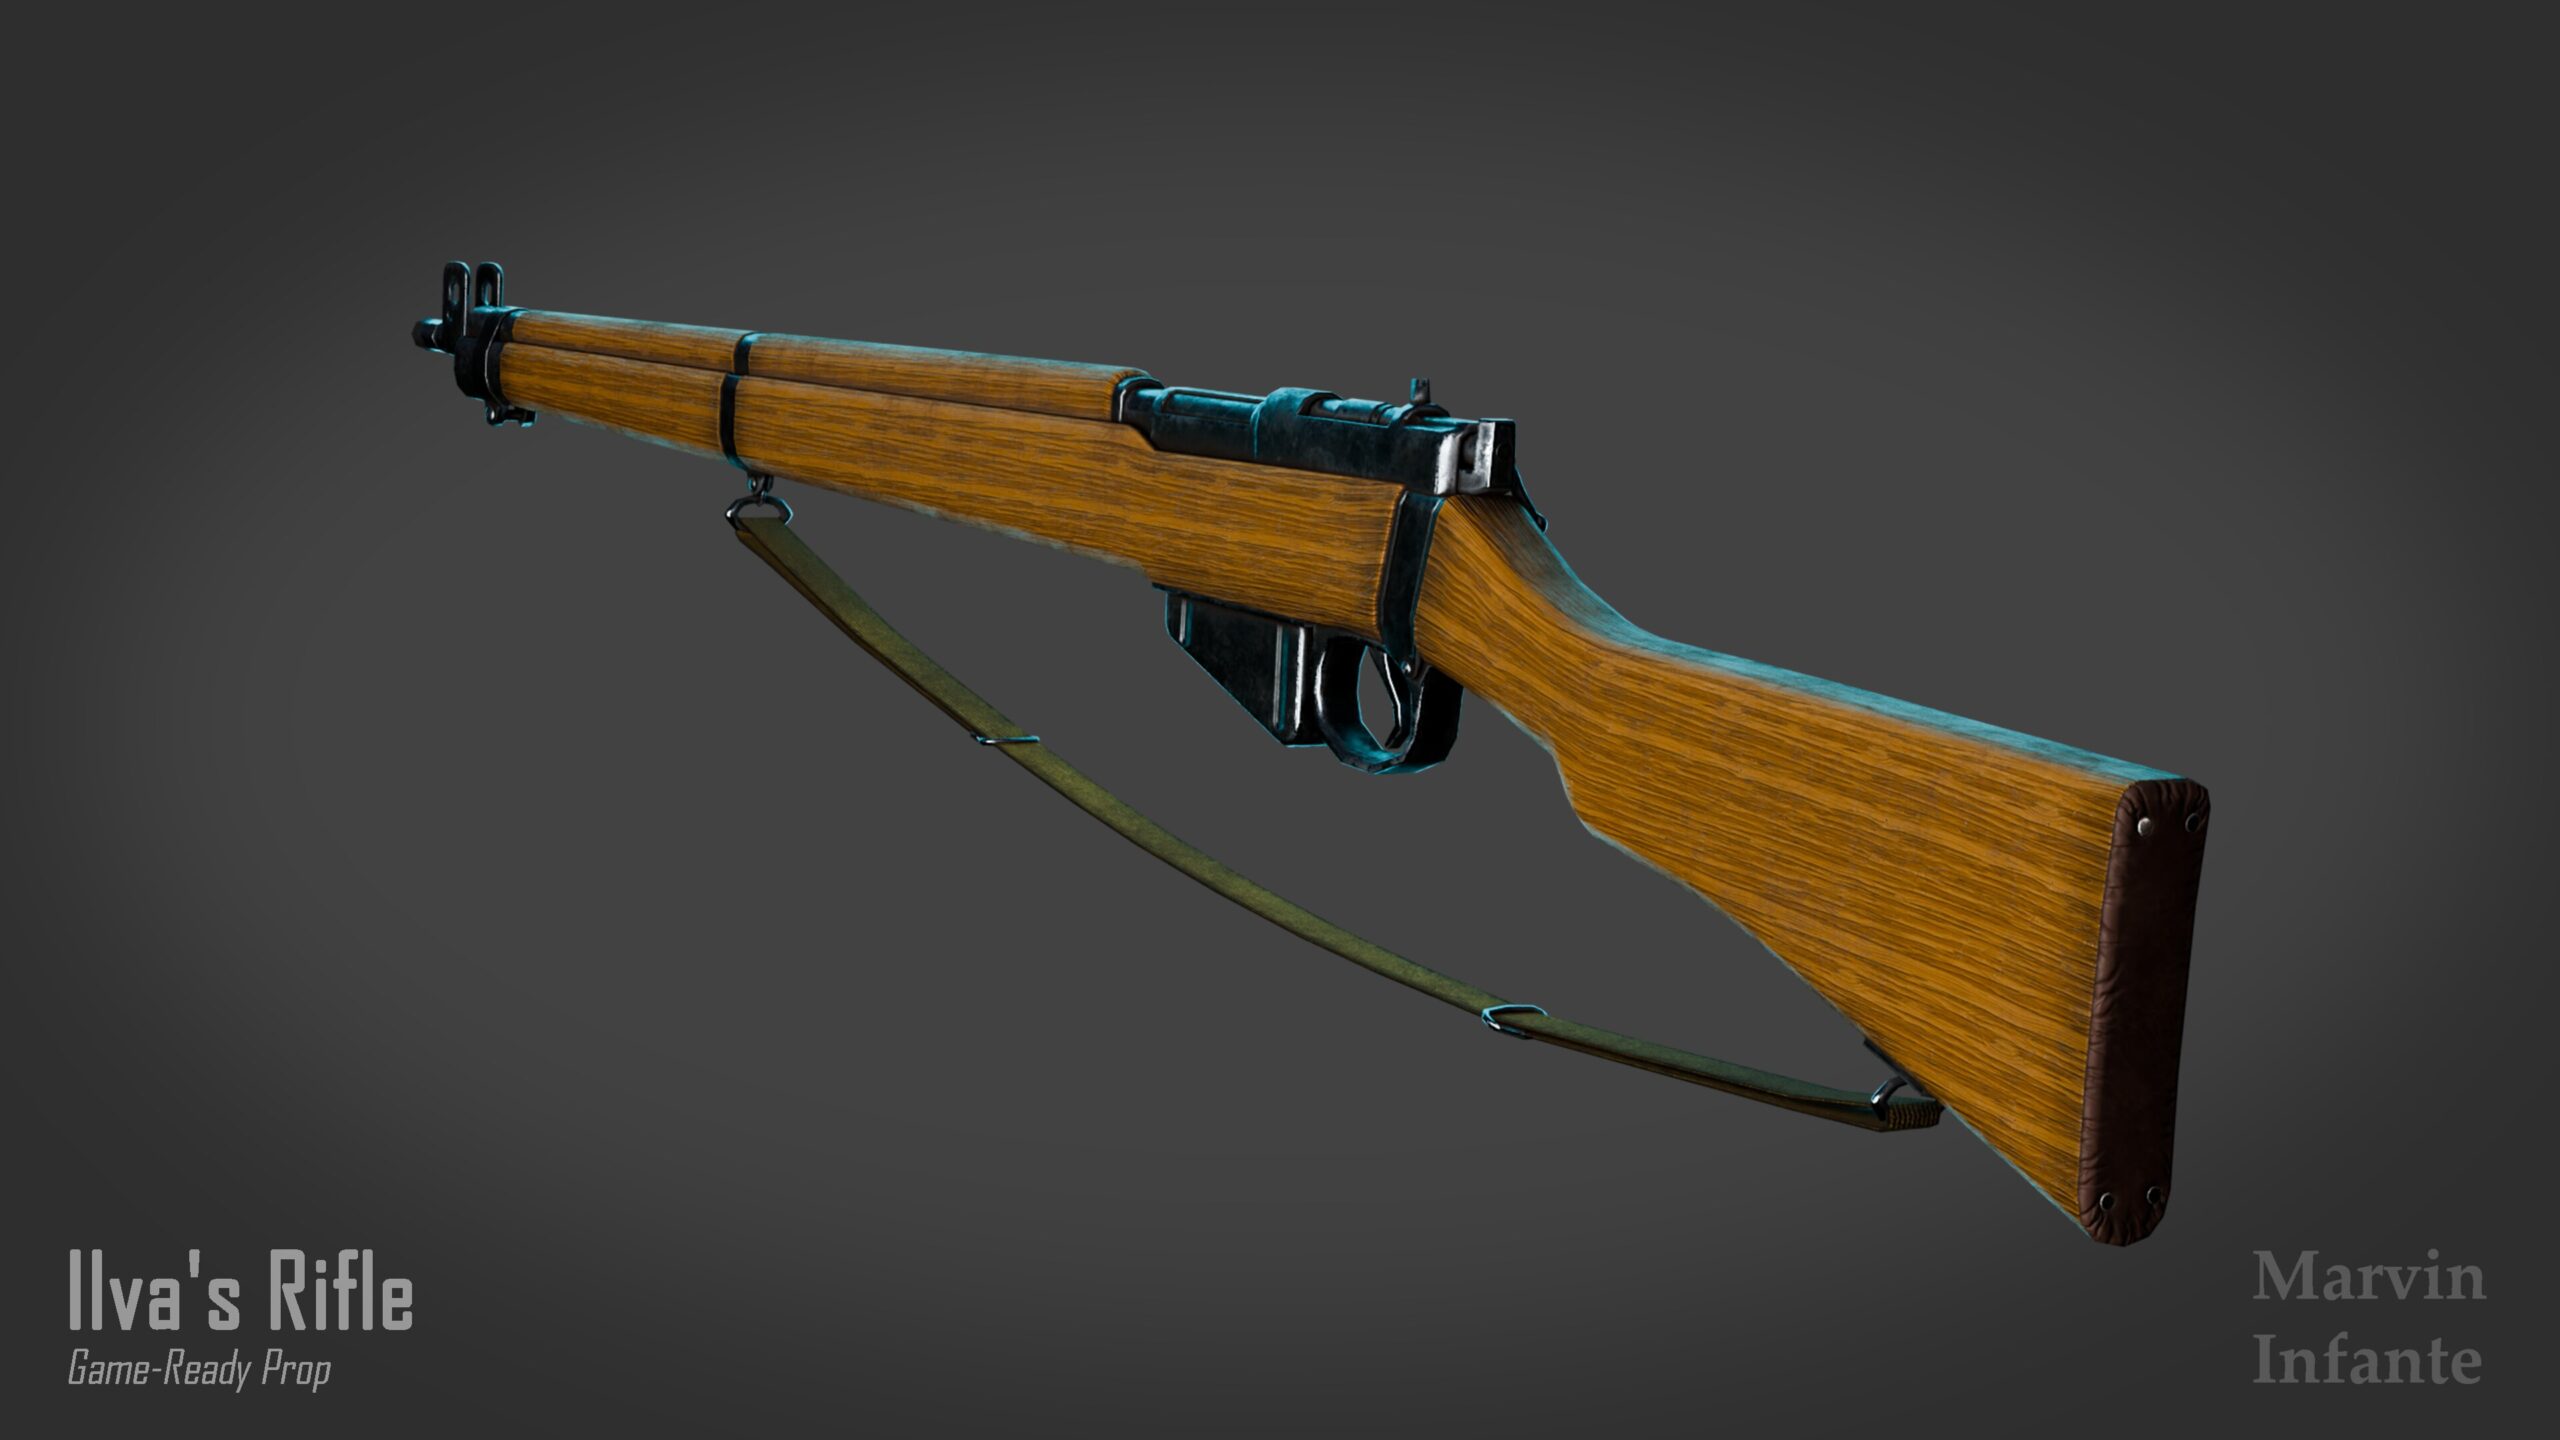
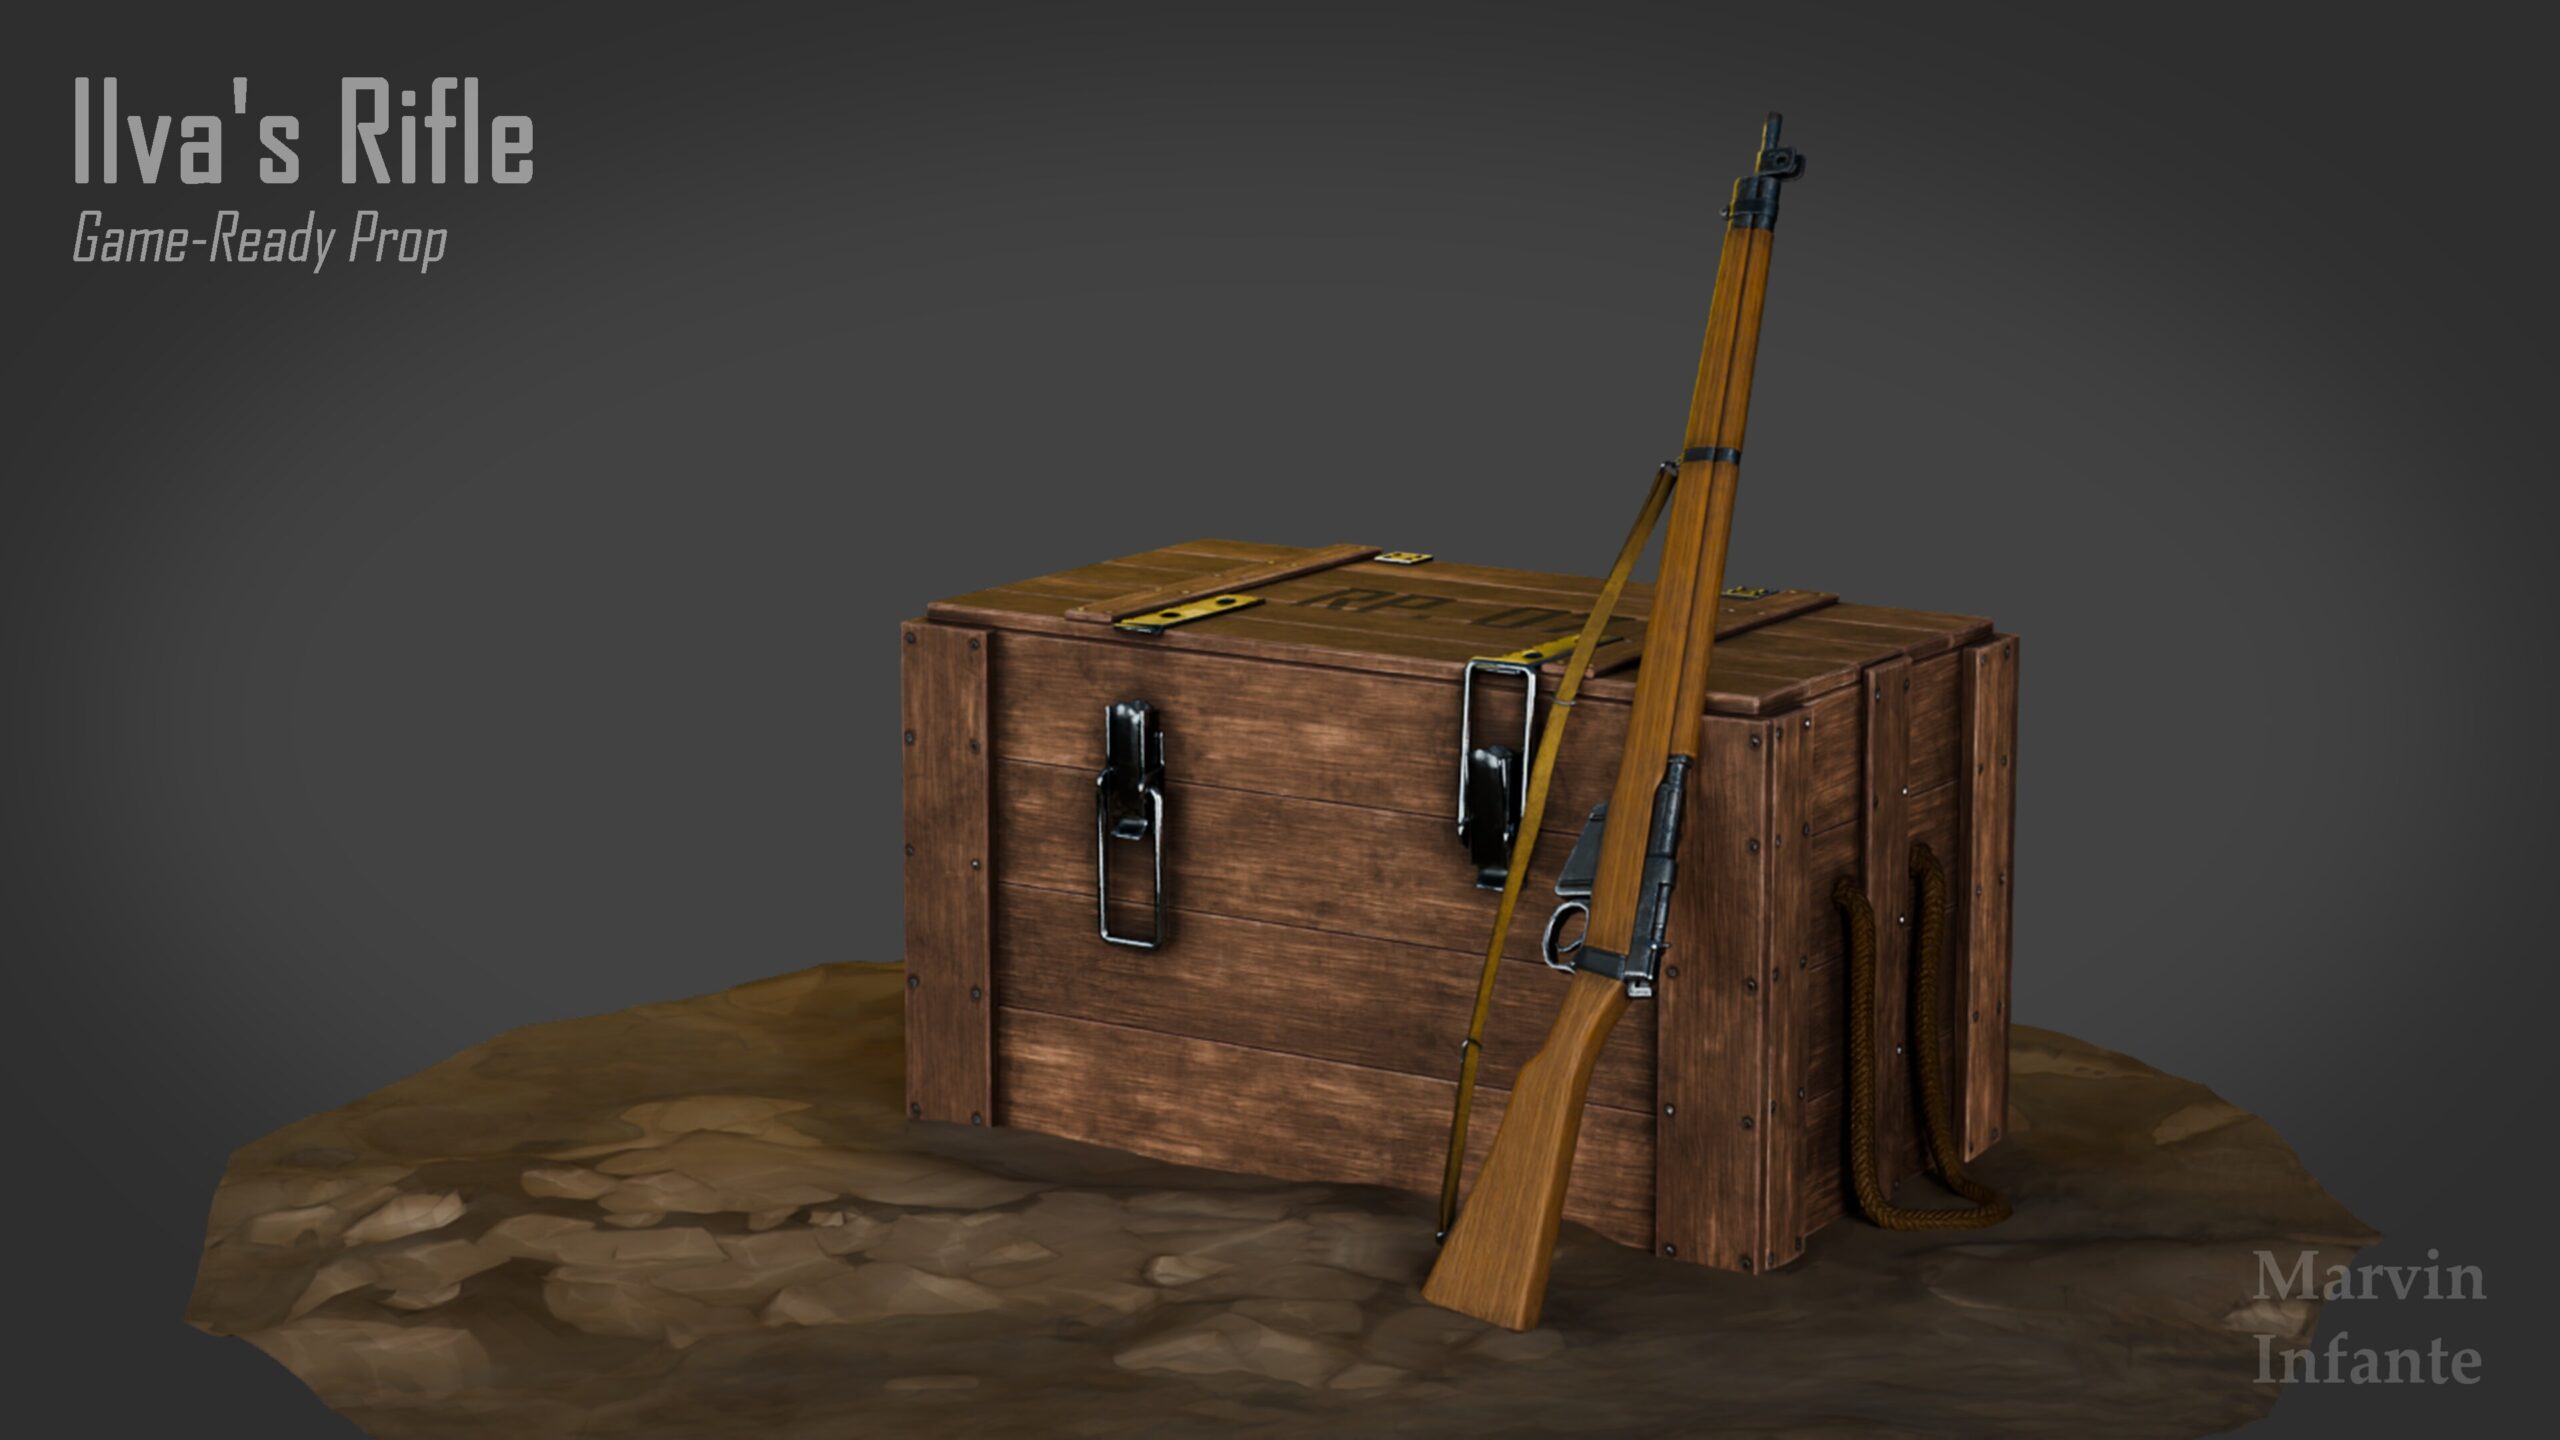
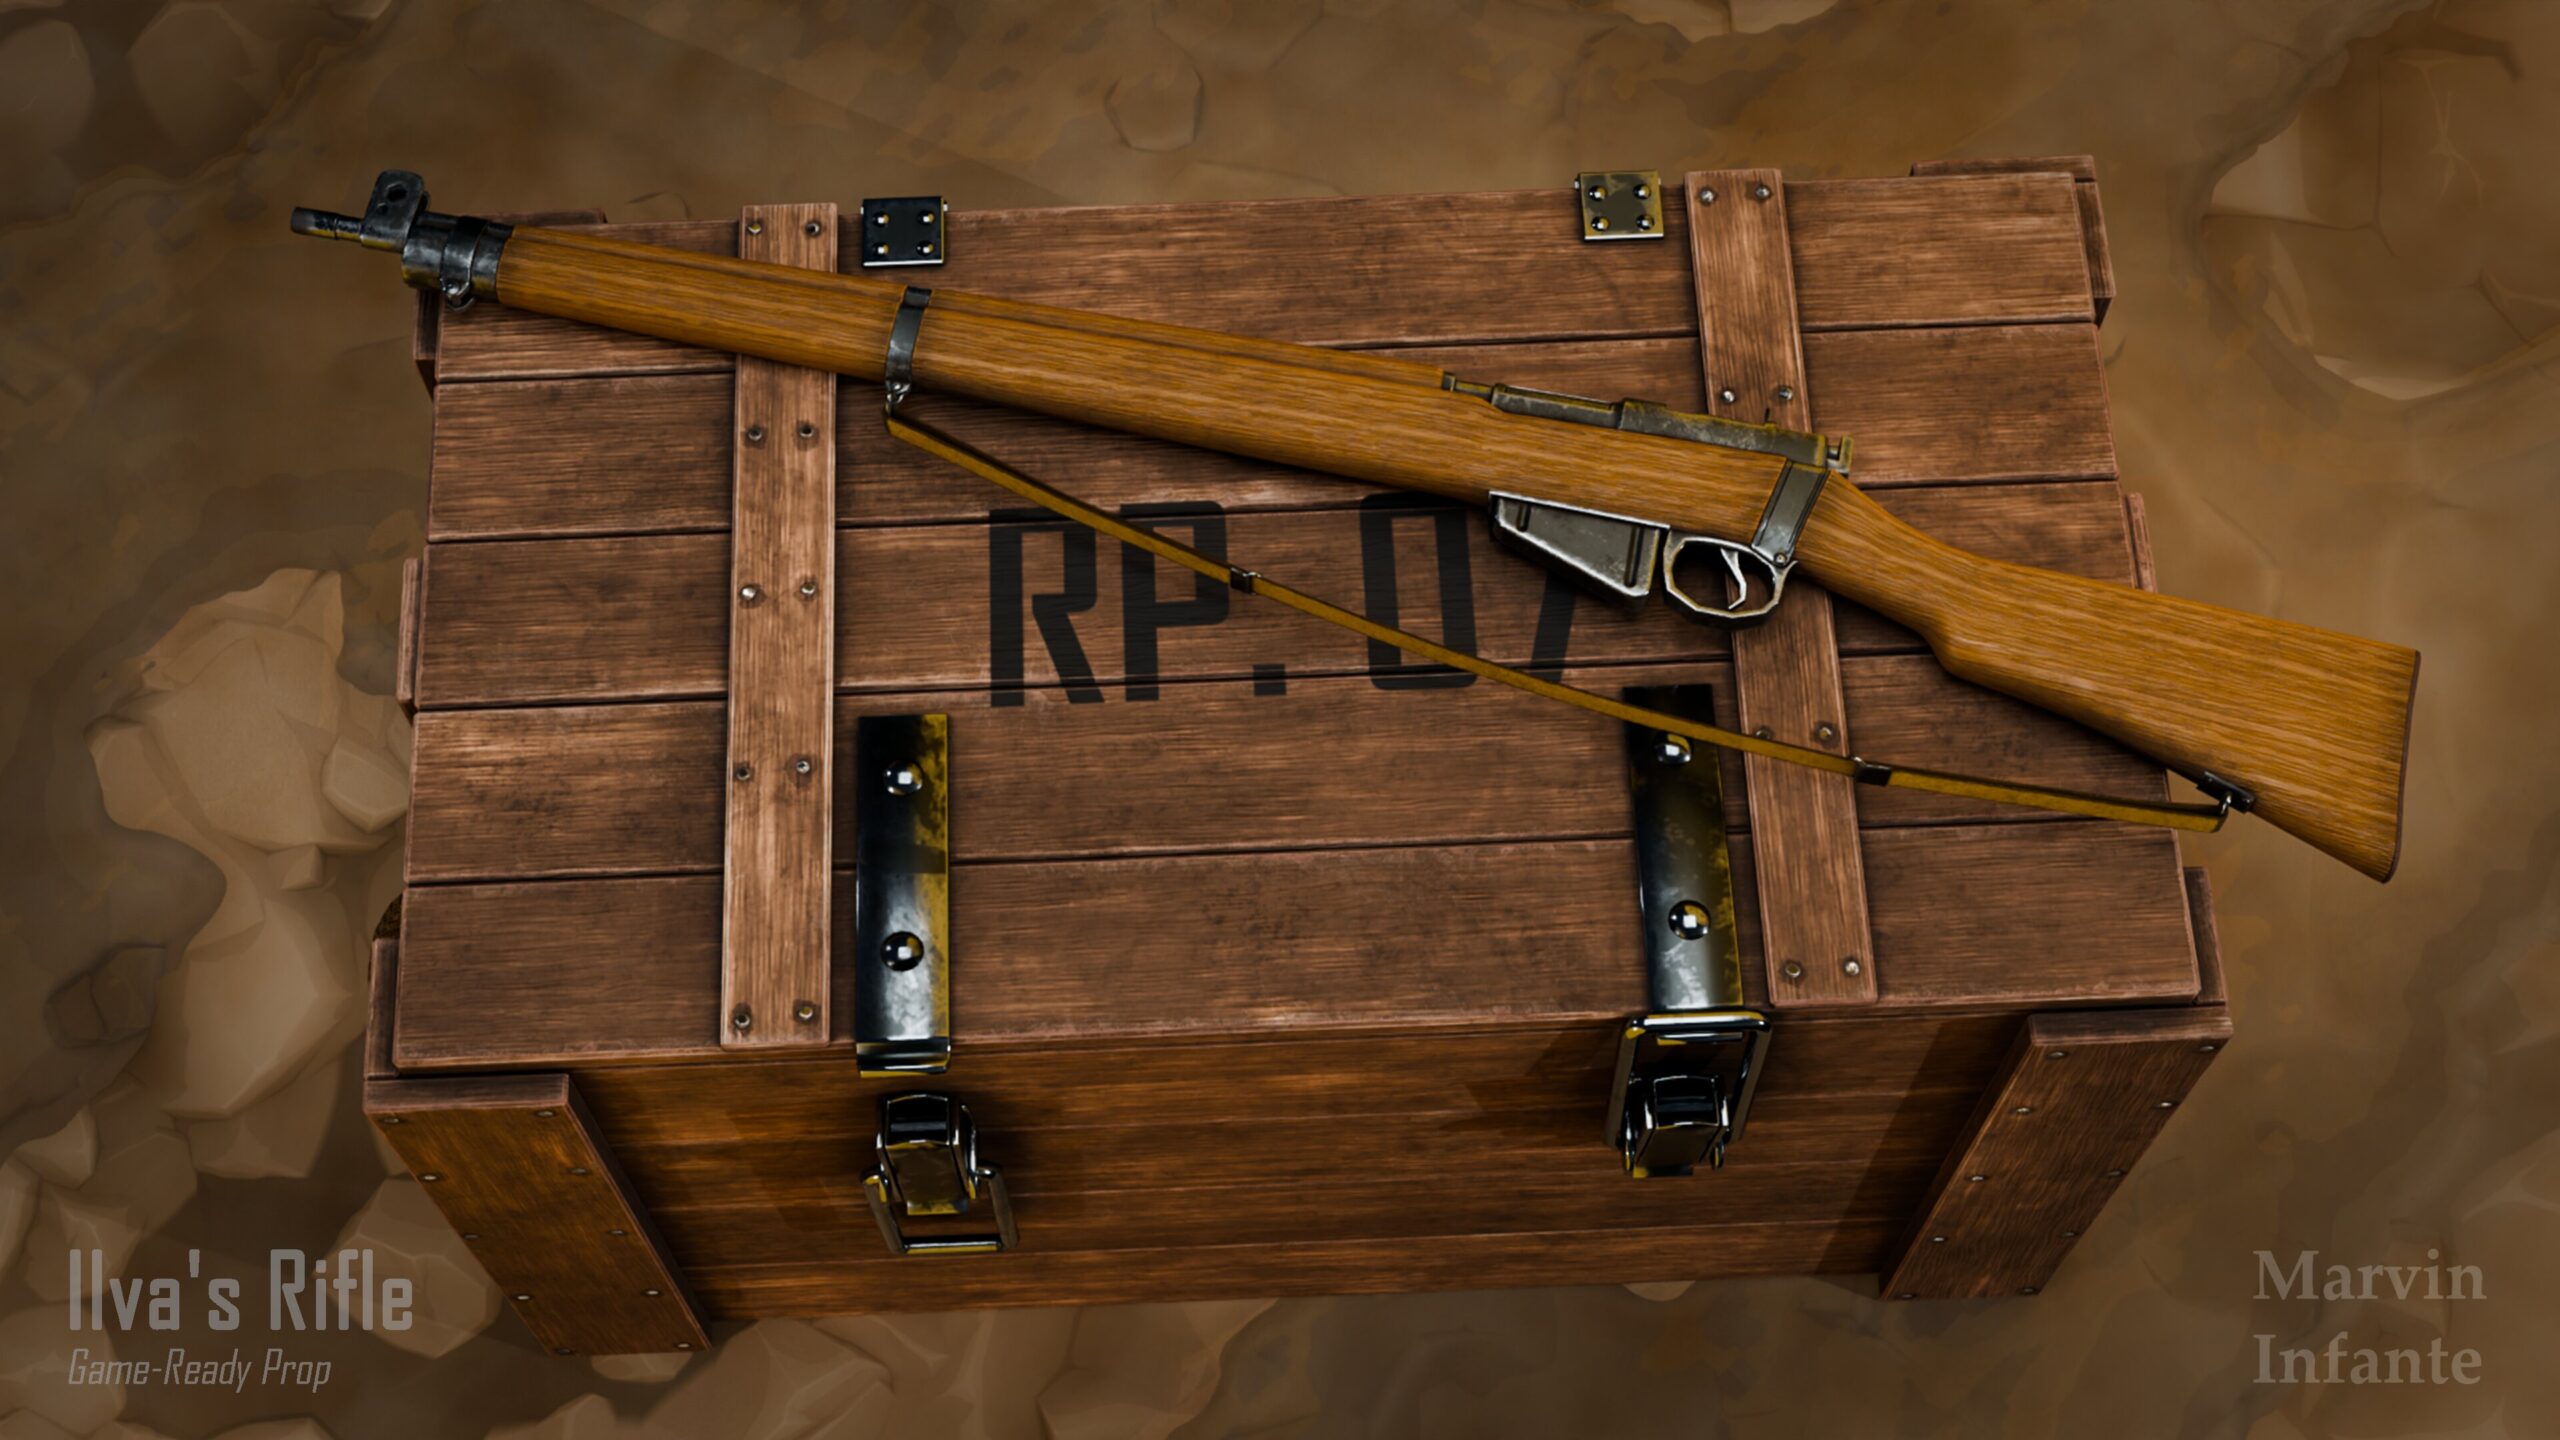
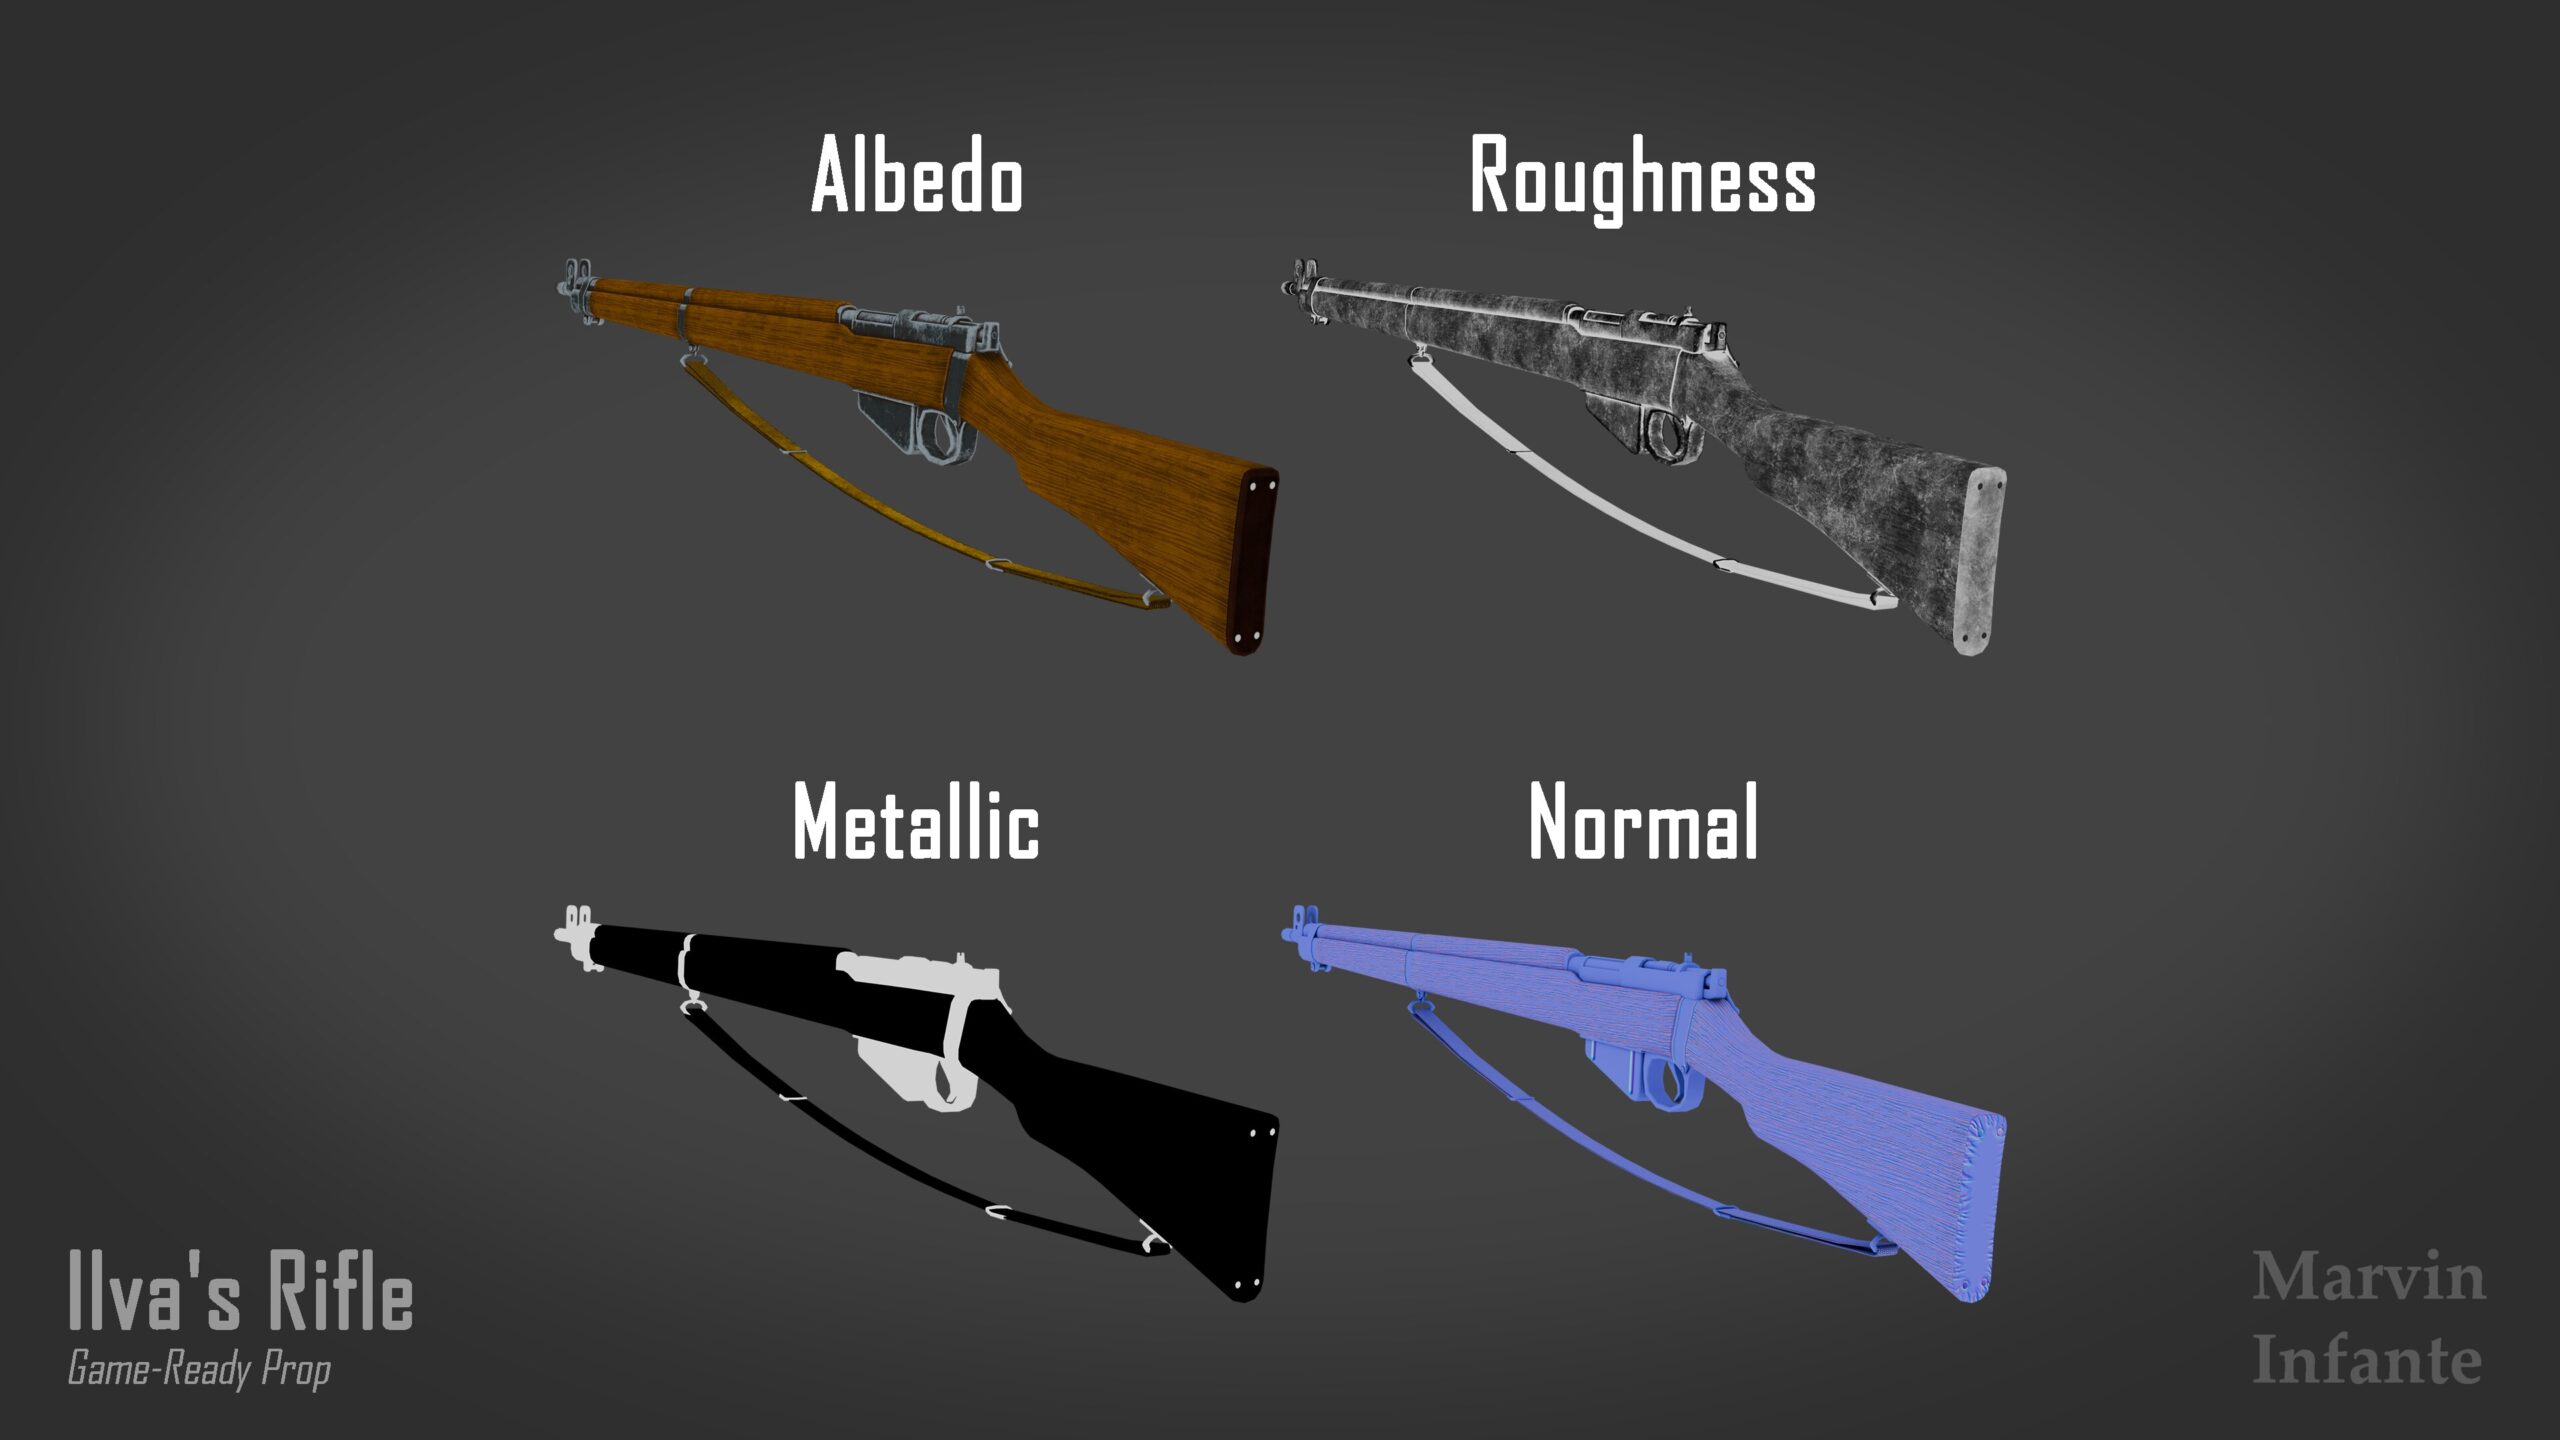
Ilva’s Rifle was created as part of my character project „Ilva Kaldheim“, but I treated it as its own asset with a separate modeling and texturing pass. The idea was that the weapon should hold up on its own as a prop, not just as something sitting on the character’s back.
The design follows the silhouette of a classic bolt-action service rifle inspired by the Lee-Enfield No. 4 Mk.
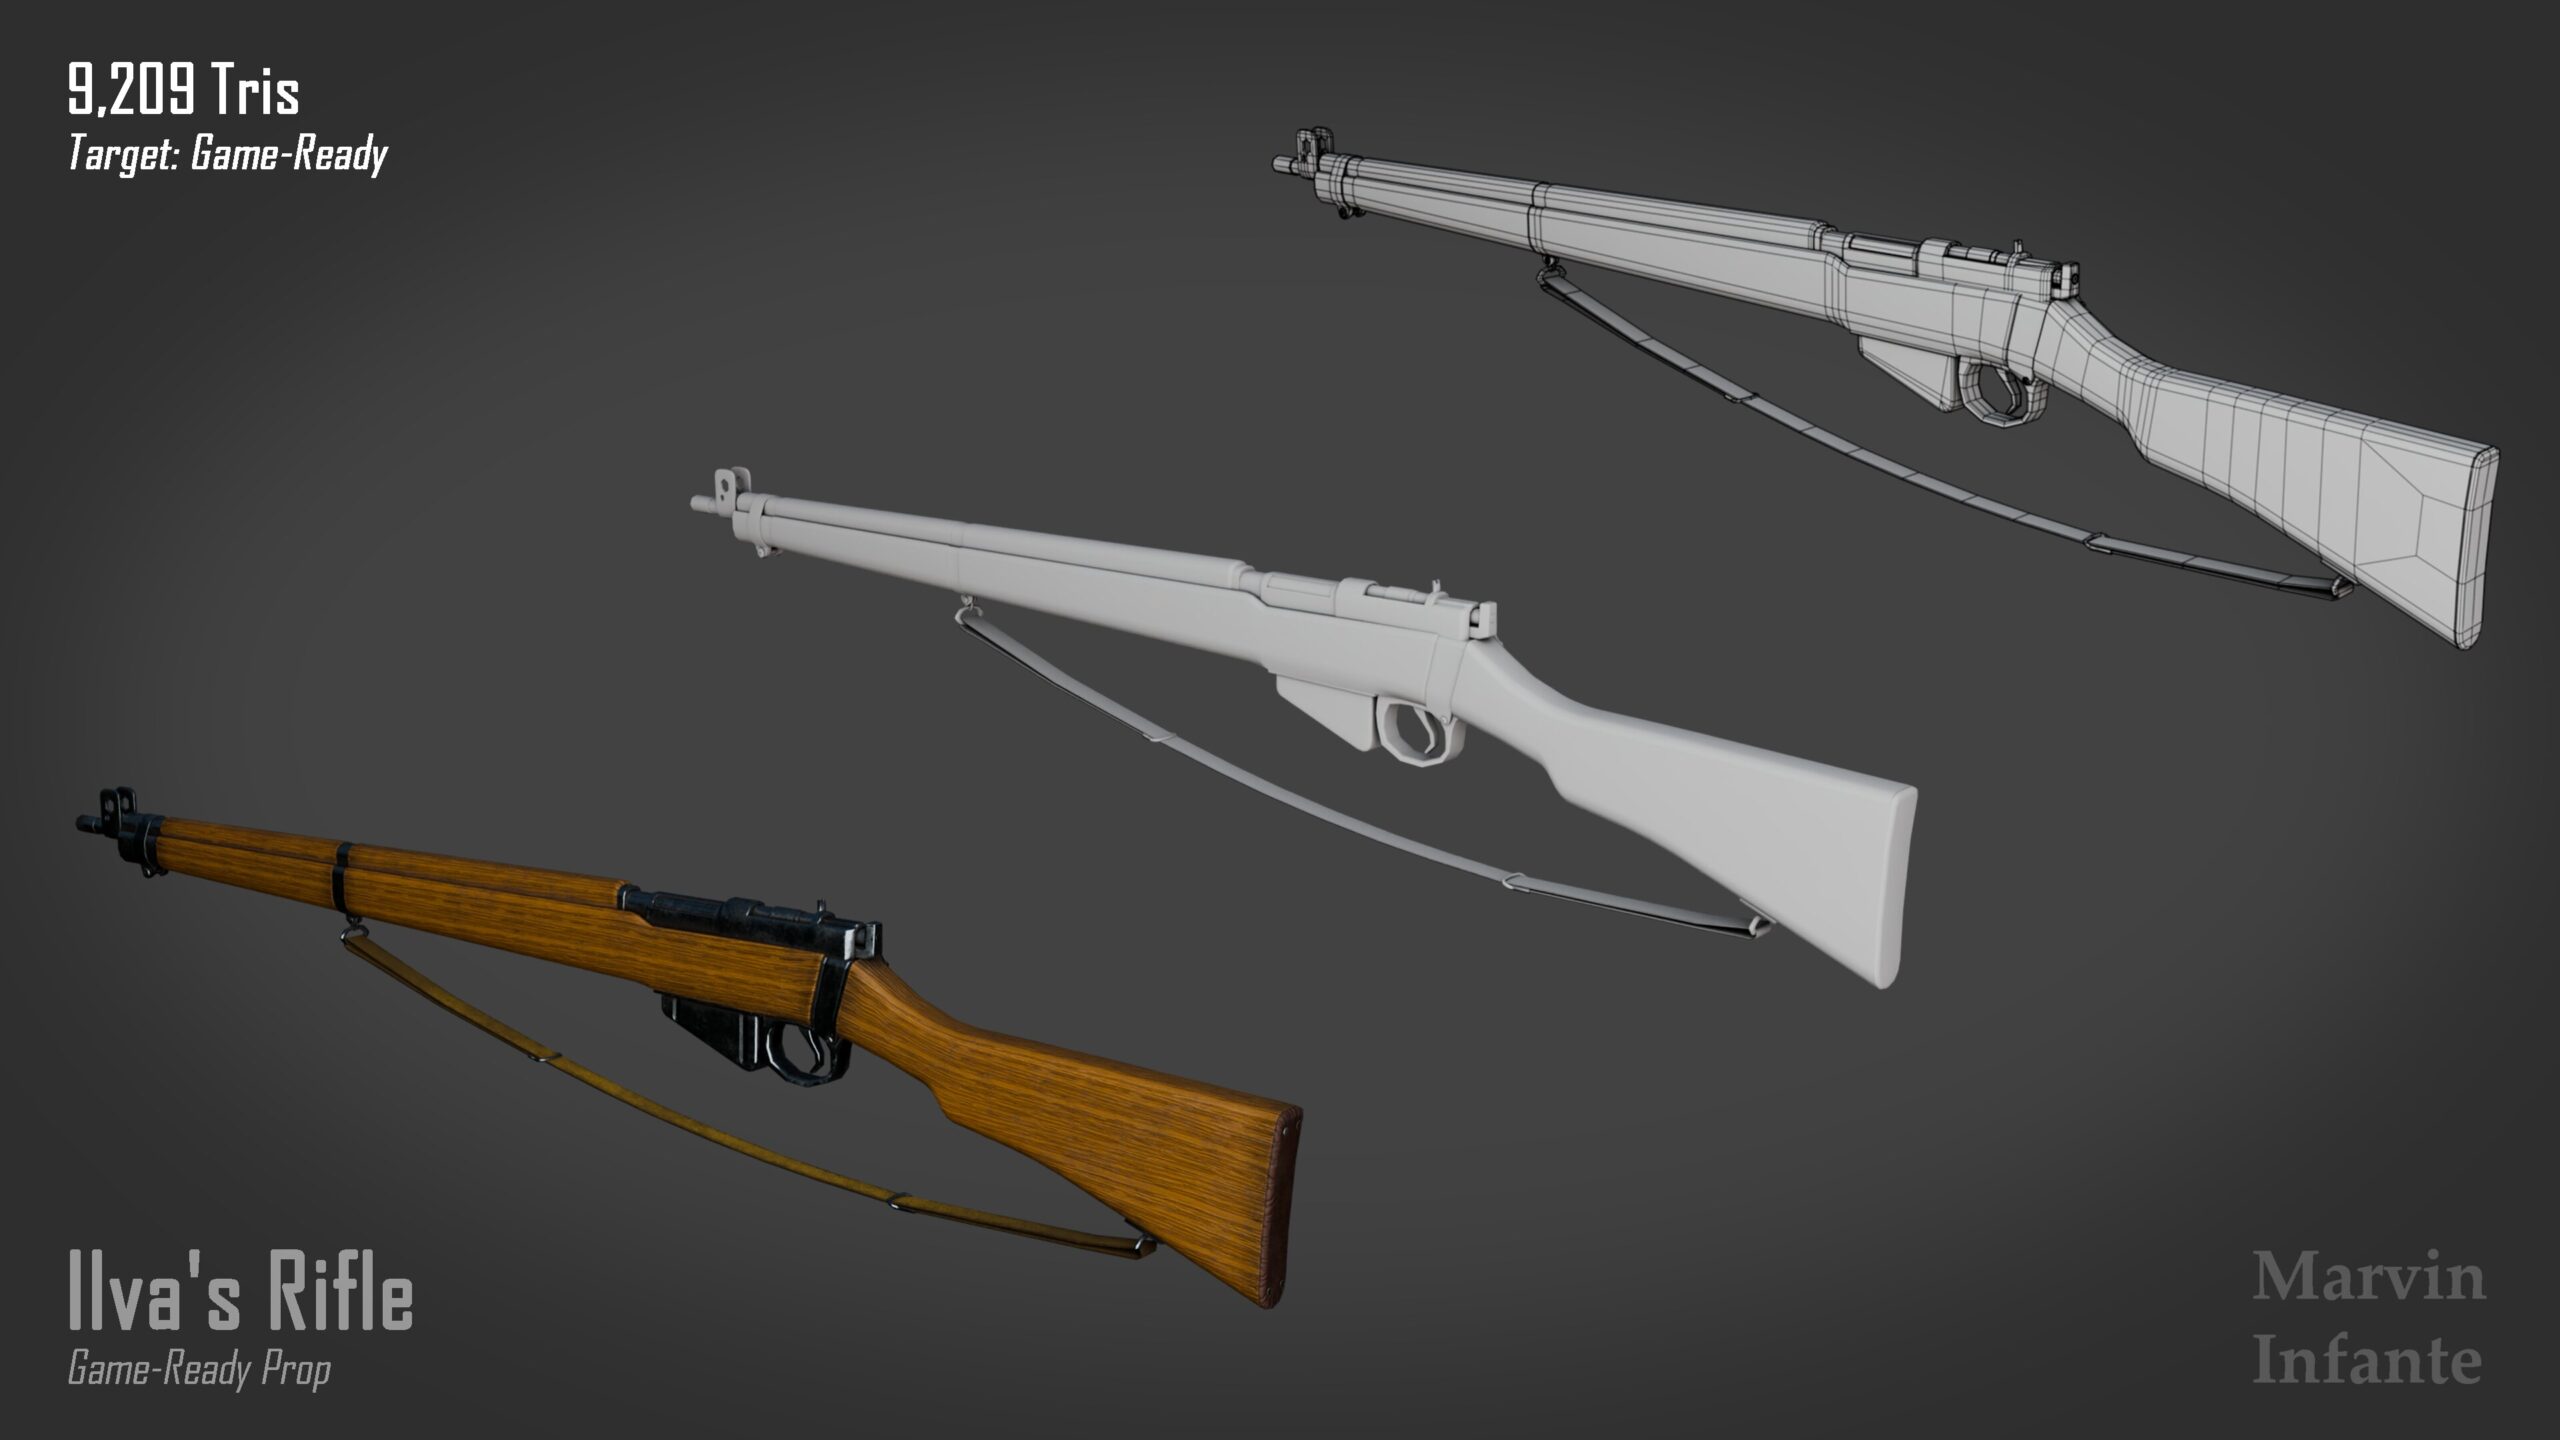
The rifle was modeled in Blender with a game-ready budget in mind. A long, thin object like this is a good exercise in spending geometry where it actually matters: the receiver, the bolt and the sight needed enough resolution to read up close, while the barrel and the stock could stay economical. The final mesh comes in at 9,209 triangles.
Texturing was done in Substance Painter using a 4K PBR set with albedo, metallic, roughness and normal maps.
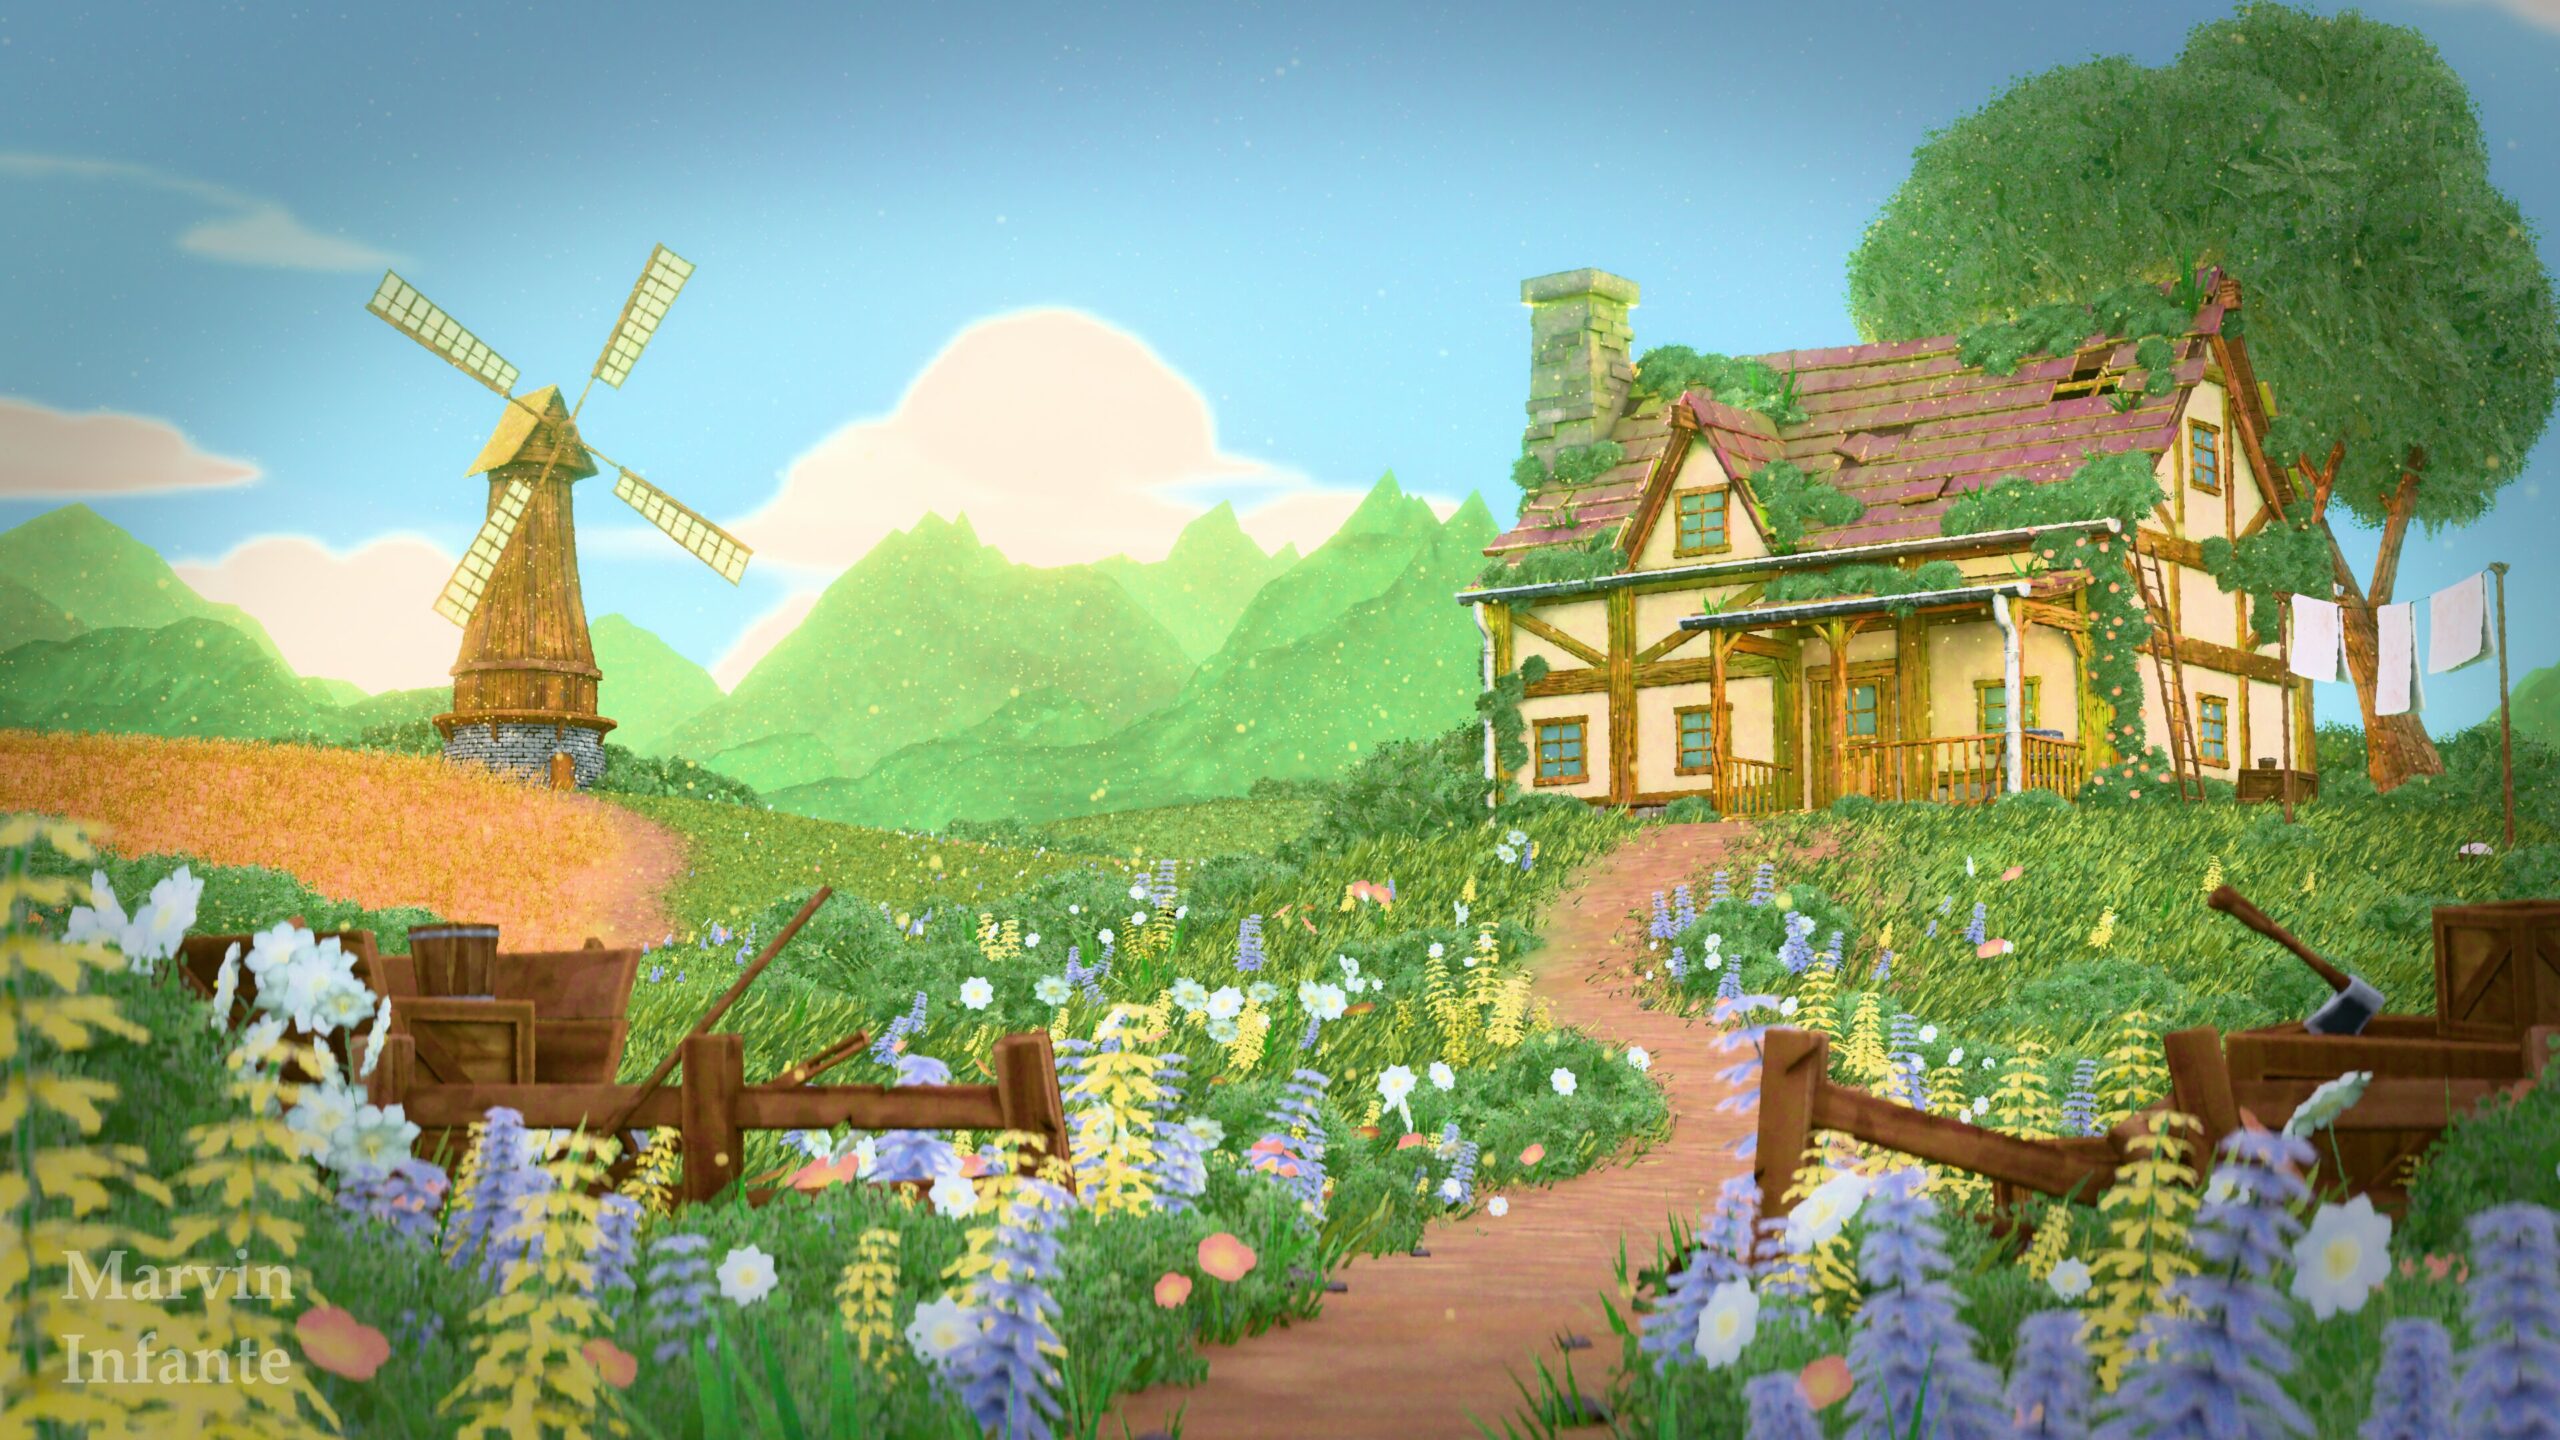
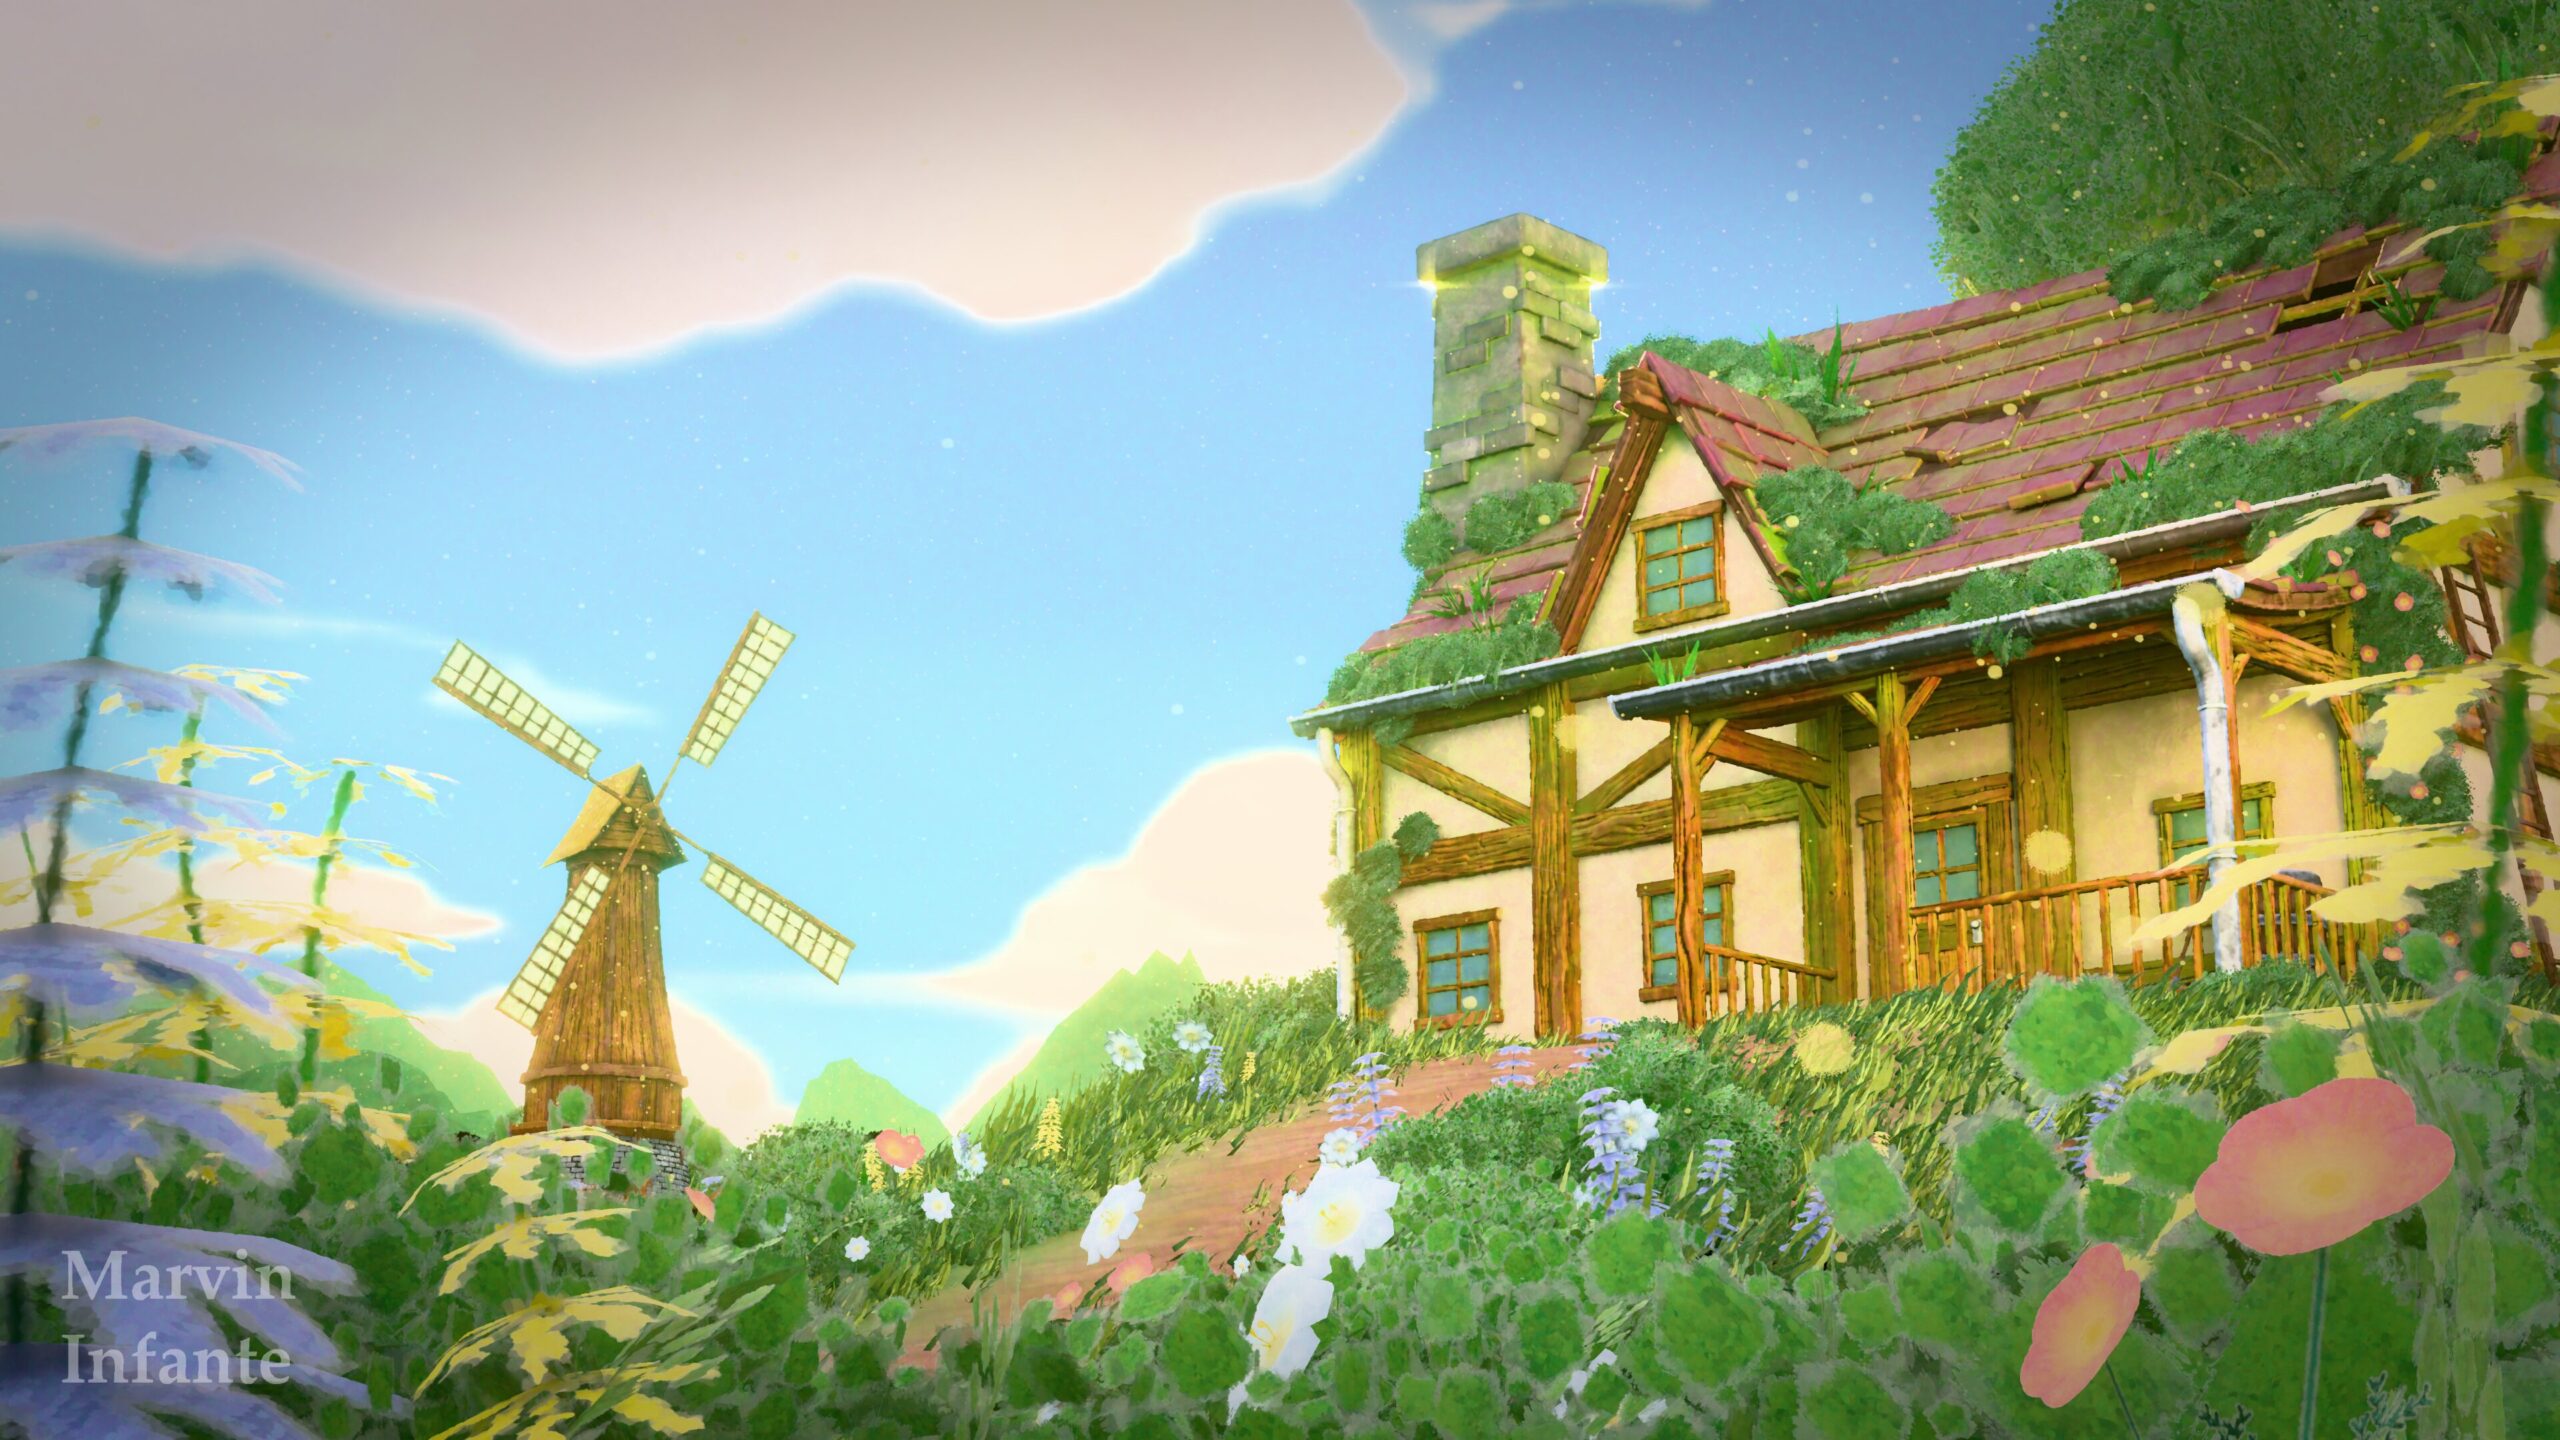
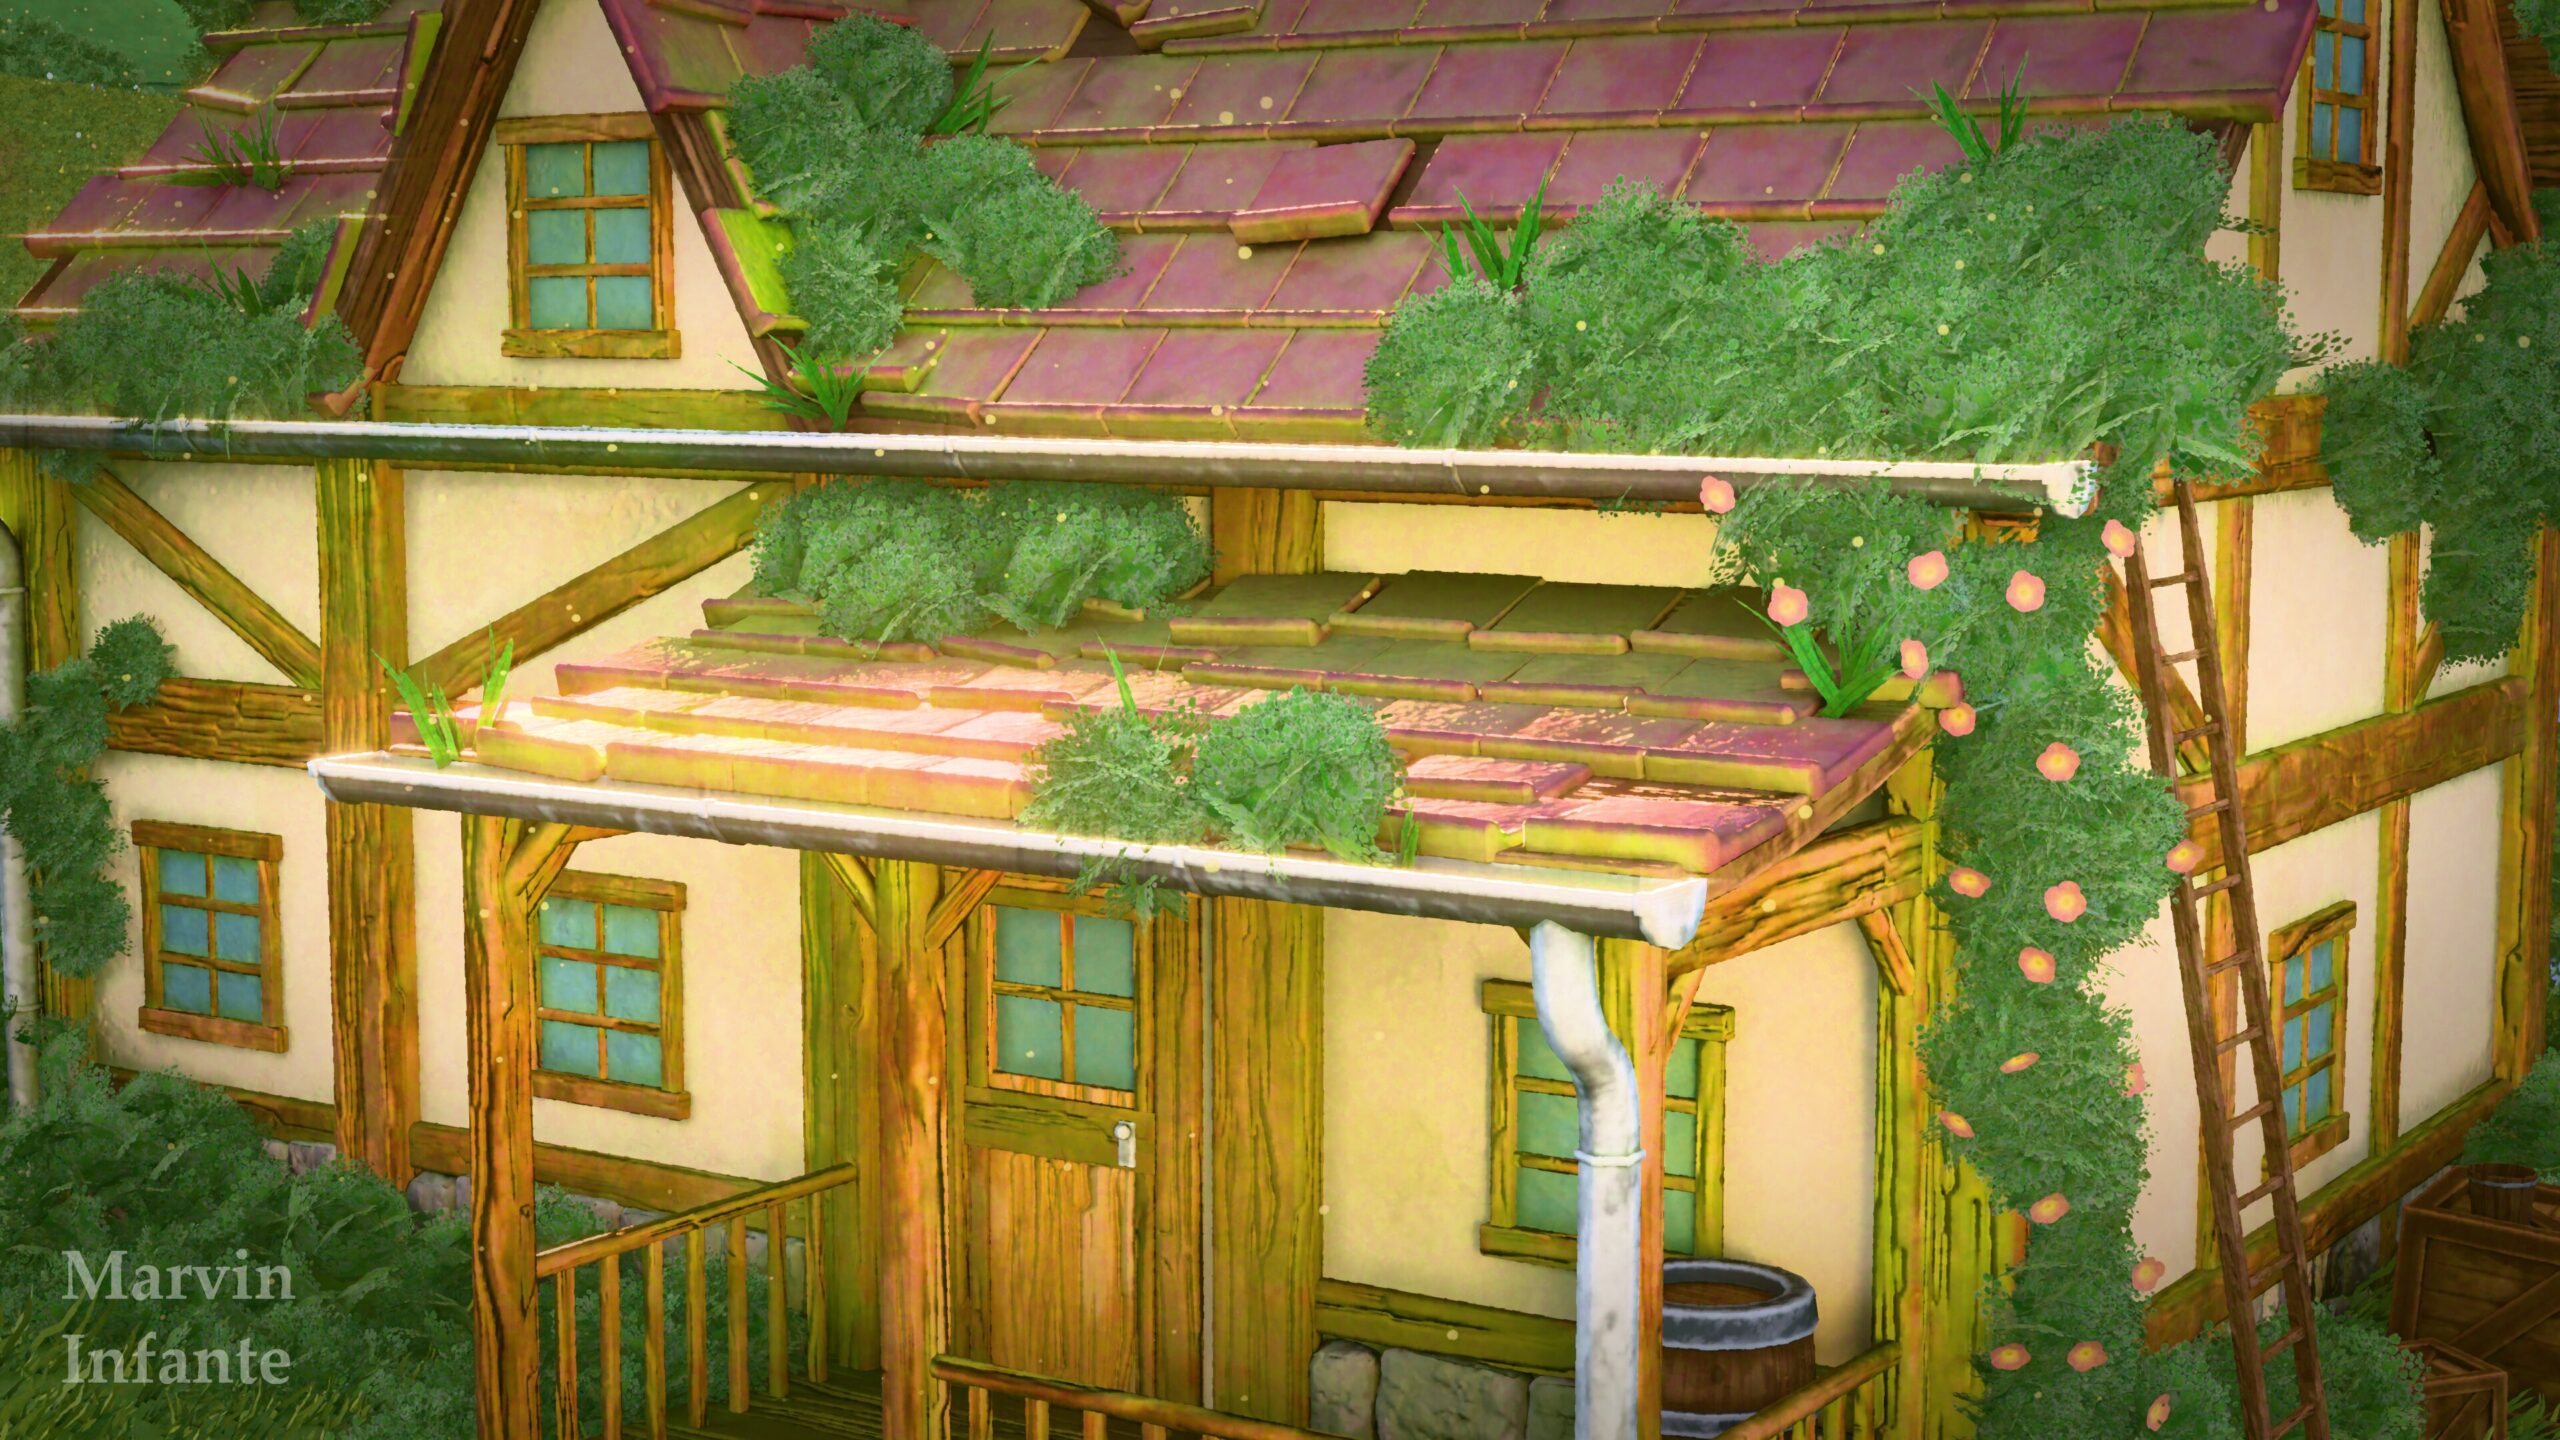
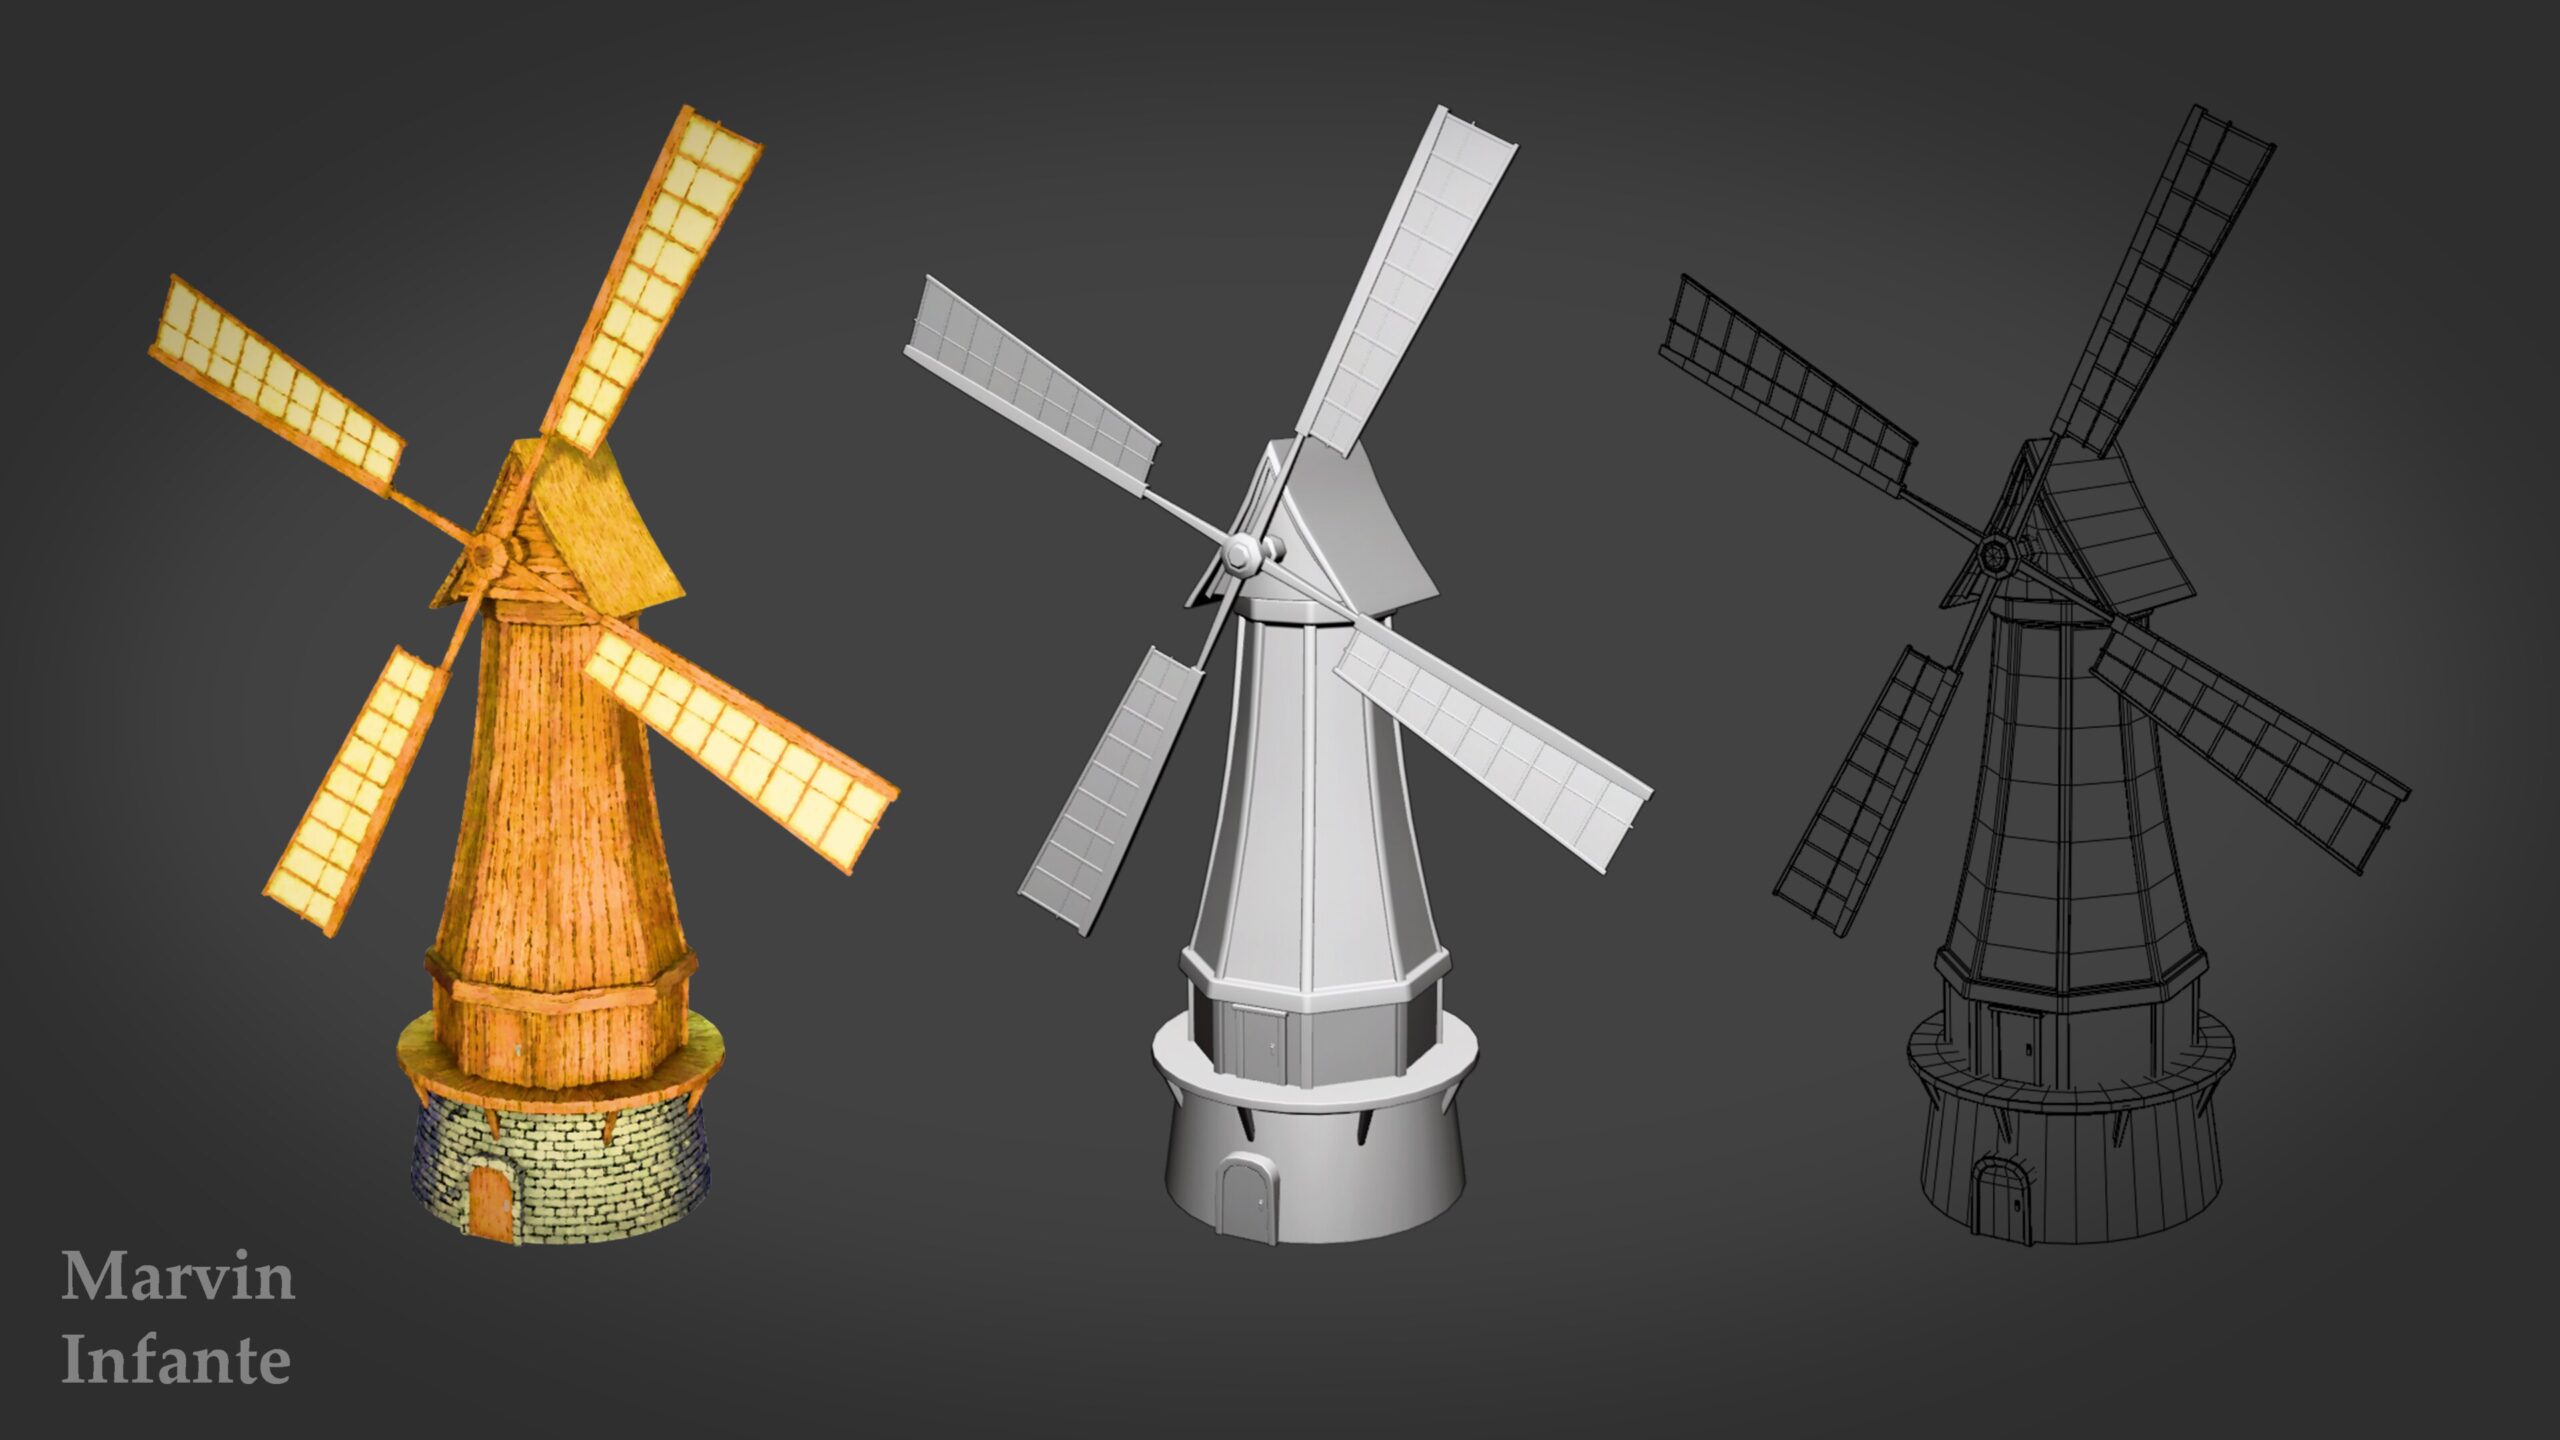
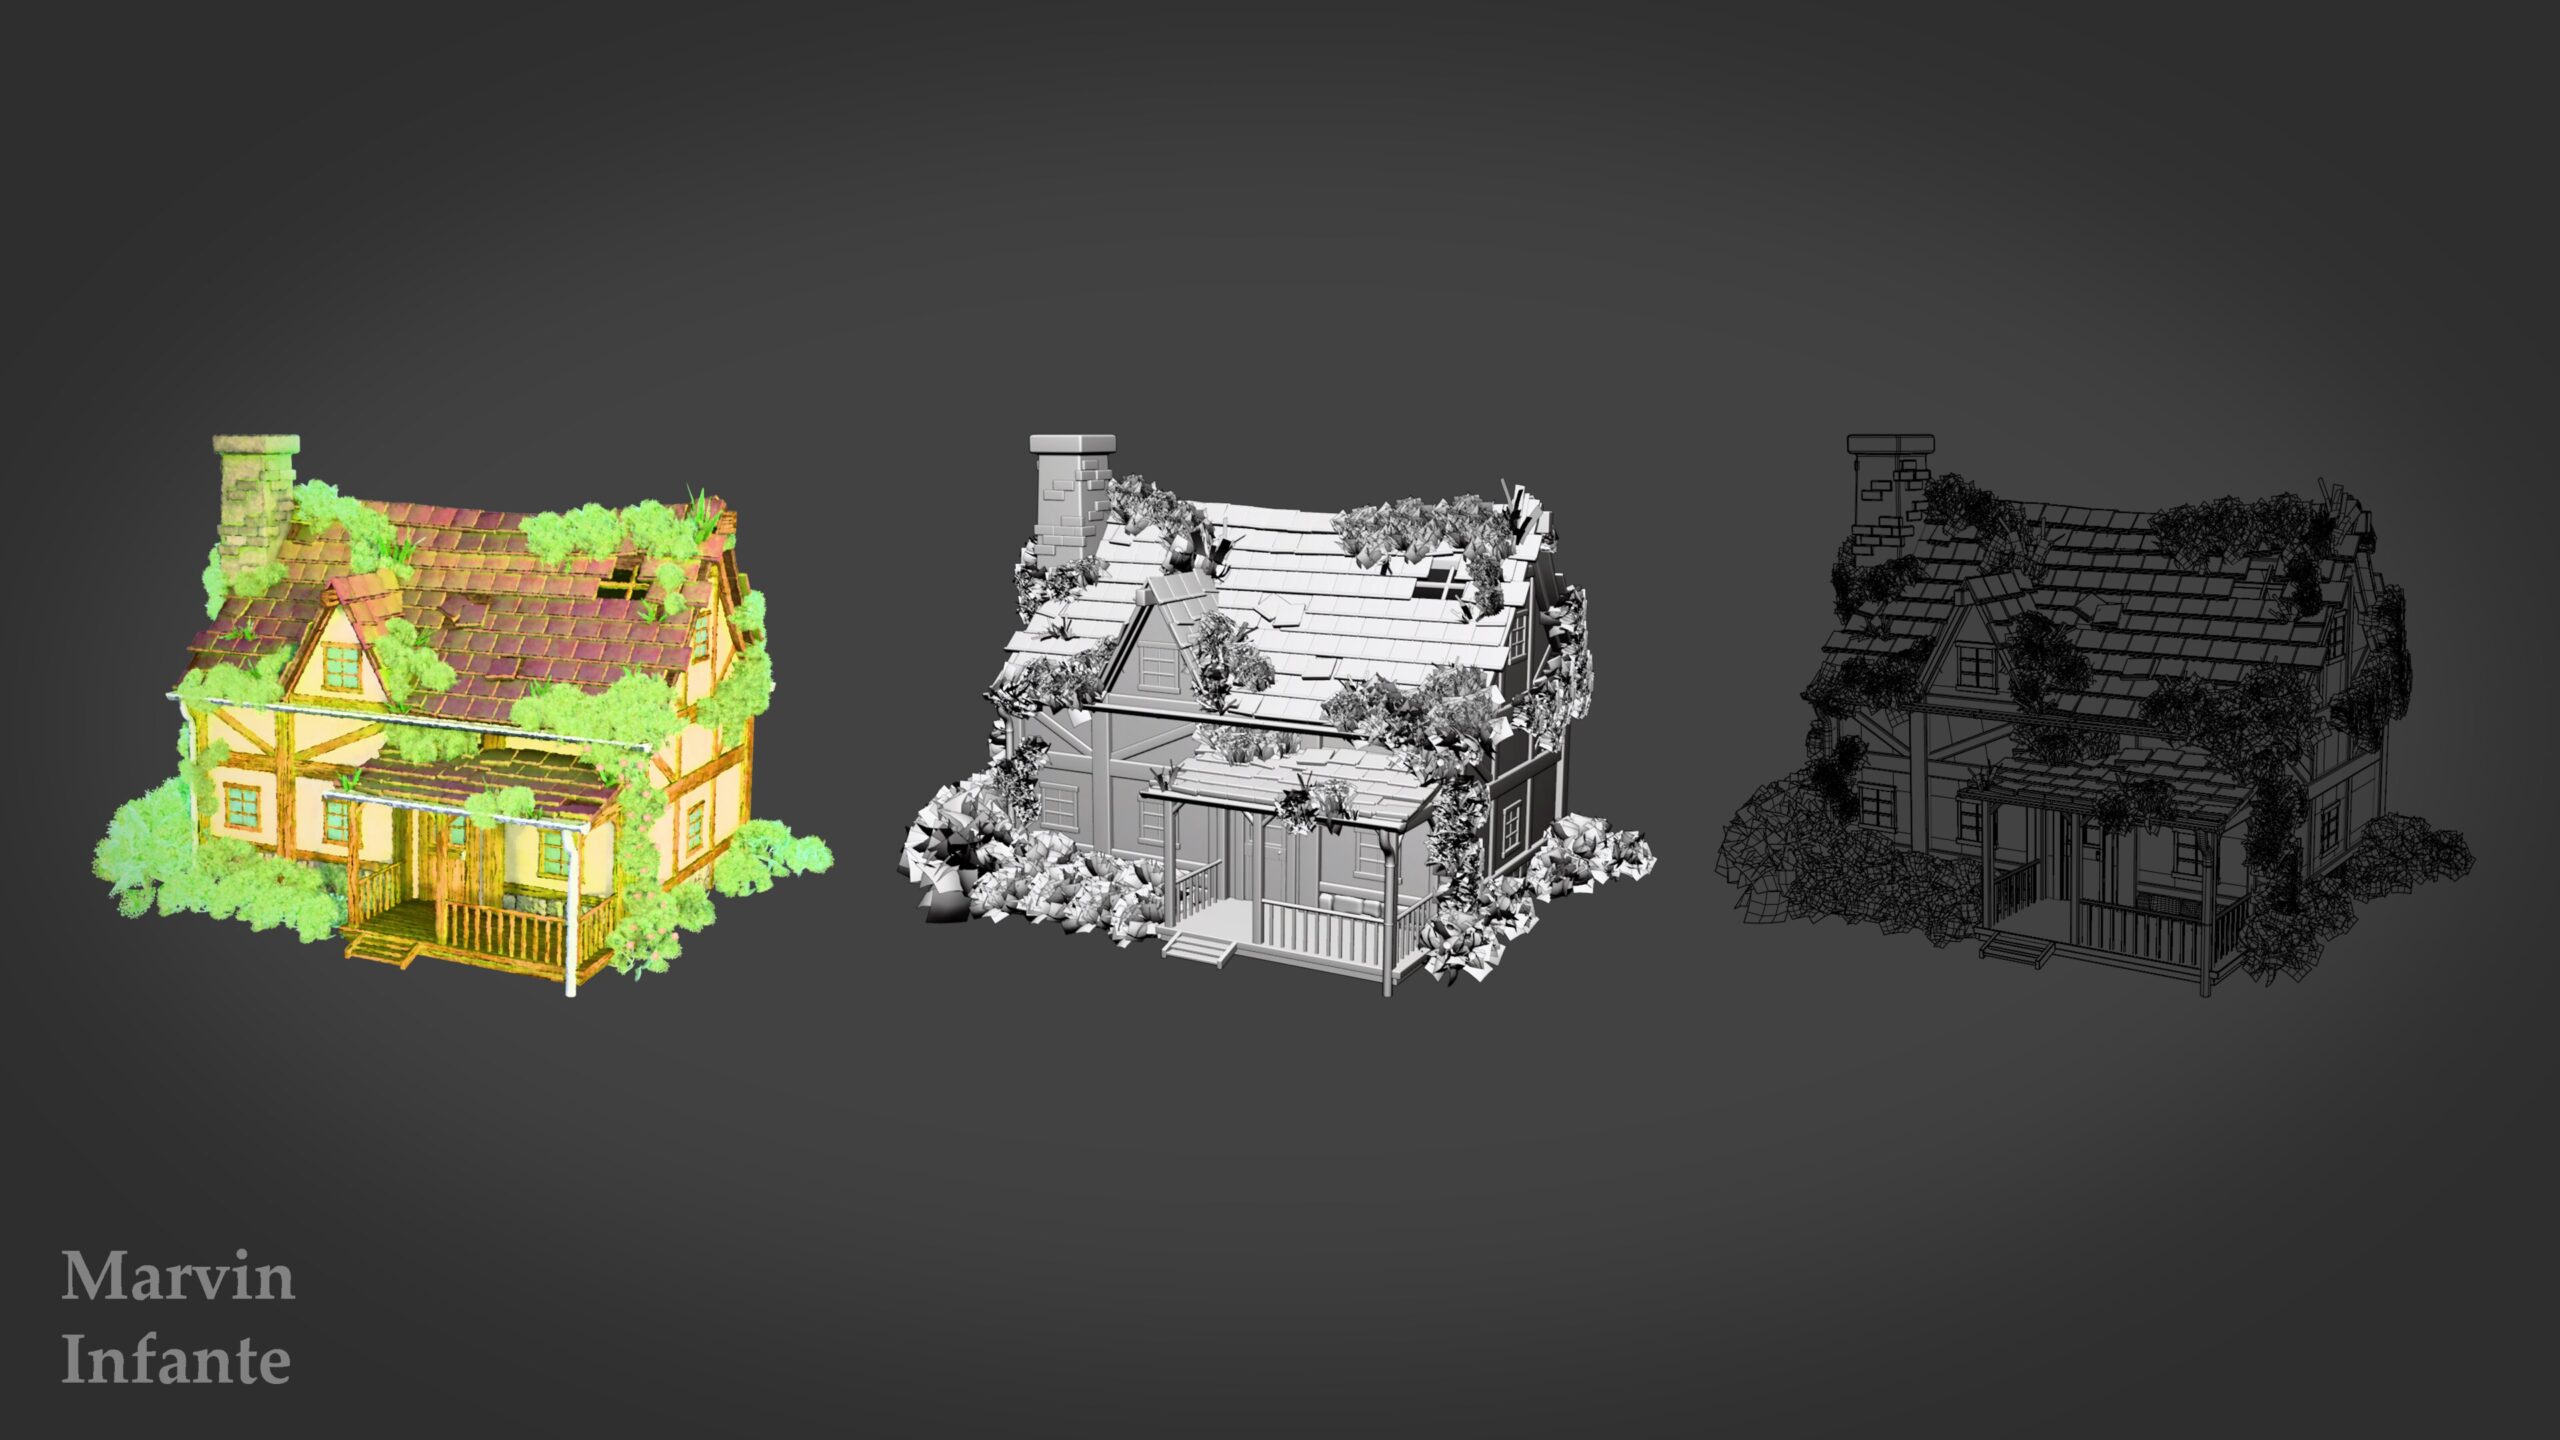
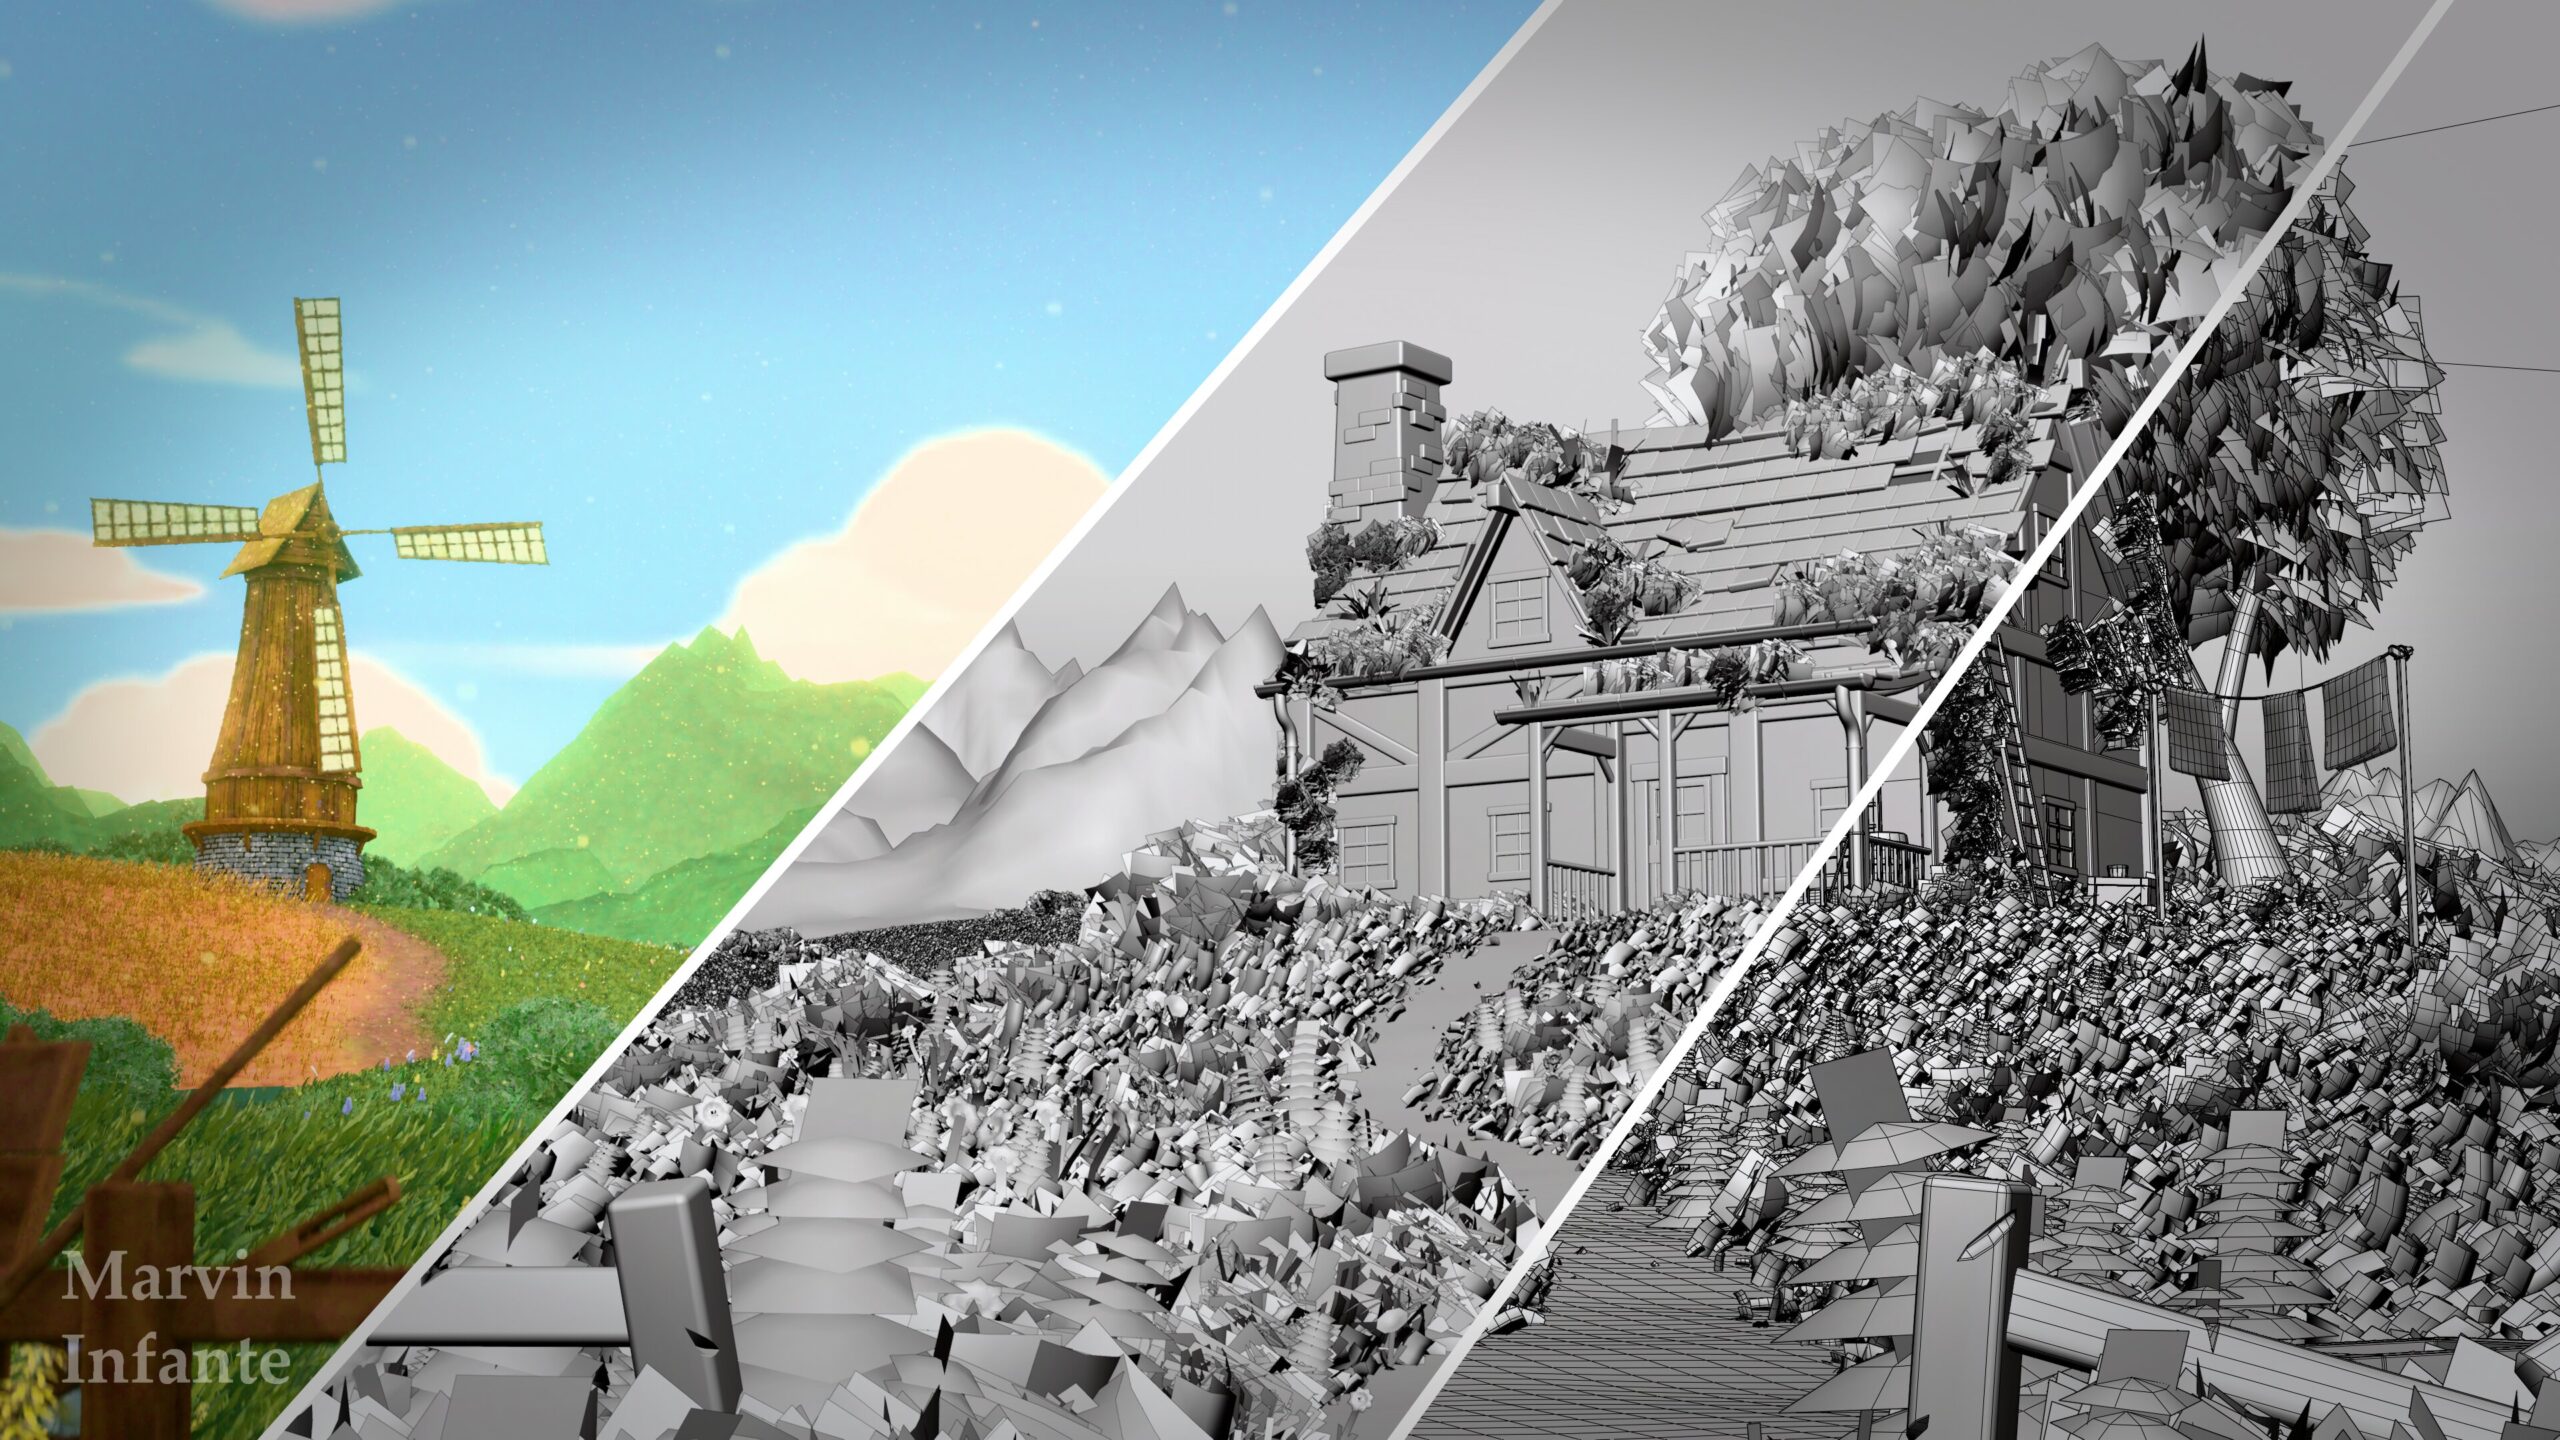
„Fantasy Farmhouse“ is a stylized environment I created as a personal exercise in stylized environment art and rendering. Everything was modeled and rendered in Blender and textured in Substance Painter.
Instead of optimizing the scene for real-time use, I decided to concentrate on the two areas I wanted to push the furthest: color design and lighting.
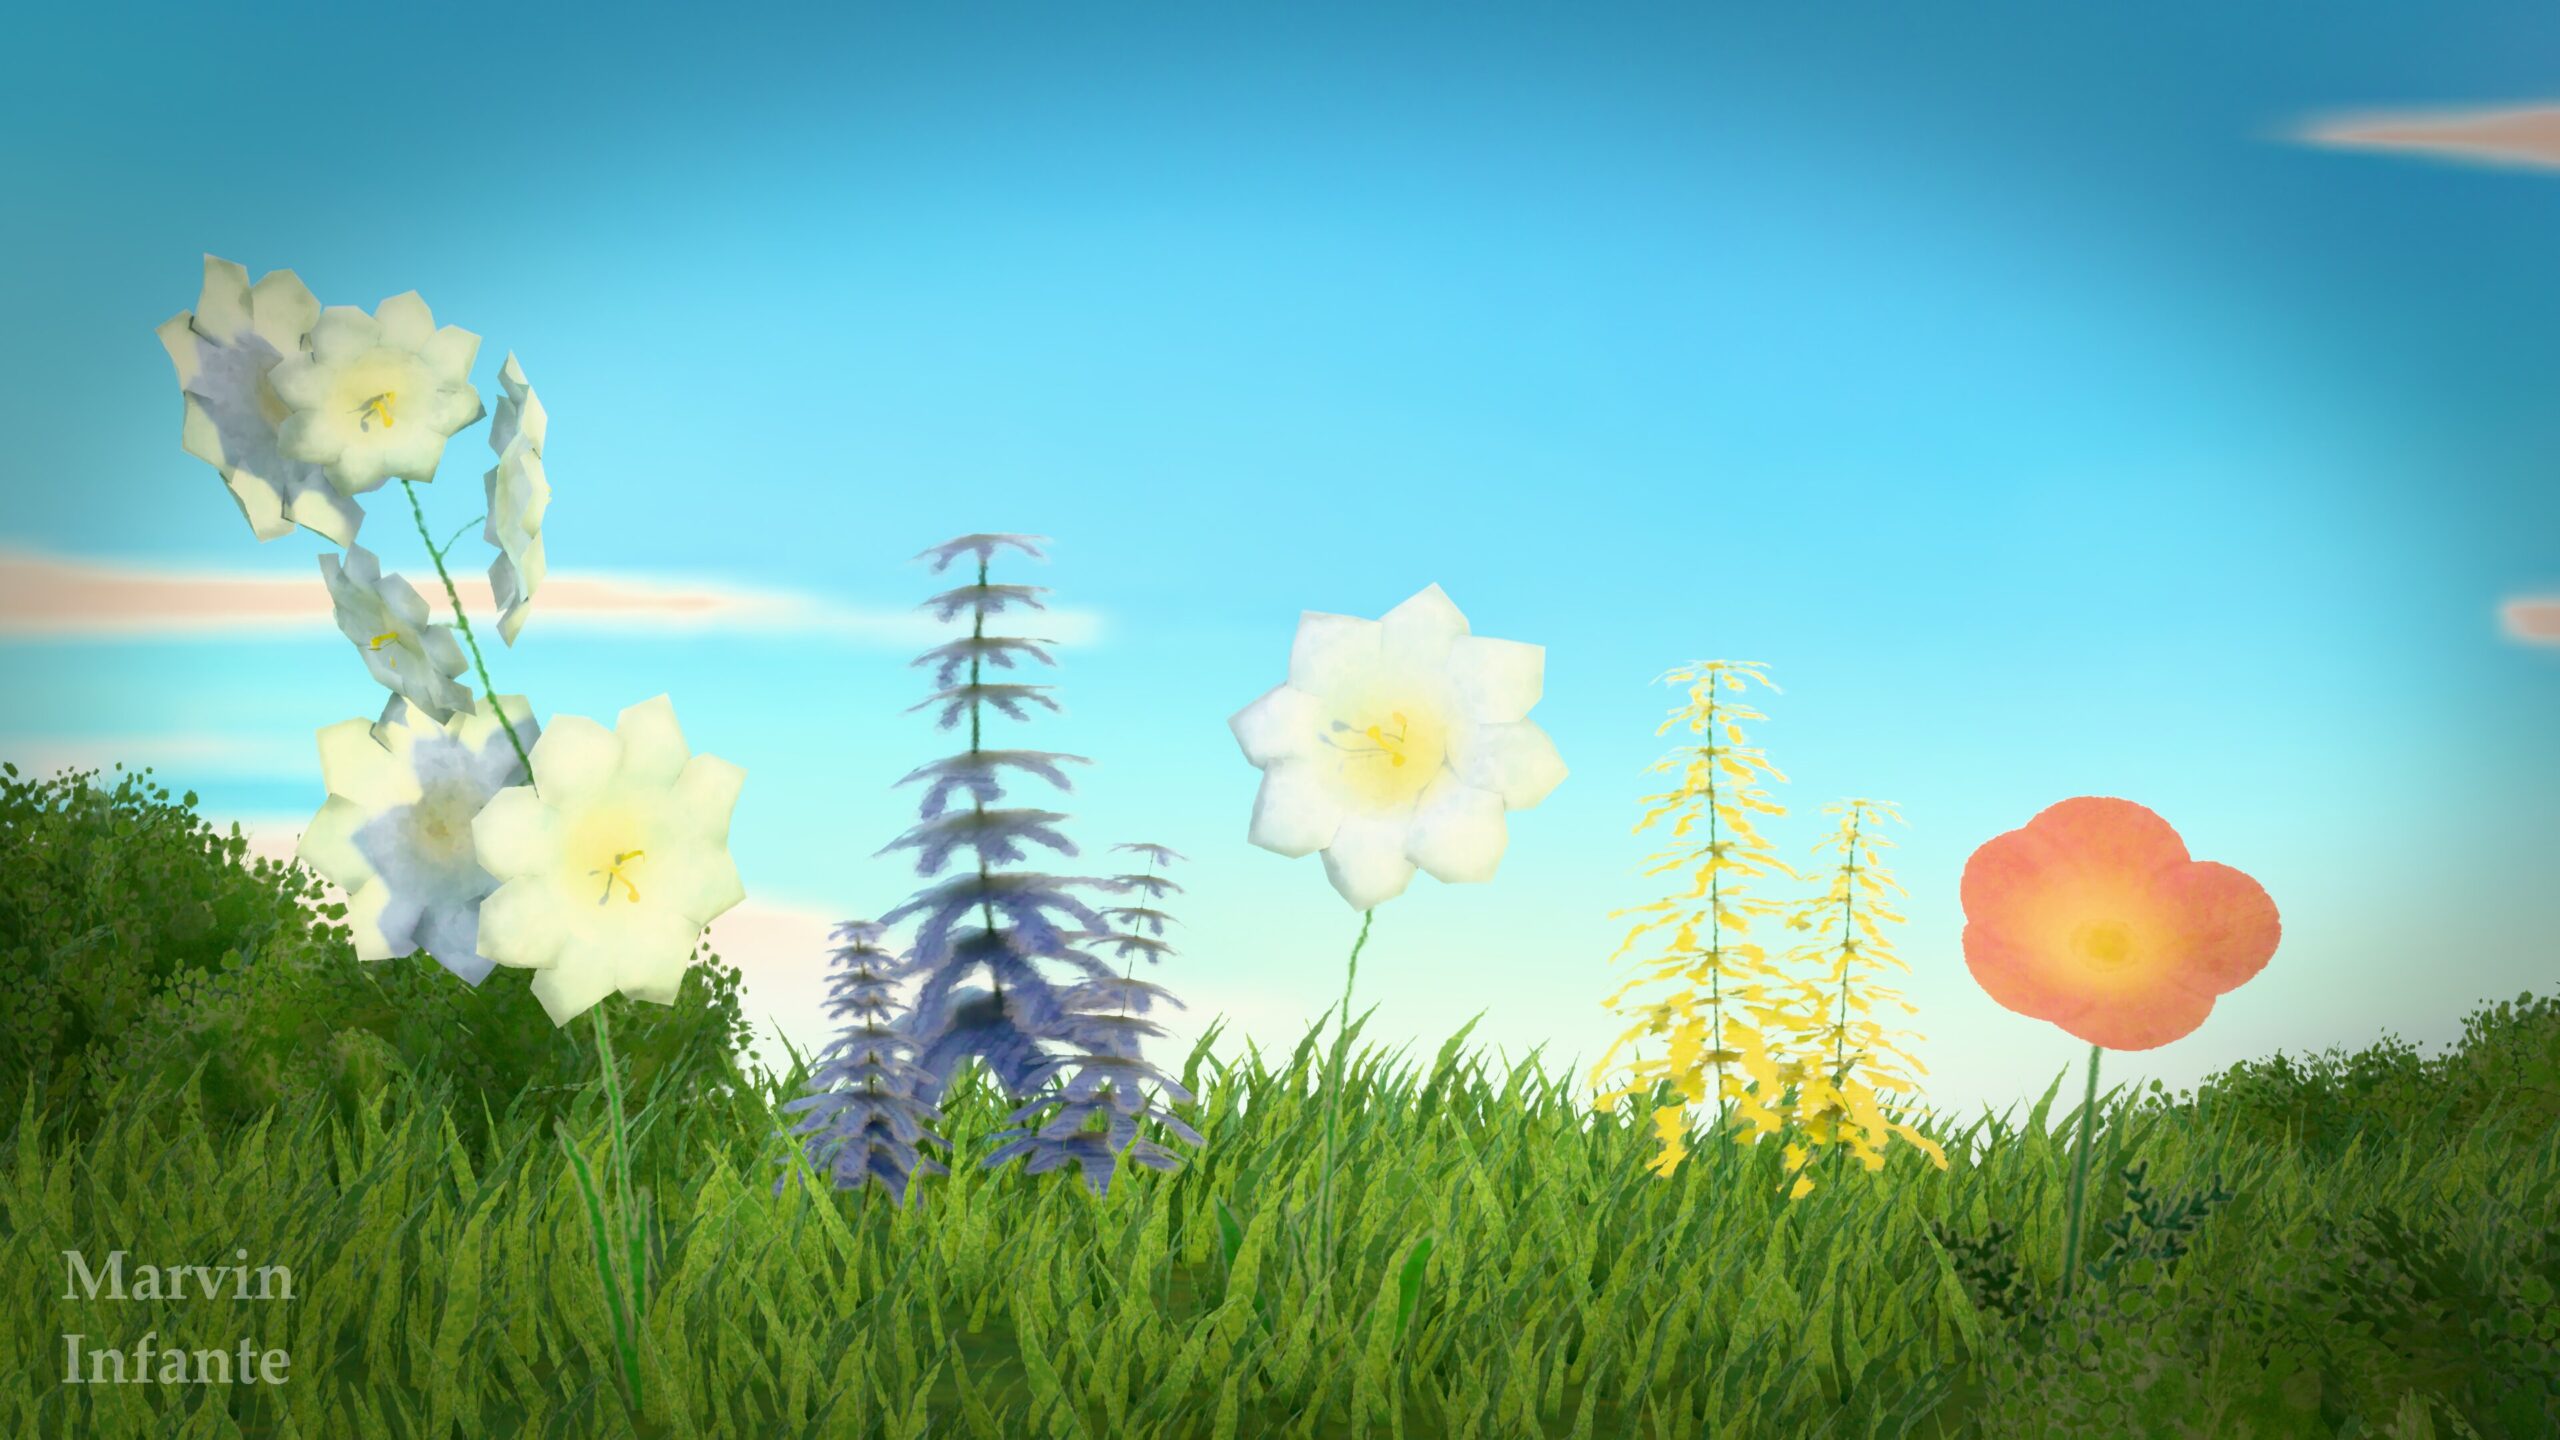
For the texturing I worked in Substance Painter and kept the materials deliberately painterly: soft gradients and visible variation instead of realistic surface detail. The palette is built around a warm, sunlit foreground of yellow-greens, warm wood tones and a terracotta roof, set against a cool blue sky and the teal window glass. That warm cool contrast is what keeps the image readable even though the frame is densely filled.
The biggest learning step came at the end of the pipeline. I worked my way into Blender’s compositing editor for the first time and used it to shape the final image: glow, atmospheric depth and color grading are all handled there rather than baked into the raw render. I also used light linking for the first time, which allowed me to light individual elements of the scene without affecting everything around them. That gave me far more control over where the eye is guided and how bright the focal points read.
This project changed how I approach lighting. Instead of treating it as a final step, I now plan it together with the color palette from the start. While I am happy with the mood and the overall composition, I see clear room to grow – Especially in the variation and silhouettes of the individual plants, and in pushing my compositing setups further in future scenes.